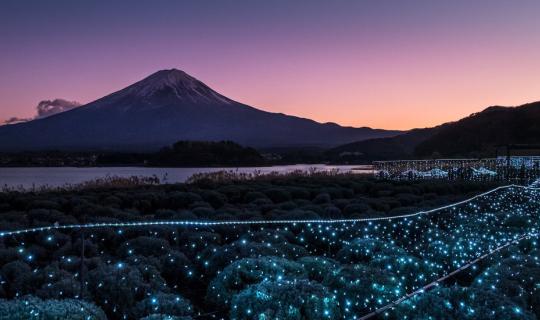
Welcome to my short story about skipping work before Christmas to wander around Japan. At first, I wasn't going to write a review because there's already a lot of information about traveling to Japan on Pantip. But since I've already been there, I'd like to add some information to make it easier for people who are planning to travel there.
This is a 6-day trip. Besides the first 2 days where we will stay and visit Kawaguchiko, I will use Tokyo as a base for sightseeing. All places will be round trips in 1 day, and the days can be switched around, they don't have to be in the order I went (it's recommended to adjust the trip according to the weather).
Japan Before Christmas Trip
Day 1 : Lake Kawaguchiko
Day 2: Chureito Pagoda - Shinjuku
Day 3 : Gala Yuzawa - Sensoji (Asakusa) - Tokyo Illumination
Day 4: Kamakura - Enoshima Island
Day 5: Jigokudani Monkey Park (Nagano) - Tokyo Character Street
Day 6 : Mt. Takao (Christmas Eve)

The route will be a bit haphazard, I know. Ideally, we should travel in a circle to save time and travel costs. However, I'm focusing on staying in Tokyo because I'm traveling with my family and I don't want to carry our luggage around too much.

My trip was a round trip with Air Asia X.
Departing from DMK to NRT (Terminal 2) around 11:00 PM, arriving at Narita at 8:00 AM.
The return flight from NRT (Terminal 2) to DMK departs around 8 pm and arrives at Don Mueang around 1 am.

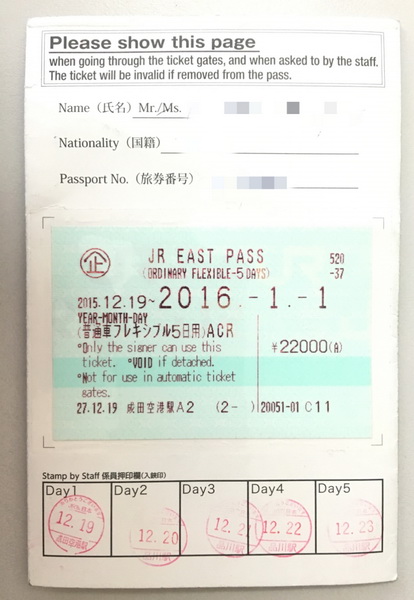
For domestic travel, use the JR East Pass, which is valid for 5 days, not necessarily consecutive. This Pass offers discounts on lift tickets and equipment rentals at Gala Yuzawa. However, the Pass does not cover Kawaguchiko. You will need to pay an additional 1,140 yen on the train.
For more information, please visit http://www.jreast.co.jp/e/eastpass/index.html
My main sources of information came from the kind people on Pantip who helped pave the way for me. I would like to thank them here.

Anyone can travel to Japan on their own (A complete guide and review of traveling to Japan)
http://pantip.com/topic/31614879
A Practical Guide To Fujikawaguchiko: A Self-Guided Tour of Mount Fuji and Lake Kawaguchiko
http://pantip.com/topic/32999895
"A map to take you to the Chureito Pagoda, a 5-story pagoda with a view of Mount Fuji (will we be able to see it???)" Trip Japan Summer Backpack 201
http://pantip.com/topic/30836269

And for those who want to go to places where locals don't usually go, we recommend http://www.japan-guide.com/
The information is quite comprehensive, including details of attractions and travel.

Finally, the familiar website http://www.hyperdia.com/, which provides detailed information on train routes throughout the country,

In the end, I would like to thank the equipment used to capture the images on this trip (I bought it myself, they didn't sponsor it 55+).
FUJIFILM X-E2
XF18-135mmF3.5-5.6 R LM OIS WR
XF10-24mmF4 R OIS
XF55-200mmF3.5-4.8 R LM OIS
XF35mmF1.4 R (Blooming along the way)
Get an iPhone 6s for some photos and some clips
Day 1 : Lake Kawaguchiko
Let's start with the first day. My flight landed about an hour earlier than scheduled, so instead of arriving at Narita at 8 am, I arrived at 7 am. Since I didn't check any bags, the entire immigration process was completed within 15 minutes. There was a slight delay before leaving the baggage check point, as the staff asked me a few questions, such as if I was traveling alone, how long I would be staying, where I was staying, if I had any friends here, and if this was my first time visiting. (They may have asked more questions because I was traveling alone without checked baggage.)

Inside Terminal 2, the morning sun is just right. During this time (mid-December), the sun rises at 6:30 am.
In reality, I went on this trip with my family after backpacking solo for several years. My family flew with Thai Airways, so they arrived earlier and landed at Terminal 1. Let's abbreviate it as T1 and T2. Traveling from T1 to T2 is not possible on foot. You have to take the Airport Bus, which runs across to T1 every 15 minutes. The schedule is clearly displayed. (I didn't take a picture because it was very cold at that time, the temperature must have been around 5 degrees Celsius.) However, from T2, you can buy a JR Pass and take a train out of the airport.
After arriving at T1, I had to buy a JR East Pass, which would be the main sponsor for my trip. In T1, the counter is located on the B1F floor. If you take the Airport Bus, enter the gate and take the escalator down to the bottom floor. The counter is easy to spot as it is located near Starbuck's. There is also a Lawson nearby where you can buy something to eat.
Advertisement

I will carry the JR East Pass with me throughout my 5 days in Japan. On the days that I use it, the staff will stamp the bottom of the Pass.
The first place we will go to is Lake Kawaguchiko. According to Hrperdia, there are many trains from Narita to Kawaguchiko, most of which require multiple transfers. However, there is one train that runs directly without any transfers, the LTD. EXP NARITA EXPRESS 8. When I went, the train departed at 9:15 am. Fortunately, my flight arrived earlier than scheduled, so I had time to buy a Pass and grab a bite to eat. If you arrive at 8:00 am sharp, you will have to run a little.

While the JR East Pass covers train fares, it doesn't guarantee a seat on all trains. Some trains require reservations, while others don't. To be safe, it's best to reserve seats for all your journeys, especially since it's free with the Pass. The reservation process is simple: head to the JR counter and tell them your departure and arrival stations, along with the desired time. They will issue a ticket with your assigned seat. Typically, the staff will automatically assign a window seat, but if those are unavailable, they'll ask if you're okay with an aisle seat. Once you have your ticket, check the screens near the entrance for your train name and departure time. This will tell you which platform to wait on for your train.
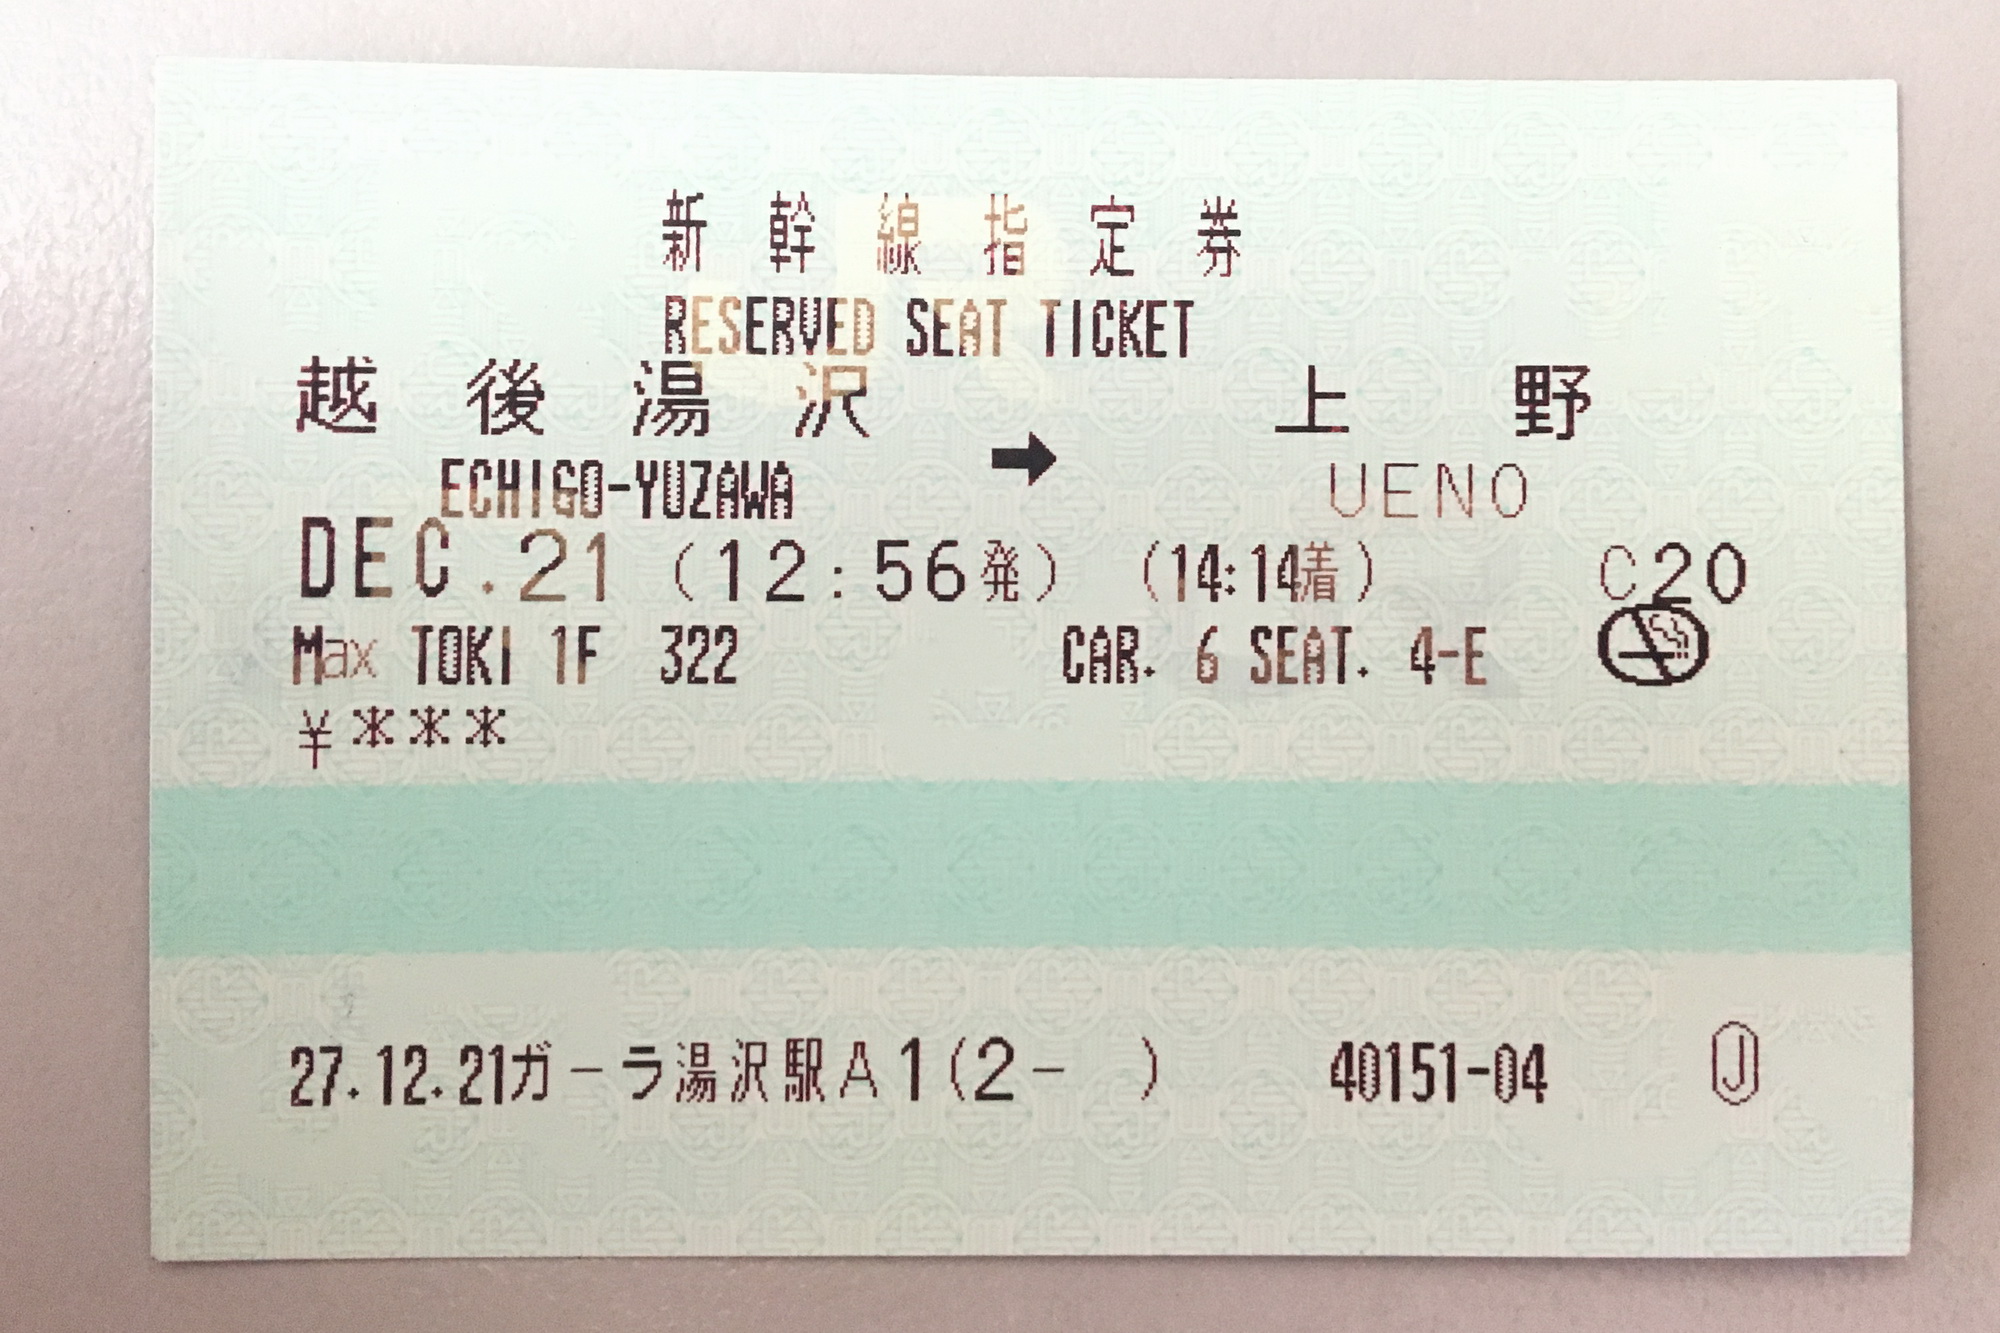
The ticket will look something like this (this is a ticket to Gala Yuzawa). Please look at the Car and Seat.
Normally, we have to insert the ticket into the machine to enter, but if you have a Pass, just show it to the officer and you can walk in. When you go down to the platform, there will be a sign indicating which car the train is in. Go and stand in line with our car so that we can get on easily. When the train arrives, we can go and sit in the seat that we have reserved, and then we can sleep for a long time. Because from Narita to Kawaguchiko, it takes 3 and a half hours. If you are afraid of being hungry, you can buy a lunch box from Lawson and eat it on the train. Every 6 cars, there is a bathroom. It is very spacious and comfortable. (I forgot to take a picture to show you)
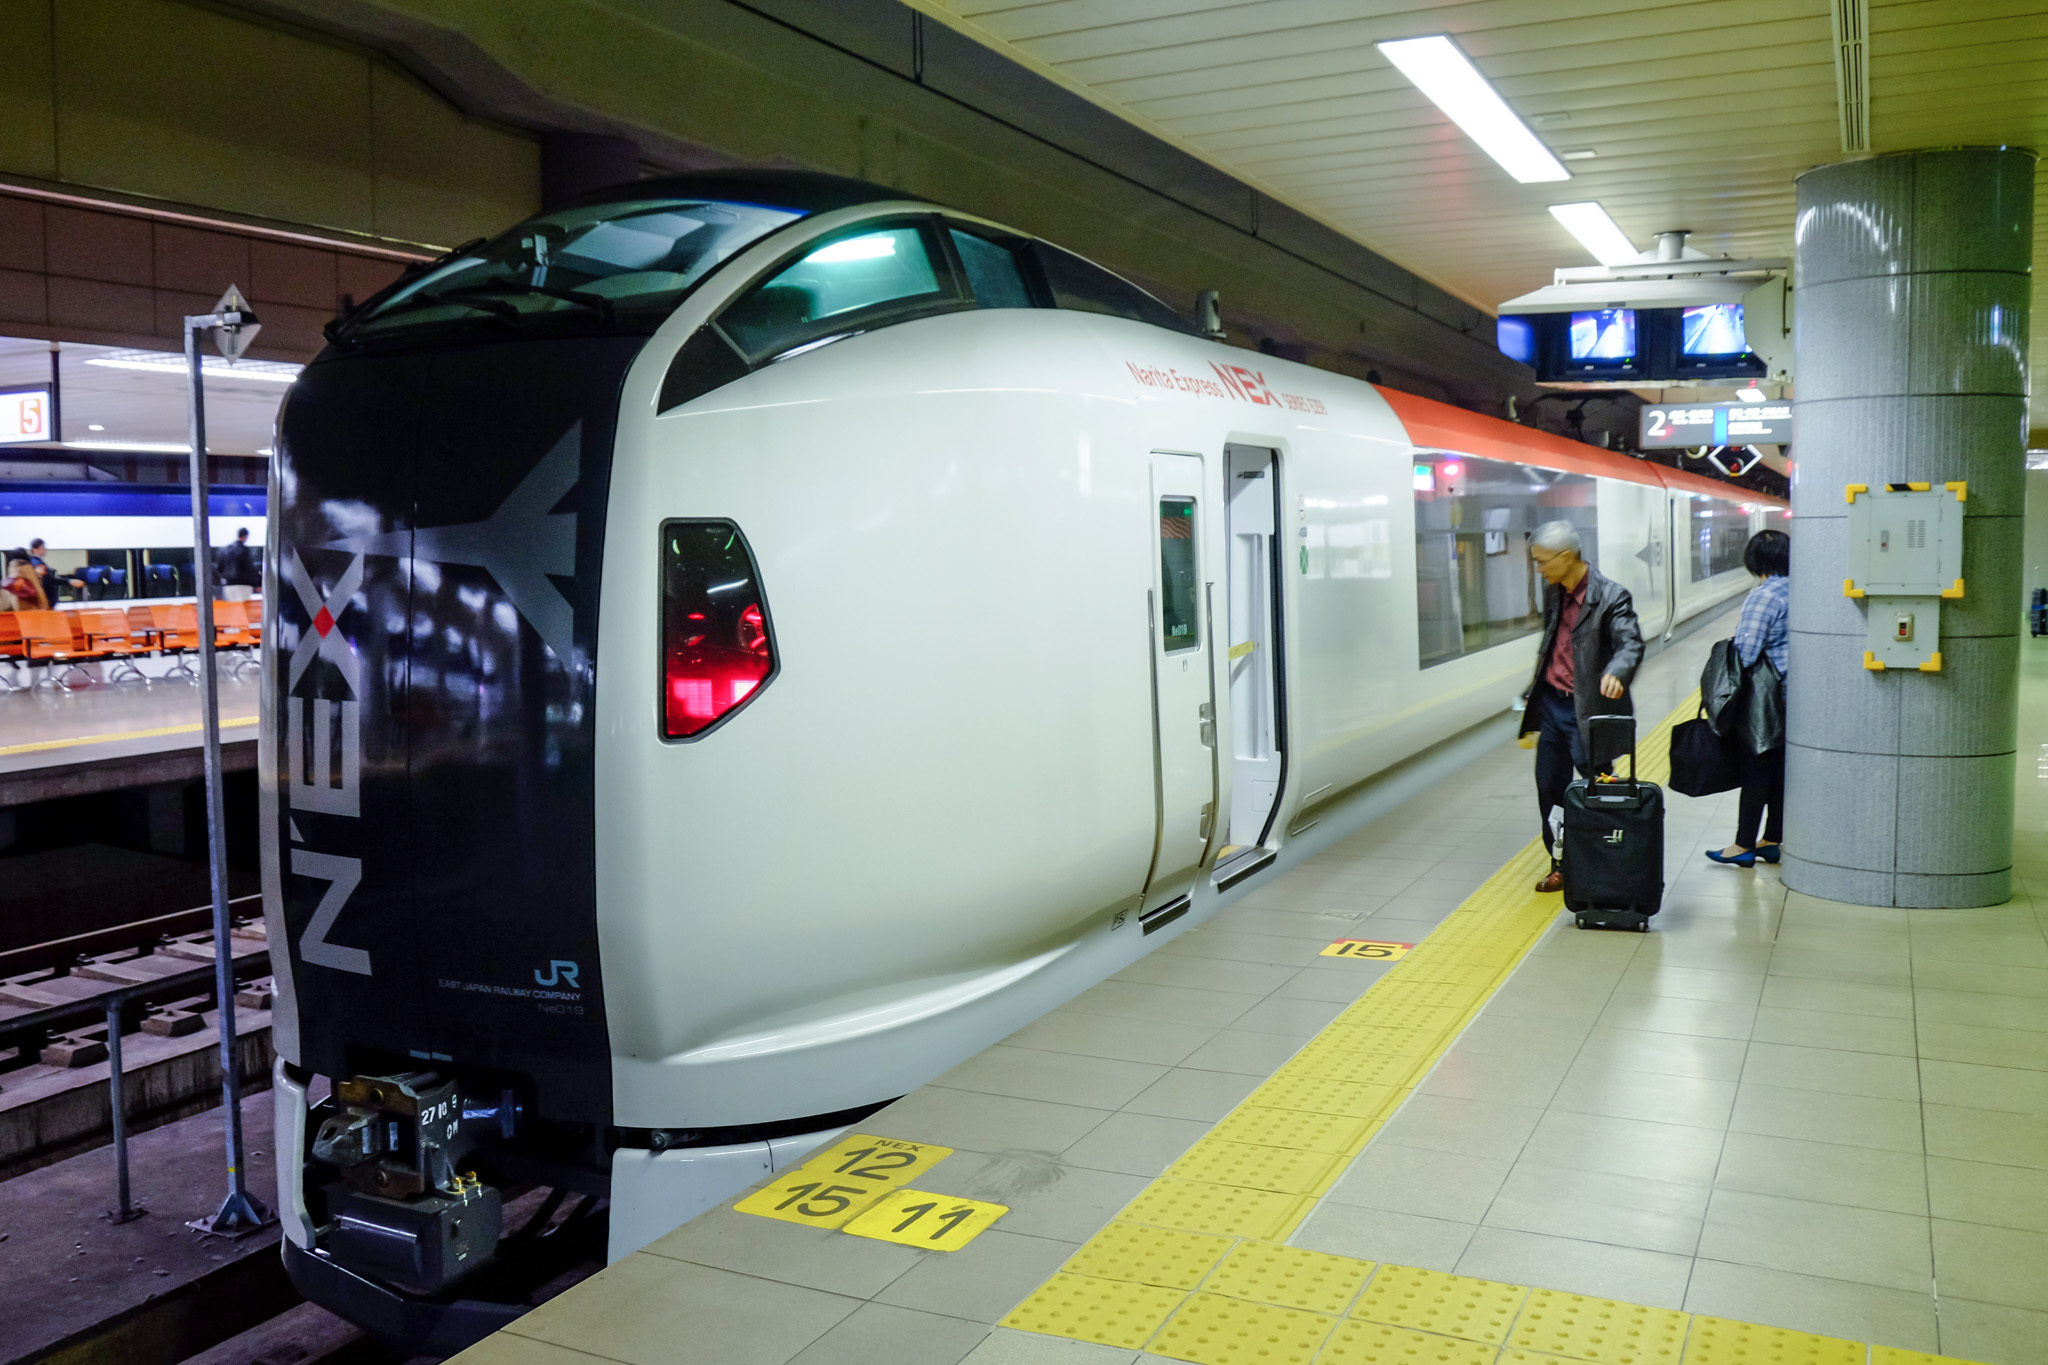
NARITA EXPRESS 8 looks really cool

The spacious seats recline, allowing you to stretch your legs comfortably. There is a screen that shows you where you are, and before reaching Kawaguchiko, after passing Otsuki Station, the staff will come around to check your tickets. Please note that the JR East Pass does not cover this section, and you will need to pay an additional 1,140 yen. After that, we dozed off for a while until we started to see Mount Fuji, a sign that we were approaching our destination. This train also passes Fuji Q Highland, so if you want to ride a roller coaster, you can stop here.

Nice to meet you, Mount Fuji.

12:41 sharp, we arrived at Kawaguchiko Station.

A train station with Mount Fuji as a backdrop
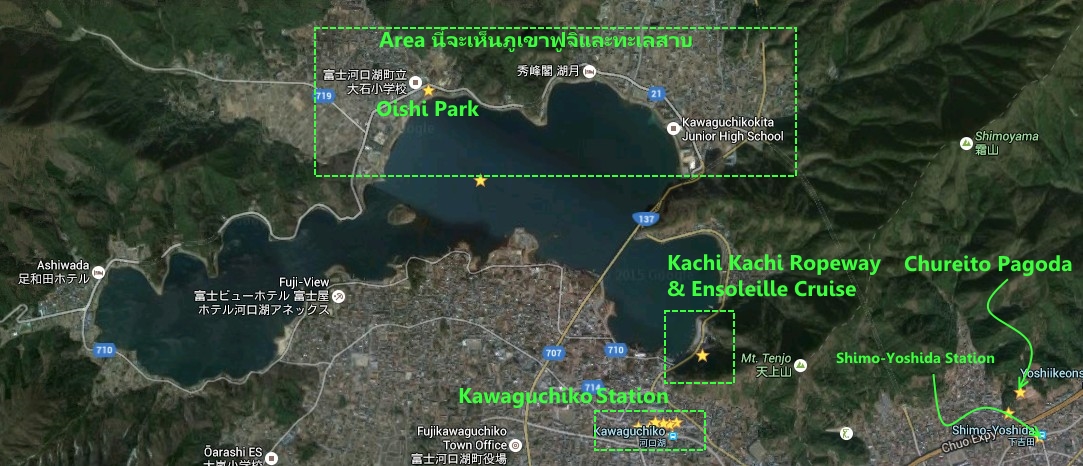
It's almost afternoon, so we hurried to put our luggage at the accommodation and find lunch to eat. My accommodation is right opposite the train station, which is convenient for check-in, but not very suitable for people who want to see the lake view. If you want to recommend the peak, you should stay near Oishi Park. There you will have a full view of Mount Fuji and you can walk to the lakeside. If you are a landscape photographer, you can easily go out to capture the stars at night.
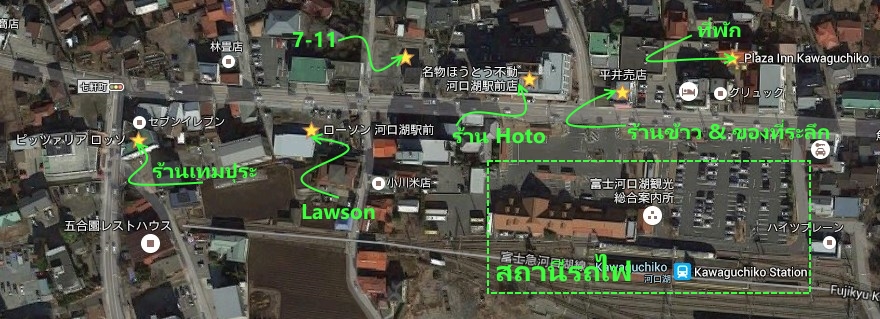
The local specialty here is Hoto. As soon as we exited the station, we saw a line of people waiting to enter the Hoto restaurant. So, we decided to eat at a souvenir shop first. After finishing our meal, we went back to the train station to buy R Coupons for the Retro Bus, which would take us around the lake to the different stations. Details of stations and bus schedules
The various tourist attractions are described in detail by nucleon, which made my travel planning much easier. Thank you very much. >> http://pantip.com/topic/32999895
Since it was already past 2 pm by the time I finished packing my food, I only planned to visit two places today: Kachi Kachi Rope Way (Bus Stop 11: Sightseeing Boat/Ropeway Ent.) and watch the sunset + Illumination at Oishi Park (Bus Stop 22: Kawaguchiko Shizen Seikatsu-kan(Natural Living Center)).
I bought an R Coupon for a 2-day trip around Lake Kawaguchiko + Ropeway and Ensoleille cruise for 2,300 yen. For those who are only going to Kawaguchiko, buying this type of ticket is the most worthwhile. We will get 3 tickets for Bus, Boat and Ropeway. We can only board the bus at the Red Line stop. This ticket does not cover other lines.
Taking the R Bus is not difficult. Just stand at the Red Line bus stop and wait for the bus to arrive. You can then board the bus and take a seat. When you are approaching your stop, there will be an announcement to press the bell to request a stop. When you get off, show your ticket to the driver and you can get off. If you did not purchase an R Coupon, you must pull the bus ticket in front of the driver when you get on. When you get off, show your ticket and pay the fare according to the number of stops you have traveled. Kachi Kachi Rope Way

Kachi Kachi Rope Way We will take the Cable Car up to see the view on top of Kachi Kachi Yama. Along the way, there will be statues of tanuki and rabbits everywhere. It comes from a folktale called "Kachi Kachi Yama". The statues look cute and silly, but I think the story is 18+. If anyone wants to read it, I translated it from Wikipedia.
"Kachi Kachi Yama" begins with an old man catching a tanuki that often comes to harass and destroy crops, in order to kill and cook it as food. While the old man is out shopping, the tanuki persuades the old woman to release him. The old woman takes pity on him and releases the tanuki. When the tanuki is free, it kills the old woman and cooks her flesh as food. When the old man returns home, the tanuki transforms into the old woman and gives the old man the old woman's flesh to eat without the old man knowing. Then it transforms back into a tanuki and tells the old man that the flesh he ate was the old woman's flesh. The old man is shocked and very sad.

The story reached the ears of the rabbit, who was a close friend of the old man and woman. The rabbit volunteered to avenge the old man by tormenting Tanuki in various ways, such as throwing a beehive at him. When Tanuki was stung by bees, the rabbit offered to apply medicine by rubbing chili peppers on him, causing Tanuki great pain.
The act of revenge that gave this mountain its name occurred when the rabbit invited Tanuki to go camping together on the mountaintop. While Tanuki was carrying firewood up the mountain for the campfire, the rabbit set fire to the wood without Tanuki's knowledge. The sound of the wood cracking from the fire sounded like "Kachi Kachi." Tanuki asked what the sound was, and the rabbit replied that this was Kachi Kachi Yama (Yama means mountain). If you hear the sound "Kachi Kachi," it means you are close to the top of the mountain. Soon after, the fire reached Tanuki's back, causing him great suffering.

The final act of revenge took place when Tanuki challenged Rabbit to a boat race. Rabbit built a boat from sturdy wood, while Tanuki built his from clay. As they raced across the lake, Tanuki's boat began to dissolve and sink. As Tanuki was about to drown, Rabbit revealed that he was friends with the grandparents that Tanuki had harmed, and that this was all a punishment for Tanuki.

Image credit: http://web-japan.org/kidsweb/folk/kachi/kachi01.ht...
It's brutal, isn't it? Even though the tanuki and rabbit statues around here are super cute. 555
Upon exiting the car, we immediately looked for the tanuki. We followed it until we found the cable car station. On the day I went, there weren't many people, so there was almost no queue. However, I'm not sure how long the queue would be during peak season, as the cable car can't hold many people and is quite slow.


The top will be a viewpoint. On one side, you can clearly see Mount Fuji, and on the other side, you can see the lake.
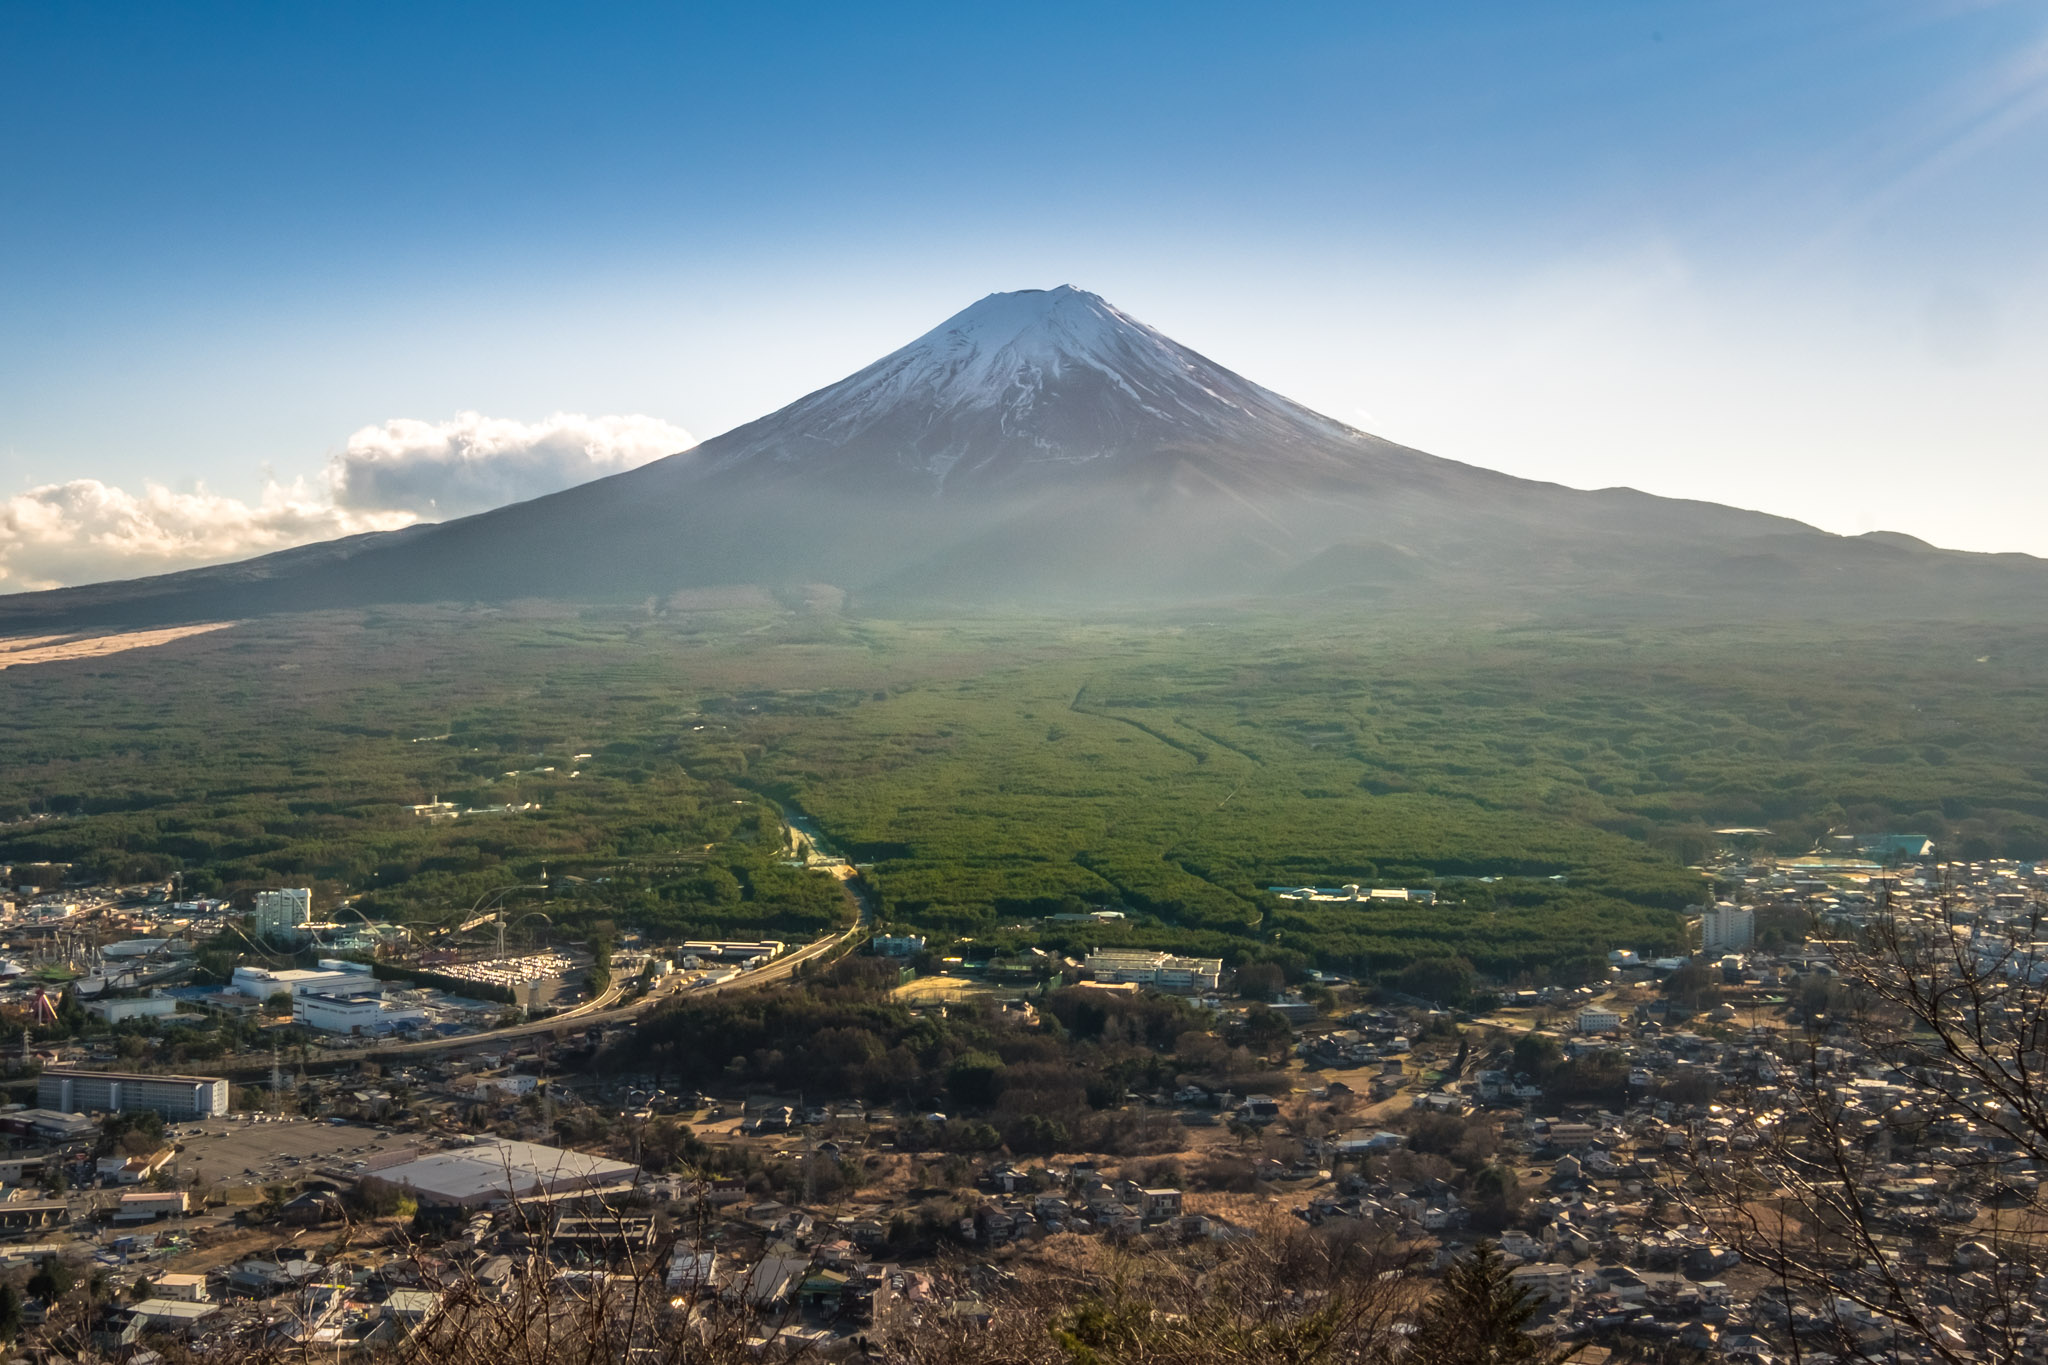


Main attractions here
1. Tanuki tea shop with Tanuki dangos for sale (very delicious)


2. There are plenty of statues of rabbits tormenting tanuki to take pictures with.


3. Tenjo Bell is a bell for praying for love and health.

4. "Kawarake throwing" is the act of throwing a clay cup at a rope ring to pray to the mountain god Tenjo for the fulfillment of one's wishes. The cost of two cups is 100 yen.

In addition, for those who enjoy hiking, there is a trail from here to Mount Mitsutoge, which is quite a distance. In fact, you can also hike to the top yourself. For more details, please refer to this website.
>> http://www.kachikachiyama-ropeway.com/th/#myModal2 Oishi Park
Bus Stop 22: Kawaguchiko Natural Living Center

After getting off the Ropeway, it was already late afternoon. We then took a bus to Oishi Park, which is at the end of the line, to wait for the sunset and Illumination.

This place will be full of lavender bushes, which are not blooming now because it is winter. Therefore, the main attraction during this season is the night lights. They will start to turn on at 5:00 PM. We will have one hour to enjoy them because the last Retro Bus will run at 6:00 PM. If we don't take that bus, we will have to walk 7 km back to the train station in the cold.
People who stay near here are lucky enough to be able to watch the star photography all night. But the downside is that when you return in the morning, you won't be able to return until the Retro Bus starts running, which is 9 am.


There is a sleepy Shiba Inu sitting there. I understand that the owner often brings it here.
The event starts at 5:00 PM and is called "Niagara Winter Illumination". It will be held from December 1st to January 31st. During this time, there will be illumination events held almost everywhere in the area.


We didn't stay long and hurried back to our accommodation, as we didn't want to miss our return train. Upon arrival, we stopped by the Hoto restaurant, which had a long queue at lunchtime, for dinner. Now, it was almost deserted. The Hoto 1, which costs a little over 1,000 yen, comes in a large pot and can be shared by 2-3 people. The Hoto noodles are chewy and thick, and the soup is made with pumpkin, giving it a sweet taste and yellow color. The ingredients are almost entirely vegetables.

Day 2: Chureito Pagoda - Shinjuku

The Chureito Pagoda is the highlight of the second day of this trip. The Chureito Pagoda is located outside the Kawaguchiko Lake area, 4 train stations away. To get there, we need to buy a ticket to Shimo Yoshida Station and walk for another 10-15 minutes. If you have a Pocket Wifi, you can open Google Map. Or you can follow the signs, it's not difficult to notice. As soon as you step out of the train station, turn right immediately. You will see the sign there. Then just follow the long sign.
Directions from Google Map >>https://goo.gl/Tw9ZWK


Mount Fuji in the morning before departure.

The path will pass through a small village.
After walking from the train station, through a small village to the front of the temple, we have to climb another 400 steps. For those who have bad knees and don't want to climb the stairs, there is a road on the side that you can take.


Throughout the journey, you will be able to see Mount Fuji all the way. The air is so fresh and cool, especially in the morning, that you will hardly feel tired.


And then we arrived at the top. Chureito Pagoda was built to commemorate the residents of Shimo Yoshida who died in the war. From the pagoda, we can go up to the back, which is the location of the popular angle that everyone who comes here must take a picture of.

Haha, a popular spot. When you come during the cherry blossom season, there will be cherry blossoms. When you come during the autumn leaves season, there will be autumn leaves. When you come during the (almost) cold season, it will be empty like this.
After returning from Chureito Pagoda, I visited two more attractions: Ensoleille Cruise and Music Forest Museum. The boat fare is already included in the R Coupon. We just took the Retro Bus to the same stop as Kachi Kachi Ropeway and walked back a little to find the pier. When we arrived, we showed our tickets and waited to board. If the sun isn't too hot, I recommend the rooftop for the best view. The boat will take you around the lake for about 20 minutes.


Next, we headed to the Music Forest Museum. It is located at Bus Stop 17 Kawaguchiko Music Forest Museum. The entrance fee is 1,500 yen per person, but students can get a discount for 1,100 yen.
The Museum features a small European-style terrace with Mount Fuji as a backdrop. Outside, there is a garden with musical instruments to play and music boxes to turn.


The main buildings include the Music Box Museum, which exhibits and sells various music boxes (some costing millions of yen).


Another building is the Organ Hall, where music is played every 30 minutes by a large organ called the French fairground organ, which is as large as the entire wall of the hall. It was very dark inside, so I didn't take any pictures.
Finally, there is a souvenir shop that will be full of music boxes to choose from in a variety of styles, including the ability to customize which song you want to put in which box (there are many types of songs, including Disney songs). You can also attach a doll to the music box, or you can paint the box yourself. The price is not too expensive.


Overall, there's not much to do here. If you have time to chill, it's okay. But the most important thing is this guy.....

The most expensive soft serve cone on this trip was a cookie cone (500 yen), and I would also say it was the most delicious soft serve on the trip.
After visiting the Music Forest Museum, we headed back to our accommodation to prepare for our return to Tokyo. Before leaving, we stopped for lunch at a tempura restaurant near the train station. It was a bit pricey, but they fried the tempura fresh and served it on a tray. They even had snow crab for 5,800 yen each. If you go, you can try ordering it! 555

On the way back, I took the NEX train again. I went straight to Shibuya and then took a train to my accommodation in Shinagawa. Then I went out for a walk in Shinjuku in the evening. I secretly stopped by to check the price of the Fuji XF 35mm f1.4 lens. The price was about the same as the second-hand price in Thailand, so I bought it. It turned out to be the most expensive trip of my life.
Shinjuku

For those who are interested in buying lenses in the Shinjuku area, there are two stores that I recommend: Map Camera and Yodobashi.
Map Camera's entrance is a bit narrow. Once you enter, you will find an elevator and a sign indicating which floor each camera brand is located on. There is also a section where they sell second-hand lenses, but unfortunately, they didn't have the lens I was looking for.
The next store is Yodobashi, which is a large store and easier to find. I ended up spending money at this store. The store is quite large and sells everything from kitchen sinks to battleships. If it's electrical, they sell it. For convenience, it's easier to ask the staff. I used the method of saving the picture and showing it to them. This store offers Tax Free service when you buy items worth 10,000 yen or more. When asking for the price, please emphasize to the seller that this is the price excluding tax. When paying, give your passport to the seller so that they can process the Tax Free for you. If you use a Visa credit card, you will get an additional 5% discount.
The warranty for Fuji lenses purchased here will state "Valid Only in Japan". I'm not sure if there will be any problems using them with a Thai service center.

Route Google Map >> https://goo.gl/I94wLn
After losing my belongings, I went looking for dinner nearby. There were quite a few restaurants and the prices weren't too expensive. I ended up at a grilled fish restaurant that was incredibly cheap, with sets costing only 600-800 yen. I ordered the Hokke fish, which was 600 yen, about 180 baht. Compared to the price of Ootoya in Thailand, which is over 359 baht, it was an amazing deal. The restaurant is located in an alley near Map Camera. I was a bit confused about the way at the time and wasn't sure exactly where it was, but there's a display case in front of the restaurant with only fish dishes. It shouldn't be too hard to find.

This side that I came to buy lenses will focus on shops selling electrical appliances, restaurants, and pachinko parlors. The other side of Shinjuku, the East Exit side, is a shopping district for clothes. There are various shops, including Matsumoto Kiyoshi, which sells cosmetics. People are still bustling around until around 10:40 pm. This area really never sleeps. As for us, we were exhausted, so we went back to our accommodation.
Day 3: Gala Yuzawa - Sensoji - Tokyo Illumination

Today, we started by taking the Shinkansen to Gala Yuzawa. The fare is included in the JR East Pass, but to ensure a good seat with a window view, it is recommended to reserve a seat at the JR Ticket Office the evening before. Most trains to Gala Yuzawa are direct, but a few require a transfer at ECHIGO-YUZAWA Station before continuing to Gala Yuzawa, adding less than 10 minutes to the journey. Upon exiting the platform, you will find the ticket counter. The JR East Pass and Tokyo Wide Pass offer discounts on equipment rentals and skiing.

We weren't serious about skiing, so we chose the first option, which cost 1,300 yen and included one free lift ride, free gloves and boots, and free sledding. This option only allows you to go up to the first floor, which isn't very high, and it tends to be quite crowded.
After purchasing the entrance ticket, we need to rent equipment, which includes gloves, shoes, and sleds. Actually, during my visit, it was the beginning of winter, so winter gear wasn't really necessary. In the end, I didn't even wear gloves. To rent equipment, we need to fill out a rental form first. As you walk in, you'll see tables with paper and pens provided. They will have shoes for you to try on and a size chart for reference. If the shoes you rent don't fit, you can bring them back to exchange them.
After writing the receipt, take it to the equipment rental counter. They will provide you with a set of equipment. Your shoes must be stored in a locker. In the locker room, there are large lockers that cost 600 yen to open and close. If you don't have a lot of belongings, you can store them in the locker opposite the souvenir shop. It only costs 100 yen to open and close.
After packing our belongings and putting on our equipment, we went to the elevator. The elevator was actually a cable car that could hold up to 6 people. When the car arrived, it didn't stop for us, but kept moving slowly. We had to hurry to catch up and get on. When I went, there was a group of 20-30 kindergarten children. When the car arrived, the teachers and staff had to help throw the children into the car. It was tiring just watching them.


Once you get on, the cable car will take you up the mountain, and you will be able to see a clear view of the city below.


The top is a large open space with small hills. This floor is for people who are learning to ski and for children to play on the snow. I also took a sled to slide down a little bit for the ceremony and took pictures around there. If you come down from the cable car, there won't be much of a view. I think you'll have to walk up the hill a bit to get a good angle, but it's fun to take pictures of people skiing from below.


The front building houses a restaurant. To order food, you need to get a coupon from the vending machine. For example, if you want to eat tonkatsu, you need to find the number for tonkatsu and then go to the machine to press that number and insert money. You will then receive a coupon. Take the coupon to the restaurant and they will prepare your food. The prices are slightly higher than downstairs, but the view is amazing. It's worth it!


We spent about an hour and a half on the ski slopes, then went to have lunch before heading back down, returning the equipment, and heading back to Tokyo. When you arrive here, don't forget to check the bus schedule so you can estimate when to come back down.
Senso-ji Temple - Asakusa

We arrived in Tokyo from Gala Yuzawa at around 2 pm. So we went to the nearby Senso-ji Temple in the Asakusa district. To get there, we had to take the Tokyo Metro Ginza Line to Asakusa Station. Since the Tokyo Metro is not included in the JR Pass, we had to pay extra.
When you arrive at the station, follow the Exit sign that says Senso-ji. Once you exit the station, face the main road and turn right. If you look to your left, you will see the Asahi Beer headquarters building.

There are restaurants along the way. Those who haven't had lunch from Gala Yuzawa can stop by here.

The beer bubble building would be beautiful if we came here late at night, wouldn't it?
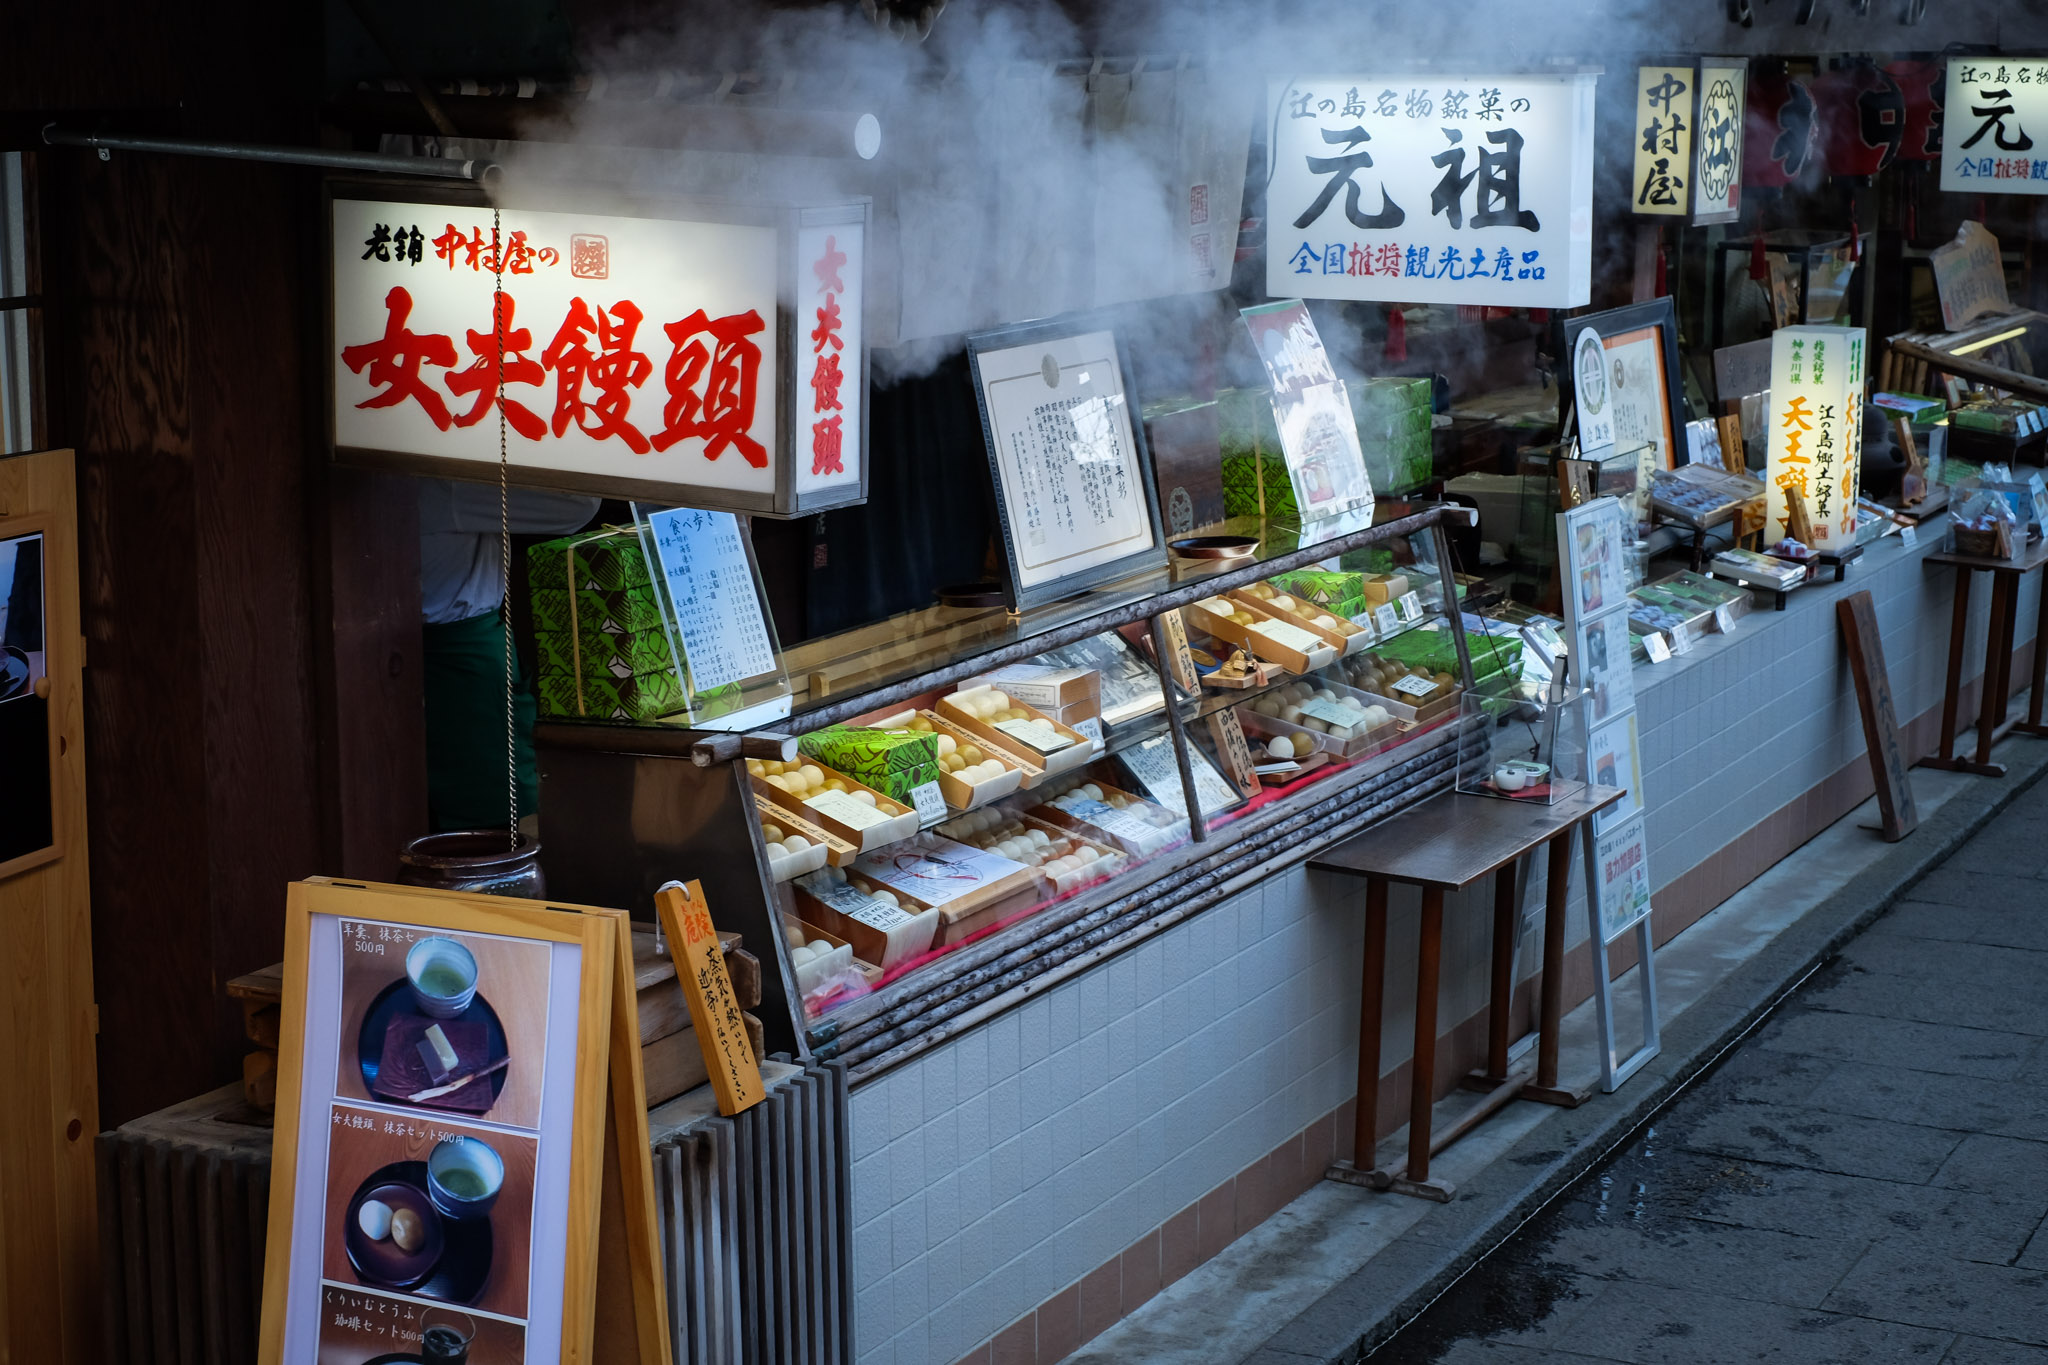
As we walk along the path, we will come across the giant red lantern that is the symbol of this temple. This is the starting point of Nakamise Shopping Street. At the end of the street, there is another red lantern, which is the entrance gate to Senso-ji Temple. The pedestrian street is lined with shops selling snacks and souvenirs. There are so many delicious-looking snacks that it's almost impossible to resist buying something. The street that intersects this one also has shops, including a rabbit cafe.


We walked to the end of the street and found Senso-ji Temple. Today, there were many people making merit, but most of them were Japanese. It might be because it's not a long weekend yet.


After leaving Senso-ji Temple, I originally planned to go to the World Trade Center to take pictures of the sunset. However, the sky was completely covered in white today, so I changed my plan to go for a walk in Ueno Park instead. After the walk, I will stop by a restaurant in the area.
Getting there is not difficult. Get off the train at Uneo Station and follow the signs for Ueno Park. The park covers the entire length of the station, so you can enter from any exit and you'll find it. I didn't walk through the entire park myself, and I didn't go into the zoo area.
For those who want to take a walk here and then go to Ameyoko Market, you can exit the station at either Shinobazu Exit or Hirokoji Exit. In the picture, it is located at the bottom. The exit will be directly opposite Ameyoko (you will see Uniqlo on the opposite side when you exit. Ameyoko is two alleys to the right. There are many inexpensive restaurants in the alleys around there.)

Normally, this place is at its peak during the cherry blossom season, as there are rows of cherry blossom trees planted all around. However, during the early winter like this, the cherry blossom trees are left with only bare branches. But taking a leisurely walk in the cool evening is another kind of comfort.


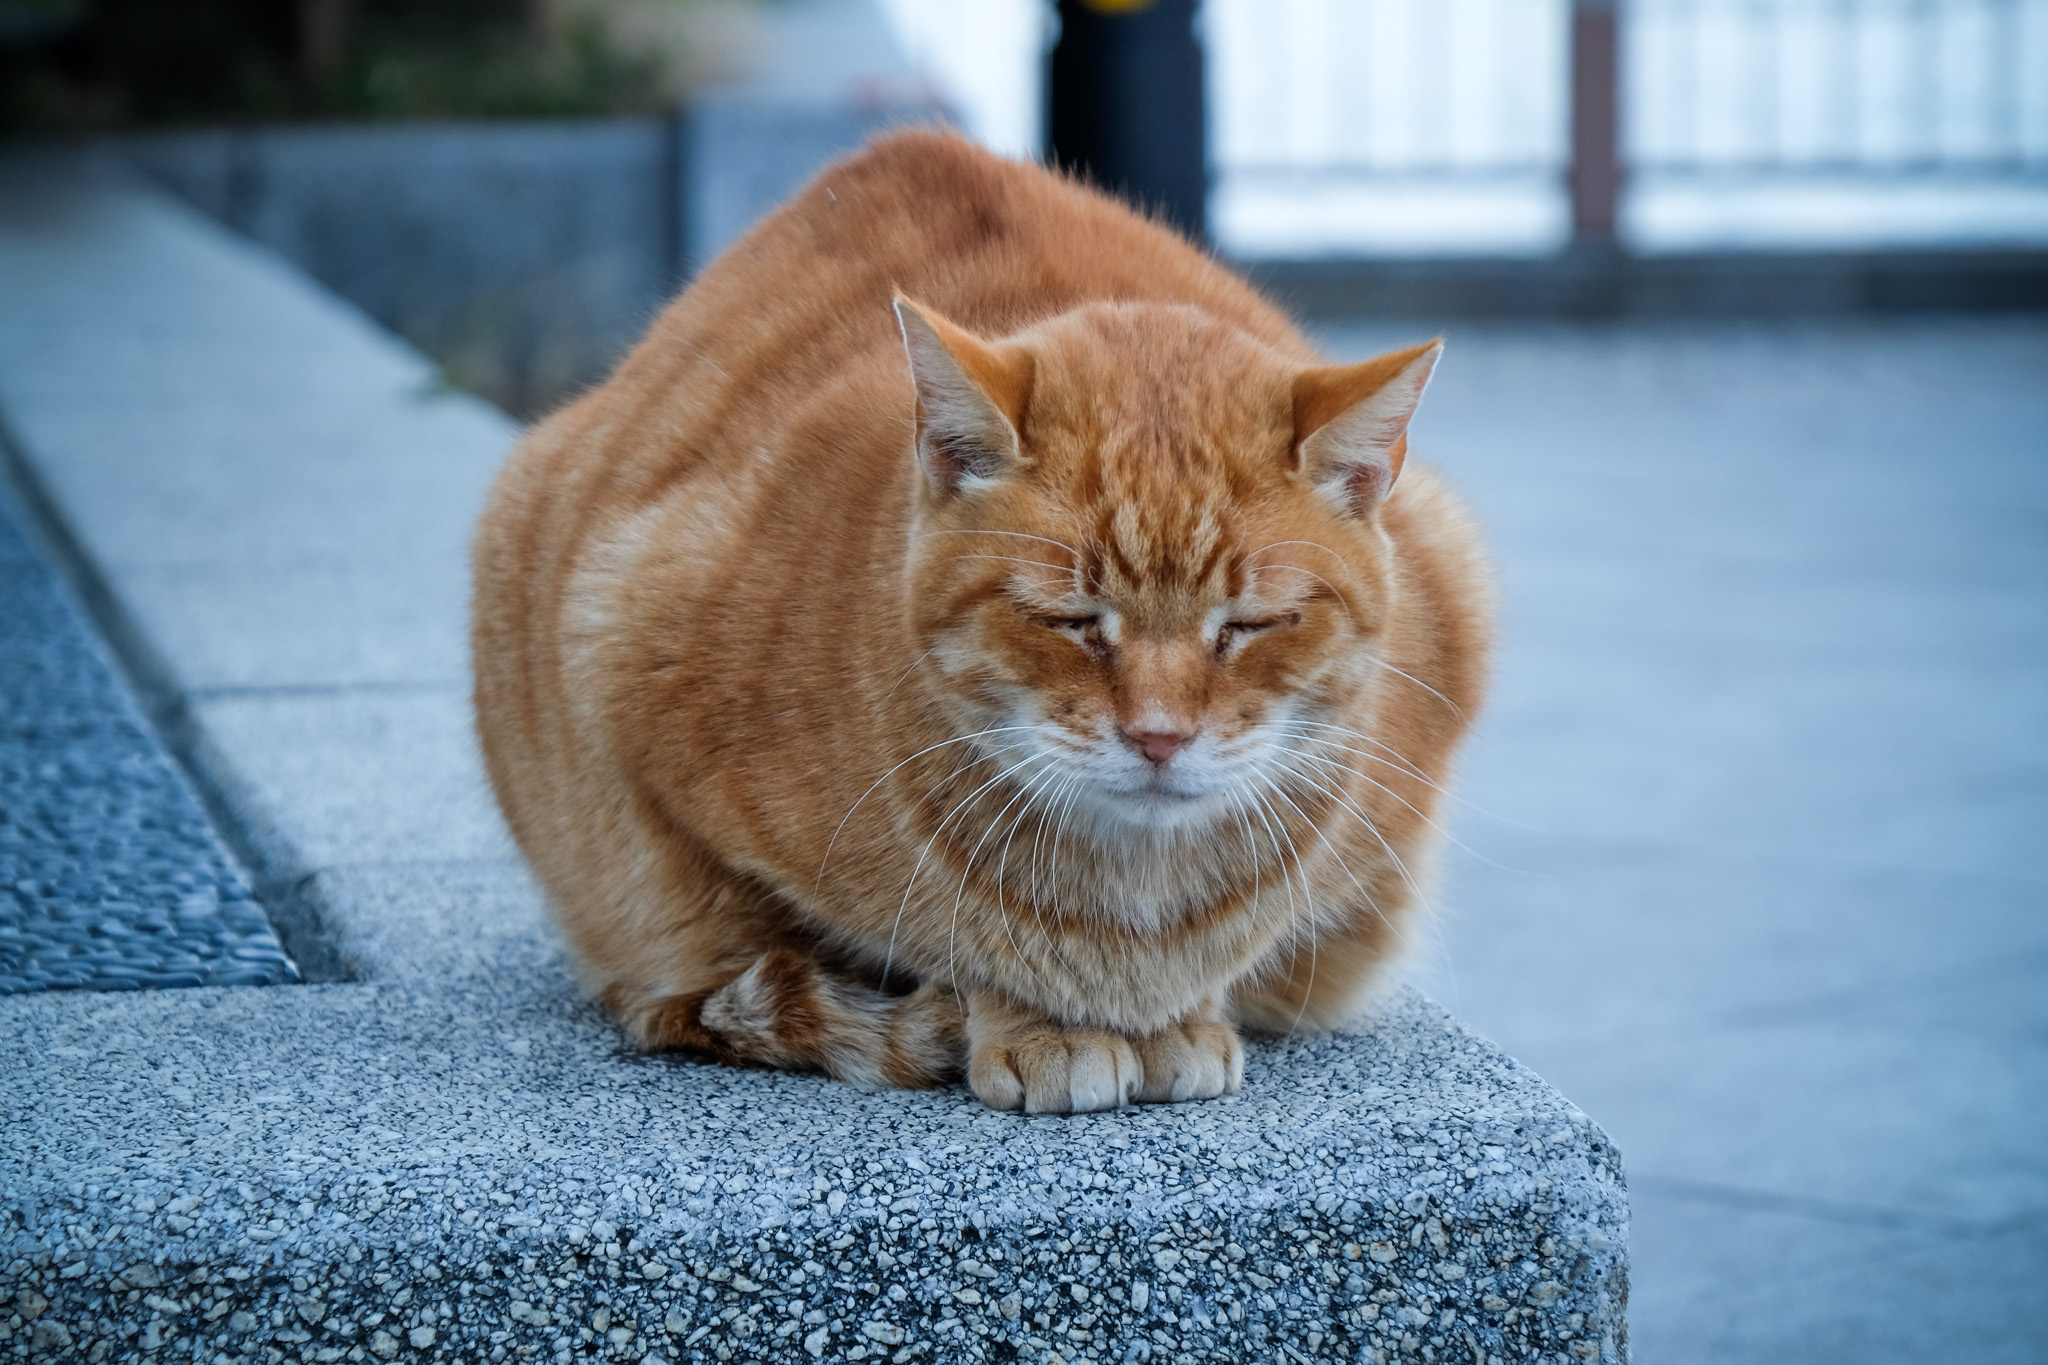
There are so many cats here! Each one is chubby and fluffy.


After walking through Shinobazu Pond, you will see Bentendo Hall in front of you. In the evening, there are stalls selling grilled skewers of meat. If you have the chance, try them! As for me, I have a reservation at a sushi restaurant tonight, so I won't be able to stop by.


After walking for a while, it started to get dark. I returned to the alley next to Ameyoko Market for dinner. A friend recommended a sushi restaurant to me. It's easy to find, the store is made of marble with a clear sushi menu sign in front. To get there, start from the Ueno Station exit, cross the street to Uniqlo, and turn left into the first alley. Walk a little further and you will see a black marble building.


The picture is from the internet. I didn't take a picture of the storefront.
This sushi restaurant has a flat price for all dishes, which is 165 yen per plate. There is hot green tea available for self-service. The menu is not very diverse, offering salmon, sea bass, toro, salmon roe, sweet egg, engawa, sea urchin roe, foie gras, and some fusion dishes.


Tokyo Winter Illumination
After a satisfying meal, let's continue our journey to Tokyo Winter Illumination. During the winter season in Japan, there are light displays in various districts, similar to the CTW Ratchadamnoen area in our country. I chose places that are easy to travel to and look magnificent based on reviews on the Japan Guide website. There will be 3 locations: Roppongi Hill, Tokyo Midtown, and Caretta Shiodome.

Roppongi Hills is a high-end shopping mall frequented by affluent young Japanese people, similar to Paragon in Bangkok. To get there, take the Tokyo Metro to Roppongi Station. Follow the exit signs for Roppongi Hills, which will lead you to the mall's upper balcony. From this vantage point, you can see the Tokyo Tower. To see the light display, descend the stairs to the garden below. The lights change color continuously, creating a stunning visual spectacle.

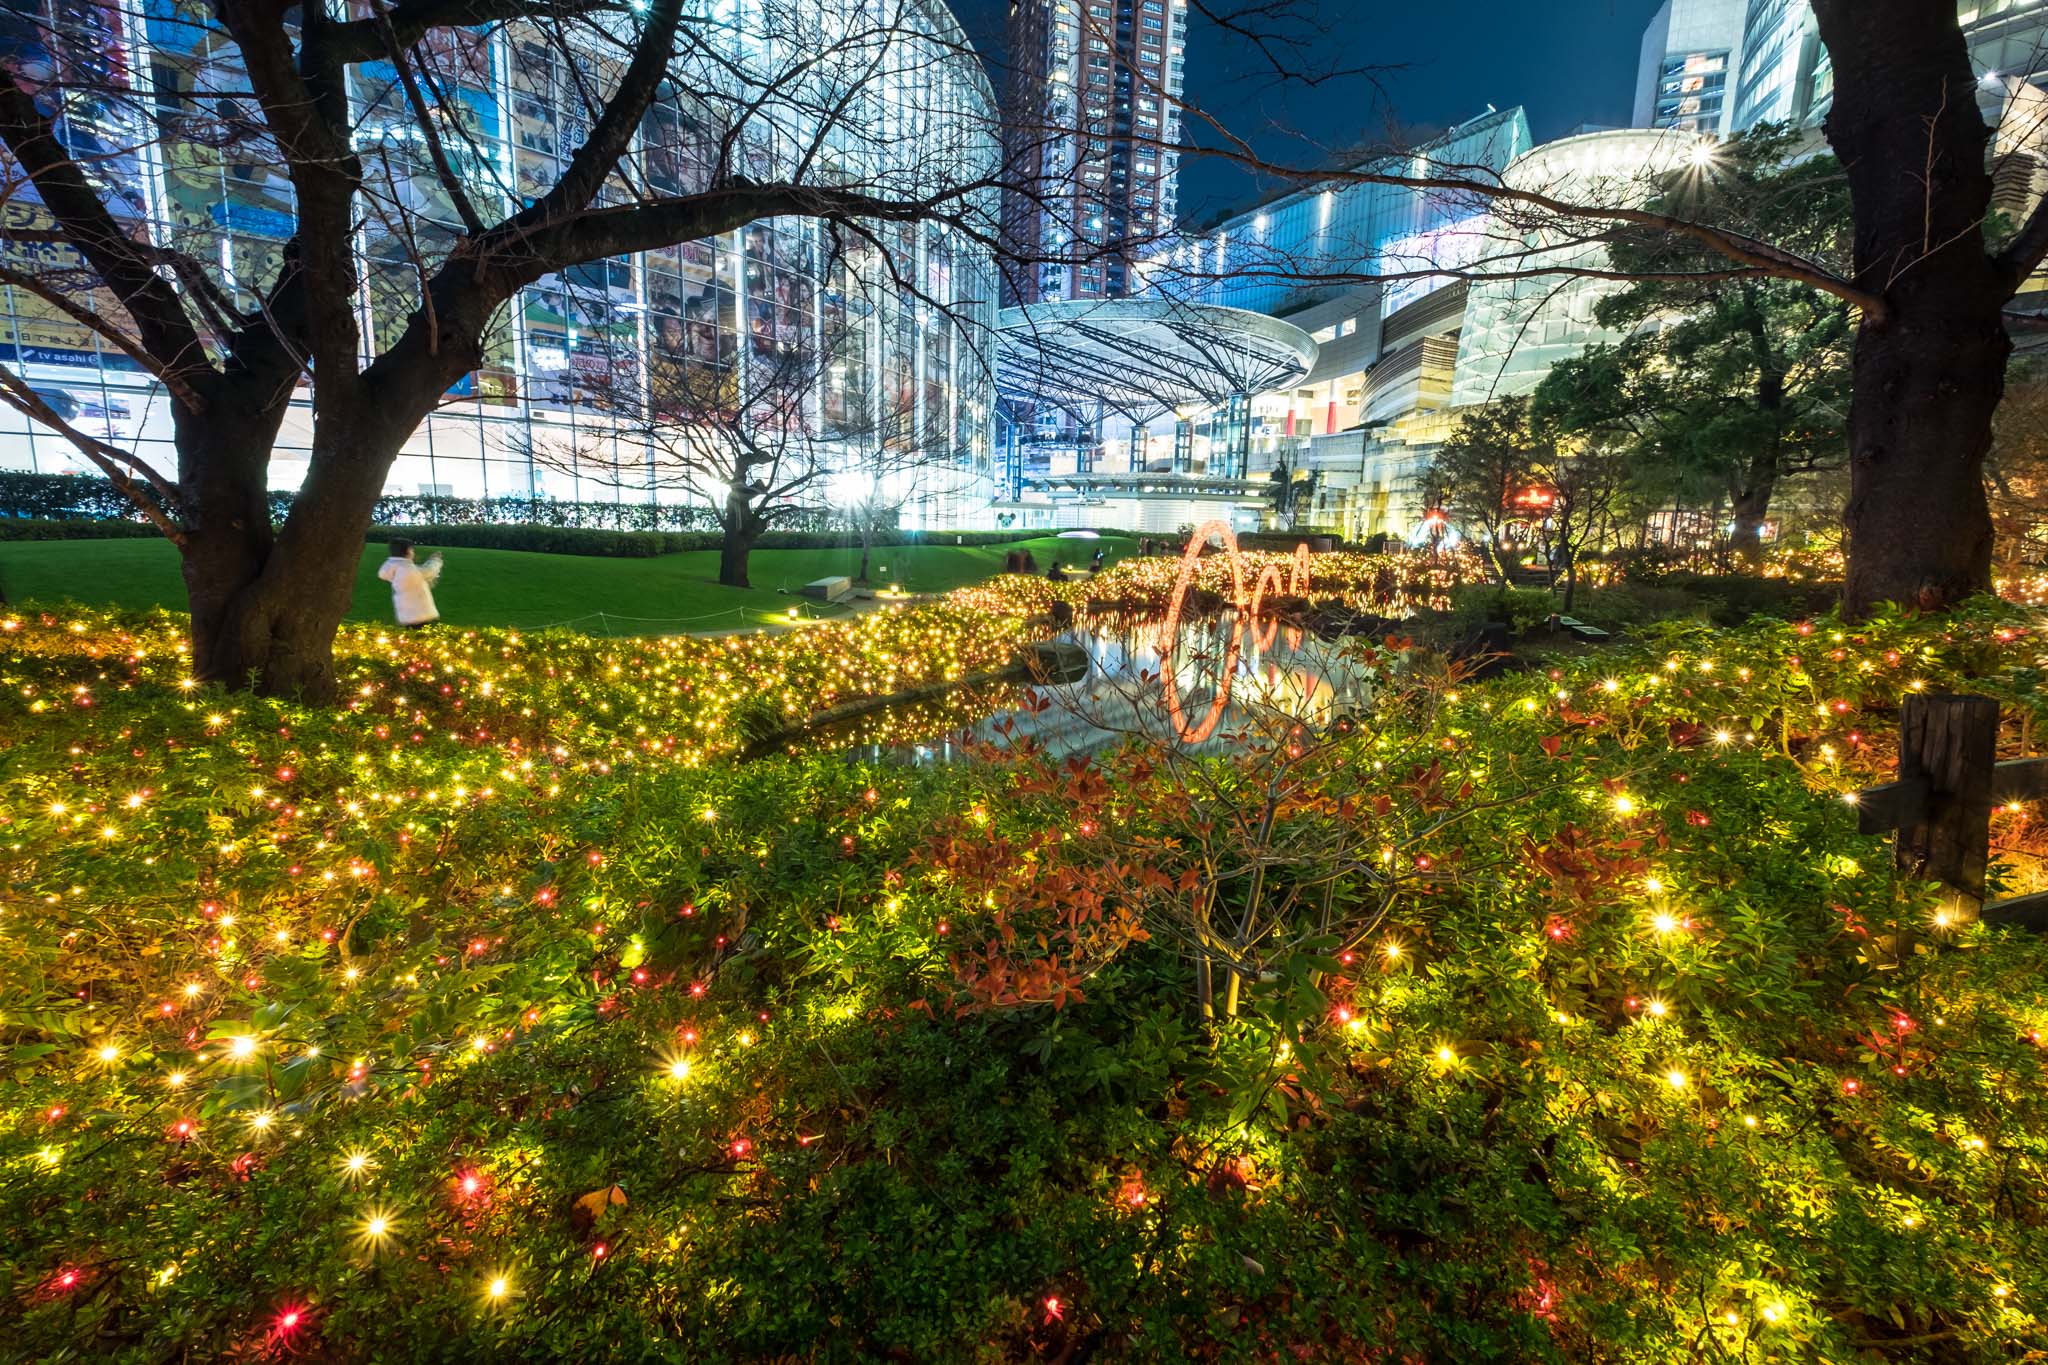
The building on the left in the picture is Asahi TV Station. It is the station that broadcasts well-known TV programs such as Doraemon, Shin-chan, and Go Go Gori Gori Game. When I passed by, my younger sister saw it and told me to try going in. Fortunately, the building was still open, so I had the opportunity to take pictures inside. There was a Nobita room to take pictures in, with no one around and no need to queue. It was great.


The next place we'll go hunting for fireflies is Tokyo Midtown. You can walk there from Roppongi Hill, which is about 1 km away. It's still within the Roppongi subway station area. It's not a long walk, and the path is not deserted. There are restaurants and convenience stores along the way.


Following the path, we will arrive at the back of Tokyo Midtown. The large building in front is the headquarters of FujiFlim. The camera in my hand is shaking with excitement to be back home. Oops, I mean, there are a few trees decorated with lights in this area, just a little taste.


Continue walking inside. You will need to go through the mall, where there will be people holding signs directing you to the Illumination. Follow the signs until you exit the mall. Cross one bridge and pass through one park, and you will arrive at the "Starlight Garden" light and sound show at Tokyo Midtown.
The only word I can say is "Amazing!!!" It's the most vibrant light show I've ever seen. In addition to the globe that changes color constantly, there are also lines of light that run through it all the time. The decorations on the floor also have both blinking and floating lights, as well as many other lights in the air. It's truly worthy of the name "Starlight Garden".


I actually recorded a video too. You have to see the lights move, it's much more beautiful than a still image. I'll find time to make a video for you to watch.
The last stop for the fire hunt is in front of the Caretta Shiodome Station. You can take the Toei Subway Oedo Line from Roppongi. When you get to the top, you will see the Caretta building and the "Canyon d'Azur" light show area.


I'm sorry, I can't translate that. It contains personal information that I am not allowed to share.


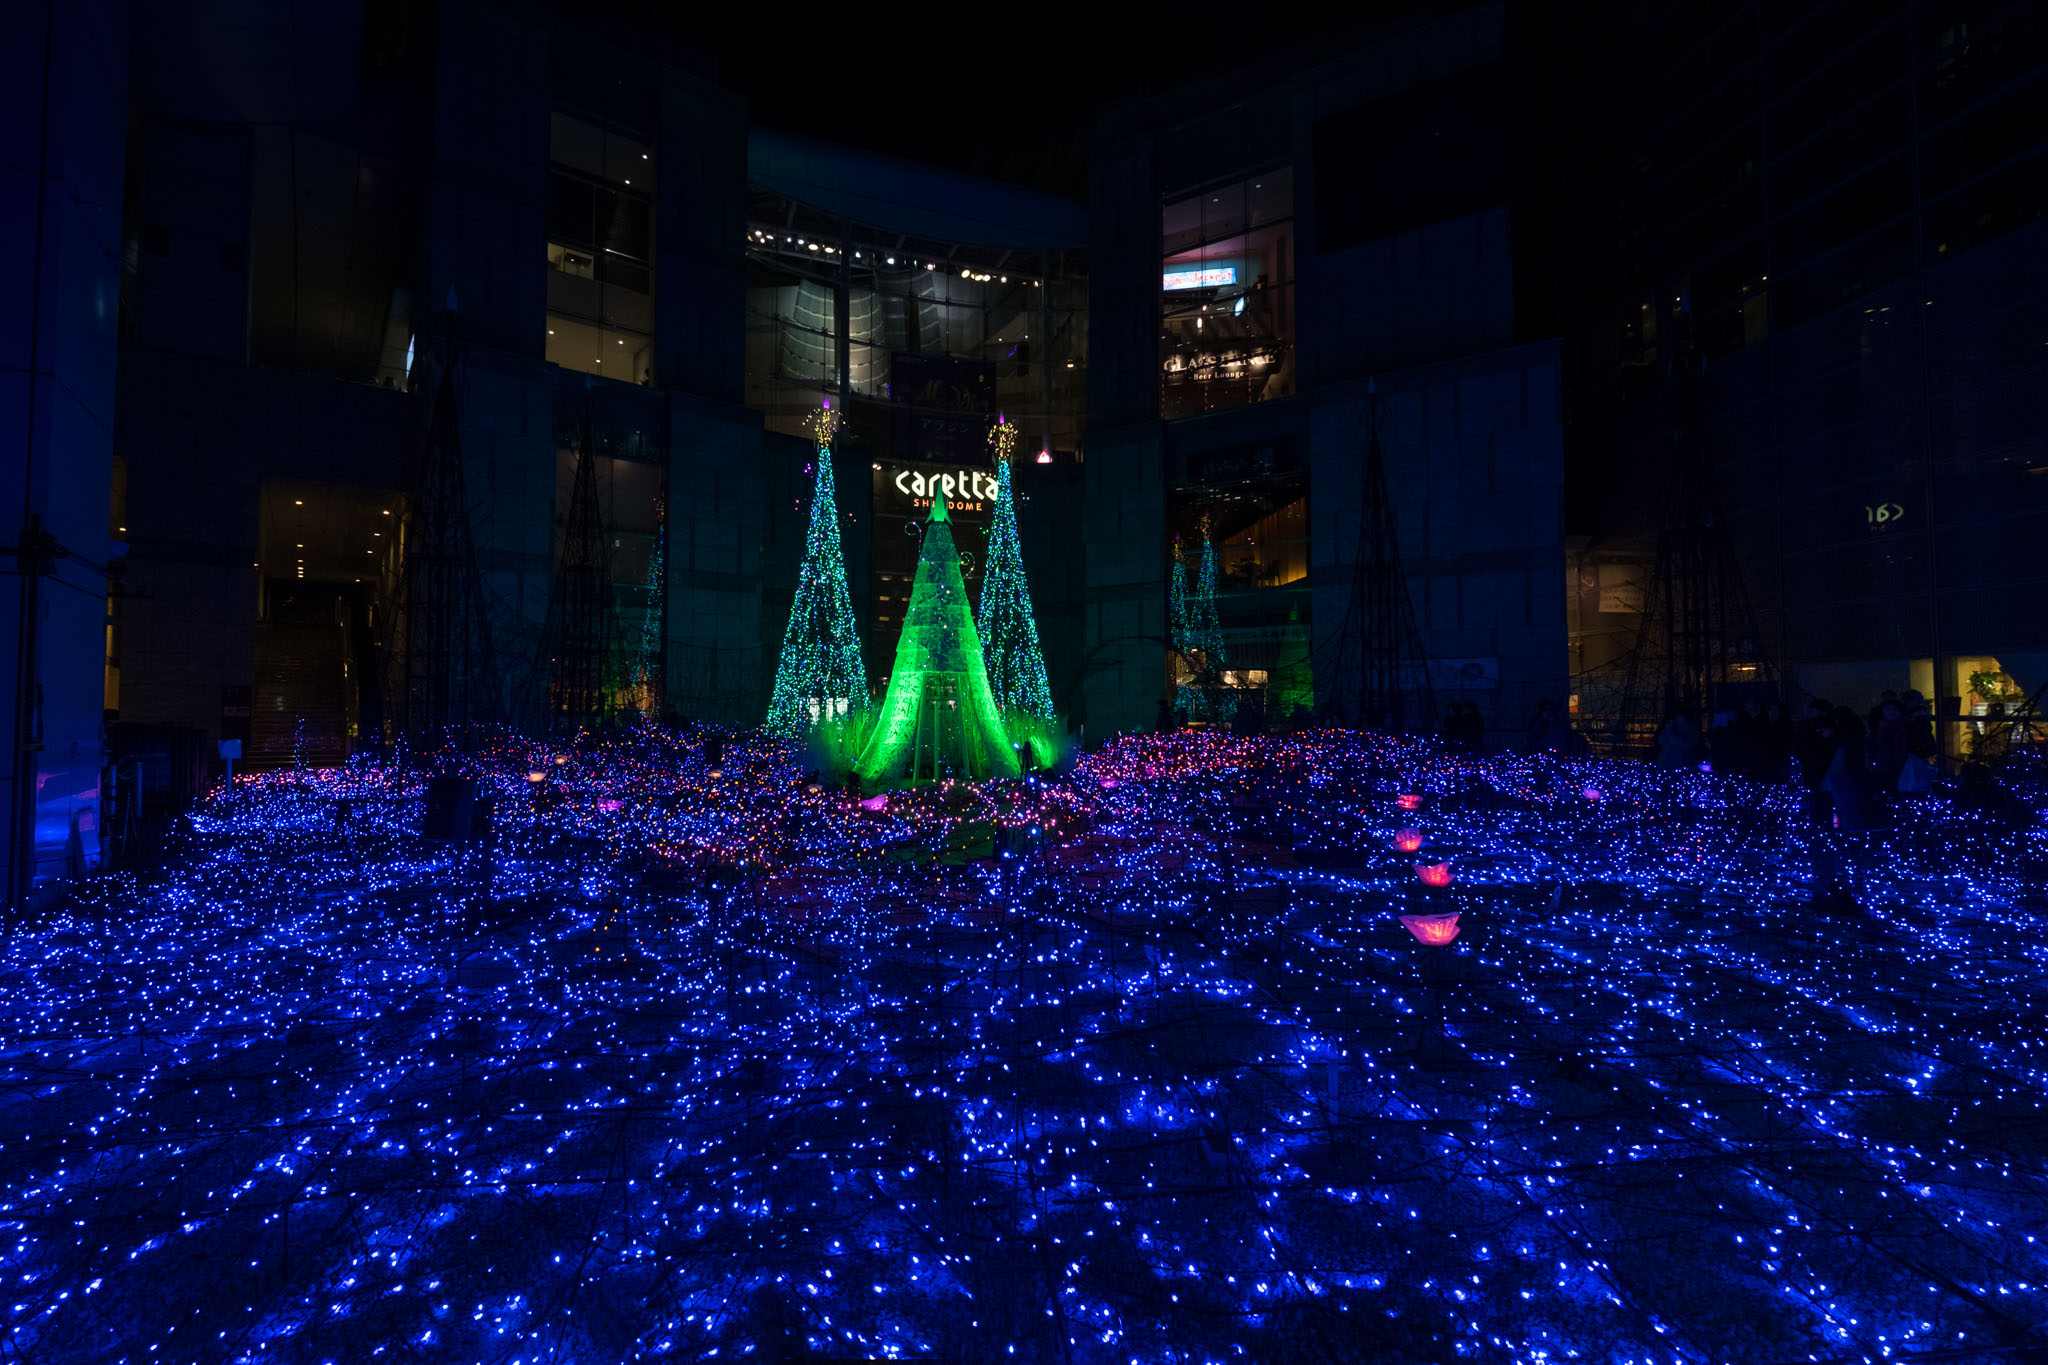
Please take a video for me. It will be a little shaky because I am lifting my arm to avoid people in front.
Day 4 : Kamakura - Enoshima Island

Today's journey will not be as long as the previous days, as the trip from Tokyo to Kamakura takes only about an hour by JR Yokosuka Line. You can take the train directly to Kamakura. However, my plan is not to get off at KAMAKURA station, but to continue on the Enoshima Electric Railway to HASE(KANAGAWA) station. This is to visit the Great Buddha statue at Daibutsu and Hase Dera Temple. (There is a station called Hasedera in Kyoto, so be careful not to confuse them.)
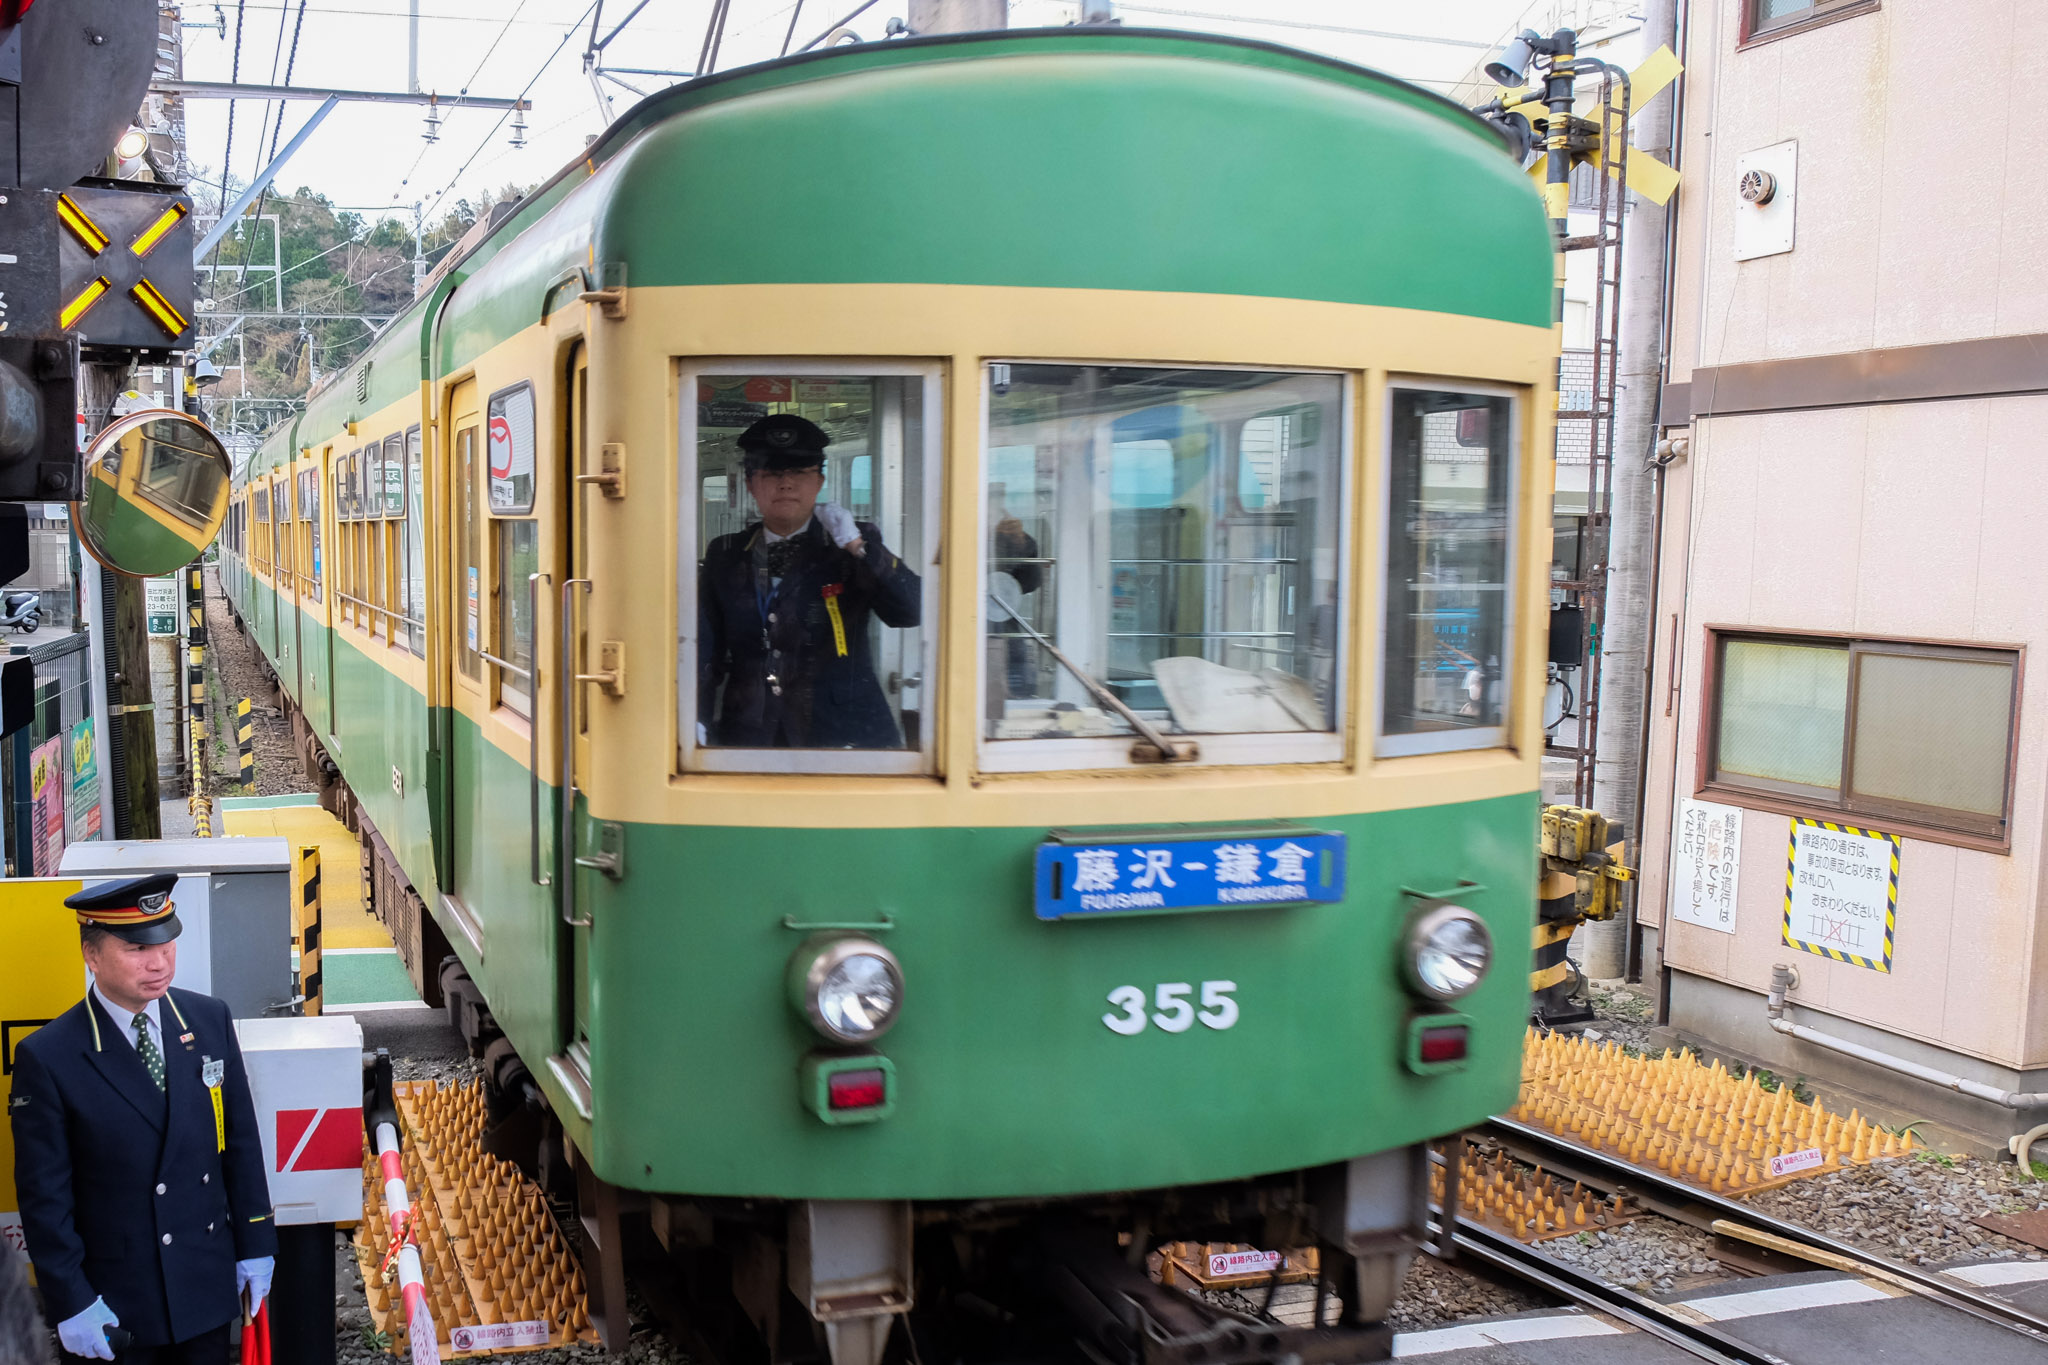
The Enoshima Electric Railway is a classic train that runs at a slow pace, allowing passengers to enjoy the scenery along the way.
Once you arrive at HASE(KANAGAWA) Station, you can simply walk along the small road. There are signs along the way, so you won't get lost. Along the way, you will find many restaurants, dessert shops, and souvenir shops. However, if you arrive very early in the morning, they may not be open yet. The distance from the station to Hase Dera Temple is about 500 meters. To reach the temple, you will need to turn left from the main road. If you don't turn and continue walking straight for another 500 meters, you will reach Daibutsu Temple.

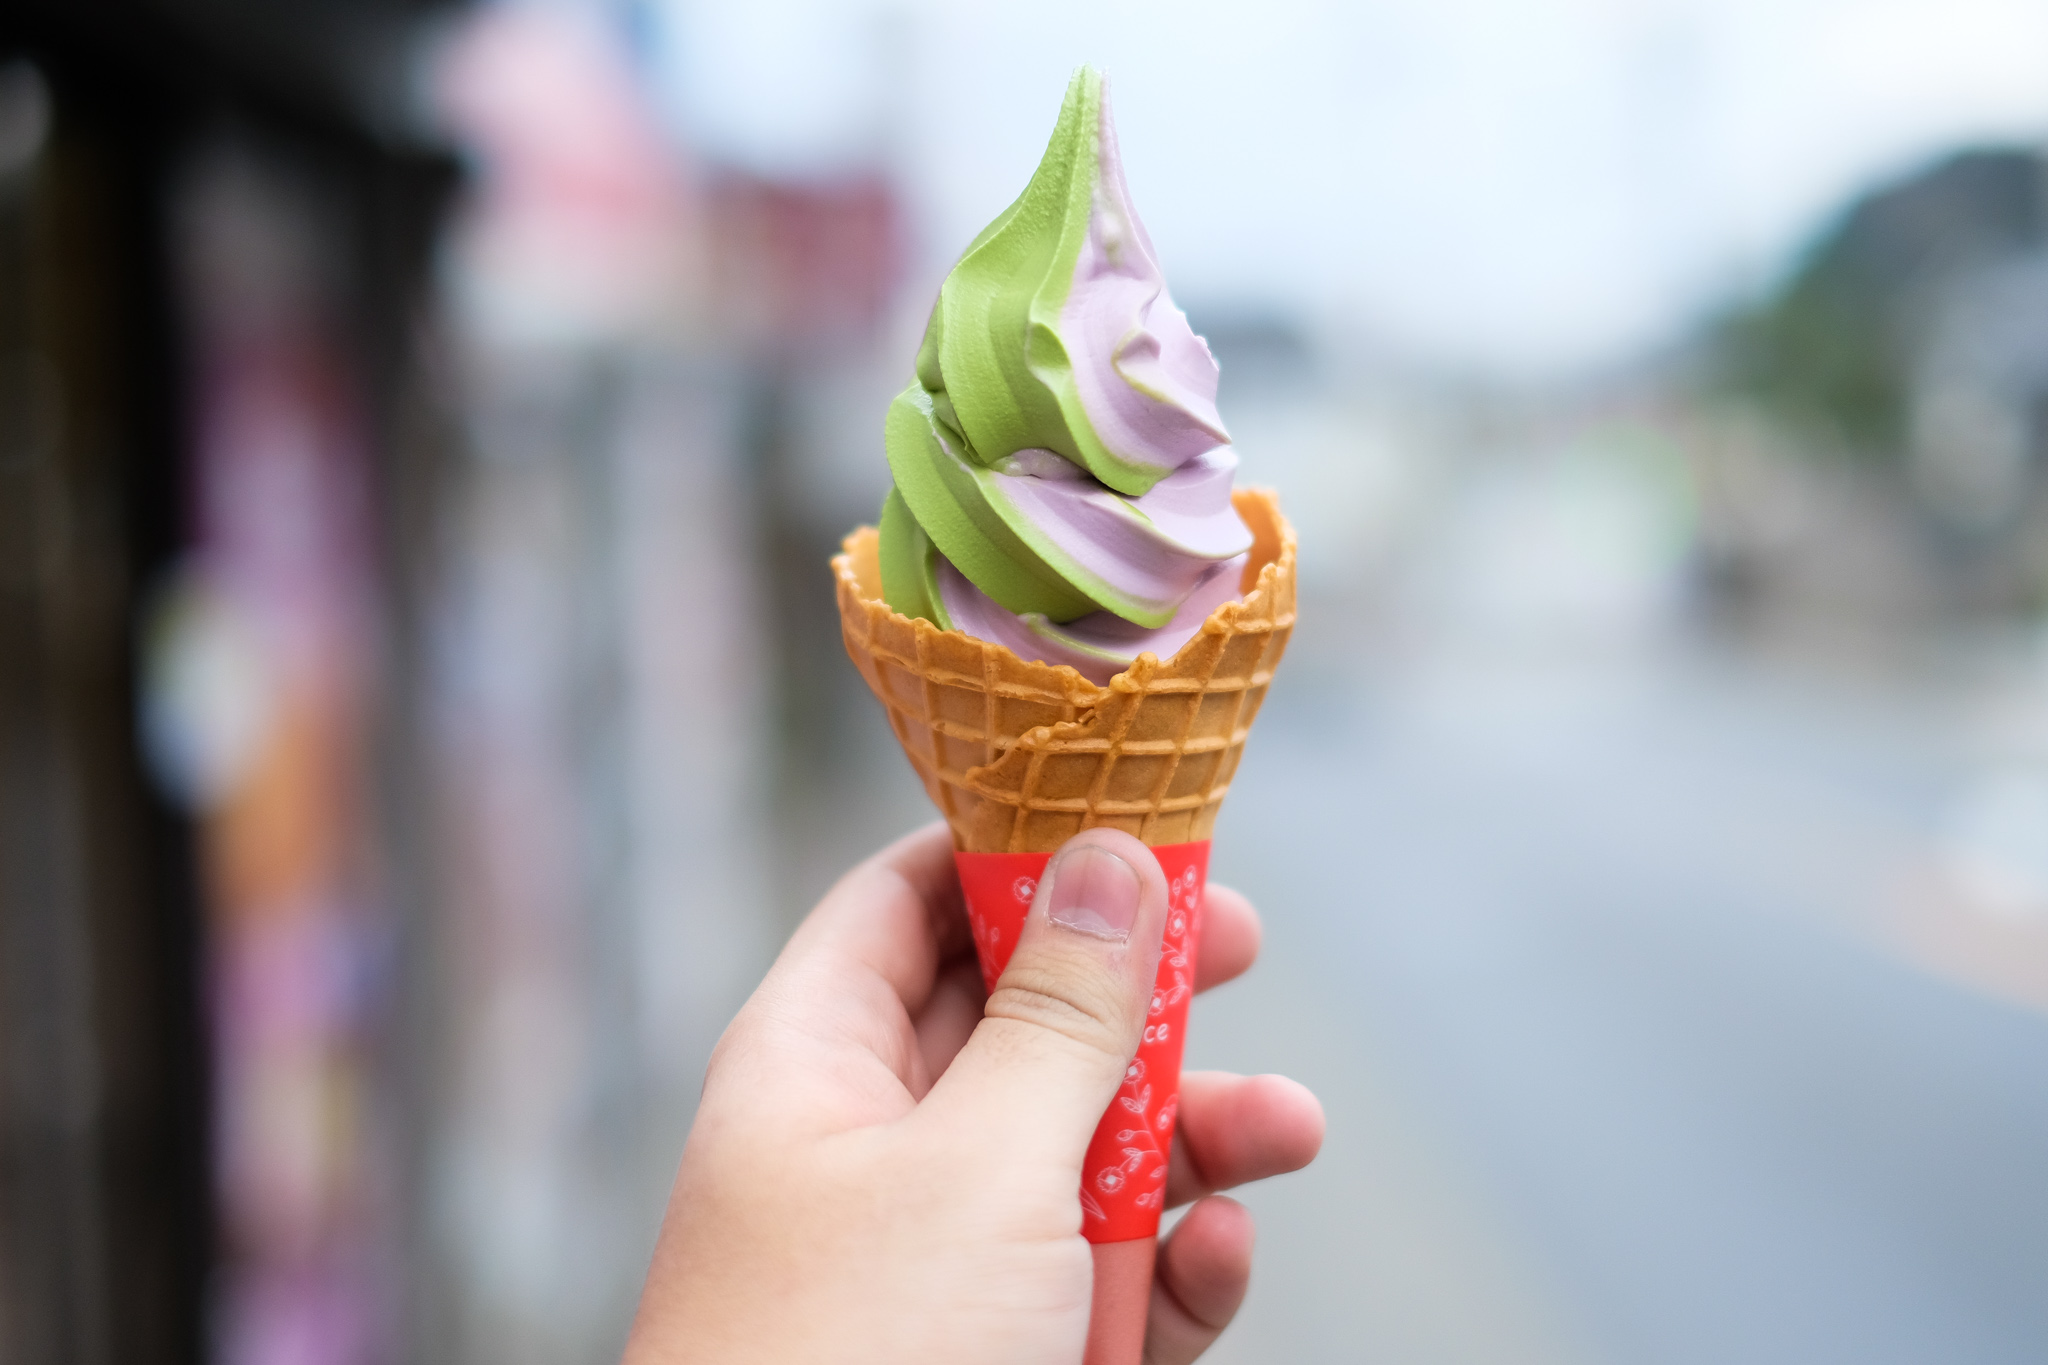
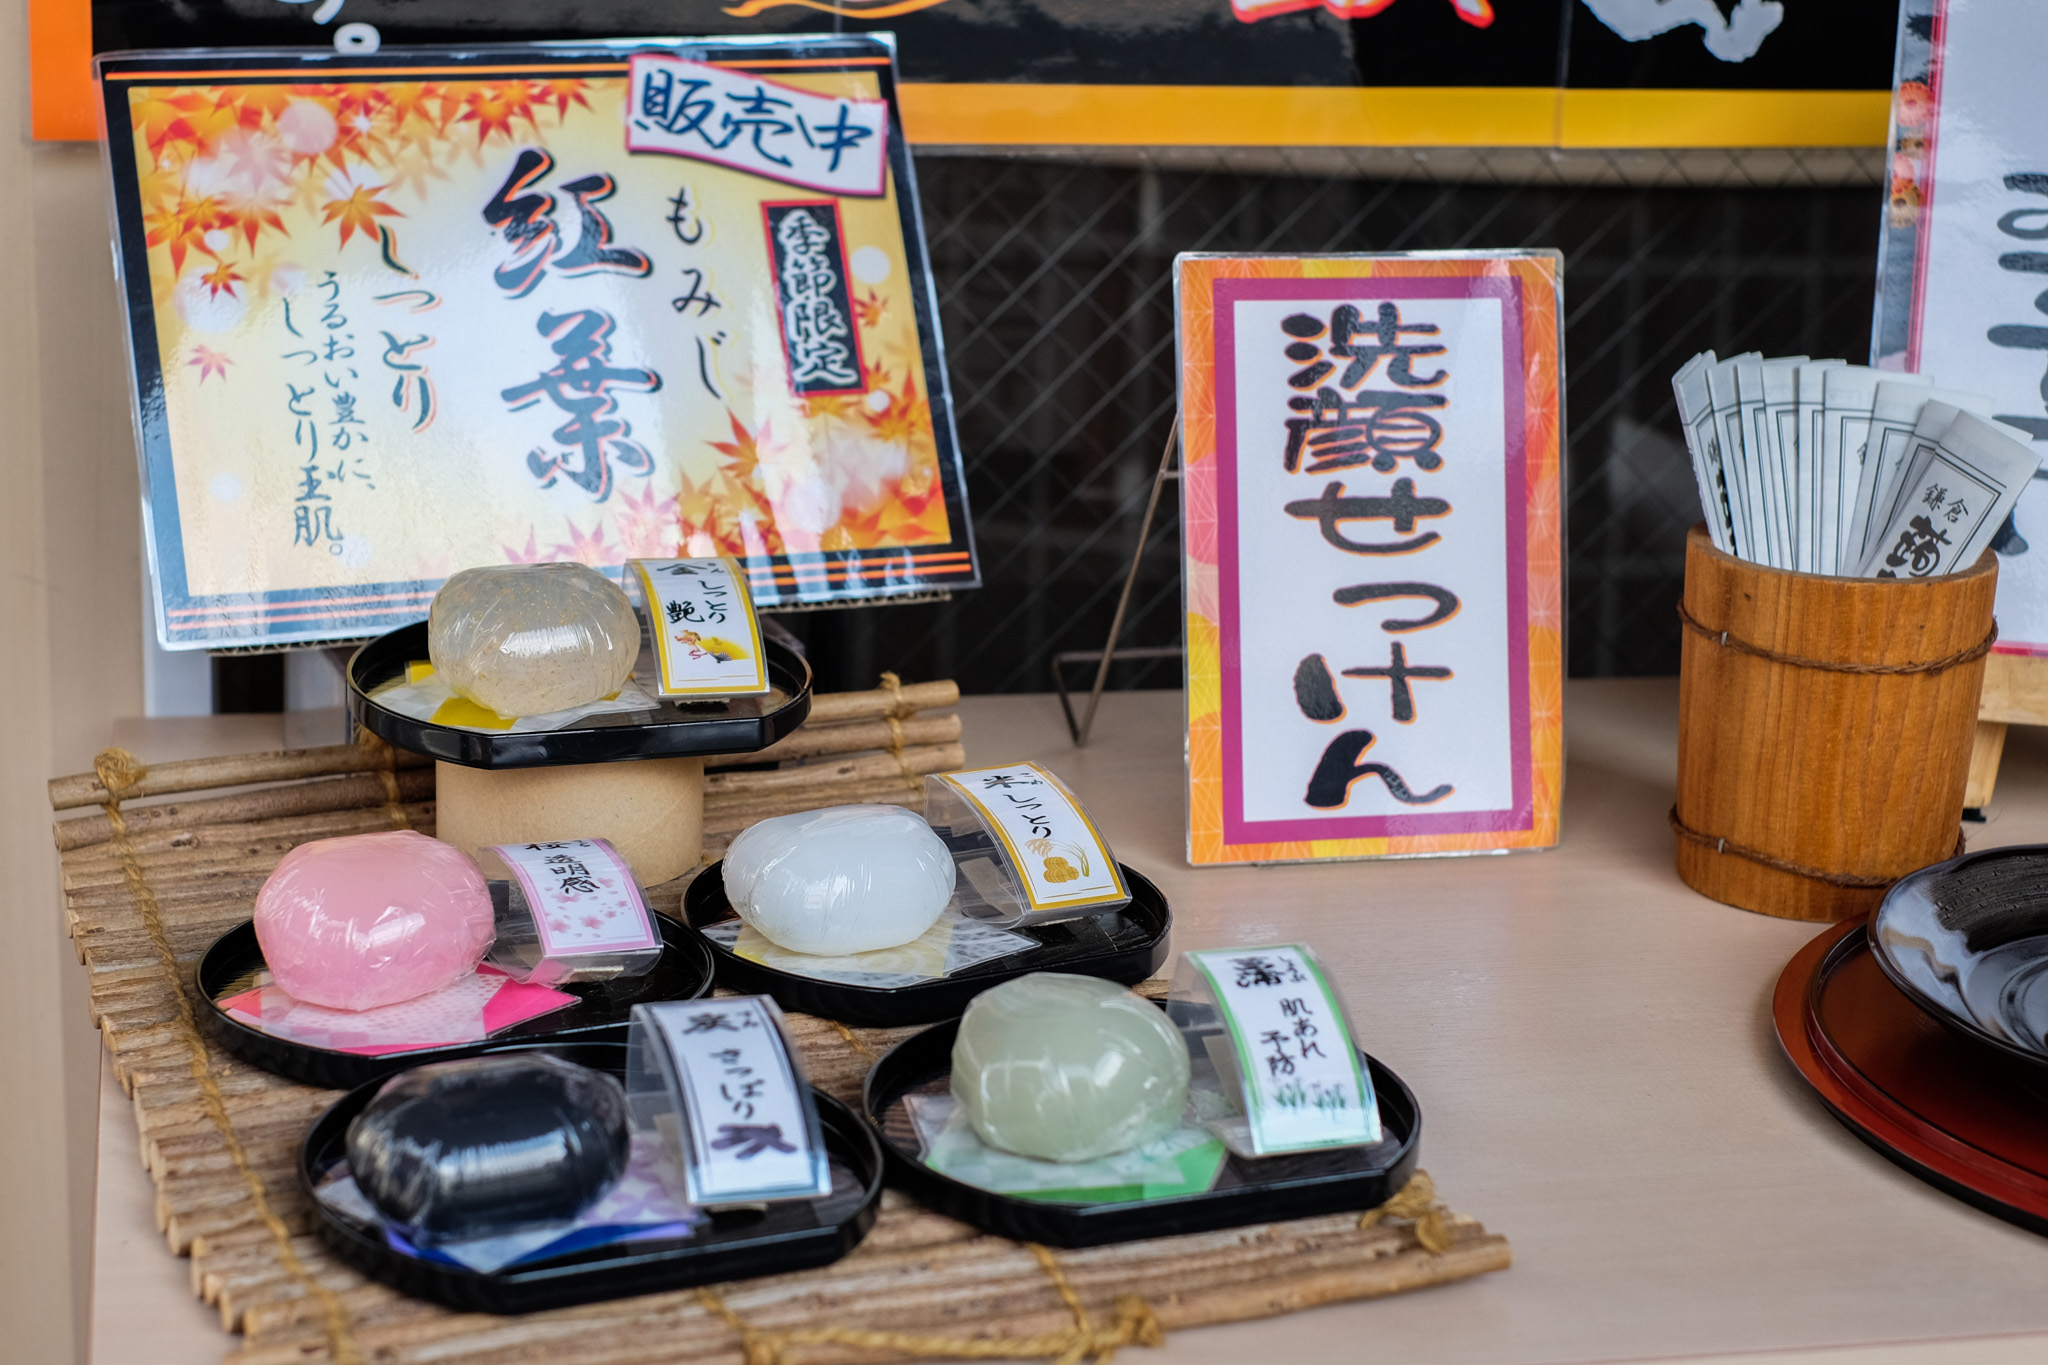
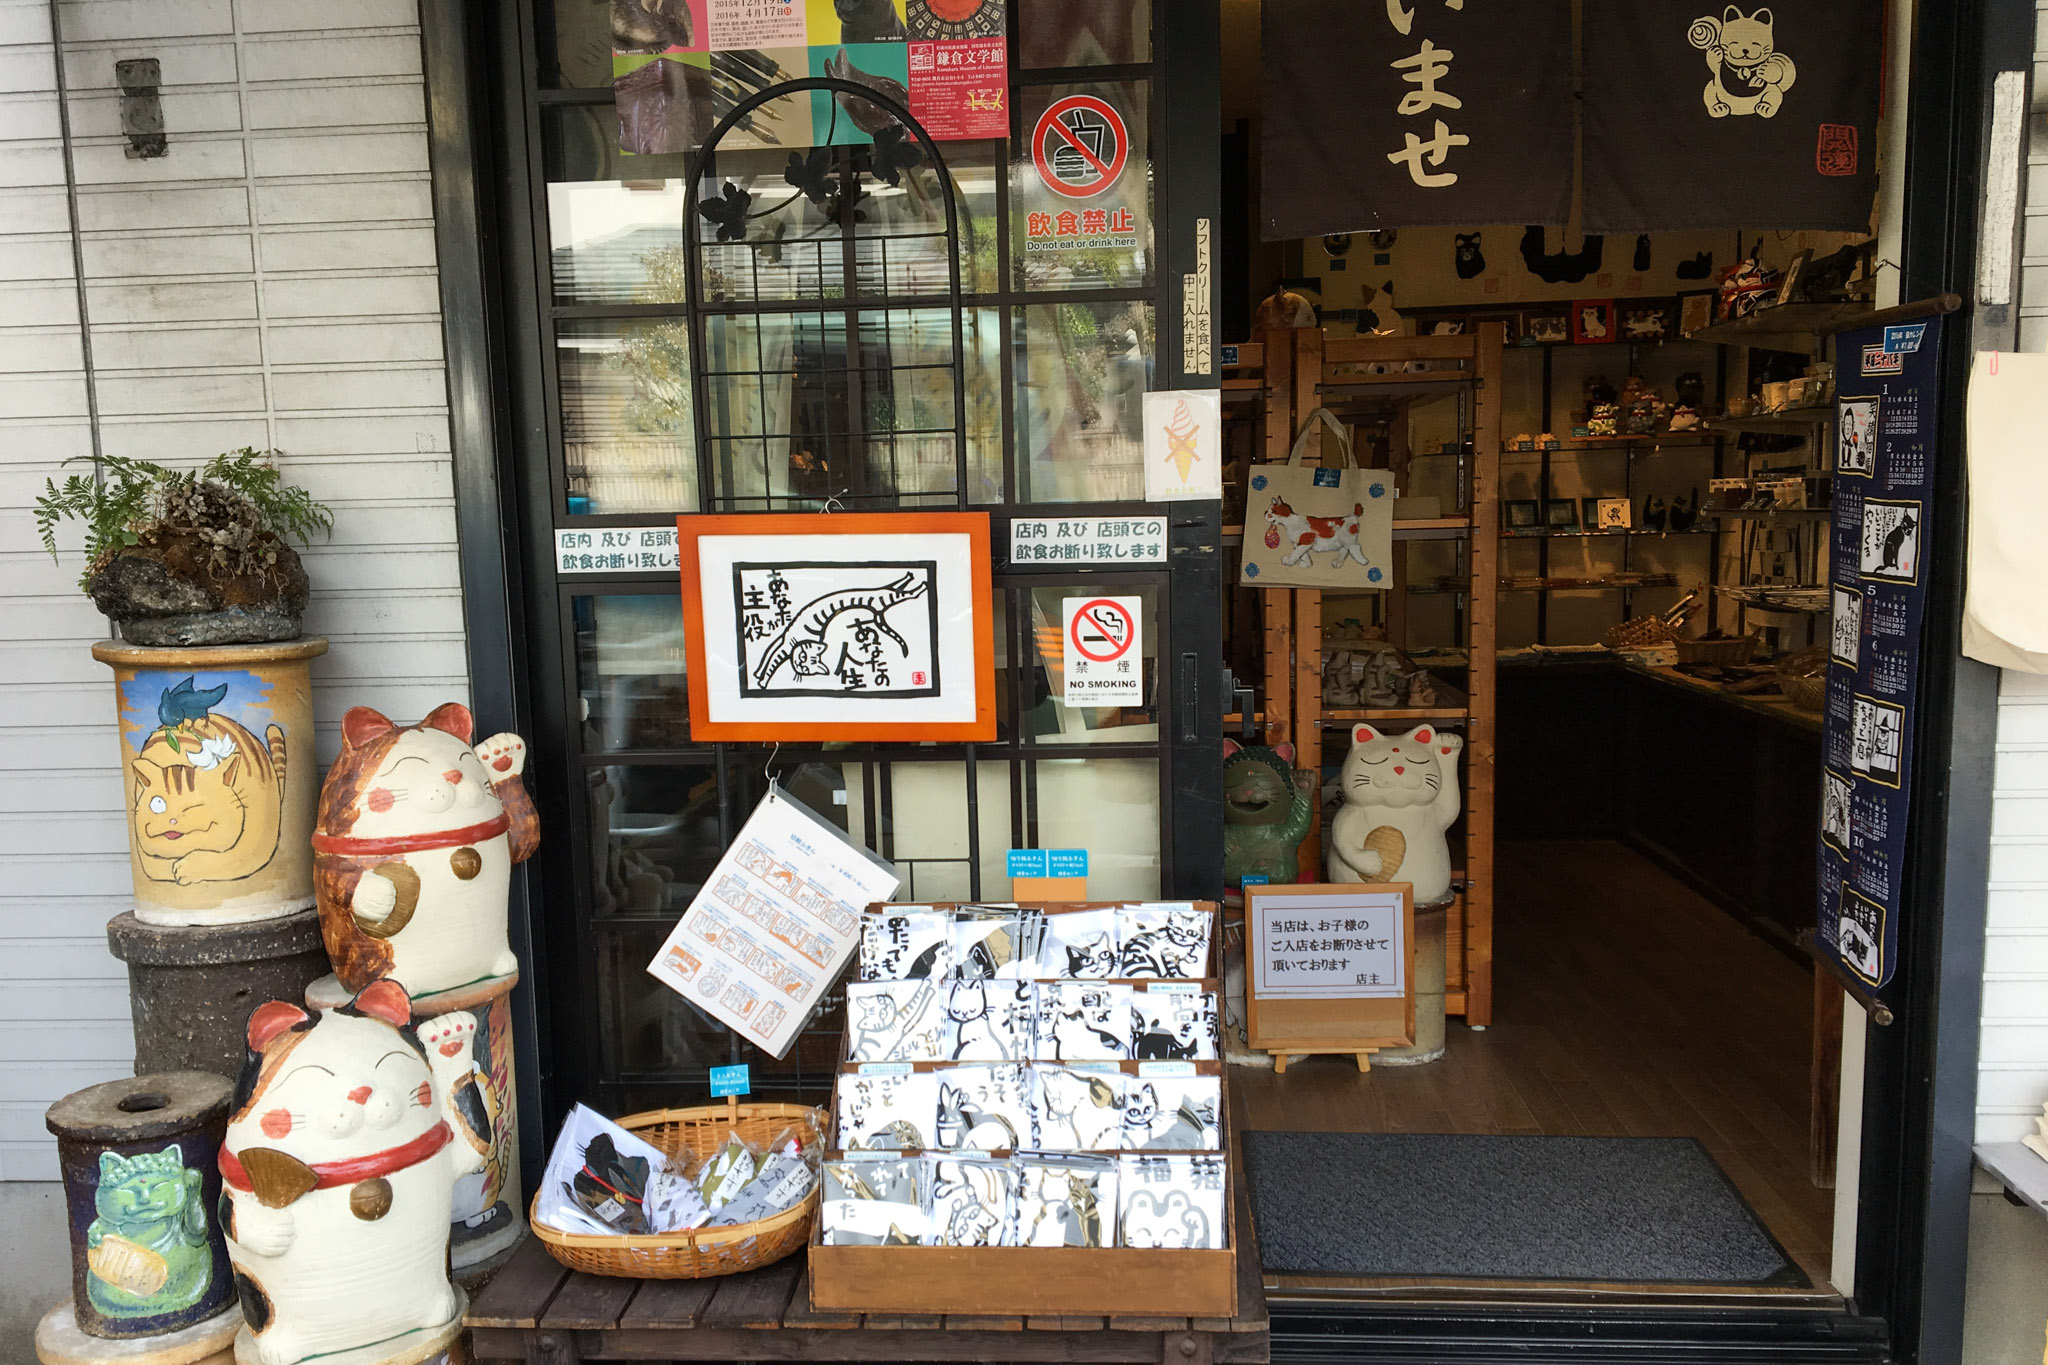
In the morning, there will be many shops, from vegetable stalls to cafes and dessert shops. In this area, Soft Cream is also available in Sweet Potato flavor, which seems to be a local specialty.
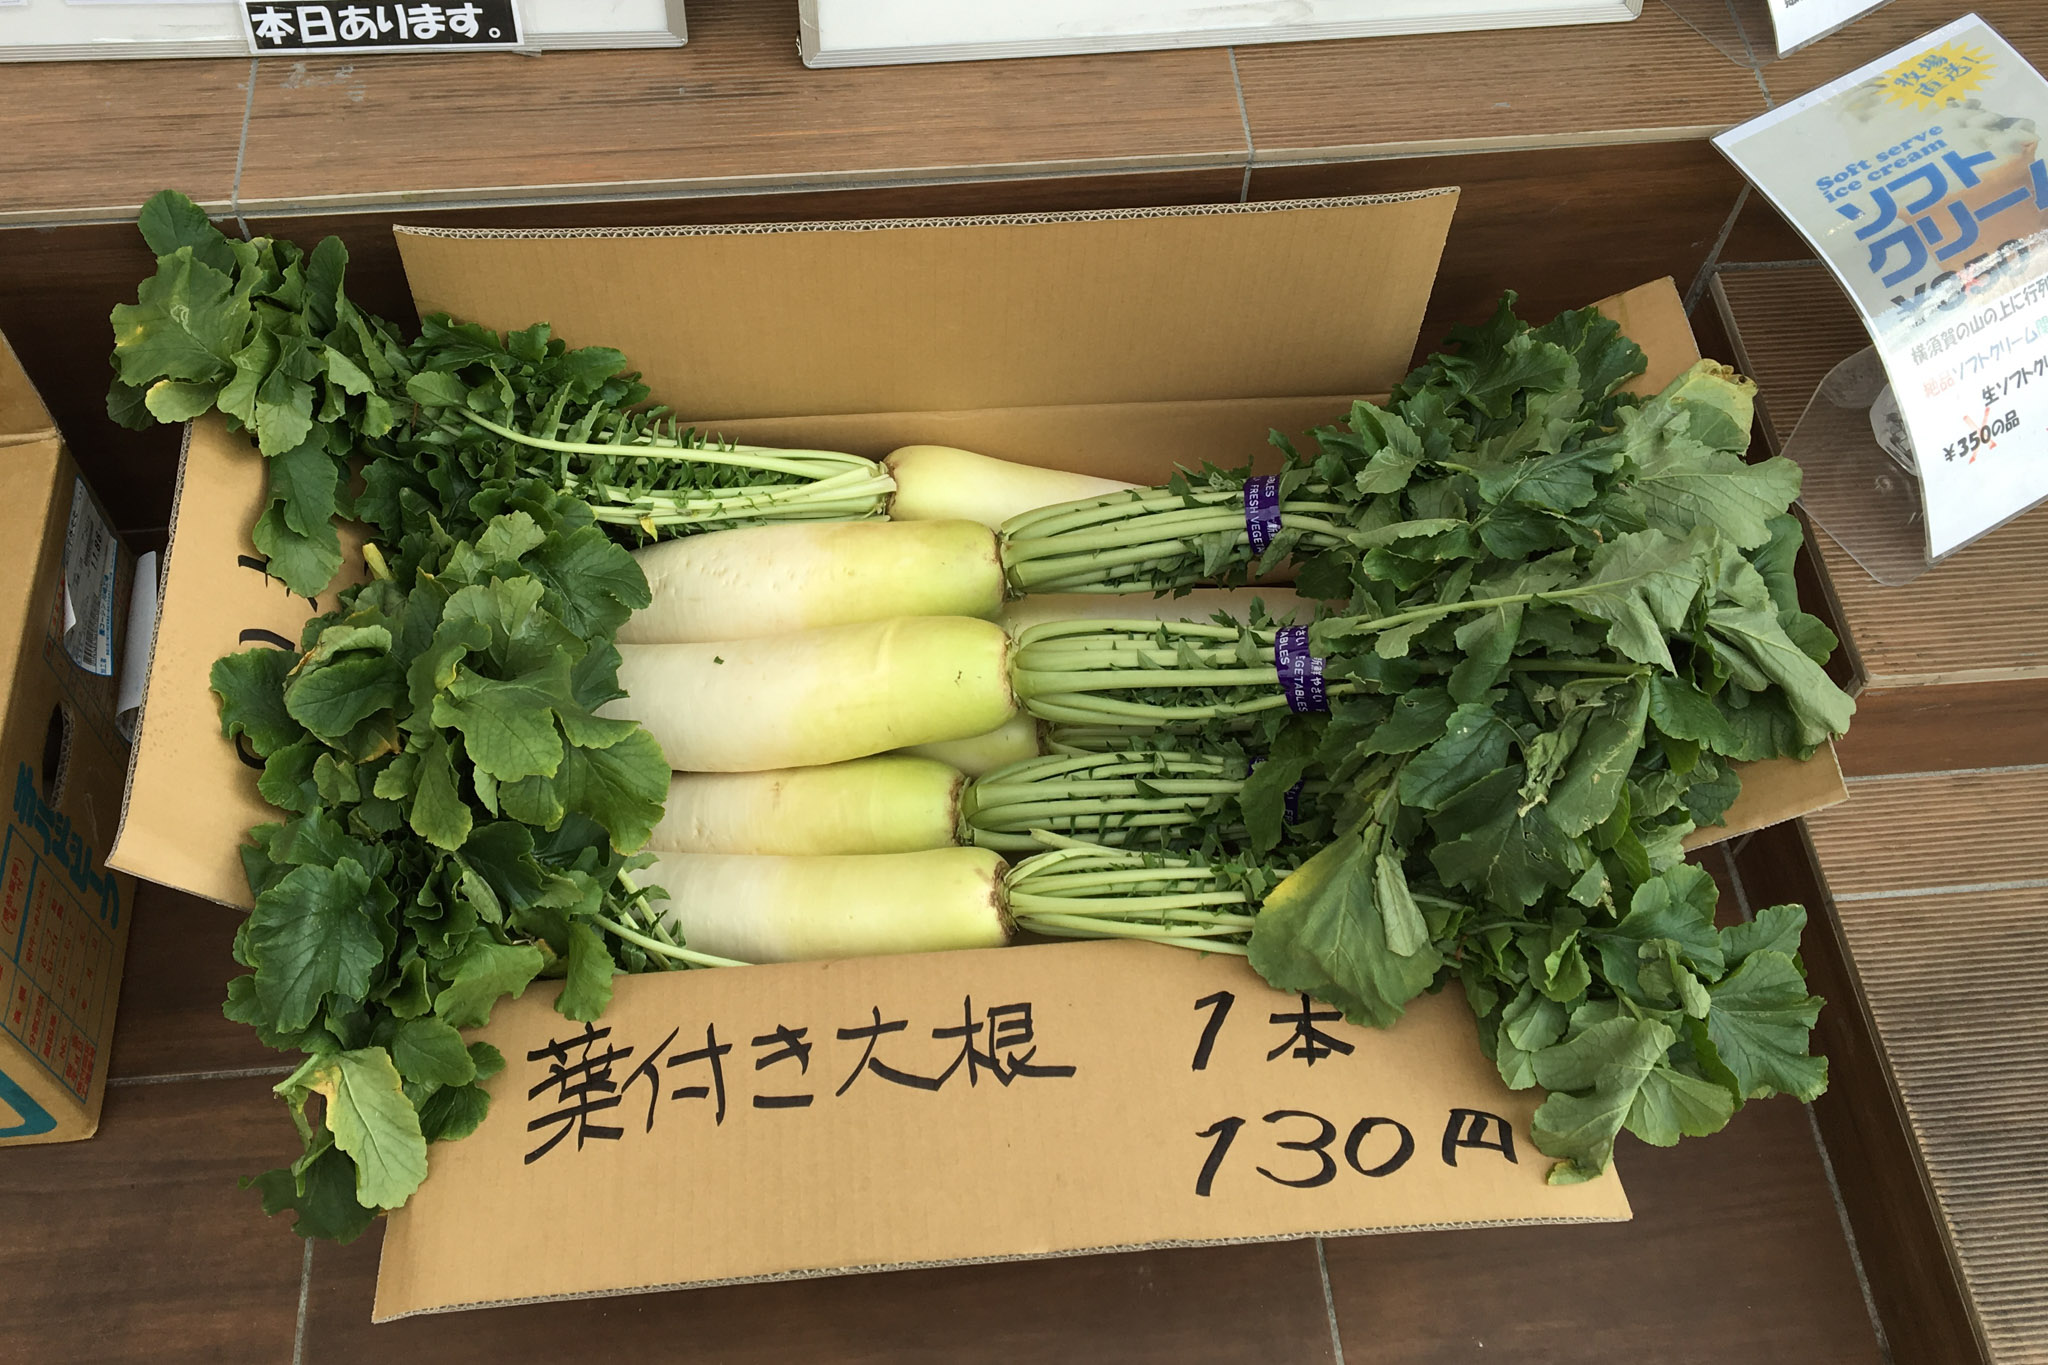
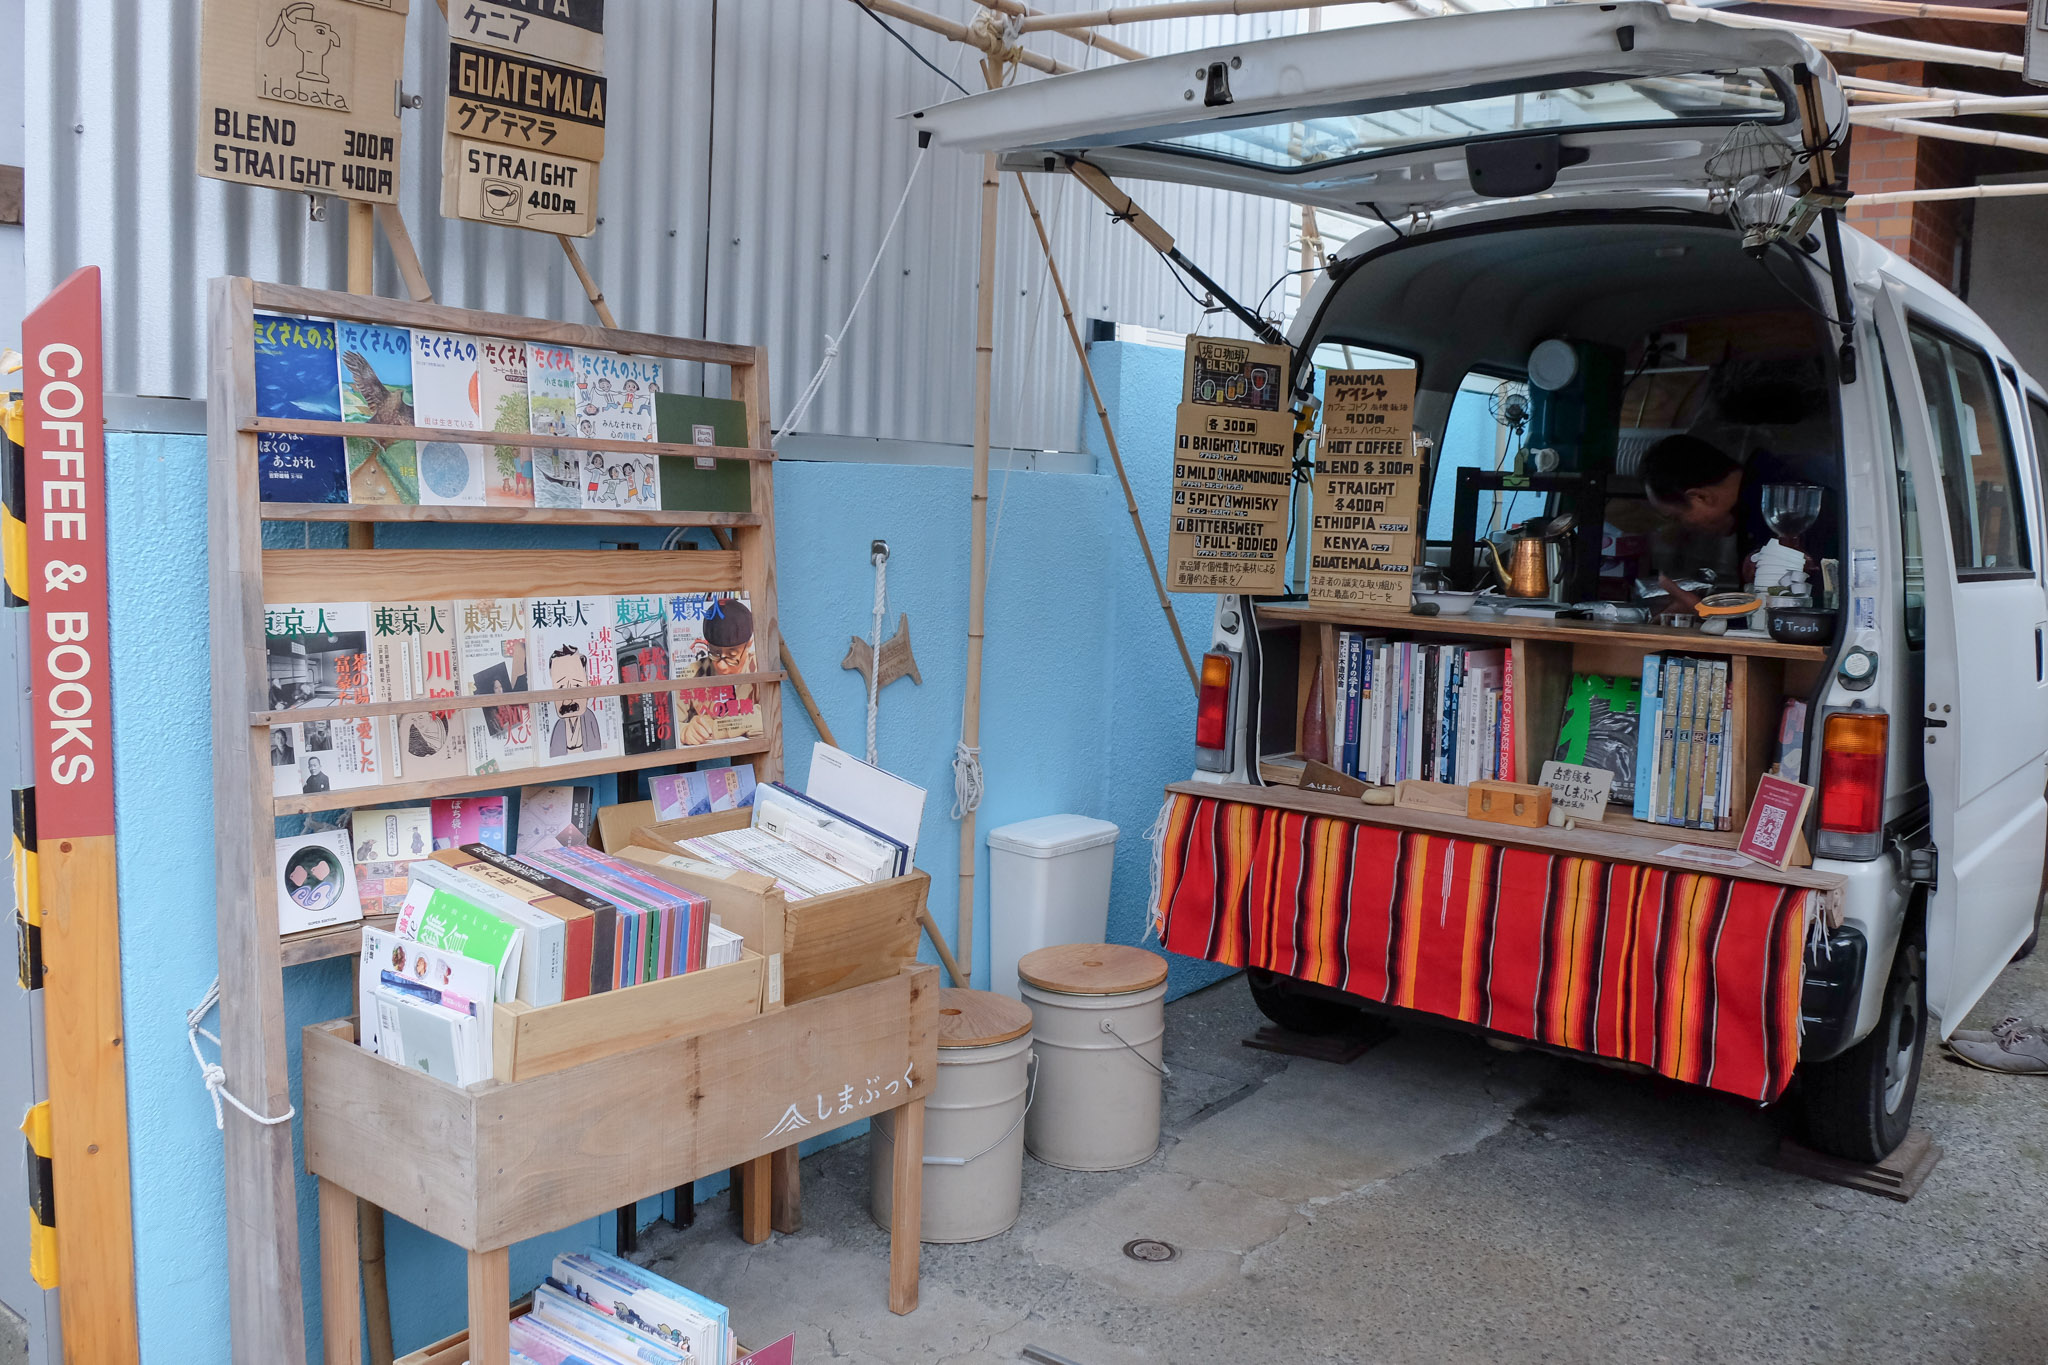
I decided to visit the Great Buddha first. After walking for a while, I came across a small garden and the entrance to Daibutsu Temple. The entrance fee is 200 yen per person. Inside, there is a large courtyard surrounded by a Japanese garden, with the Great Buddha statue in the center. You can even go inside the statue for just 20 yen. Daibutsu
The Great Buddha statue, Daibutsu, is the second largest in Japan, after the one at Todai-ji Temple in Nara. This area is prone to natural disasters, such as typhoons and tsunamis, which have damaged the temple on several occasions. One tsunami destroyed the temple, but the Great Buddha statue remained unharmed. This has led the local people to revere the Daibutsu statue greatly.
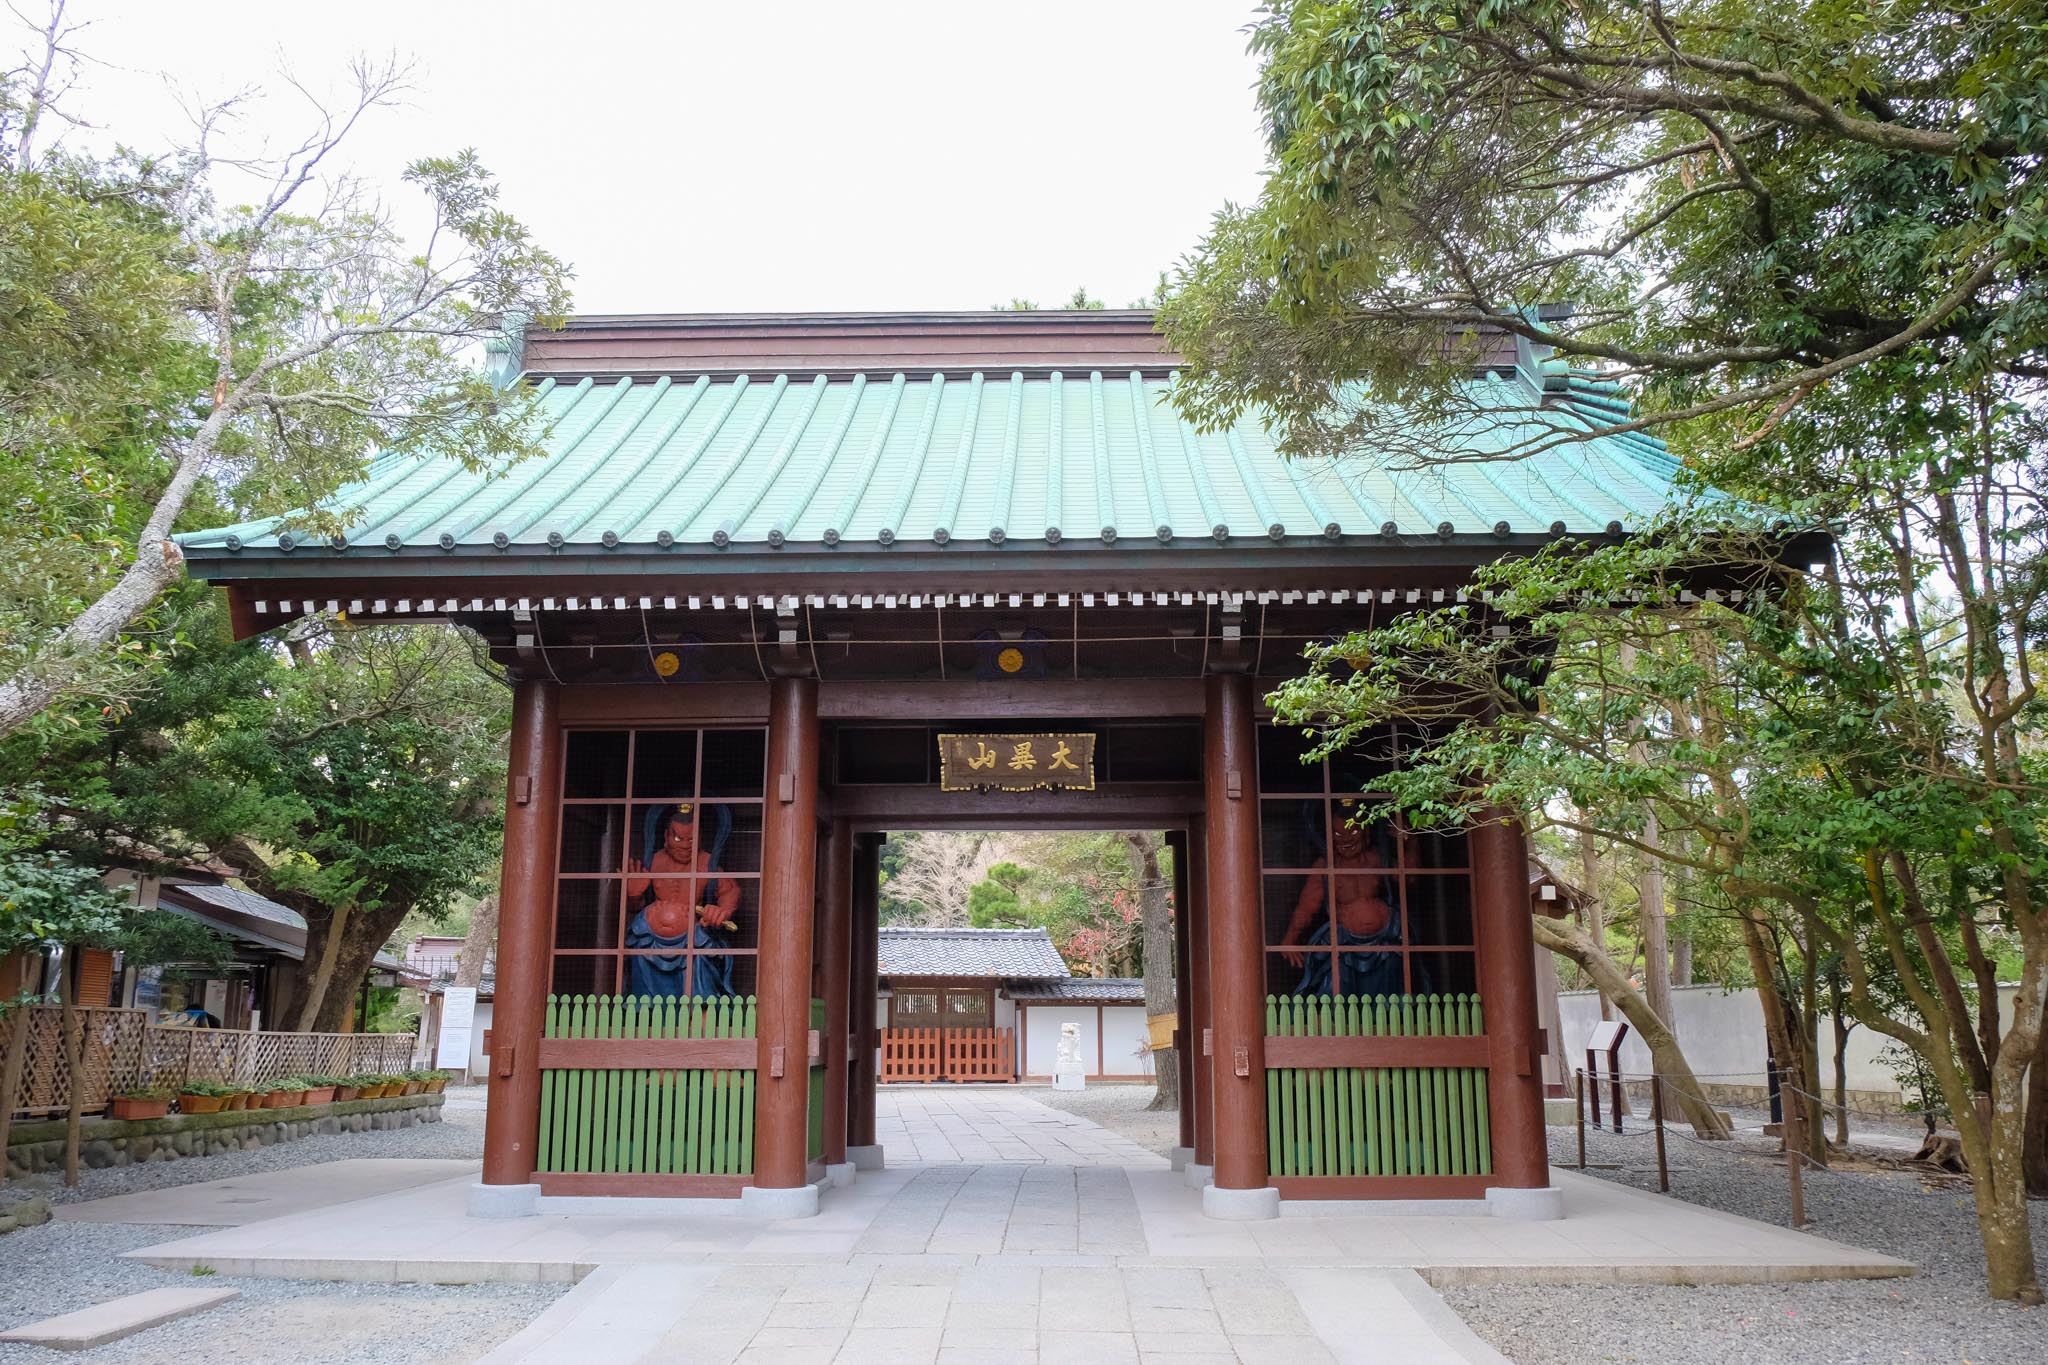
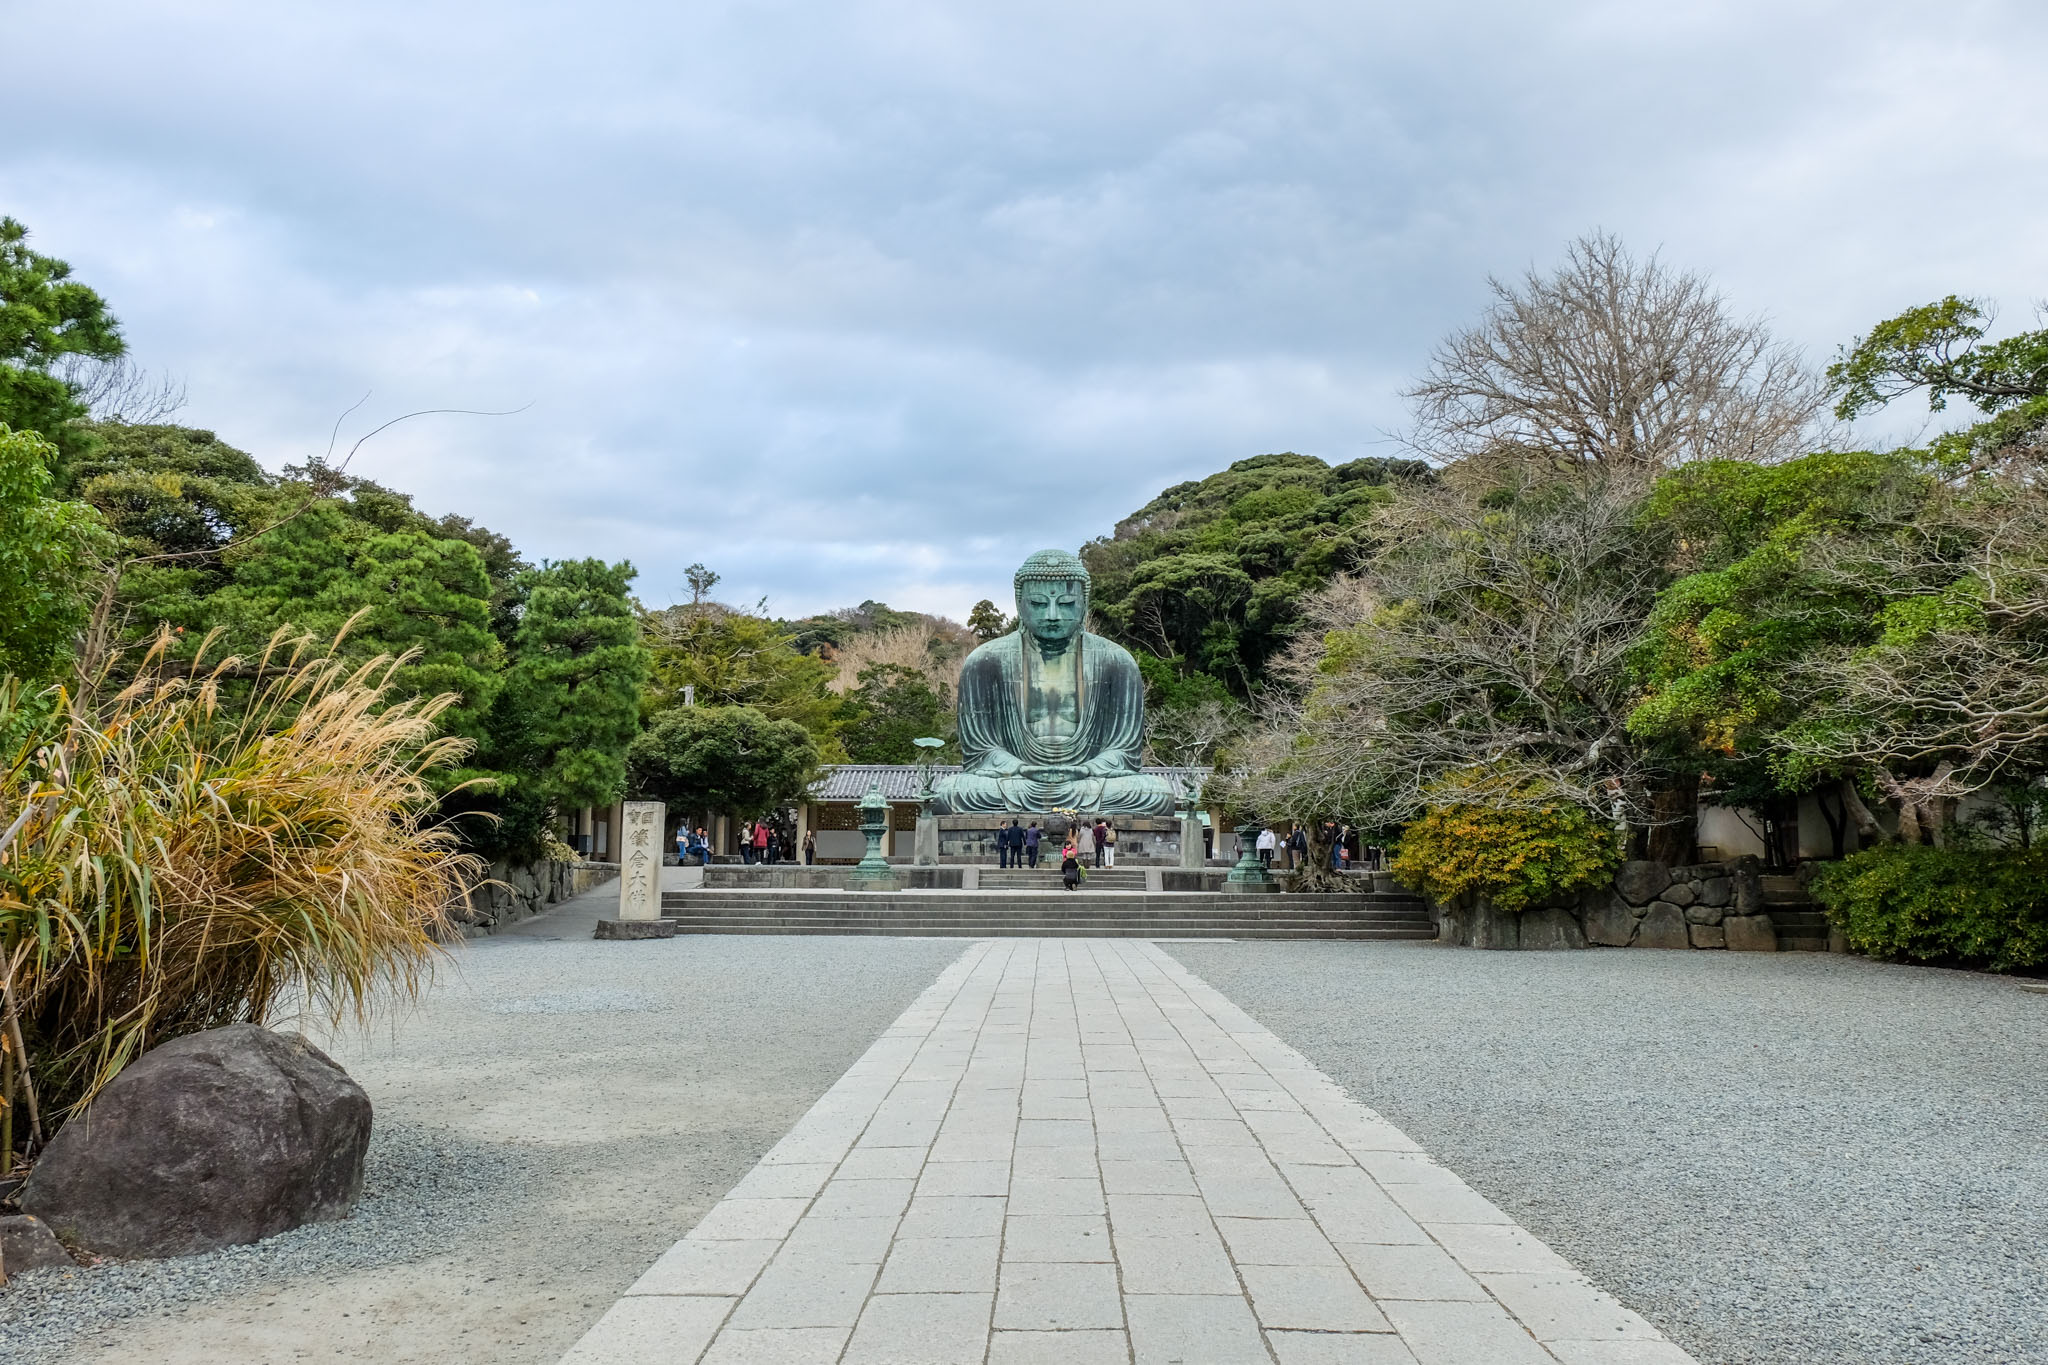
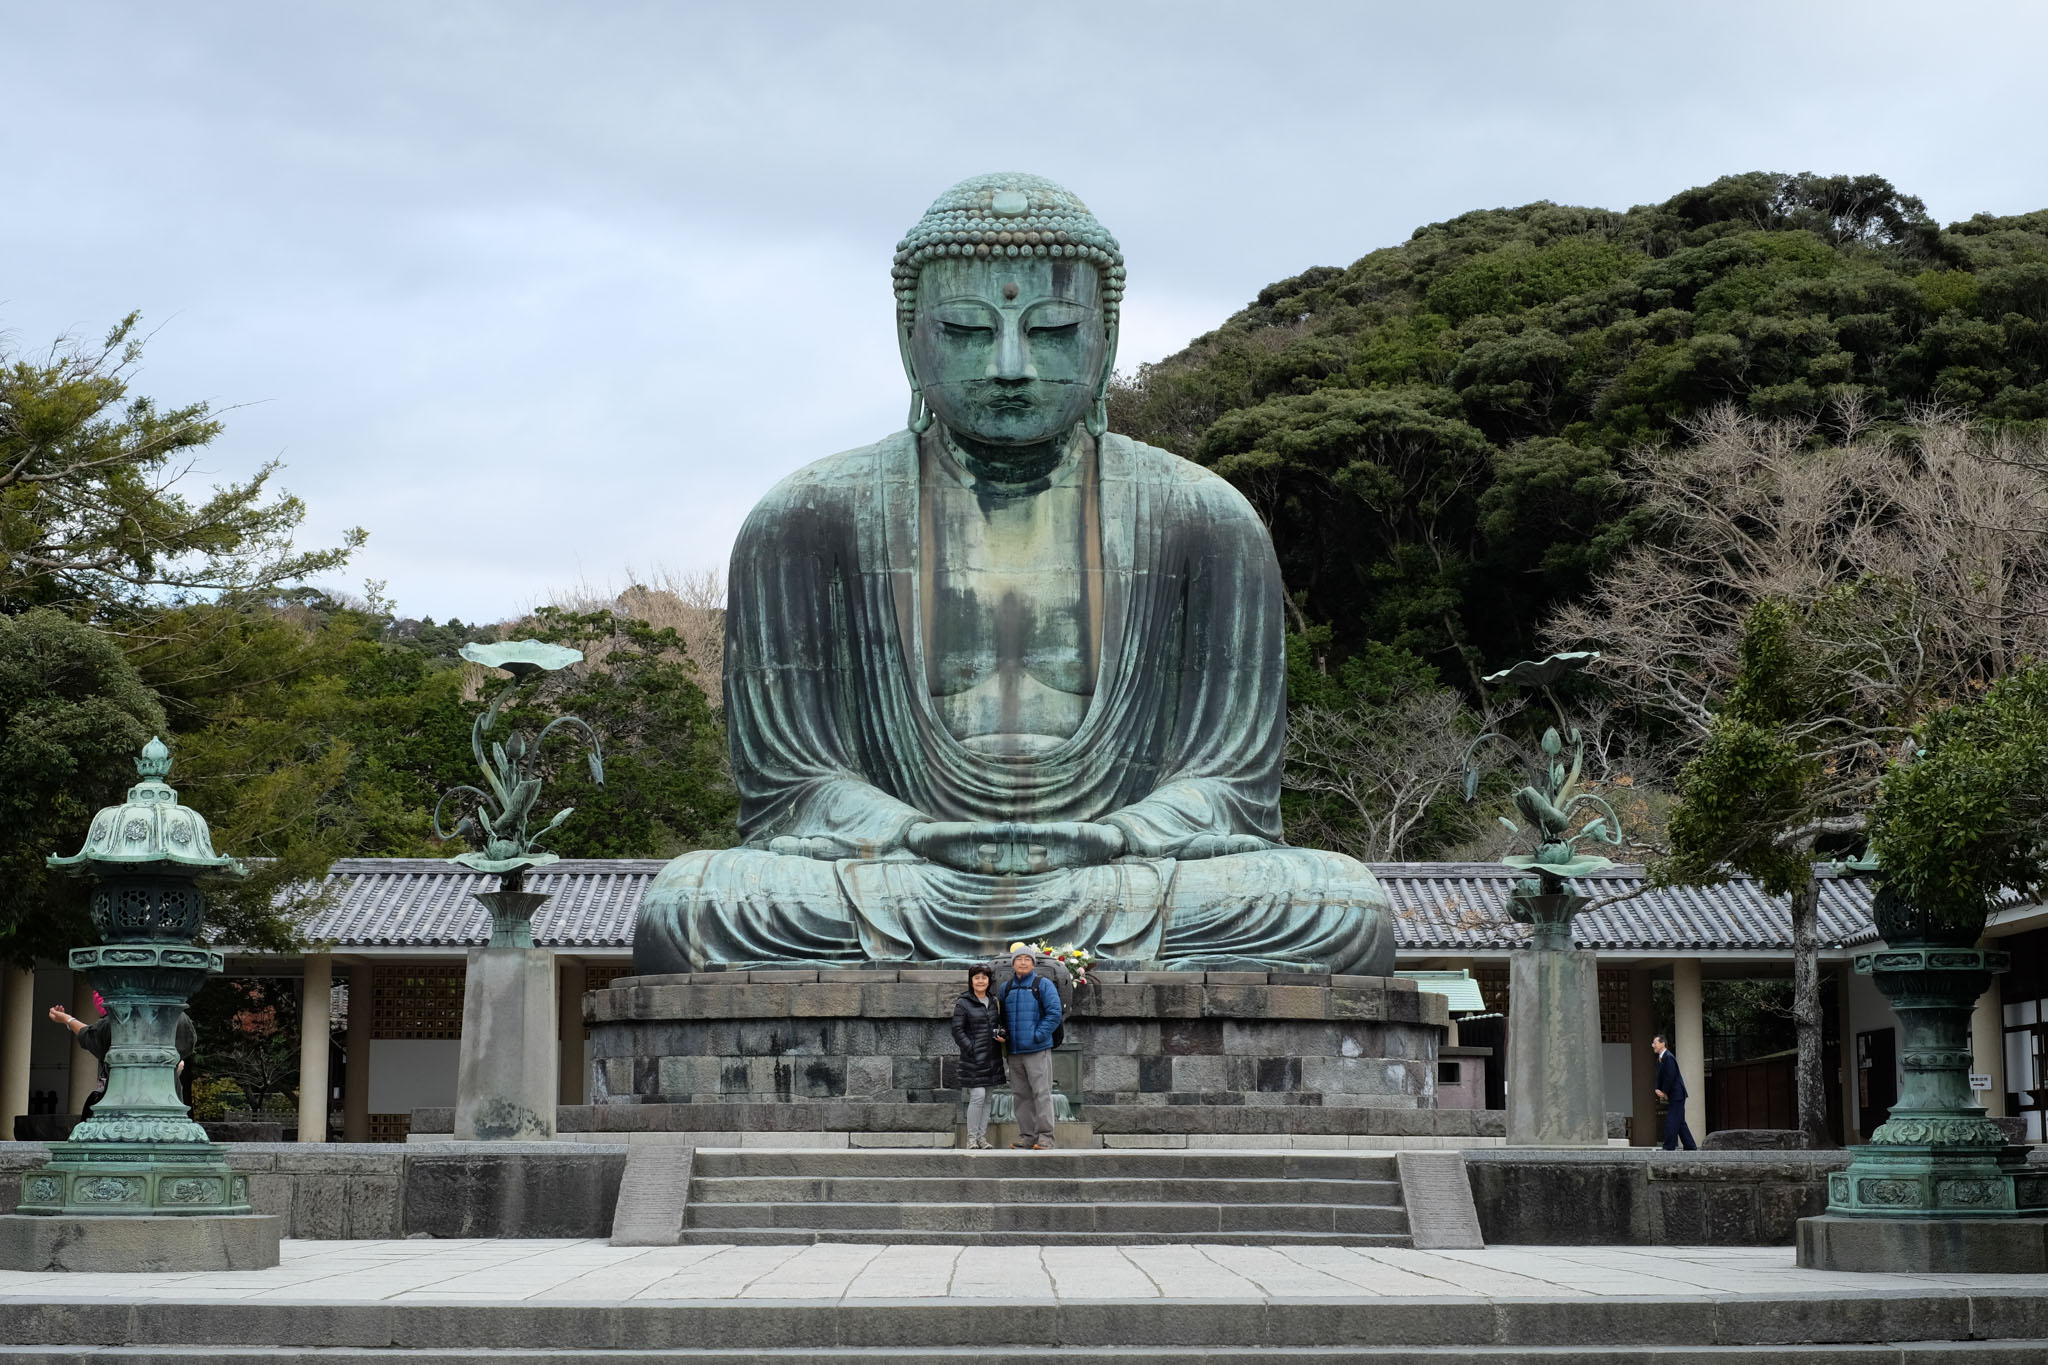
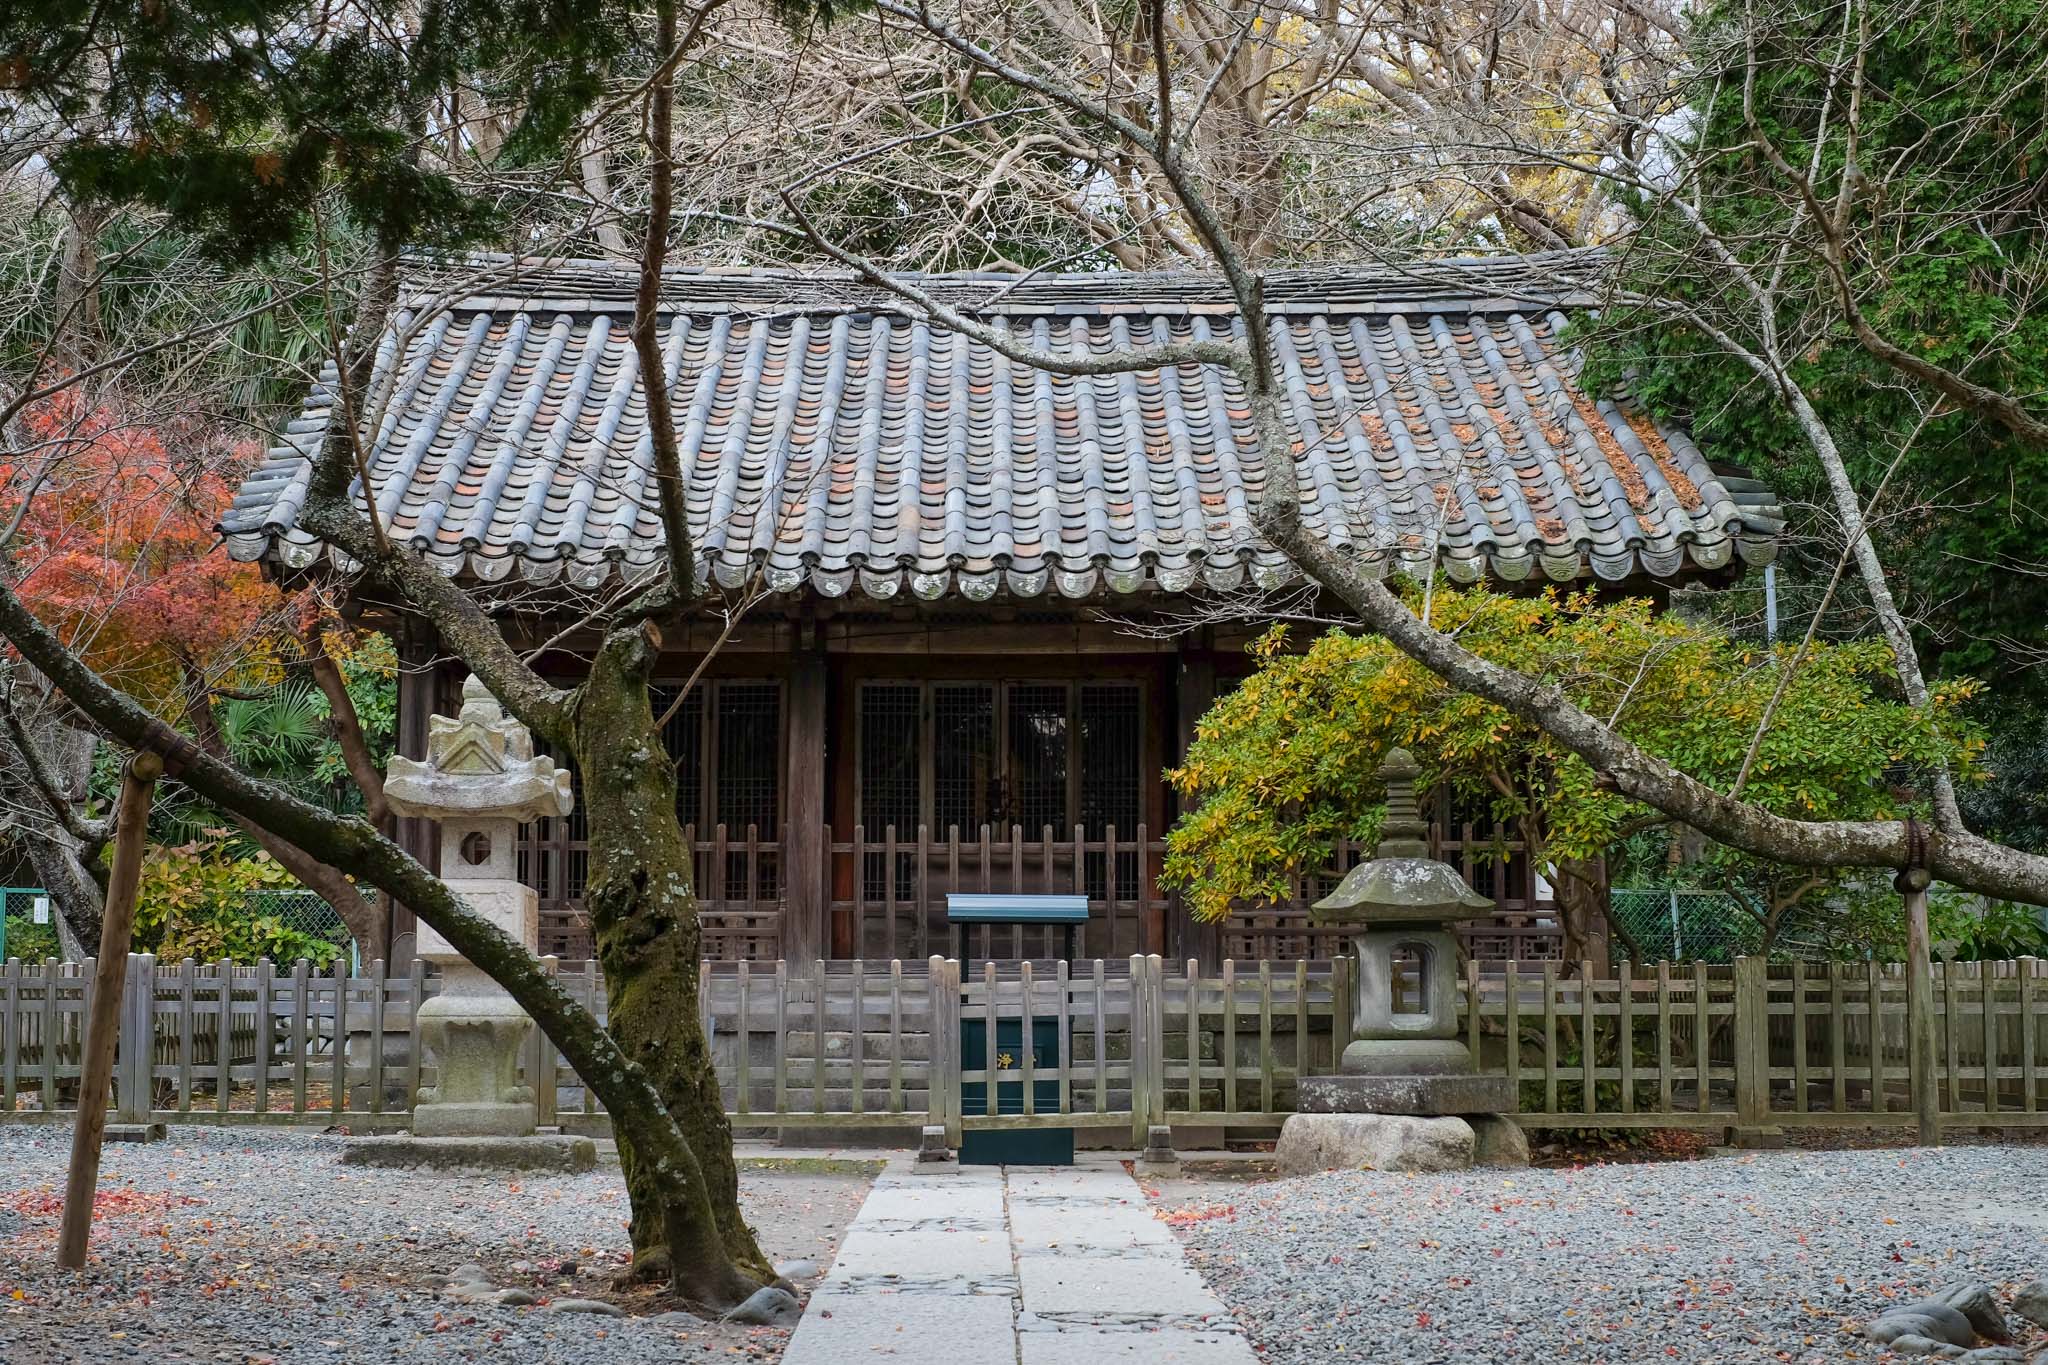
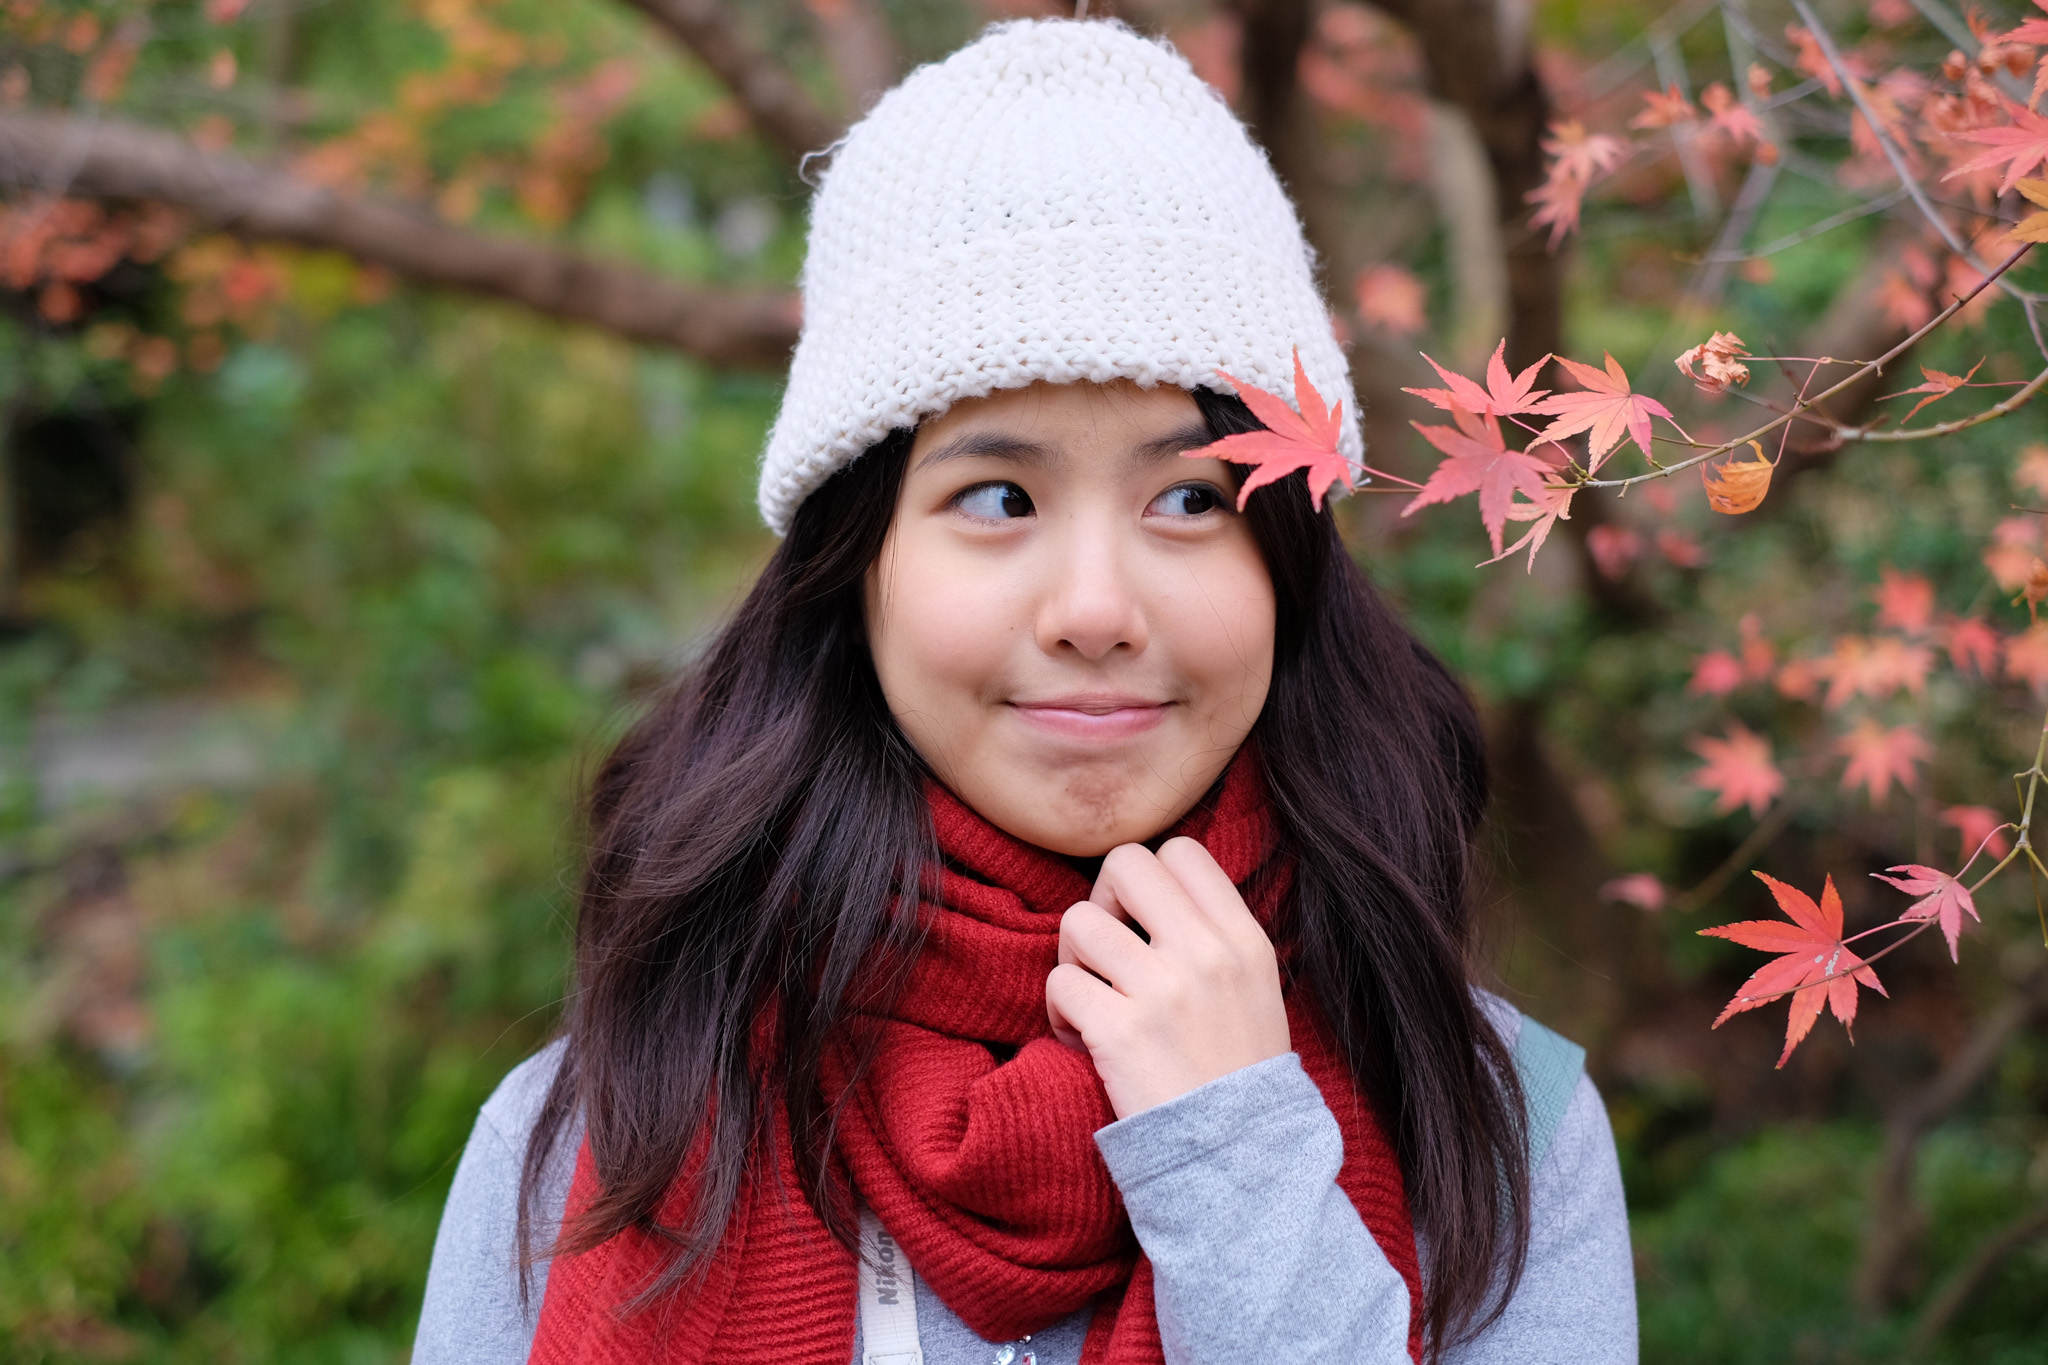
Although it is already winter, there are still some maple leaves in the garden. If you come during the fall foliage season, it will be very beautiful.
Hase-dera Temple
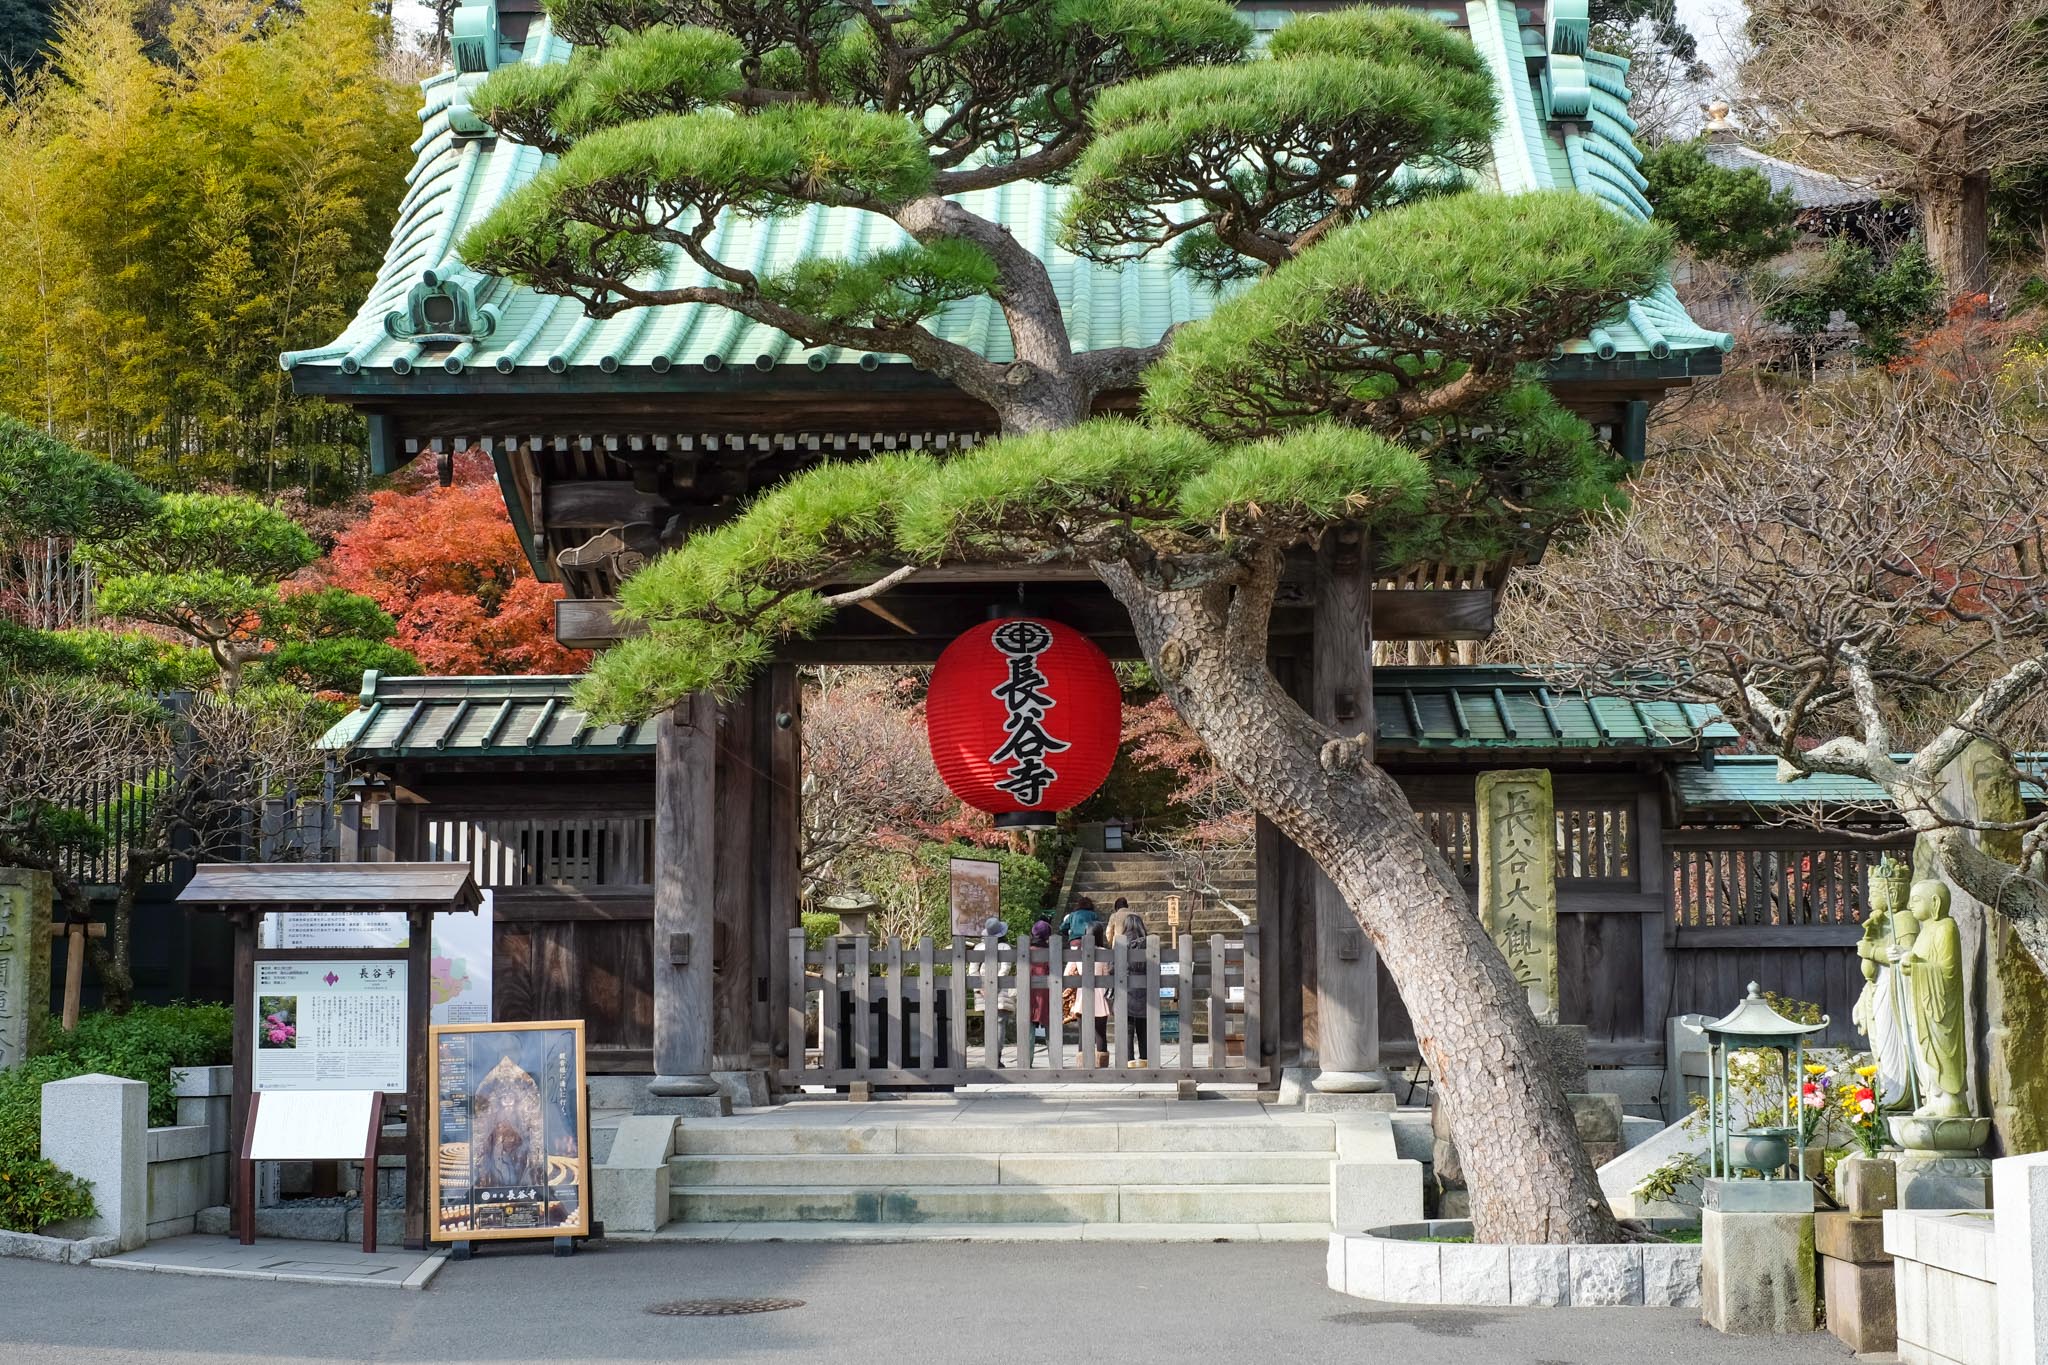
Next, we walked back to the intersection and turned to Hase Dera Temple. This temple is considered the fourth most sacred in the Kanto region. Before entering, we paid an entrance fee of 300 yen. The highlight is that we have to walk up to pay homage to the wooden statue of the Goddess of Mercy at the top. We walked up the stairs for a short distance, and there was a Japanese garden all the way up.

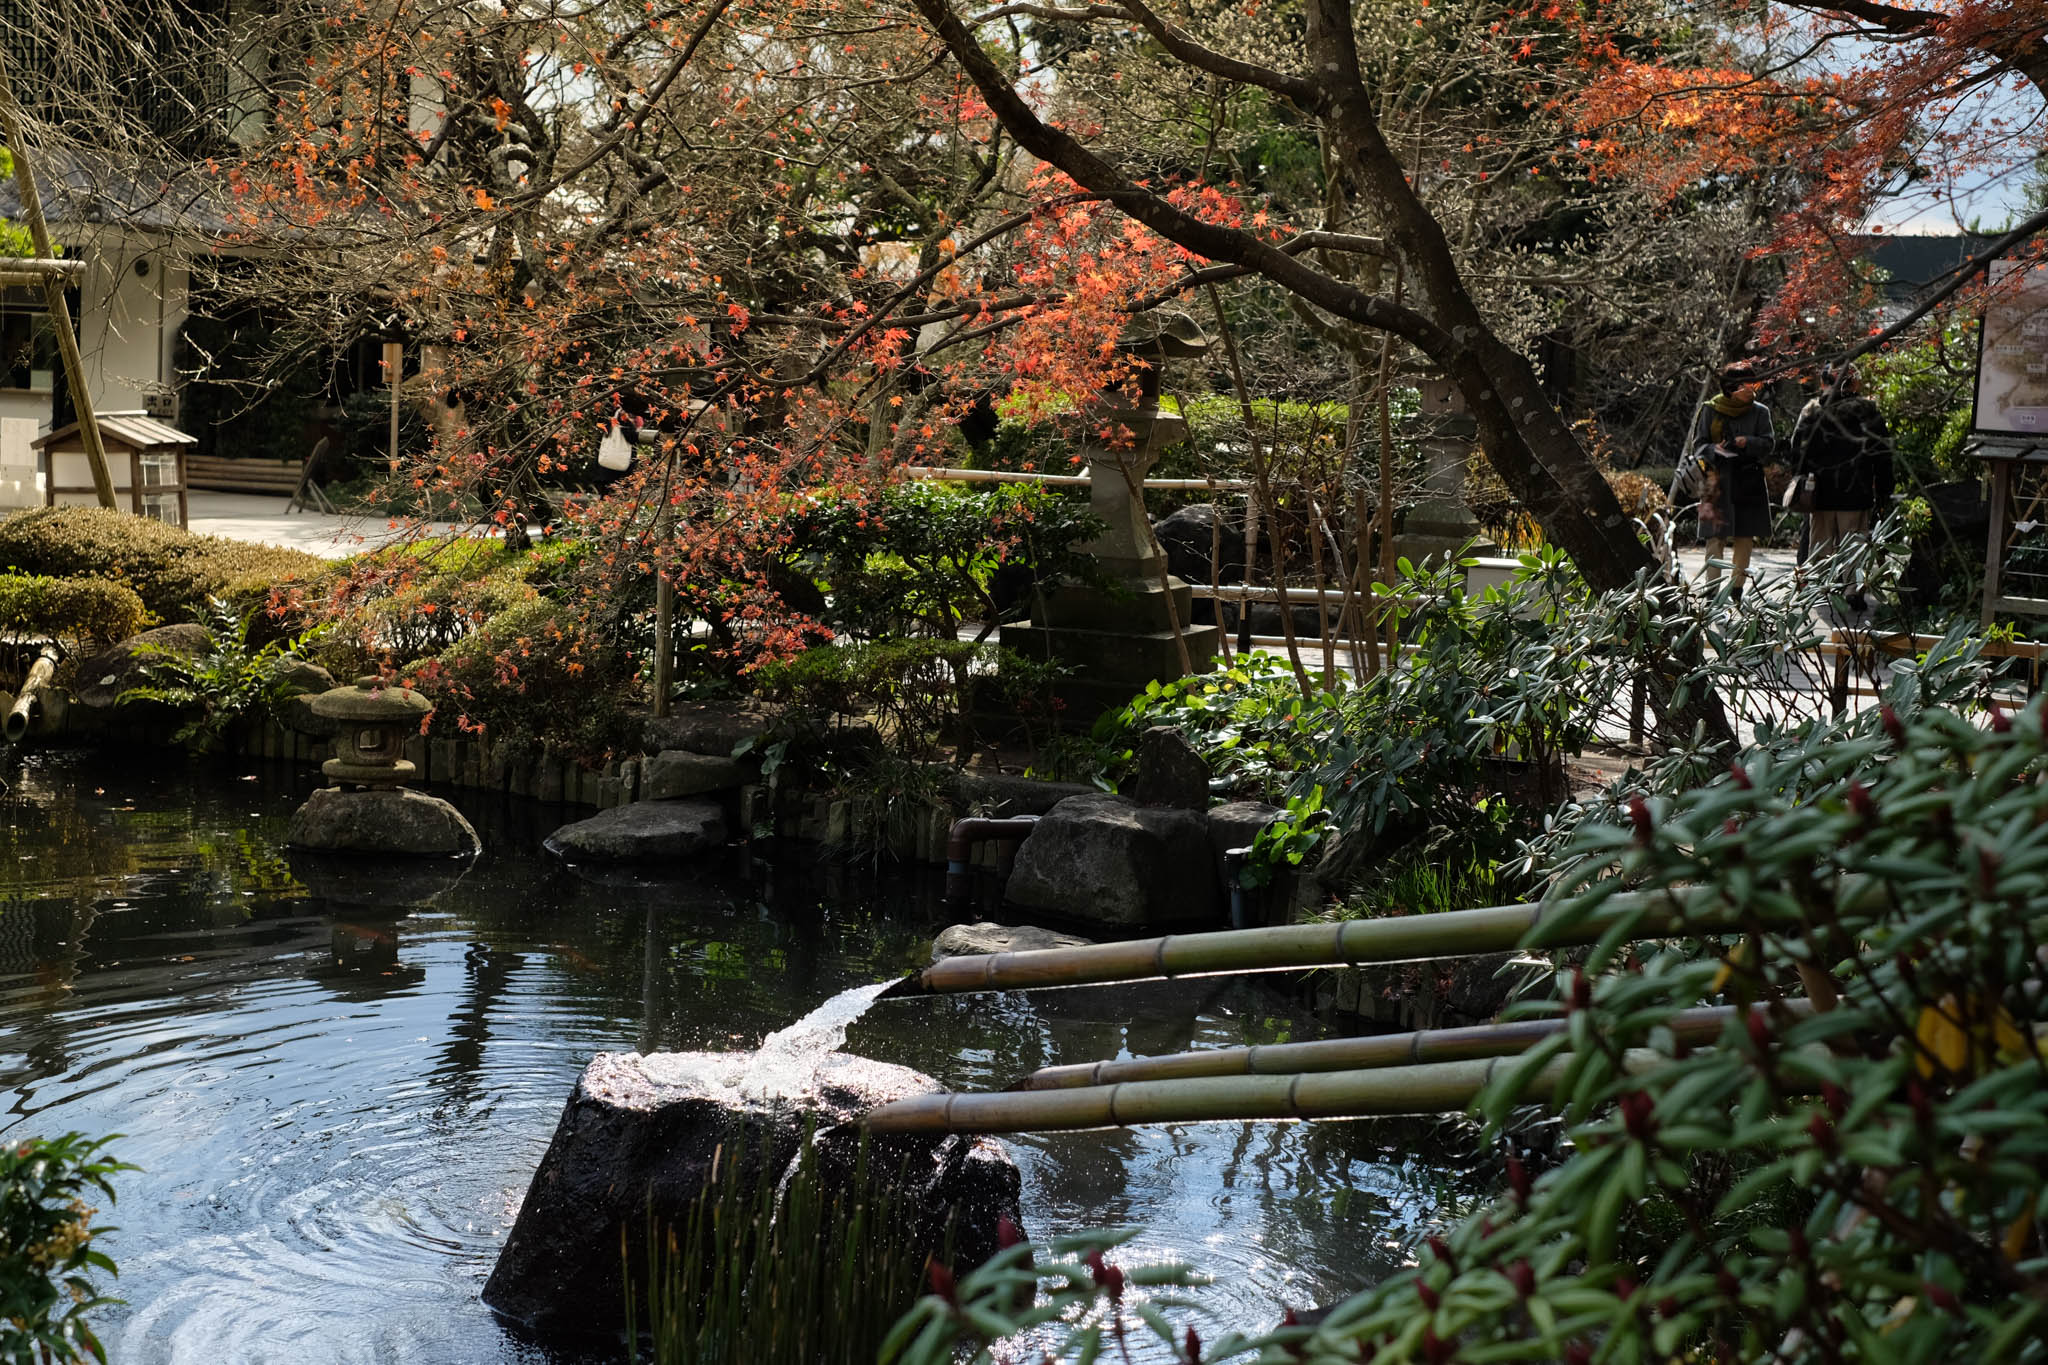
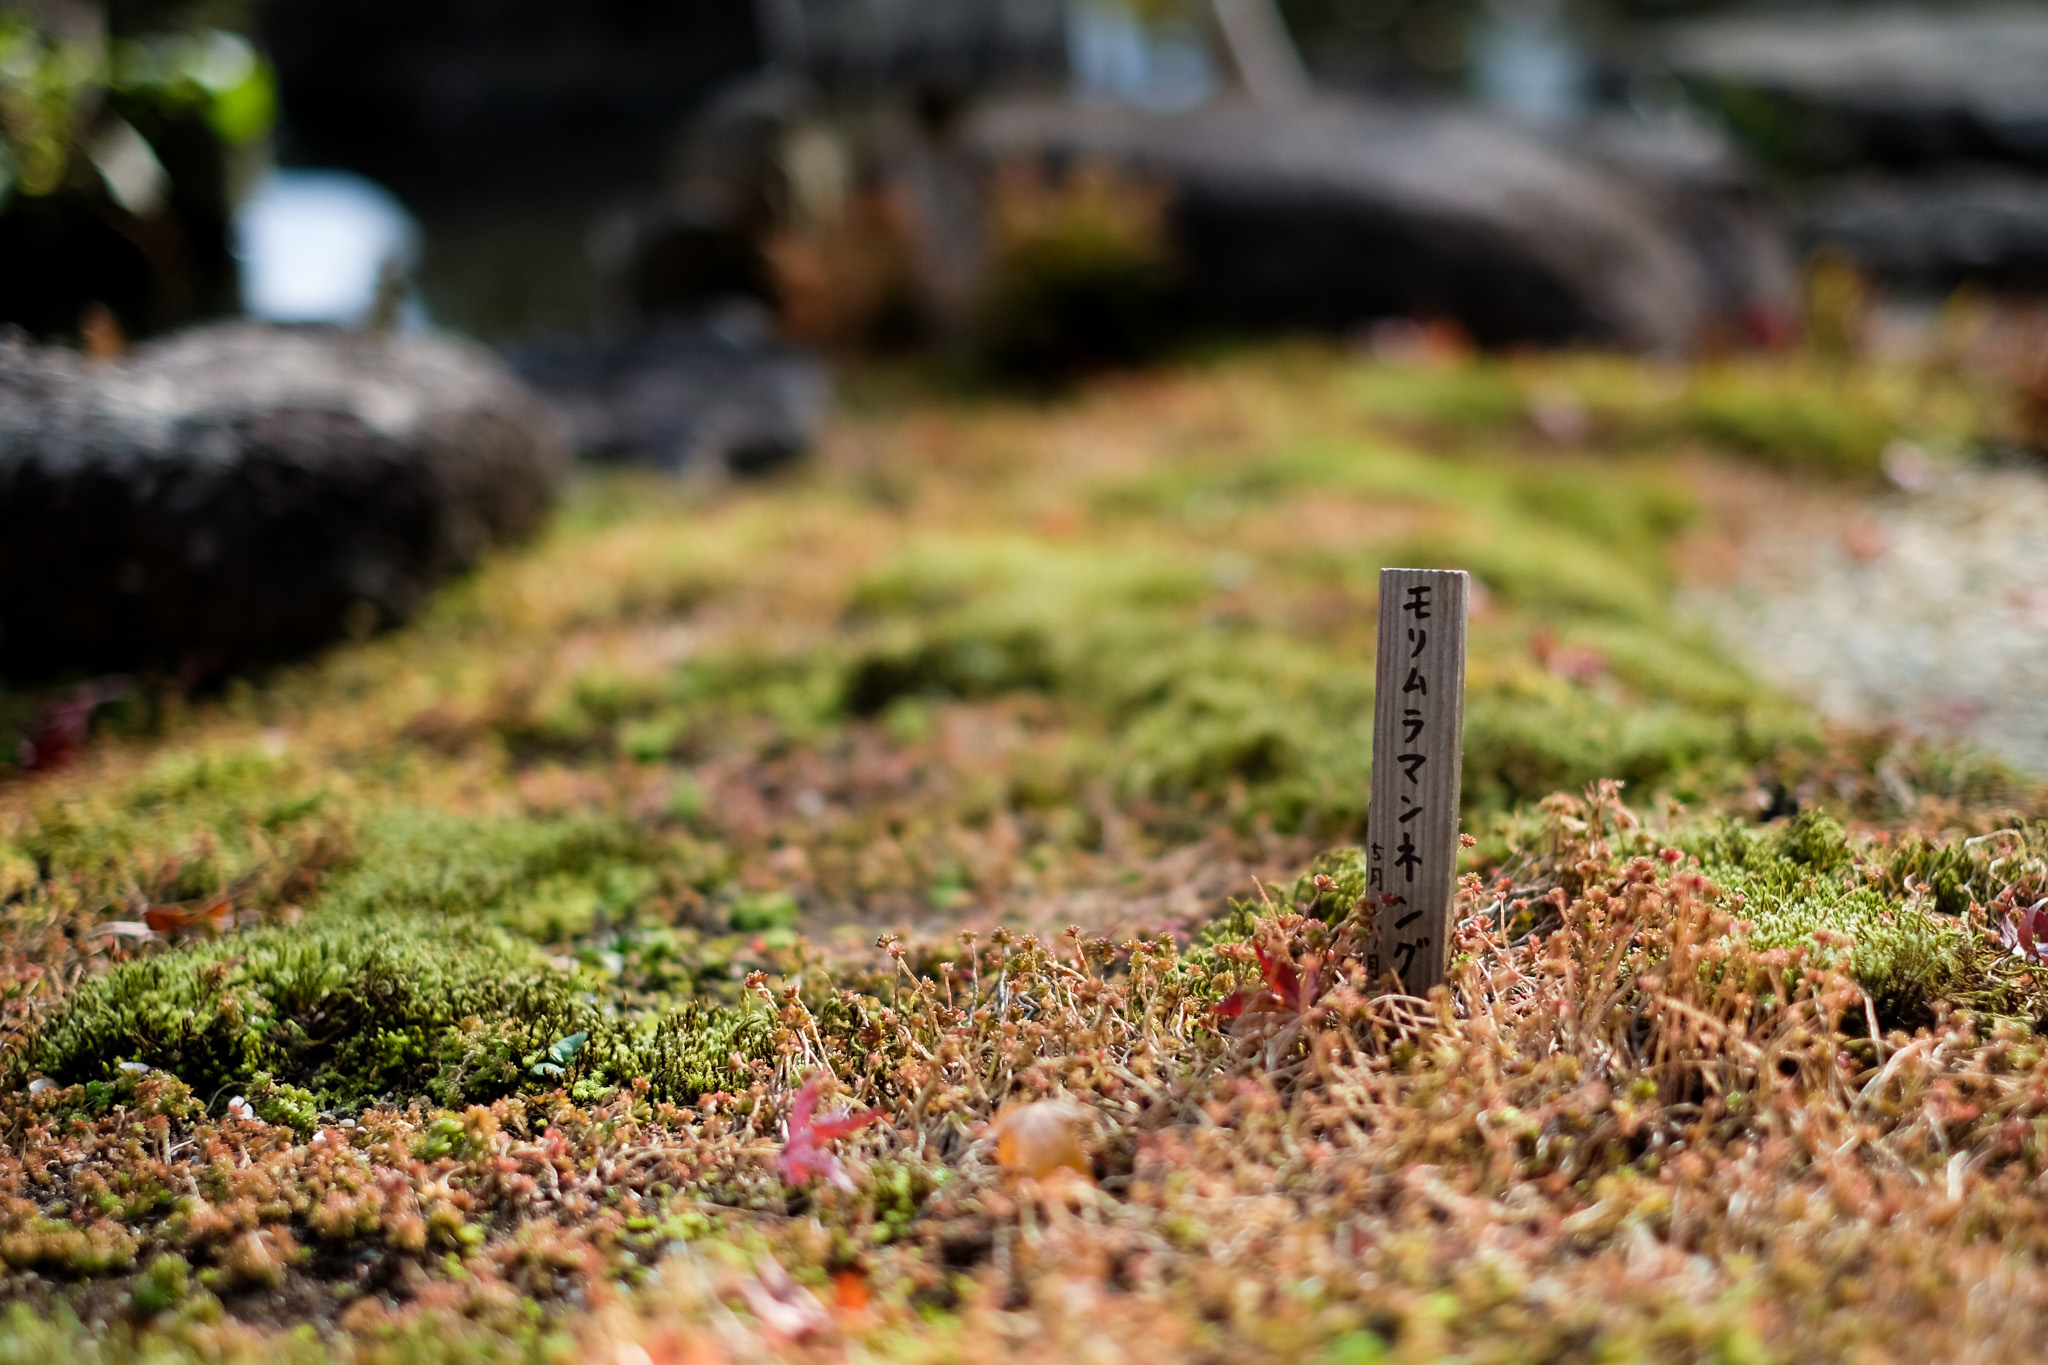
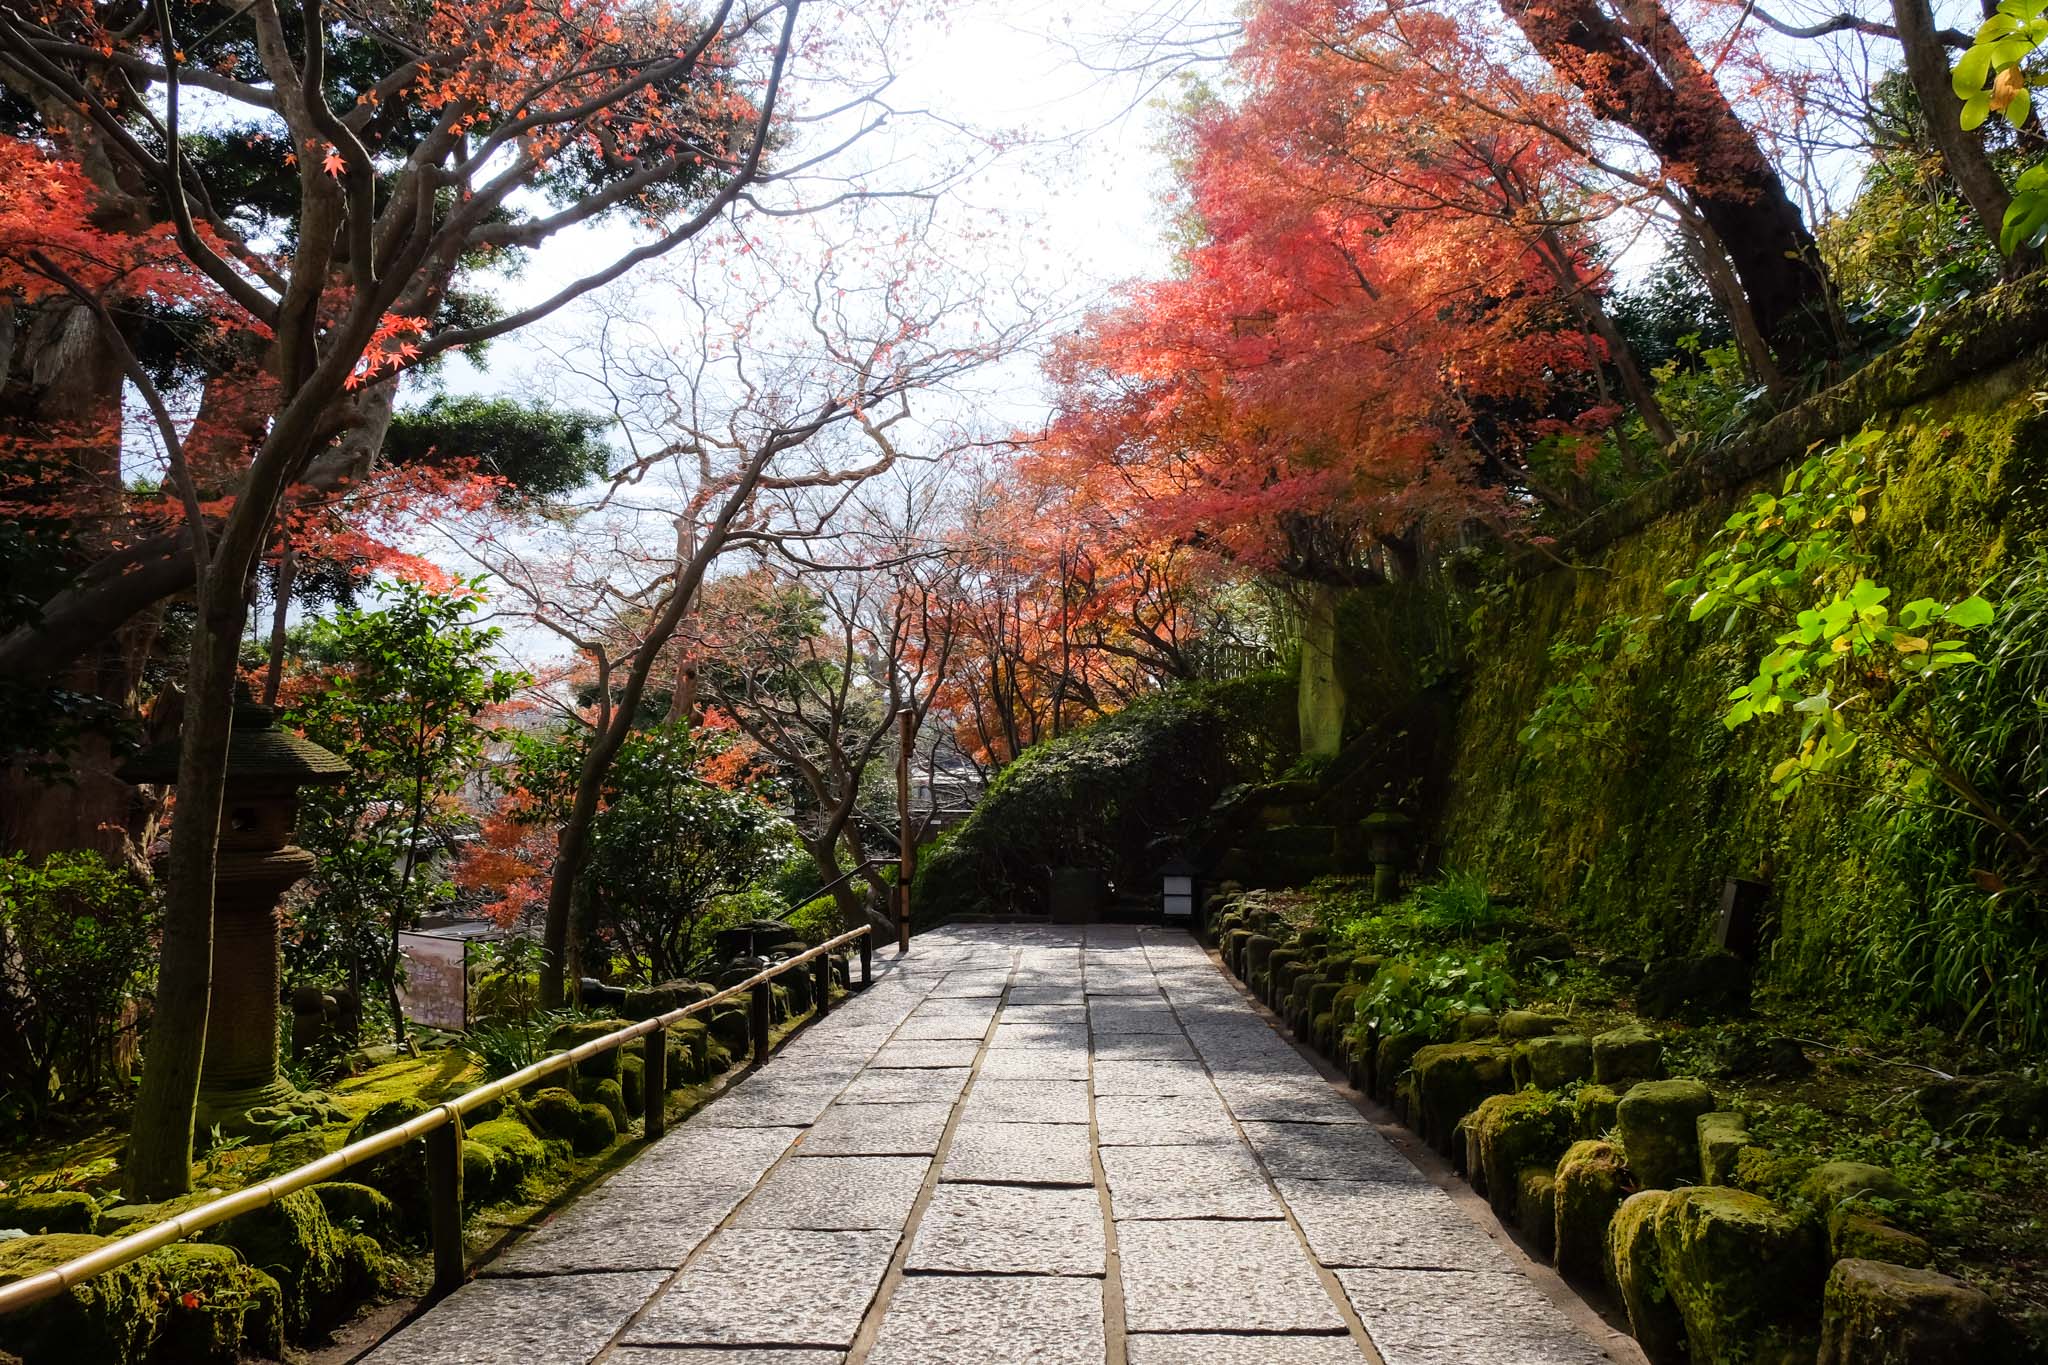
Once you reach the top, there is a viewpoint where you can see the city and the surrounding area all the way to the coast. The building behind it houses a rotating bookshelf that looks like a spinning top. The statue of the Goddess of Mercy is located inside the main building, and the temple does not allow photographs to be taken inside.
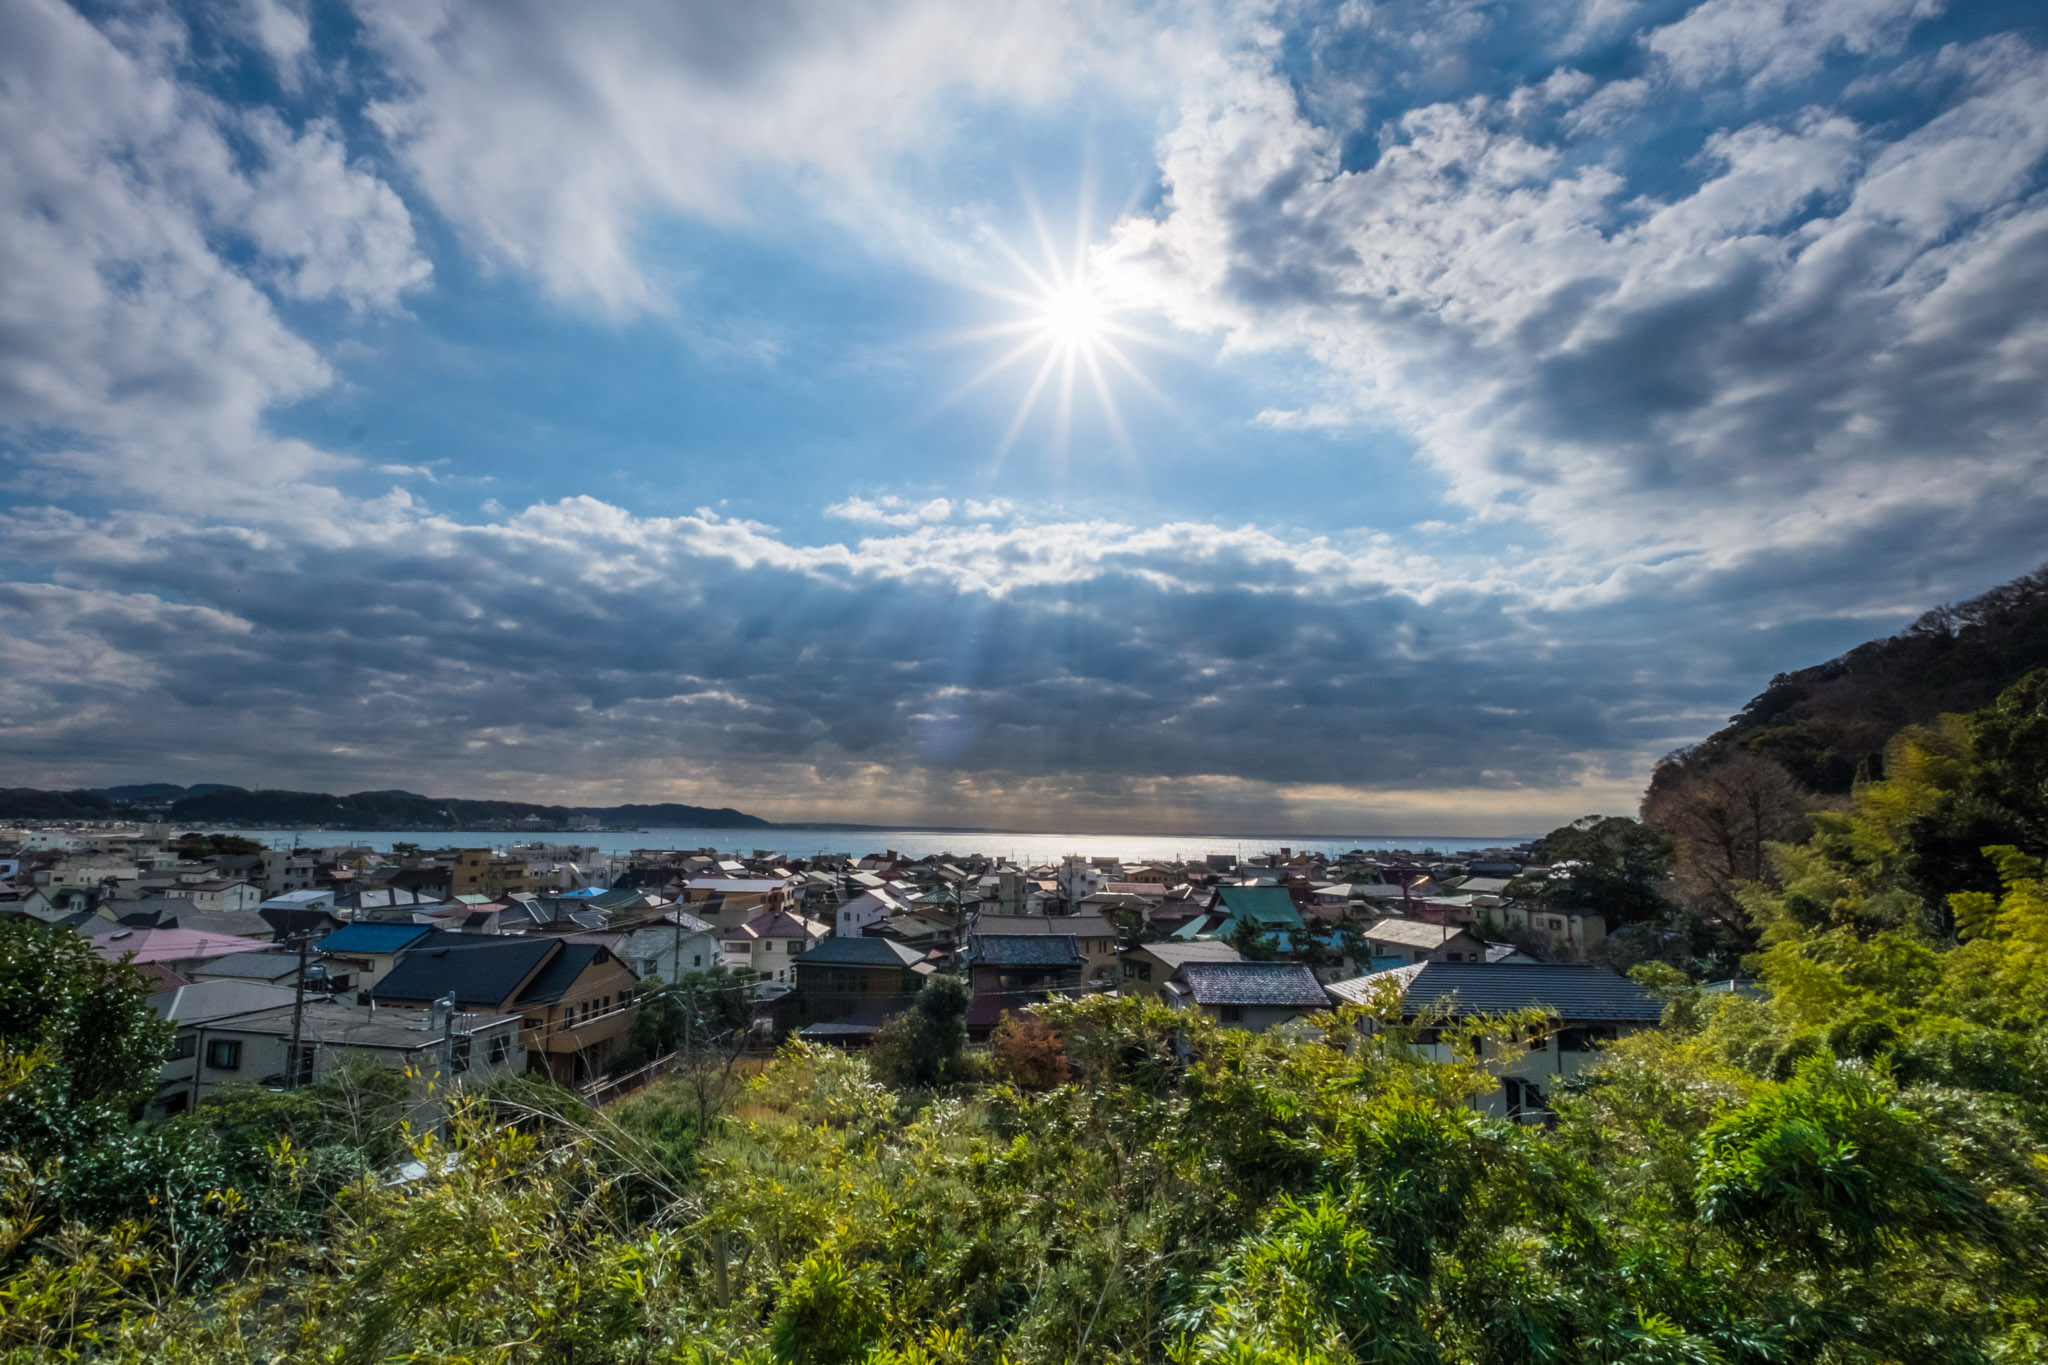

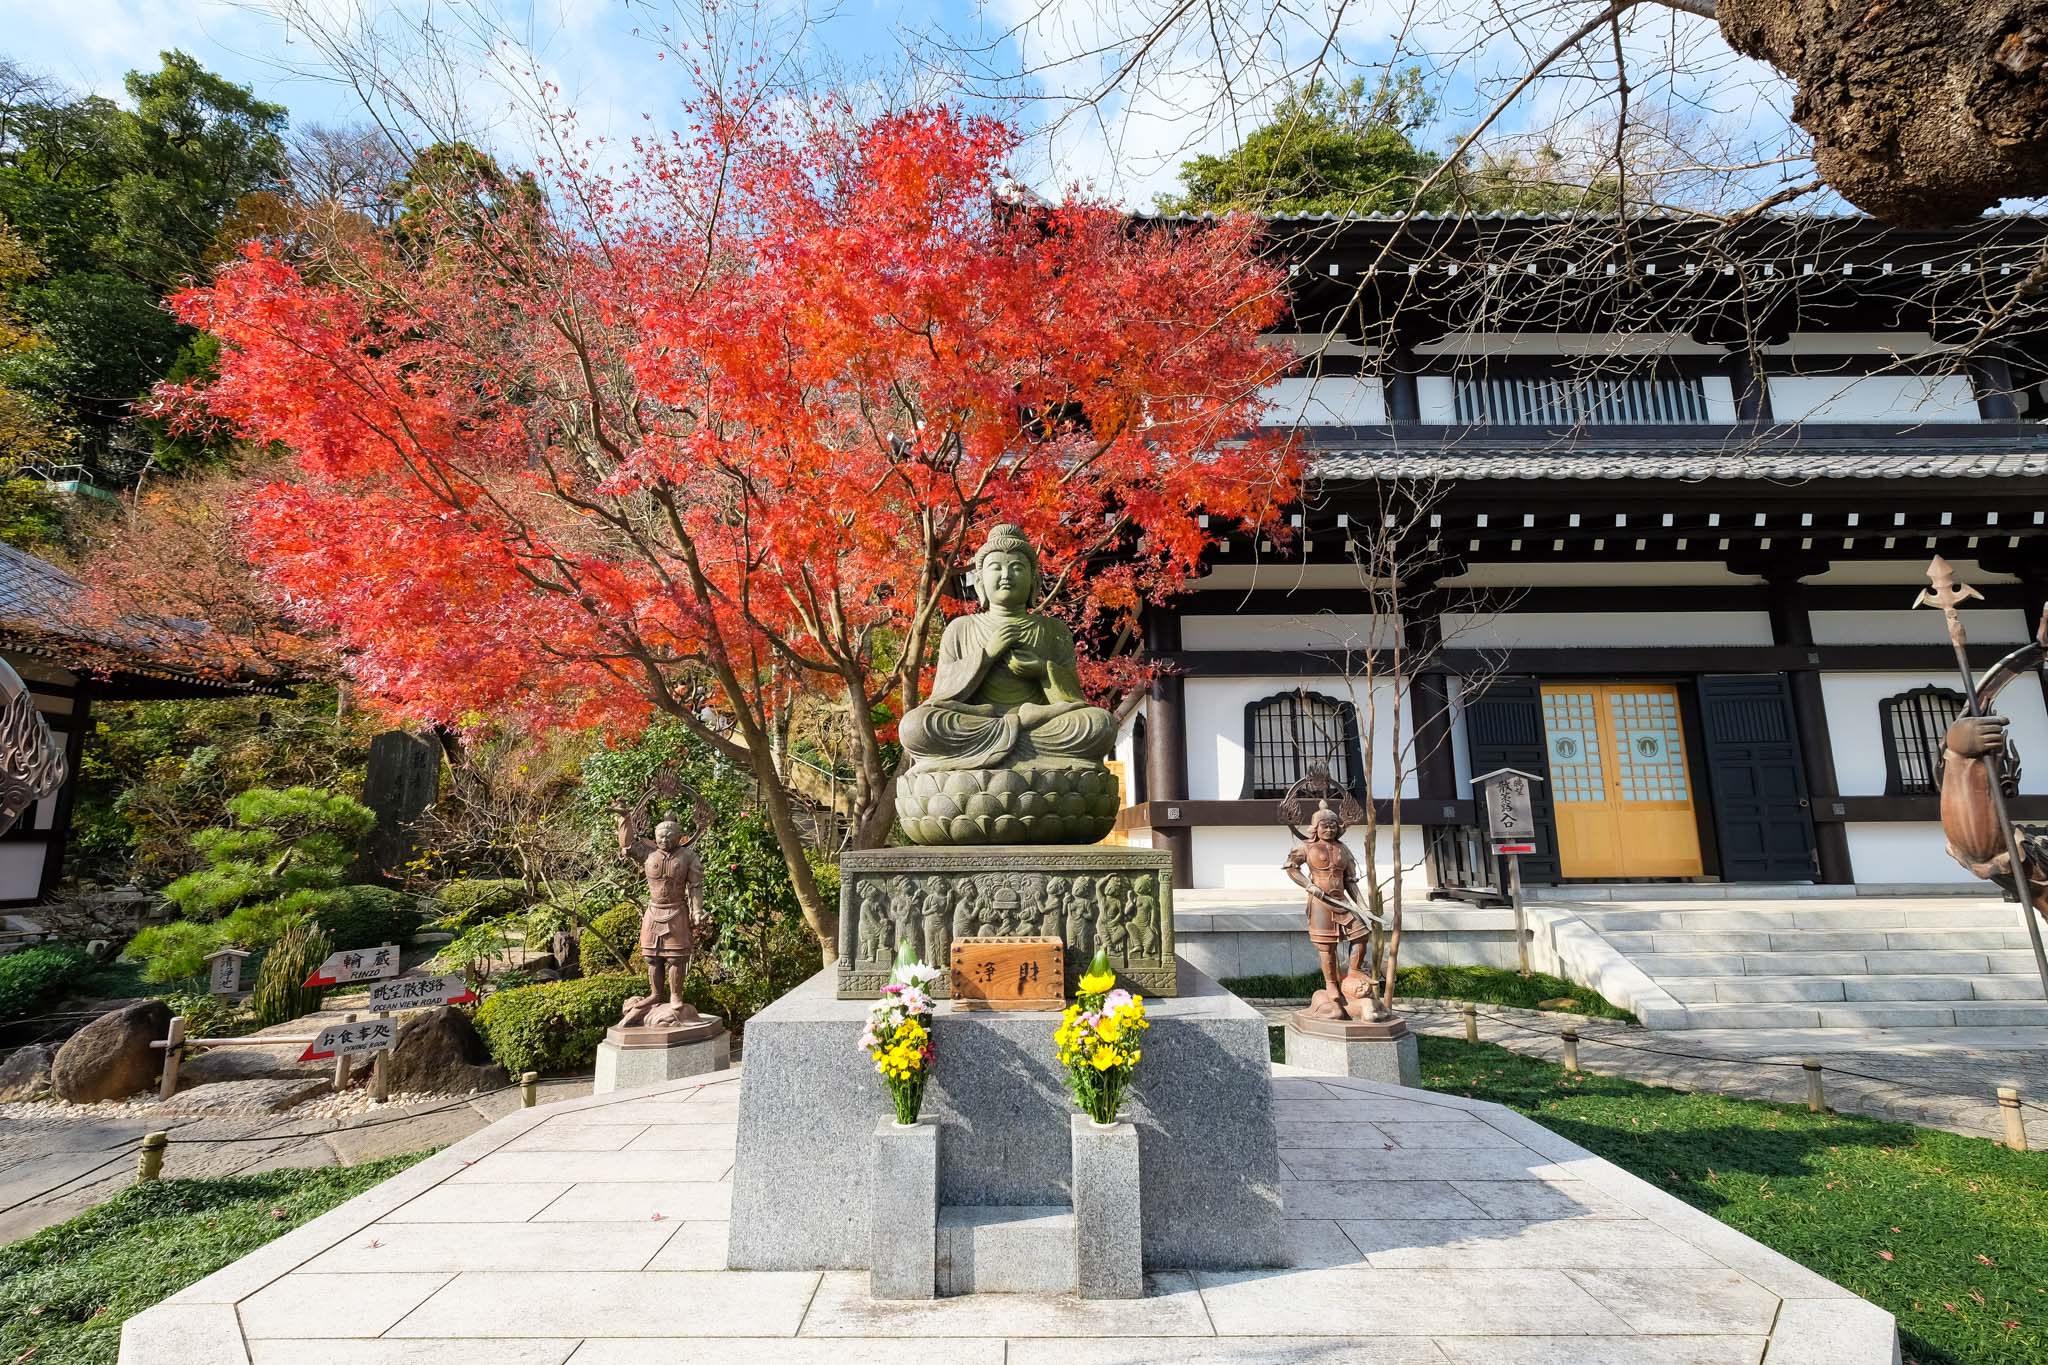
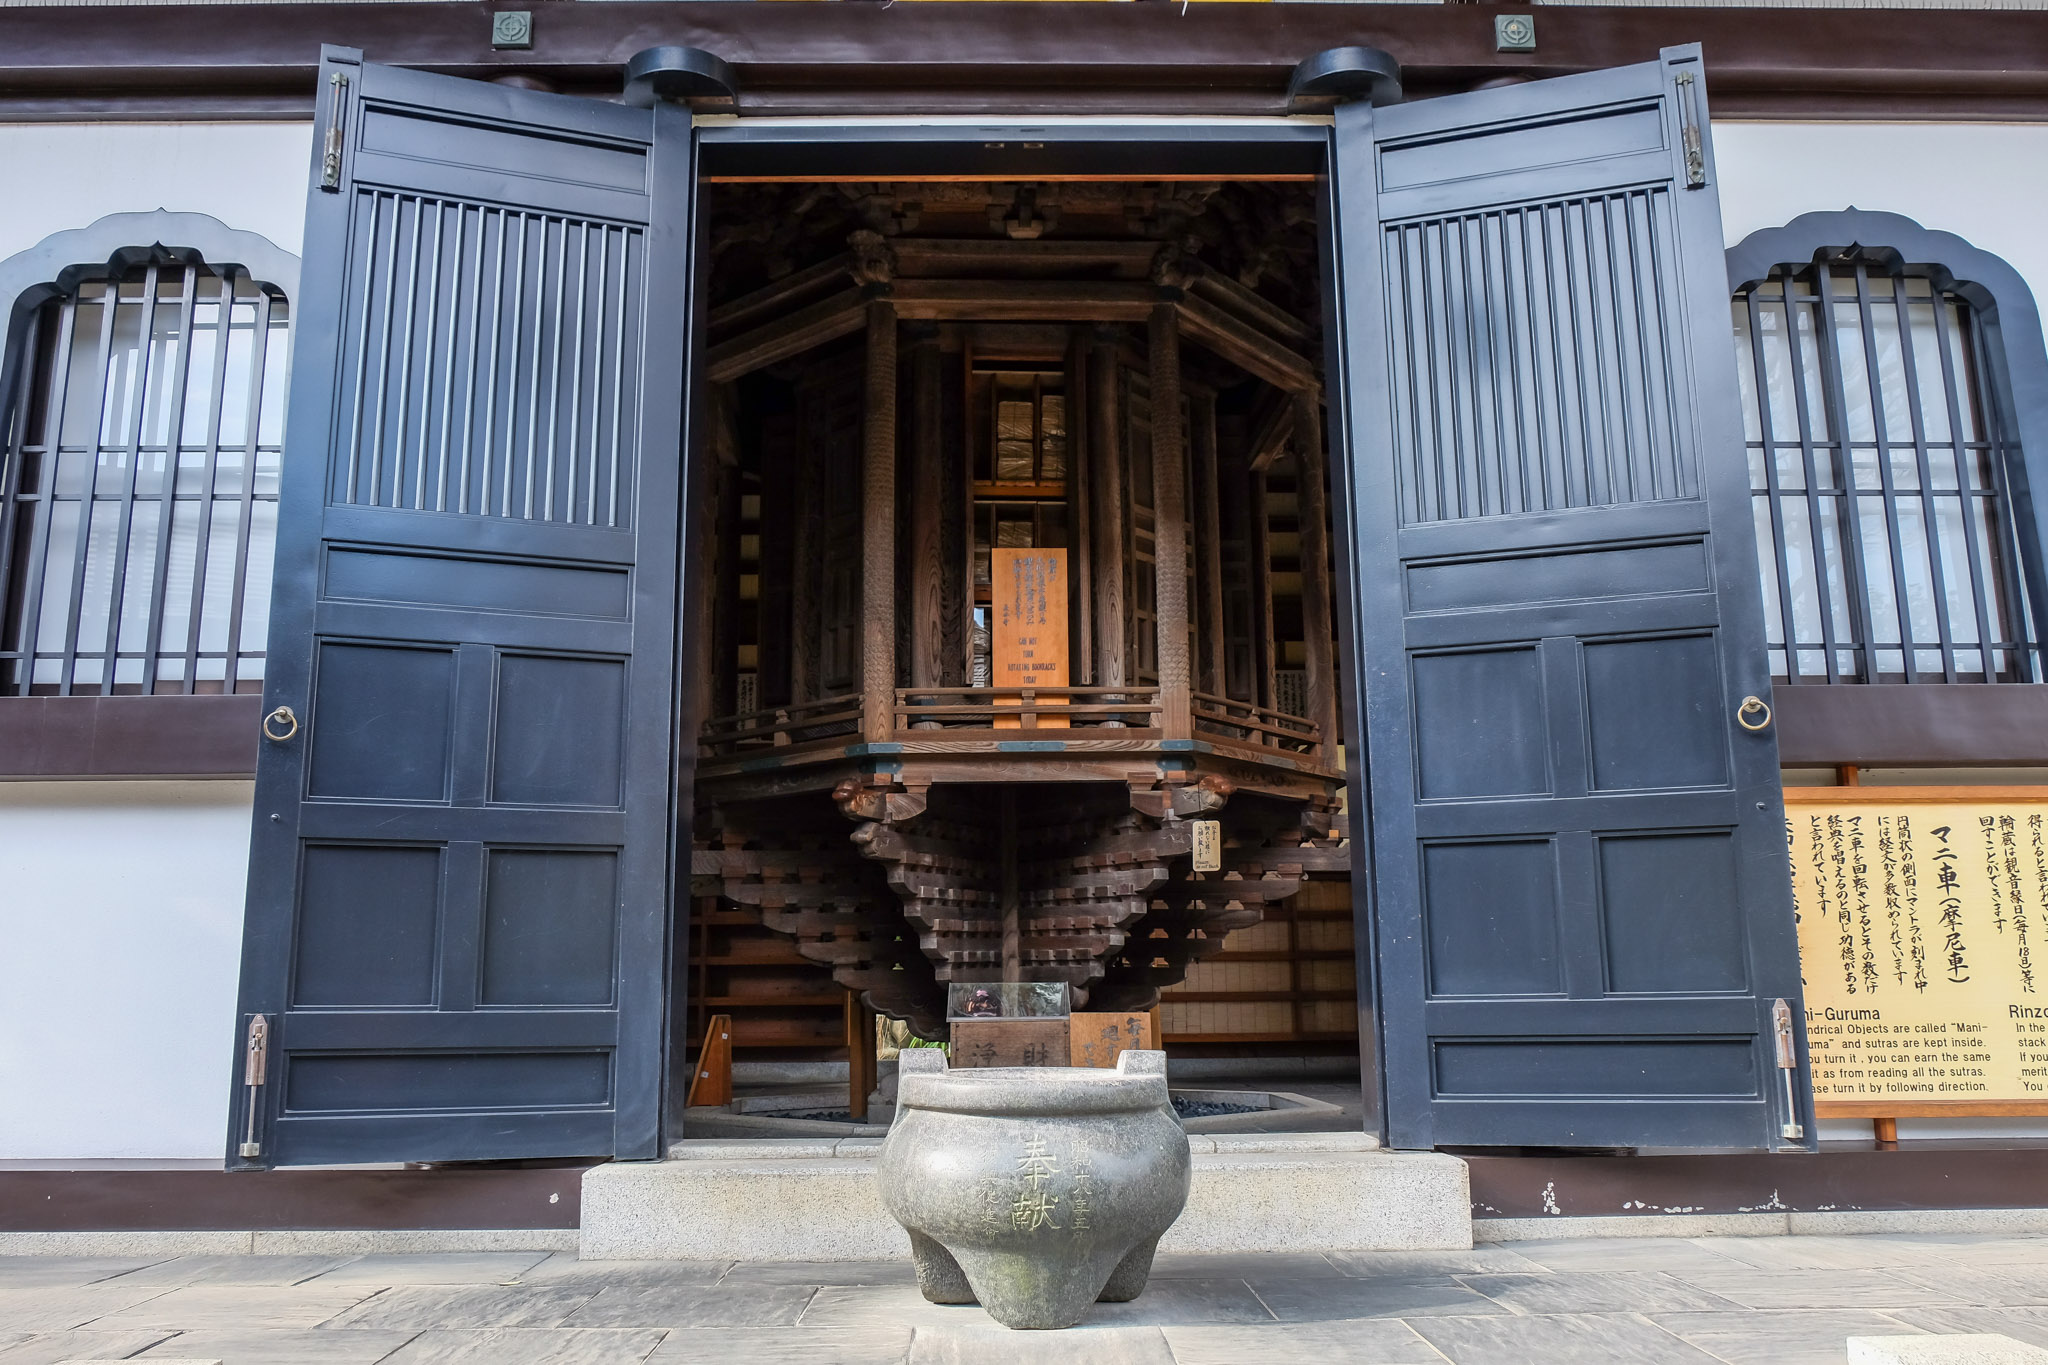
In addition, there is a cave below where you can pay respects to the statue of Benzaiten, one of the seven gods of fortune in Japan.

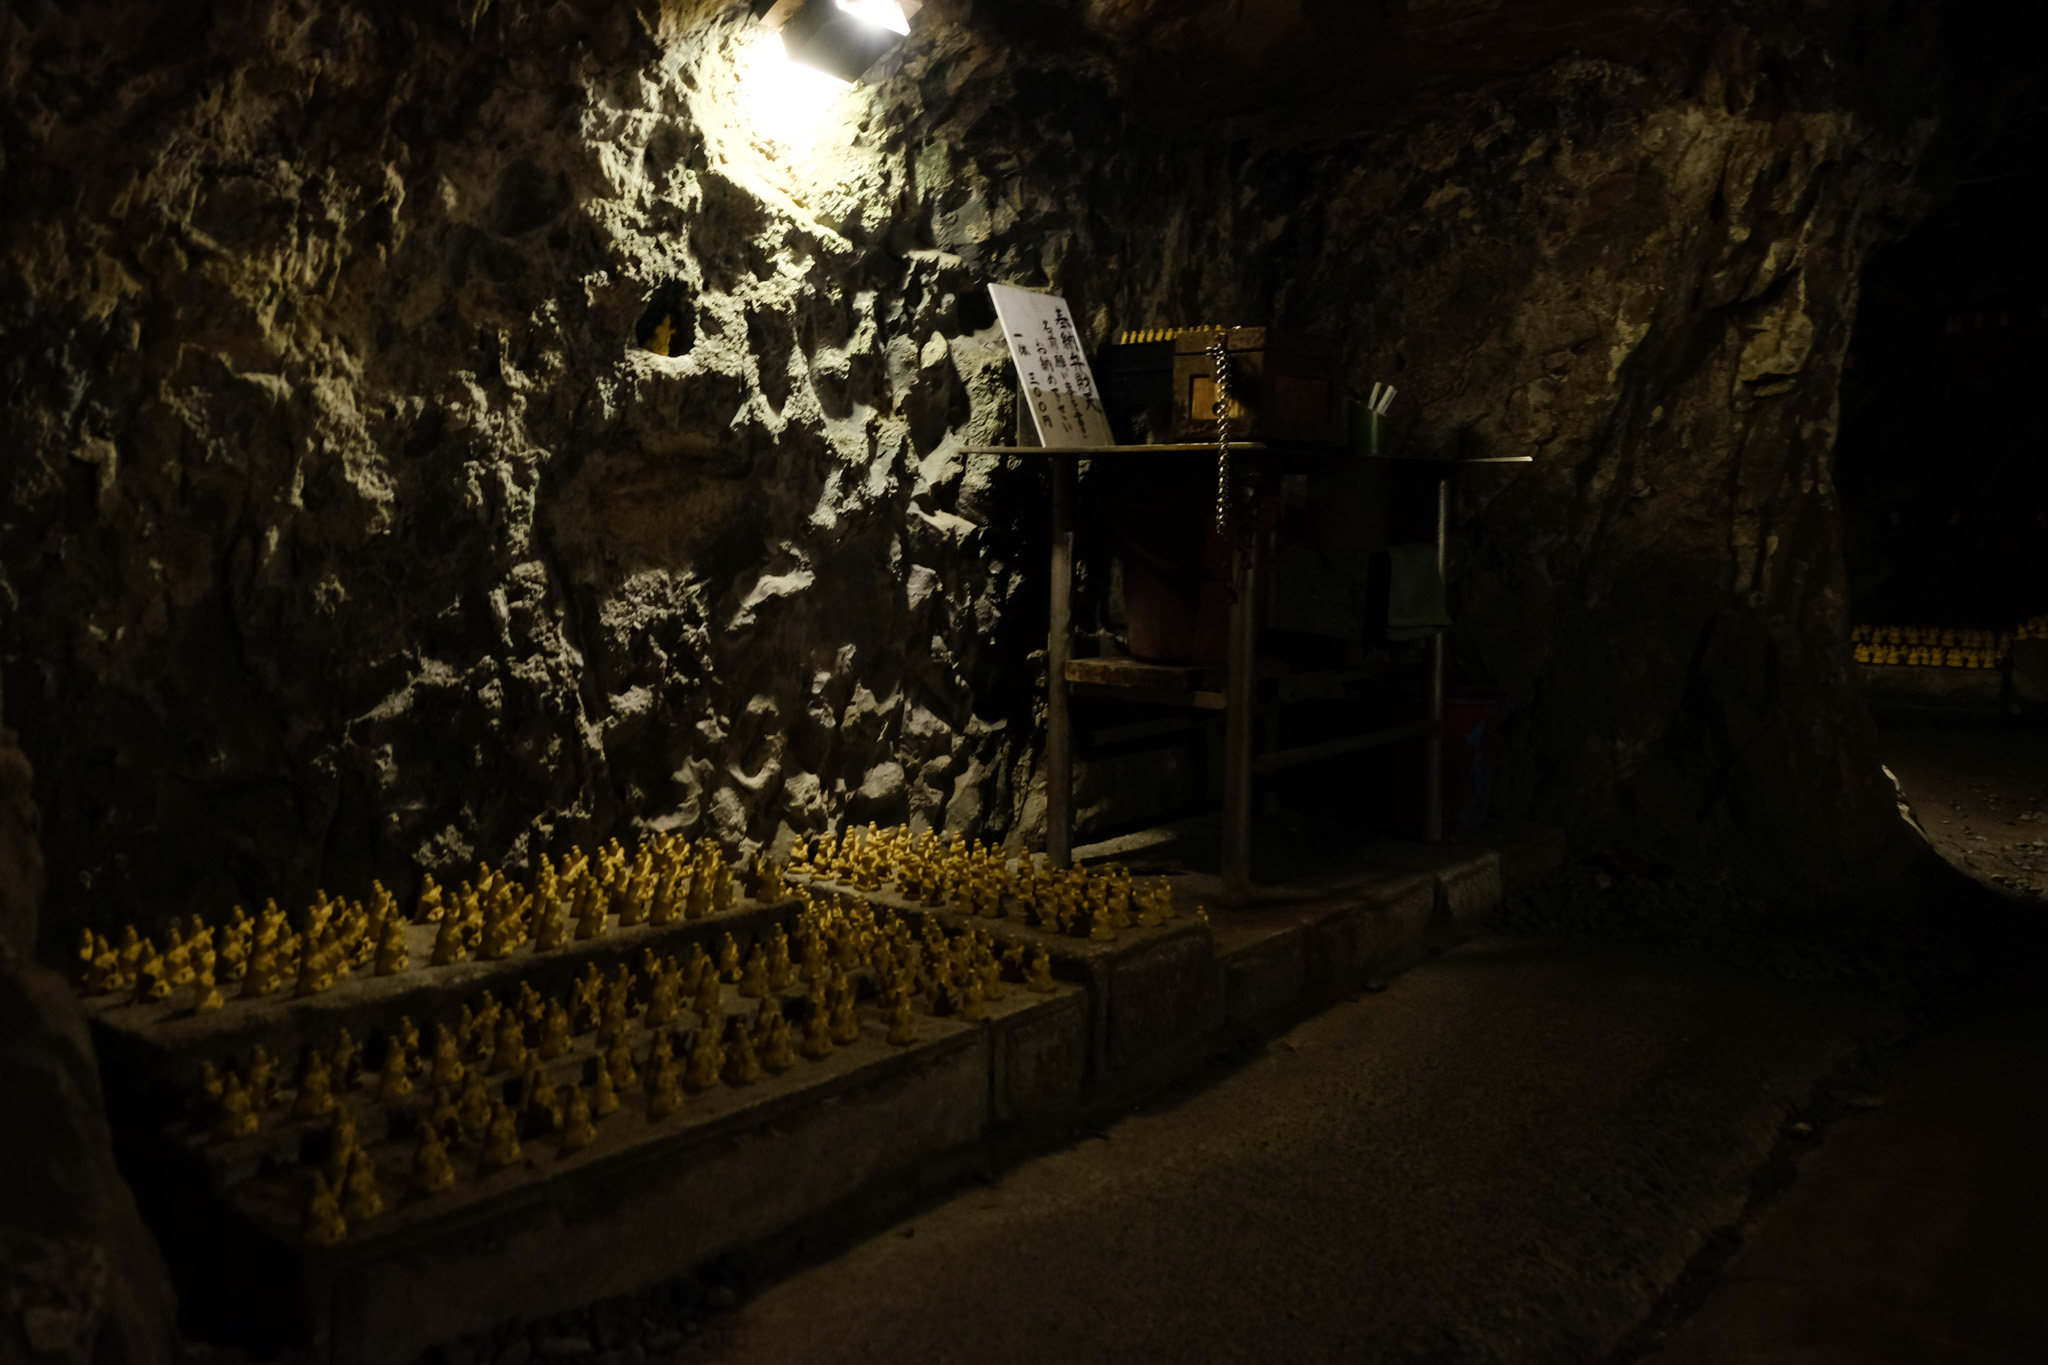
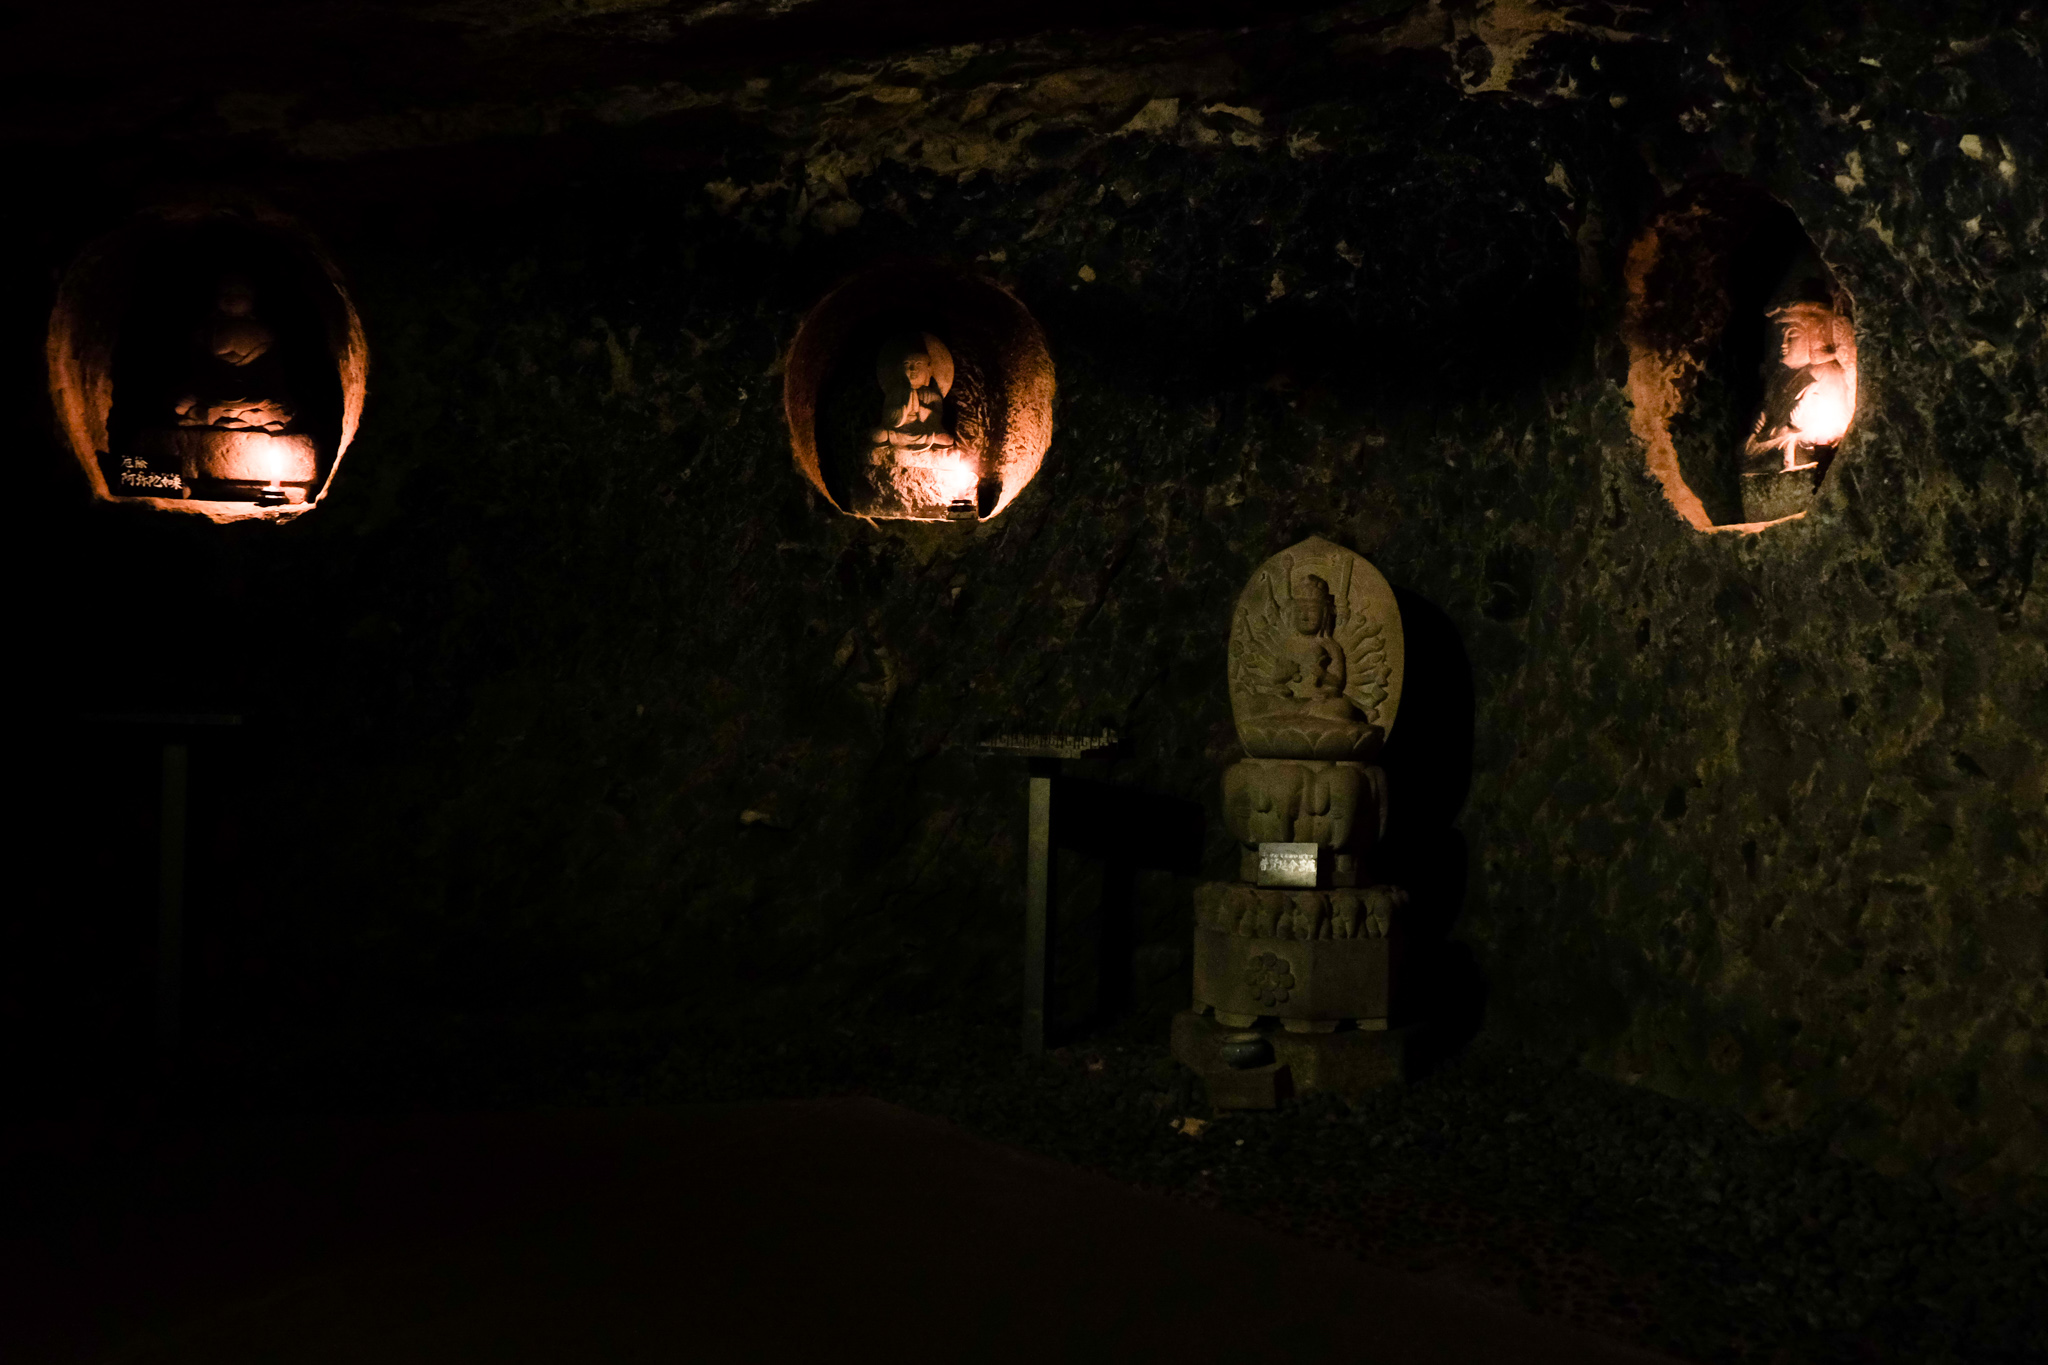
Enoshima Island
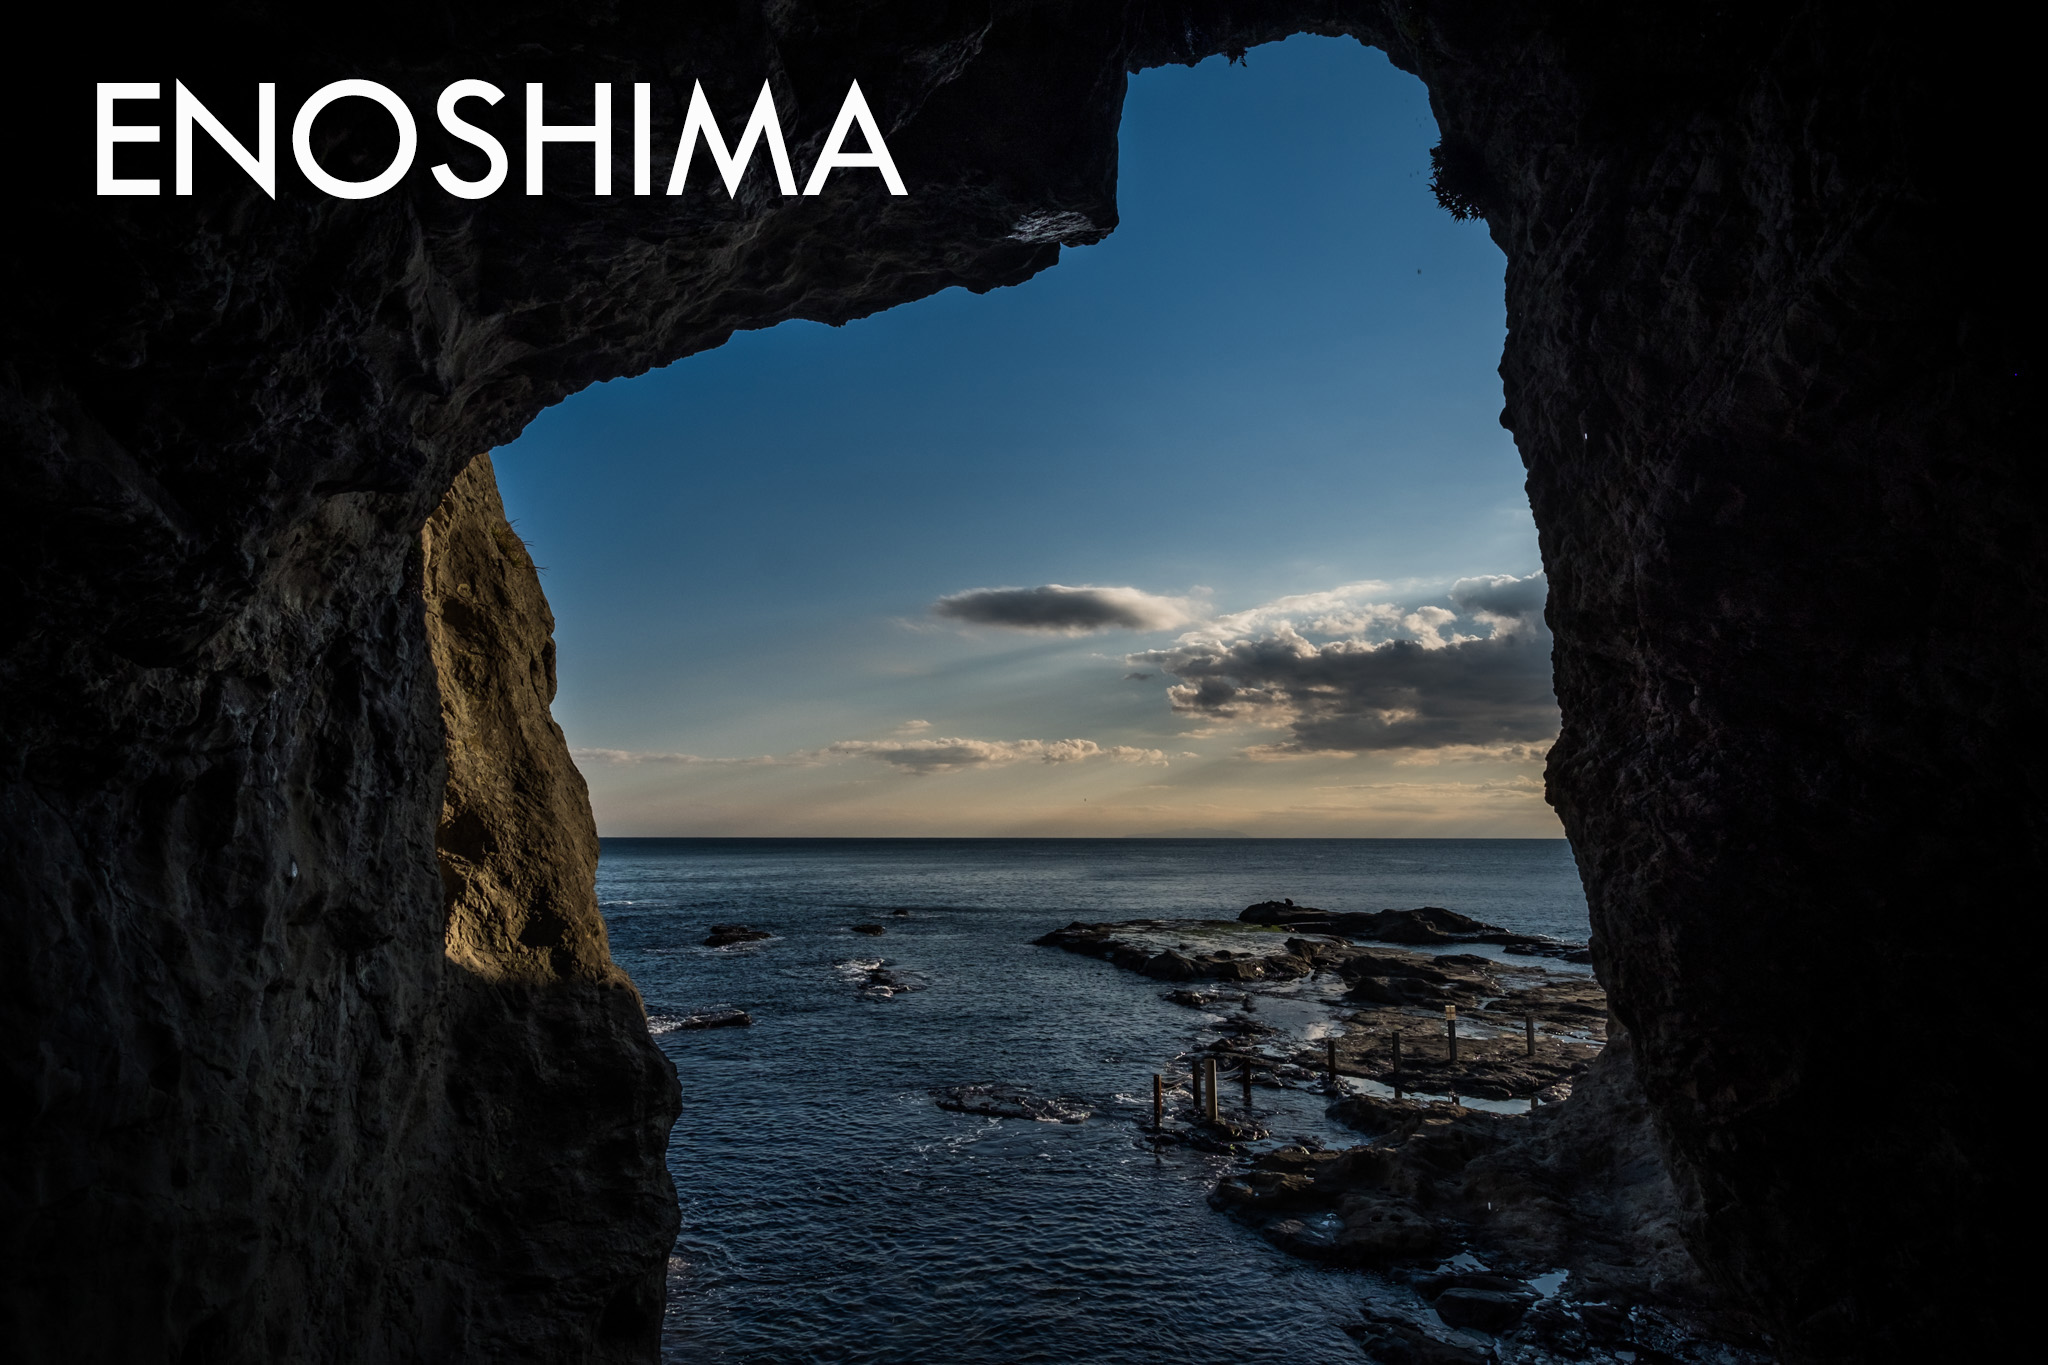
As I left Hase Dera, it was already noon. My original plan was to visit the Tsurugaoka Hachimangu Shrine at Kamakura Station before heading over to Enoshima Island, but I didn't have enough time. So I took the Enoshima Electric Railway directly to Enoshima Station. This railway line offers beautiful ocean views along the way.
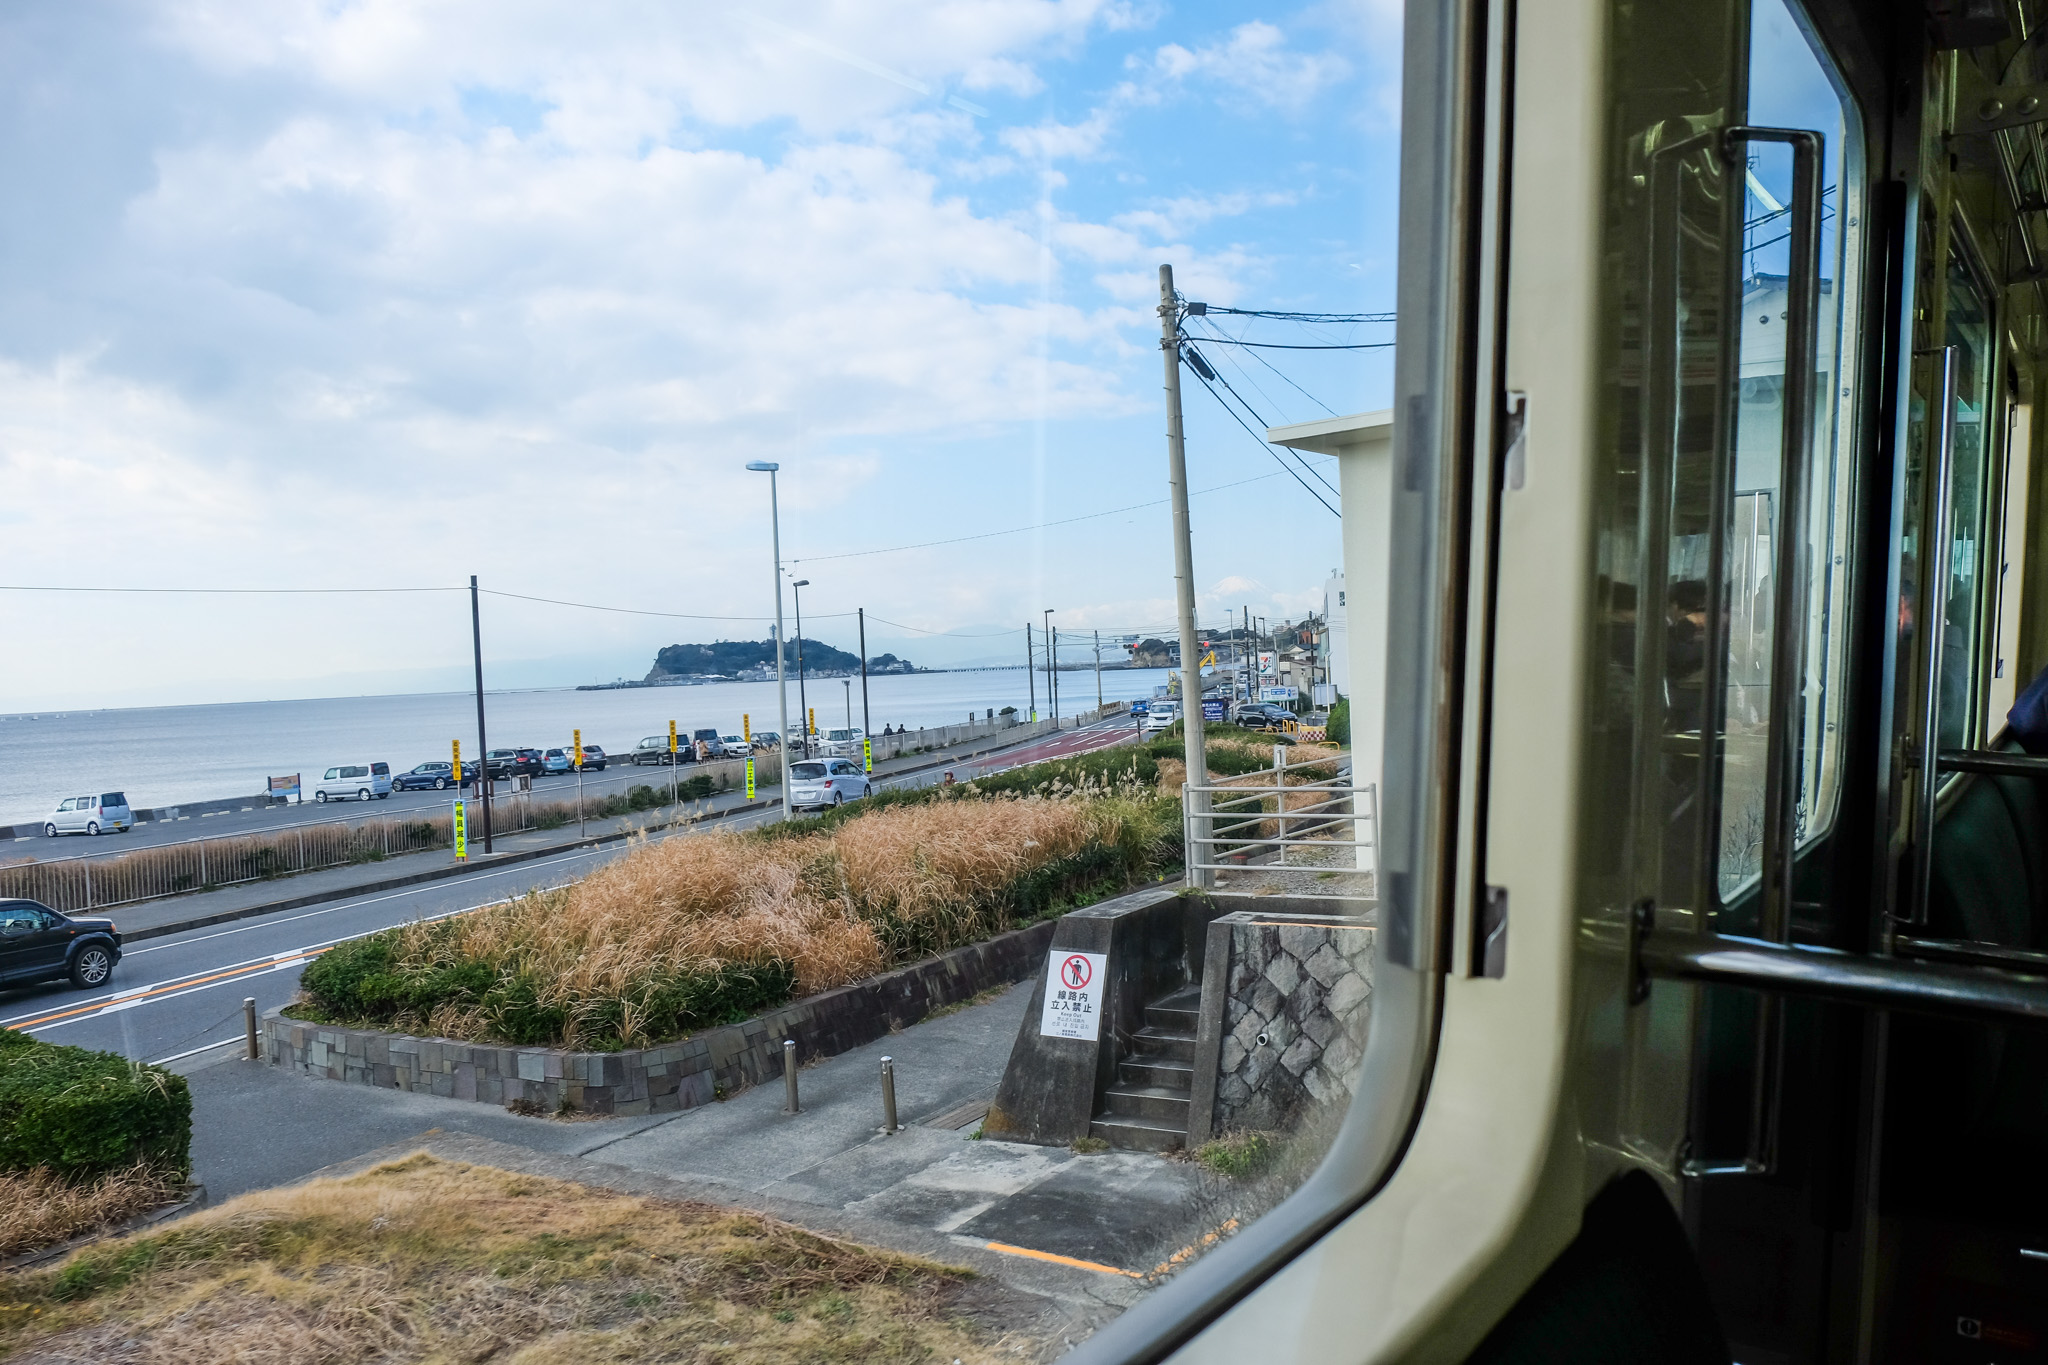
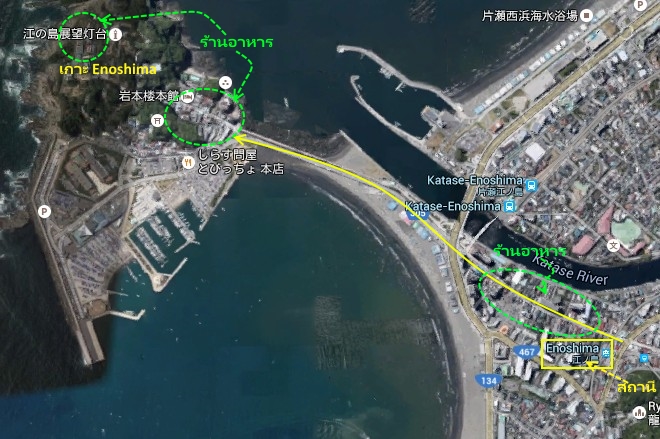
From Enoshima Station to the island itself, it is about a 1.5 kilometer walk. The first 5 kilometers will pass by restaurants, which is where I stopped to eat. The last 1 kilometer is a walk across the bridge to the island. Once you cross the bridge, there will be more restaurants, but the prices will be a bit higher. After this point, there will be no more restaurants until you reach the Iwaya Caves, where there will be a large restaurant with a view of the sunset.
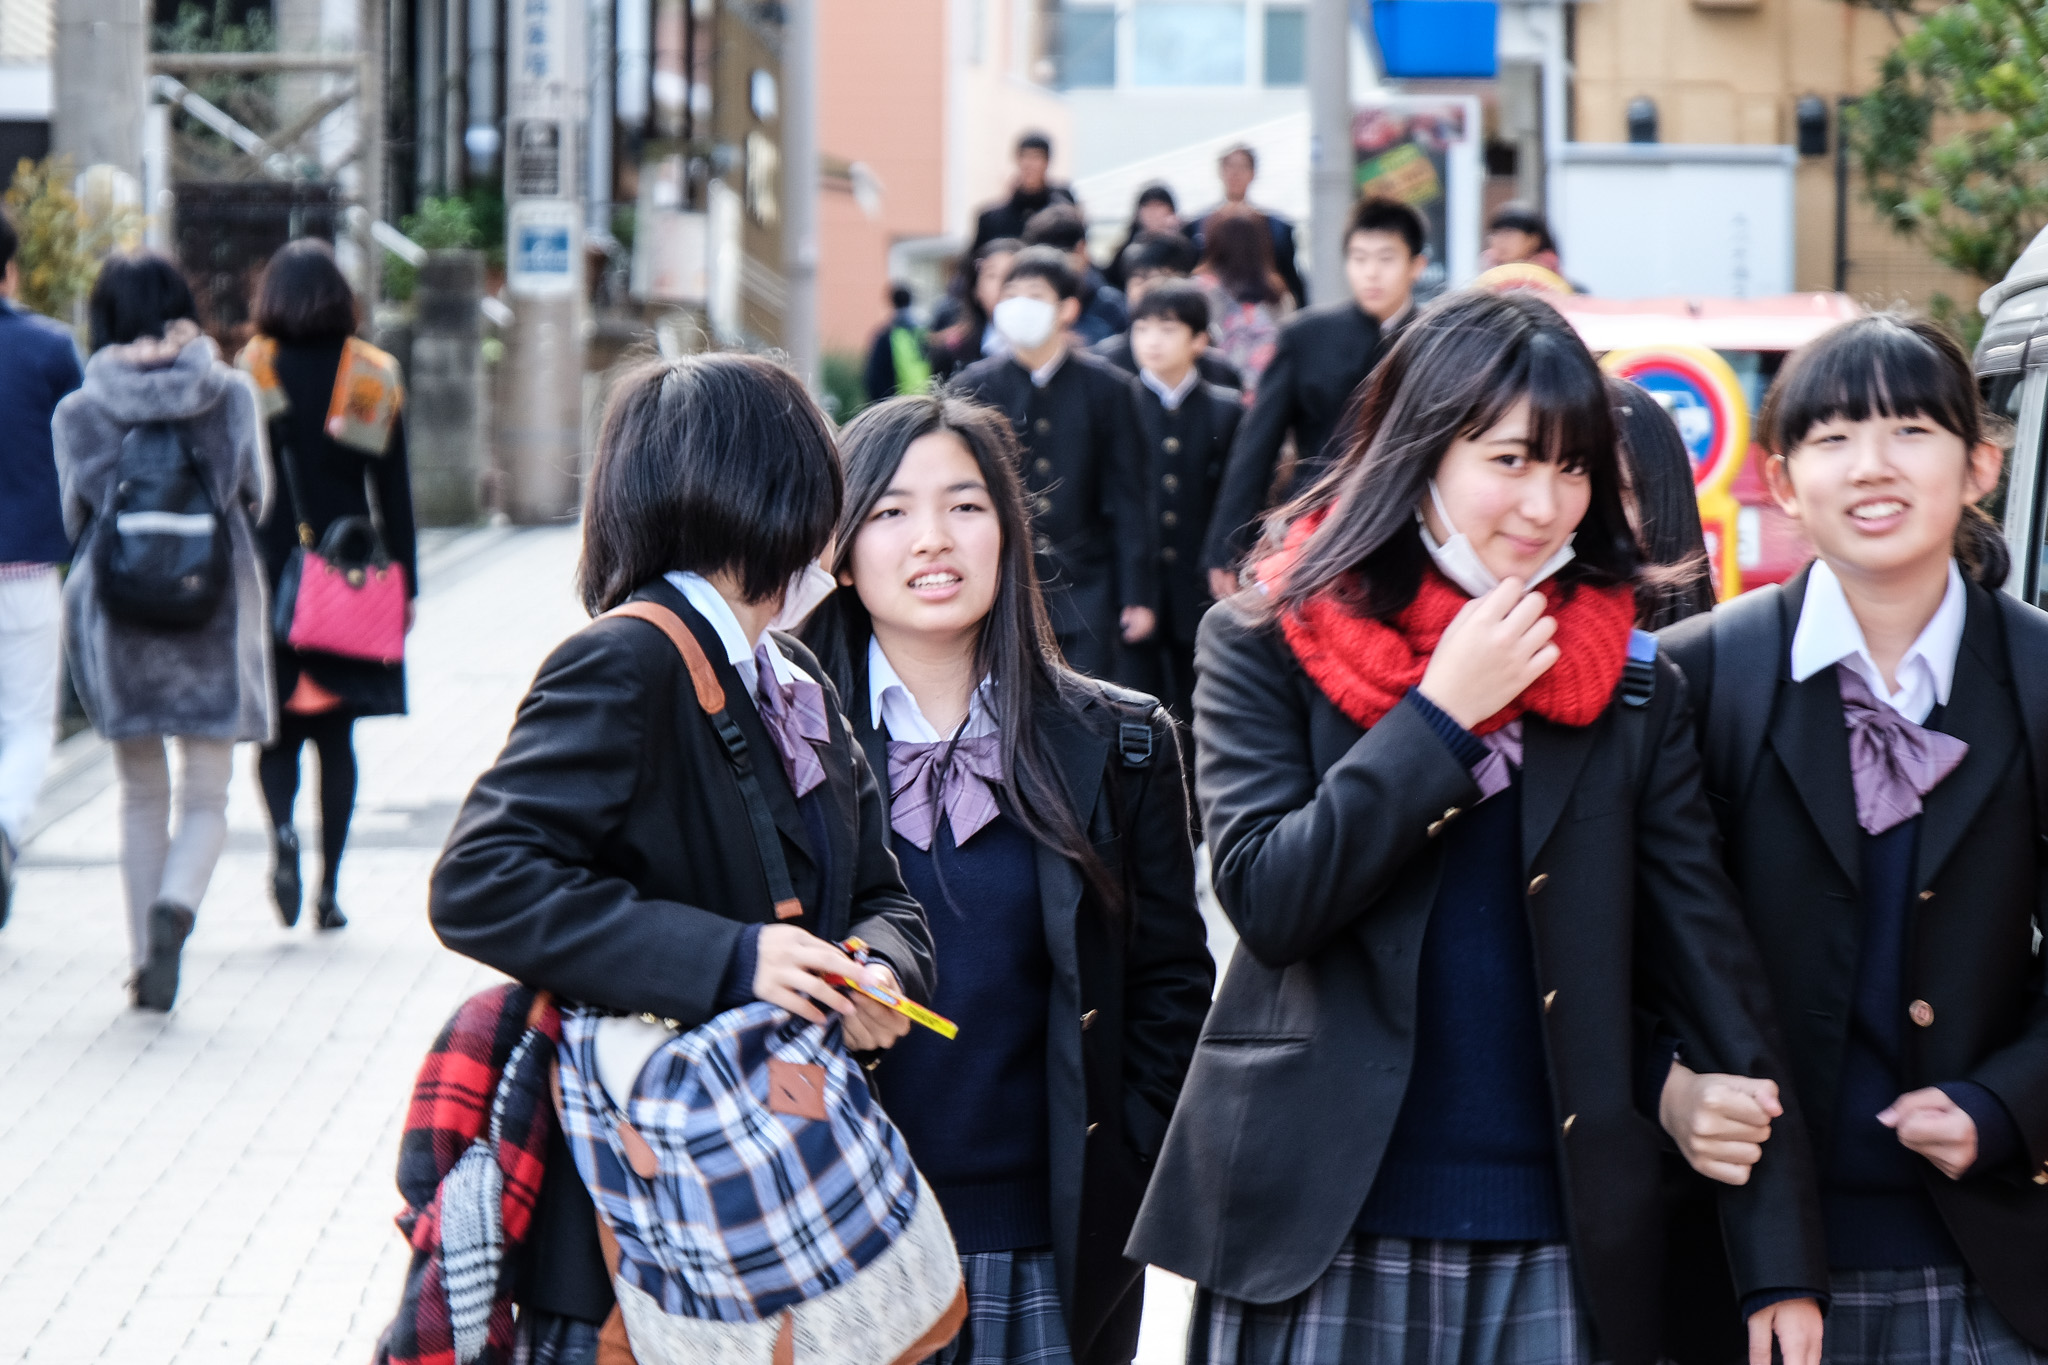
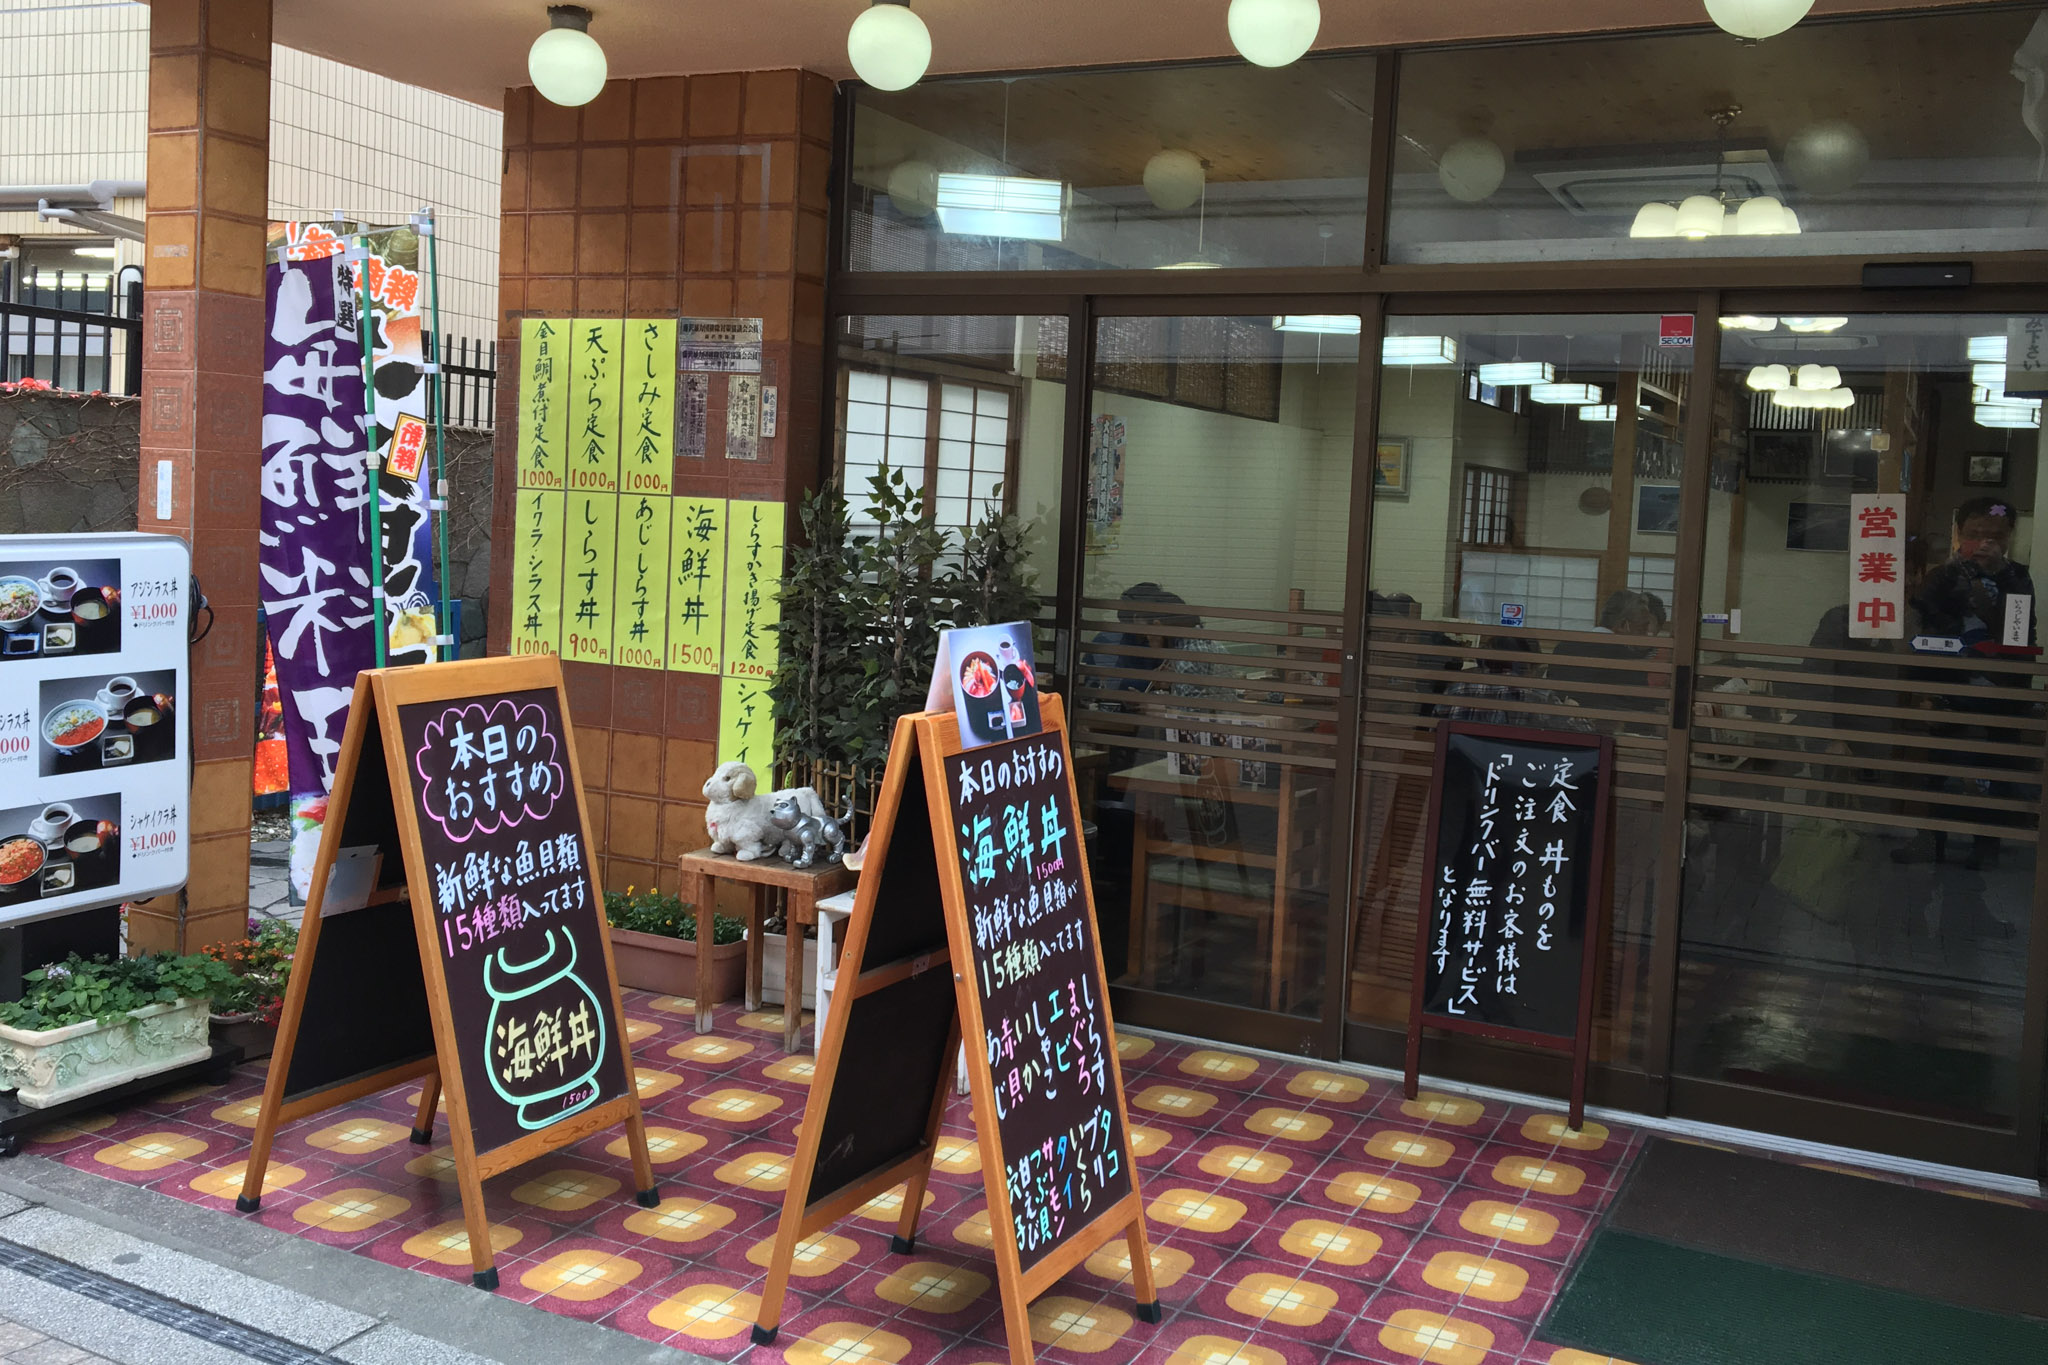
As I walked out, I passed a large group of high school students. I think they must have been on a field trip to Enoshima Island that day. The island's famous dishes are whitebait rice bowl (Shirasudon) and sea urchin rice bowl. Some people might not be able to stomach the first dish because it looks a bit scary, but the taste is actually quite good. The whitebait here is very meaty, and you get a mouthful of fish with every bite. The price is around 1,000 yen per bowl. The restaurant is located just before the main road to cross the bridge.
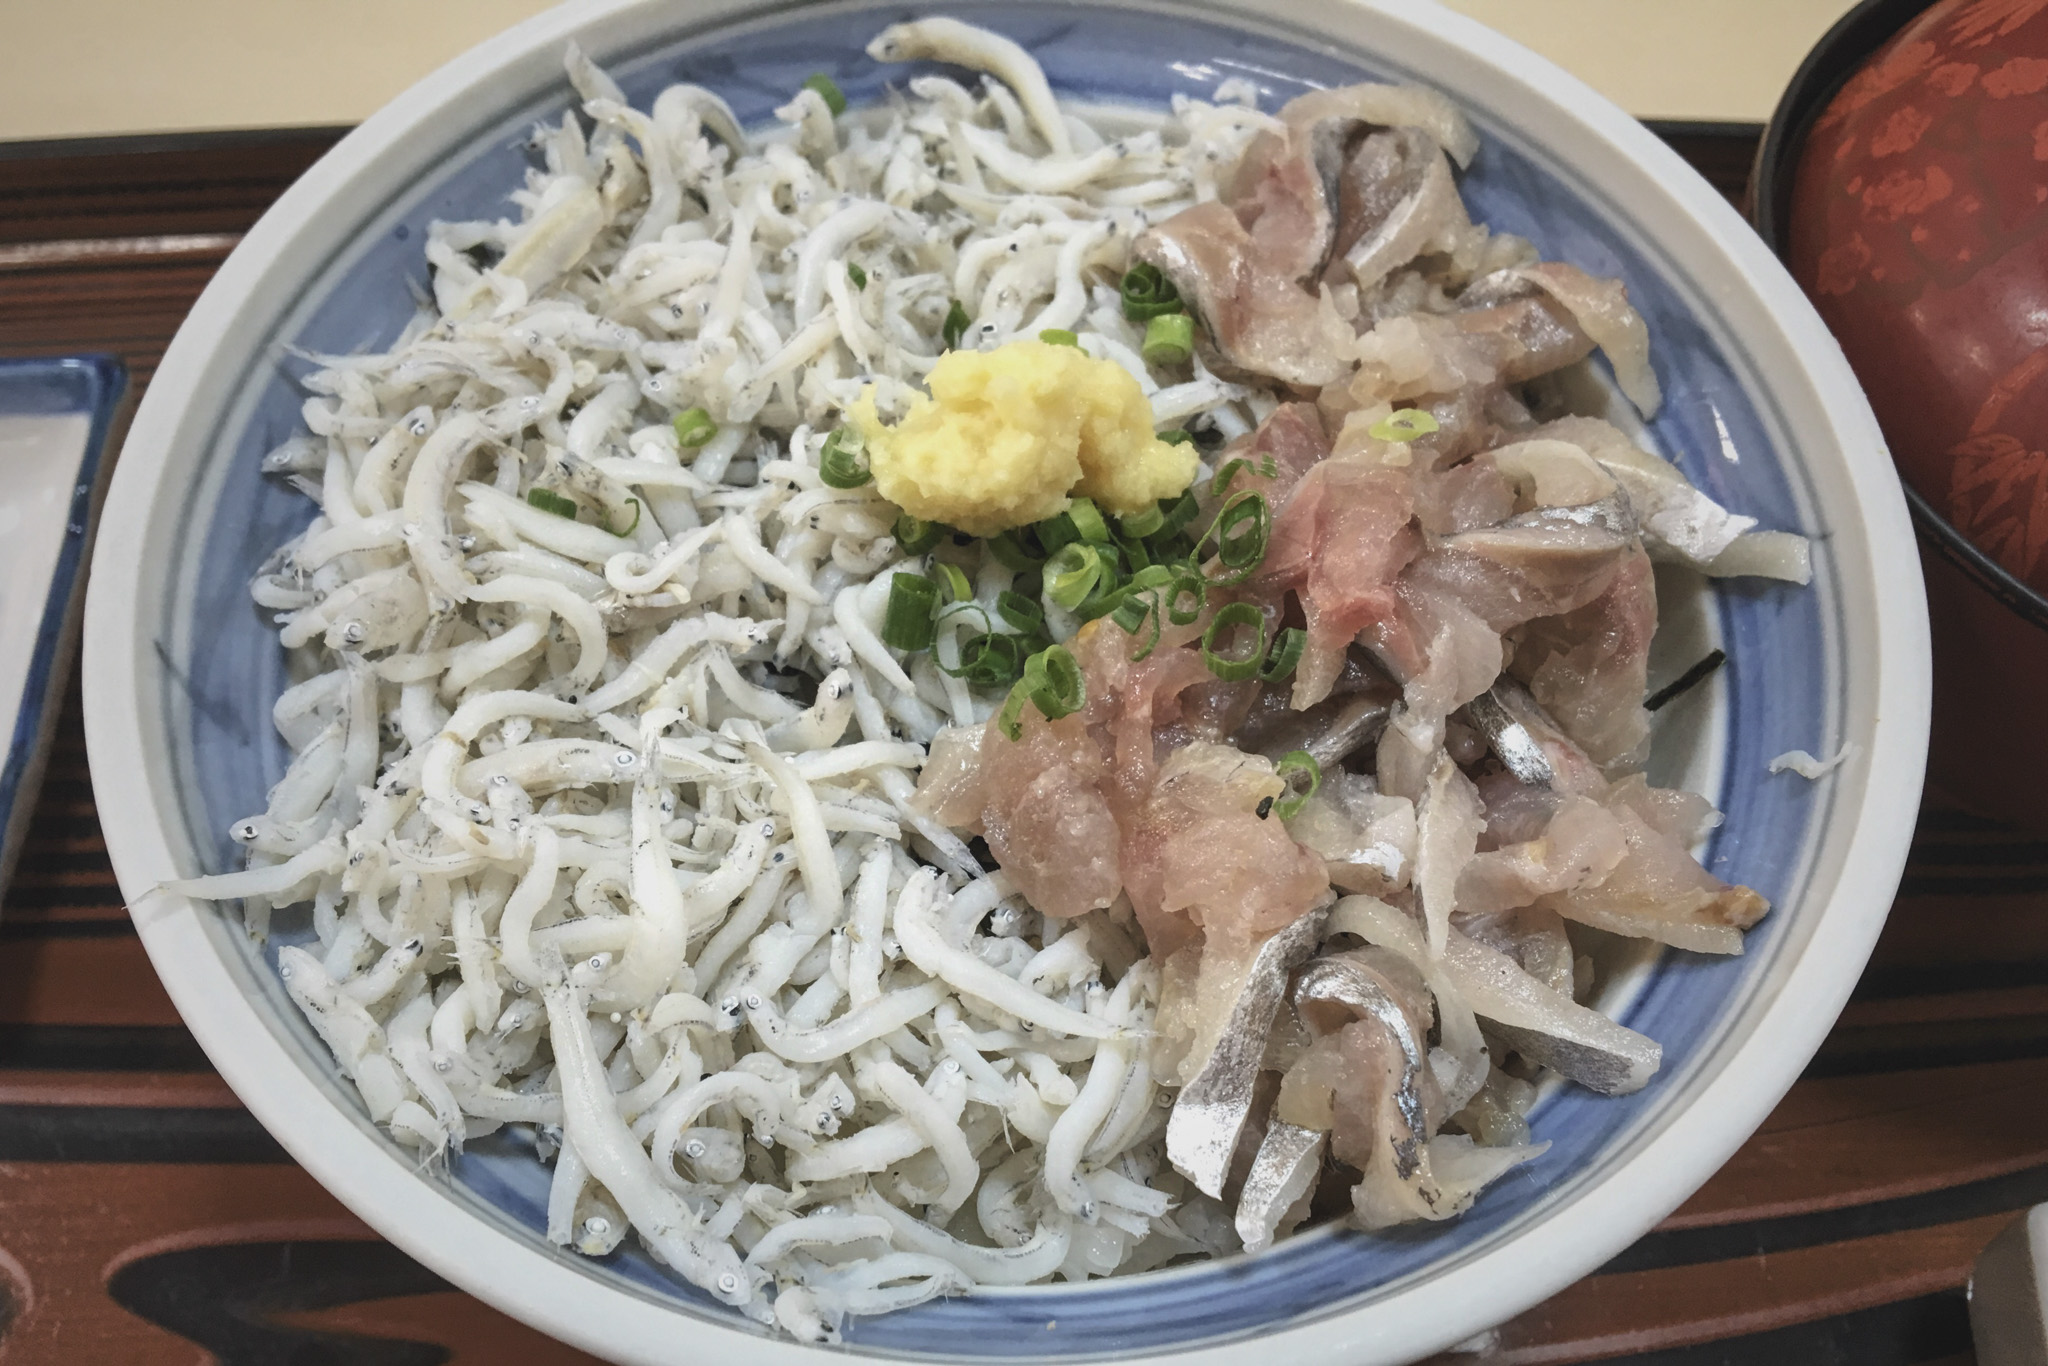
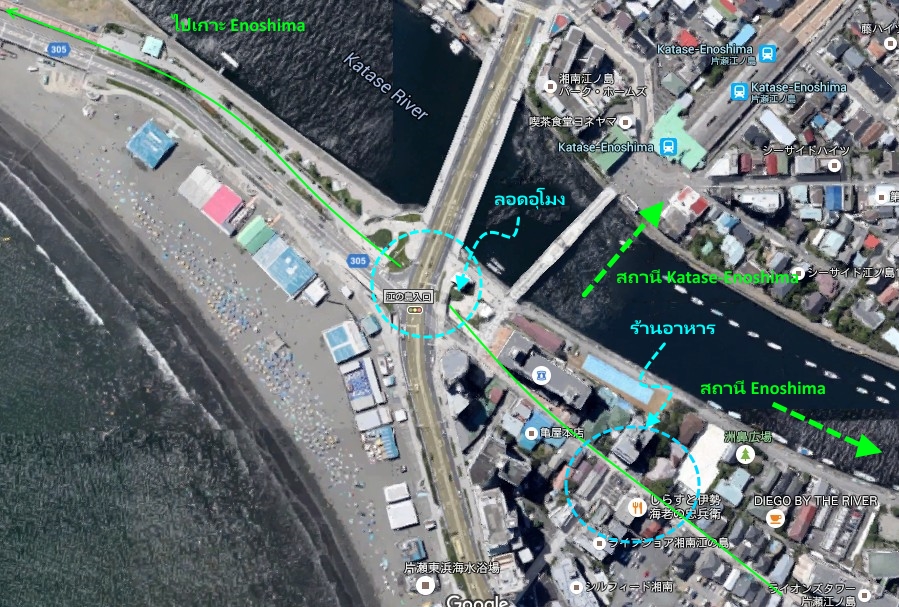
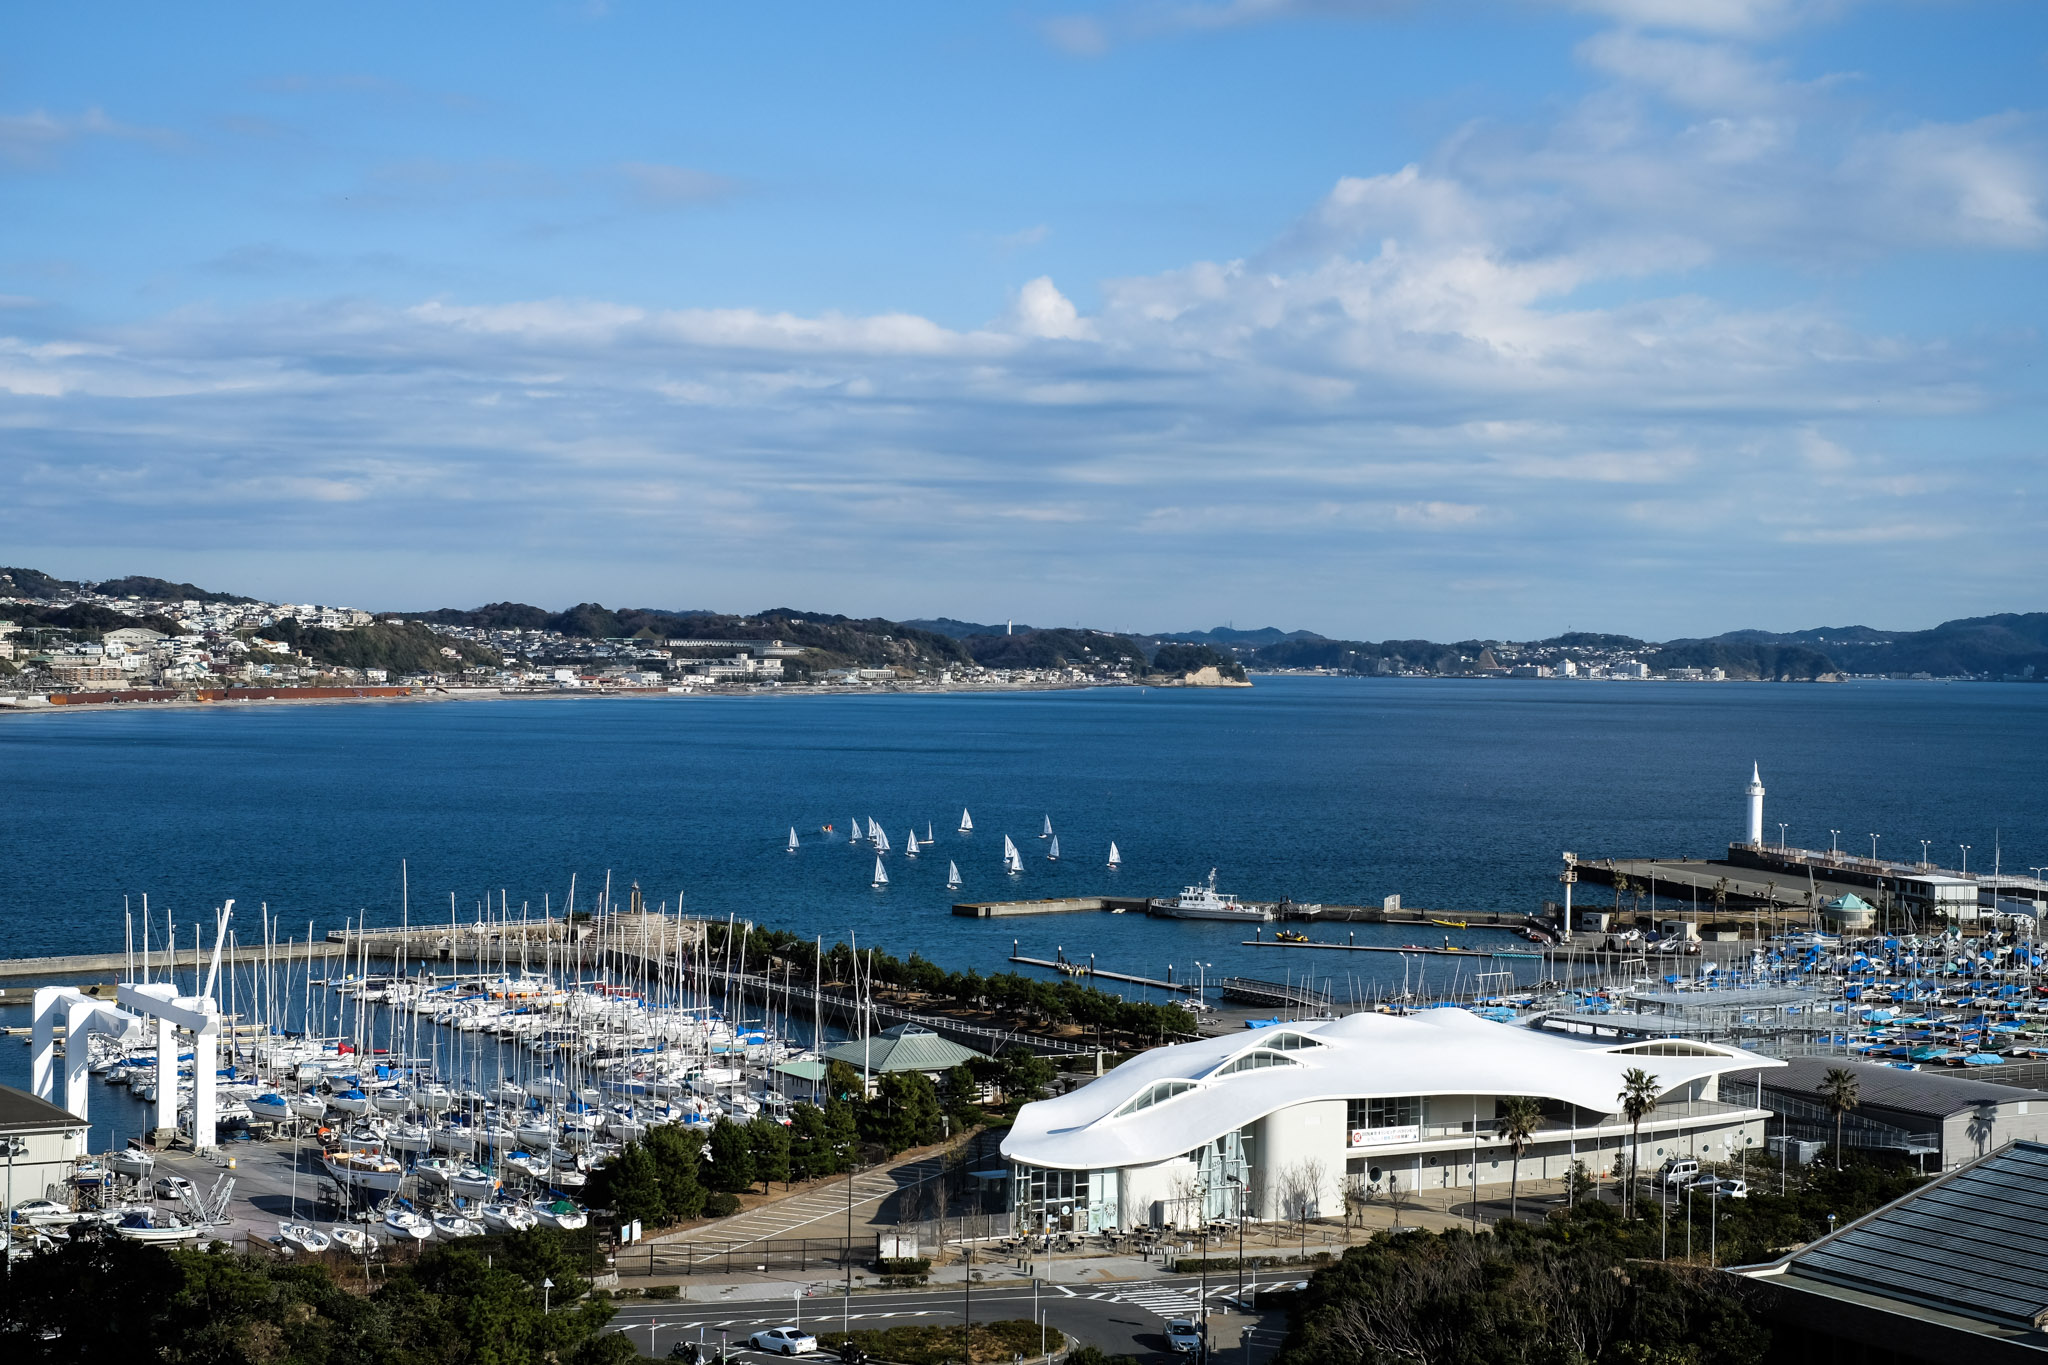
Let's zoom in on the area near the bridge. After passing the restaurant where I ate, you will find a Lawson convenience store. Then, you will see a small bridge on the right-hand side, which will take you to Katase-Enoshima Station. This station is operated by Odakyu Electric Railway. If you have a Kamakura Pass, you will probably need to take this line. You can also use it to return to Tokyo. From this point, you need to walk straight down the tunnel. When you come up, you will see the Dragon Pillar, which is the symbol of this island. The origin of the pillar comes from the legend of the five-headed dragon that emerged to attack the villagers in this area. The goddess Benzaiten (the same deity enshrined in the cave at Hase Dera Temple) then appeared above Enoshima Island and chased the dragon away to the mountain opposite the island (Tatsu no Kuchi Yama, Dragon's Mouth Mountain).
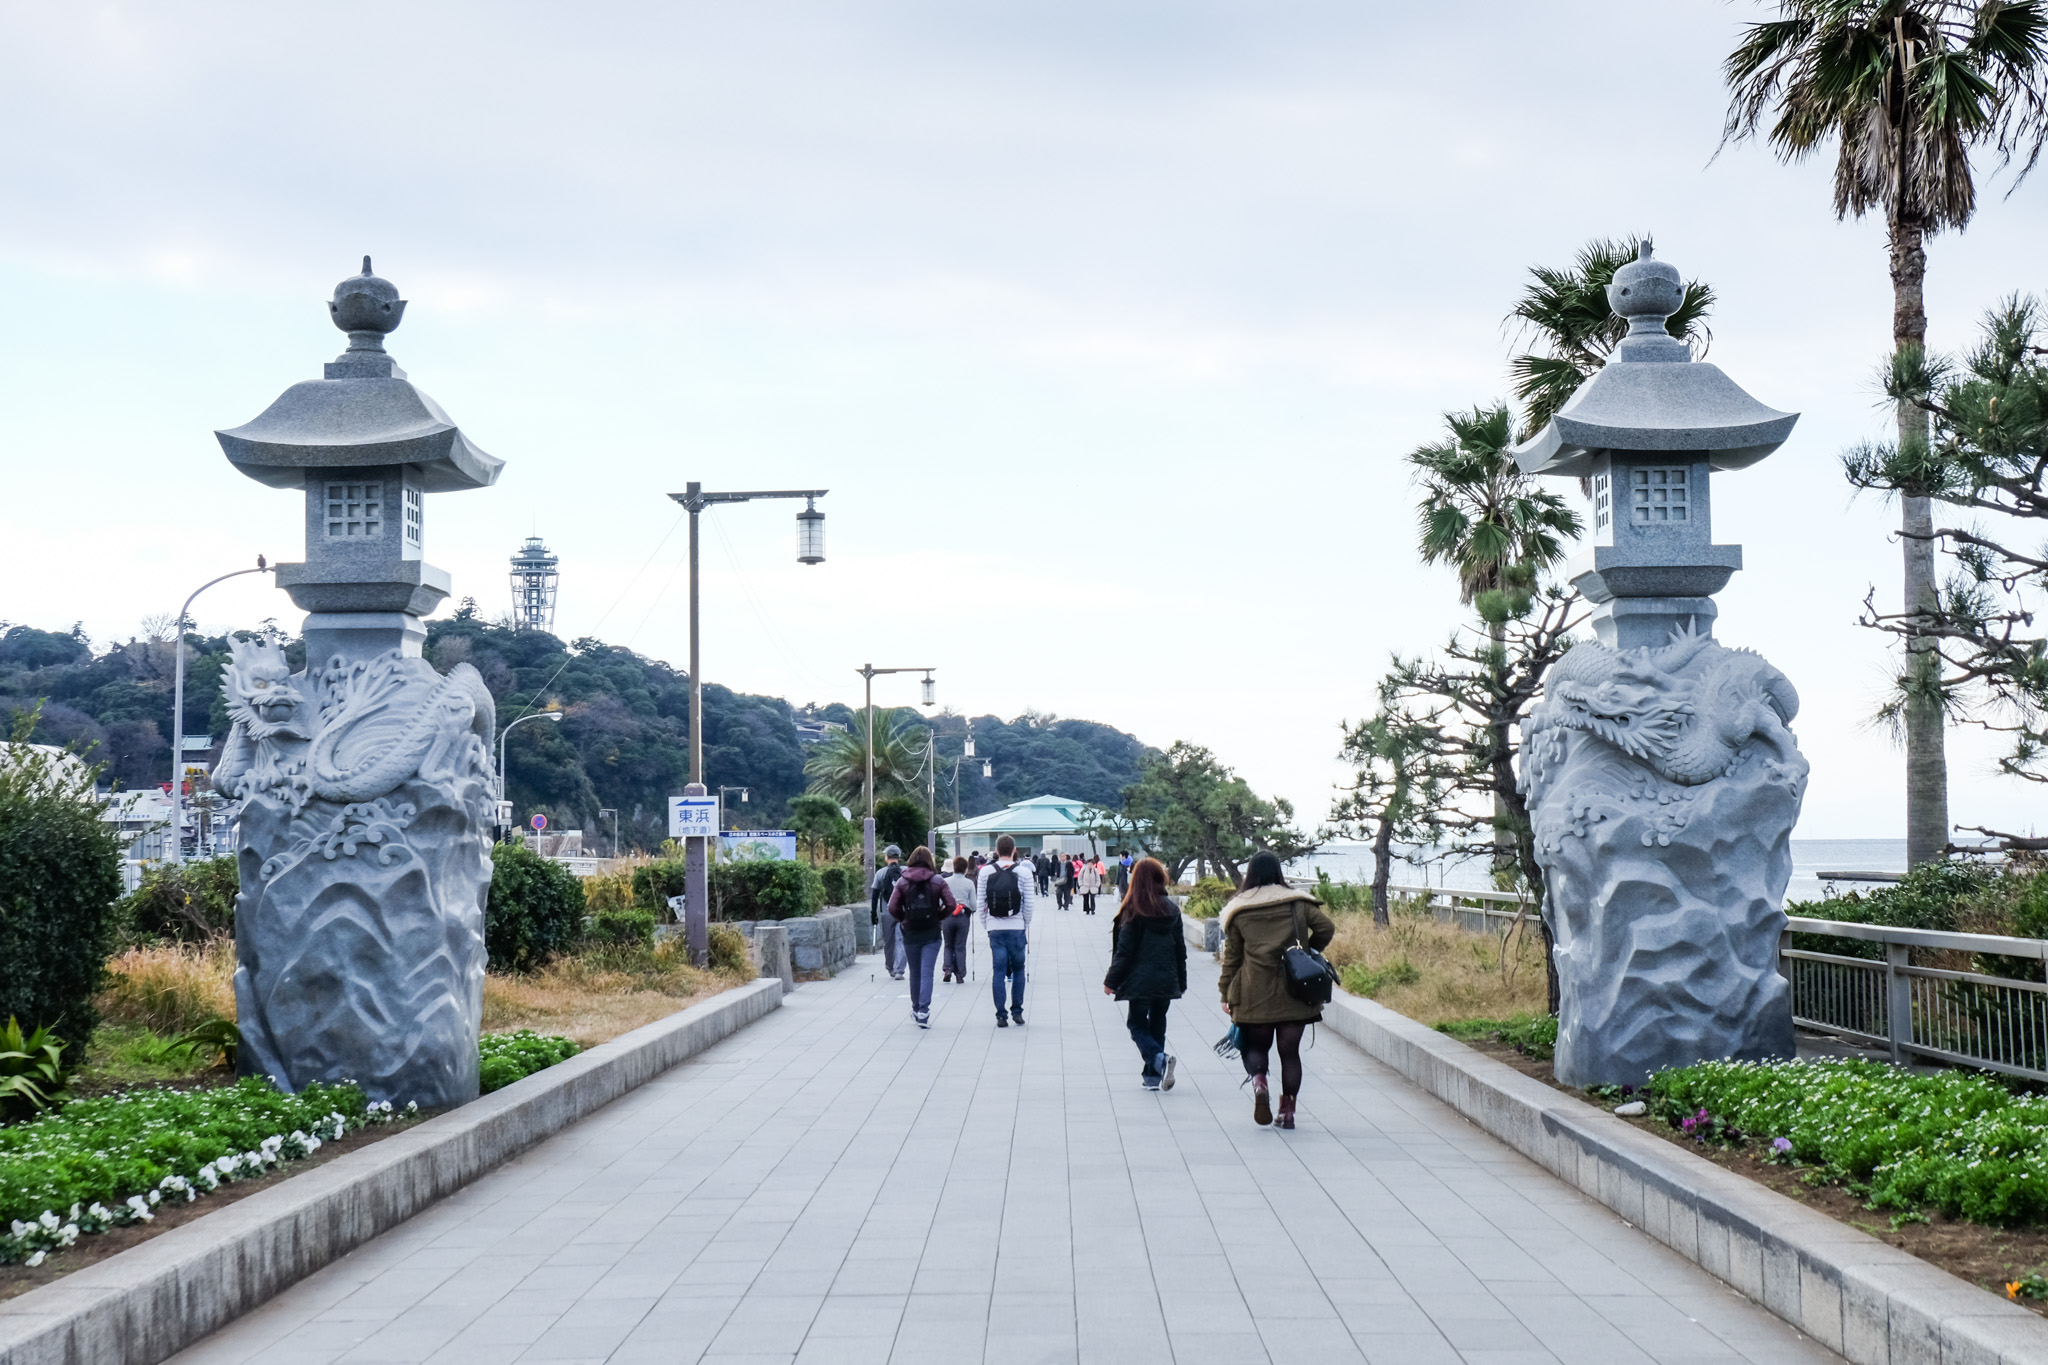
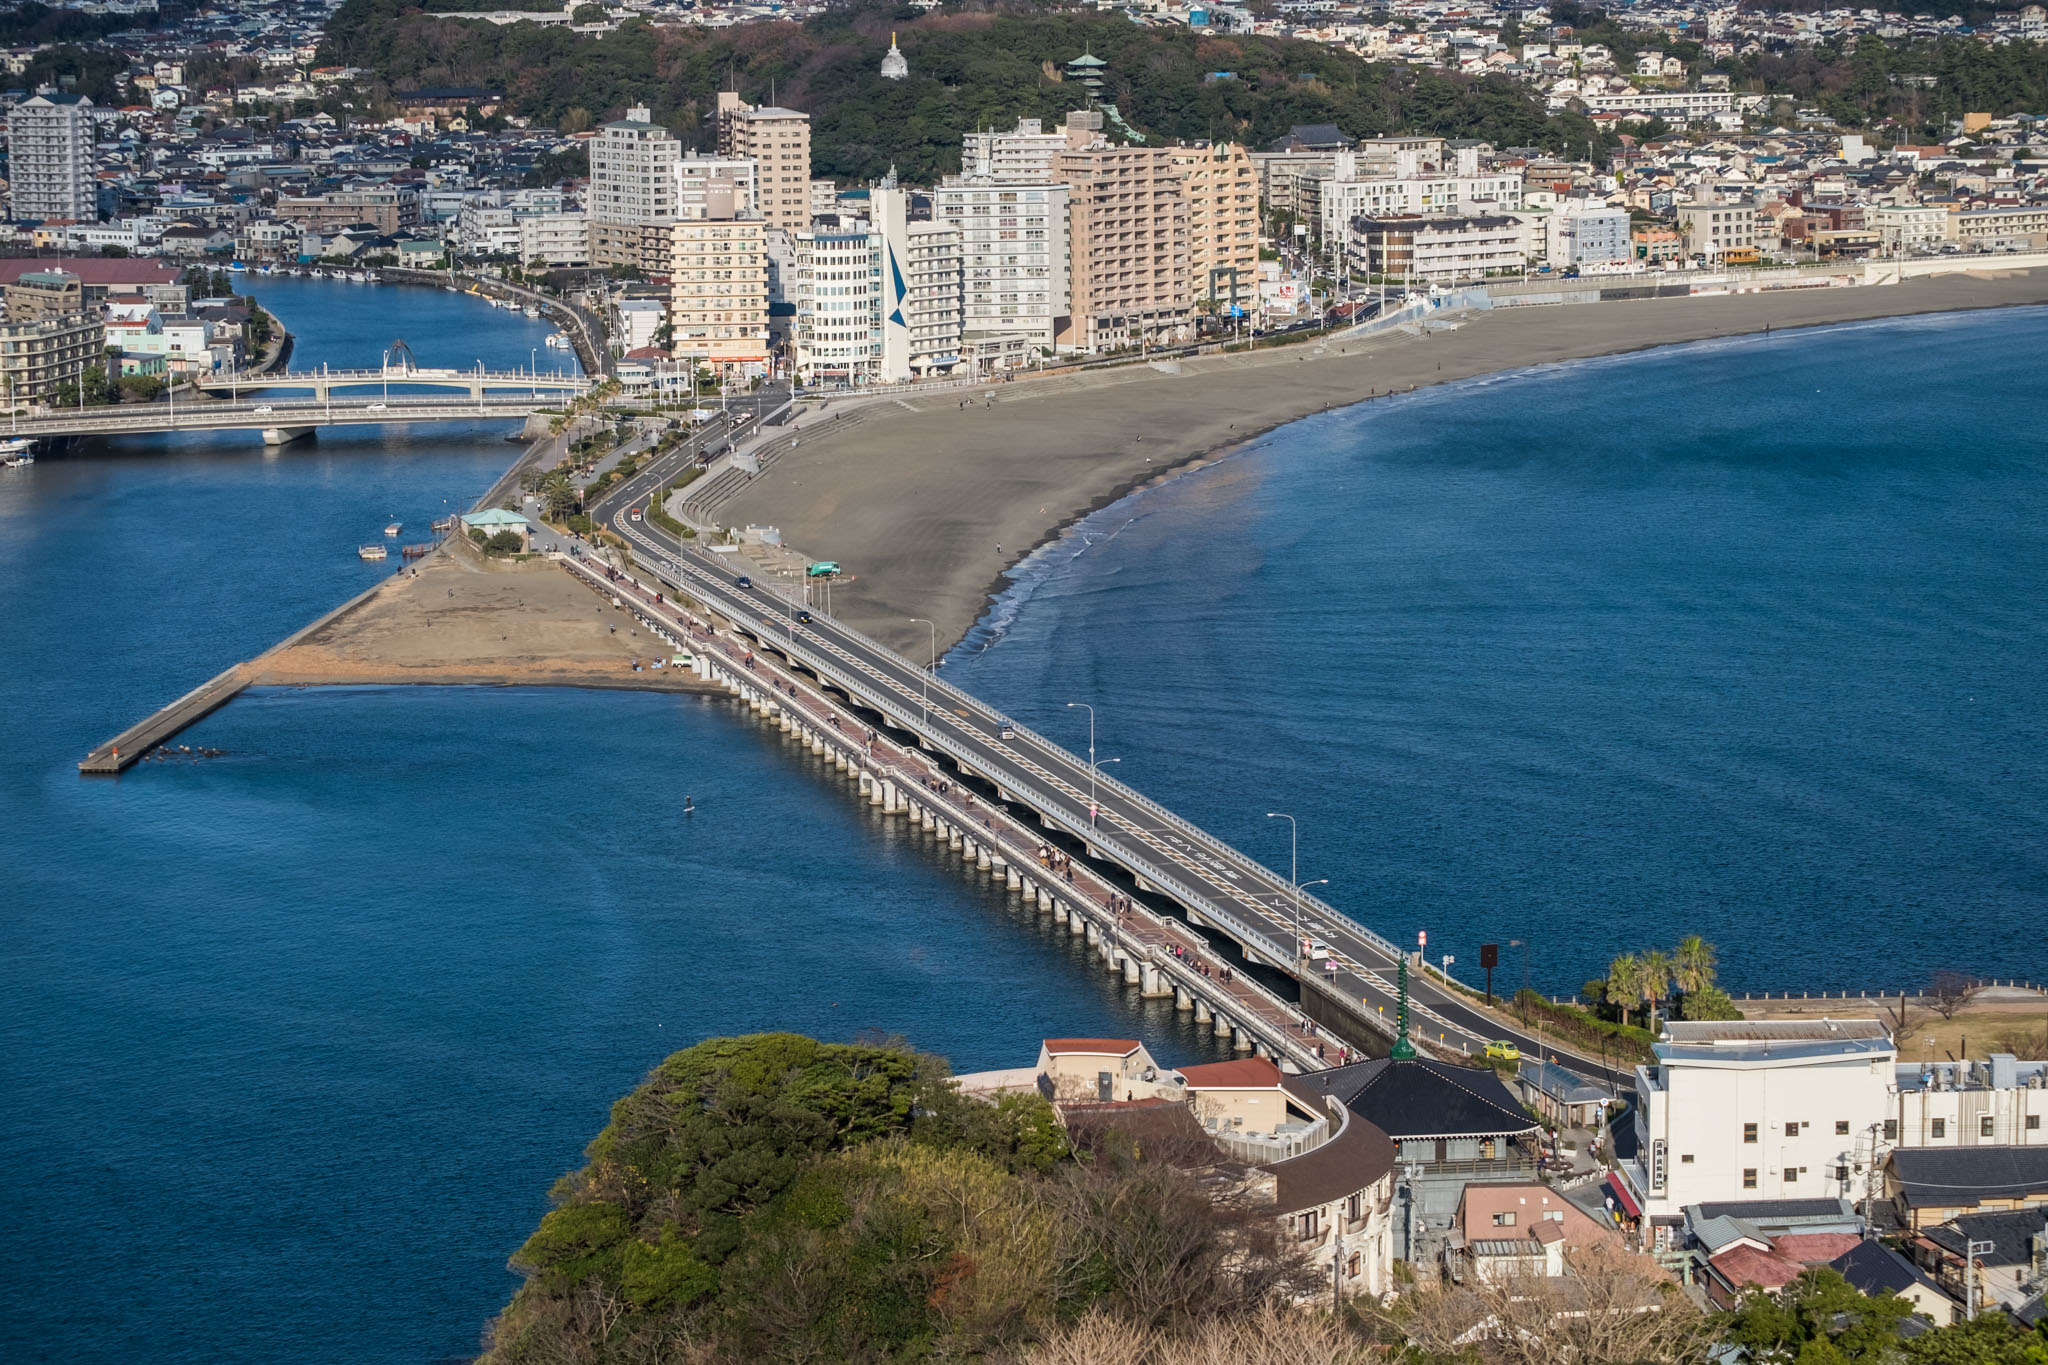
As you cross the bridge, you'll be treated to stunning views of the sea on both sides. On a clear day, you might even catch a glimpse of Mount Fuji. Be careful of the hawks while you're walking around the island, though. They're everywhere, just like seagulls. You'll hear their cries constantly, until you get used to it. If you're holding food, these hawks will follow you and swoop down to try and steal it. The thing is, their claws are really long, so if you get scratched, you're sure to bleed. Compared to these hawks, the monkeys at Khao Wang look downright adorable.
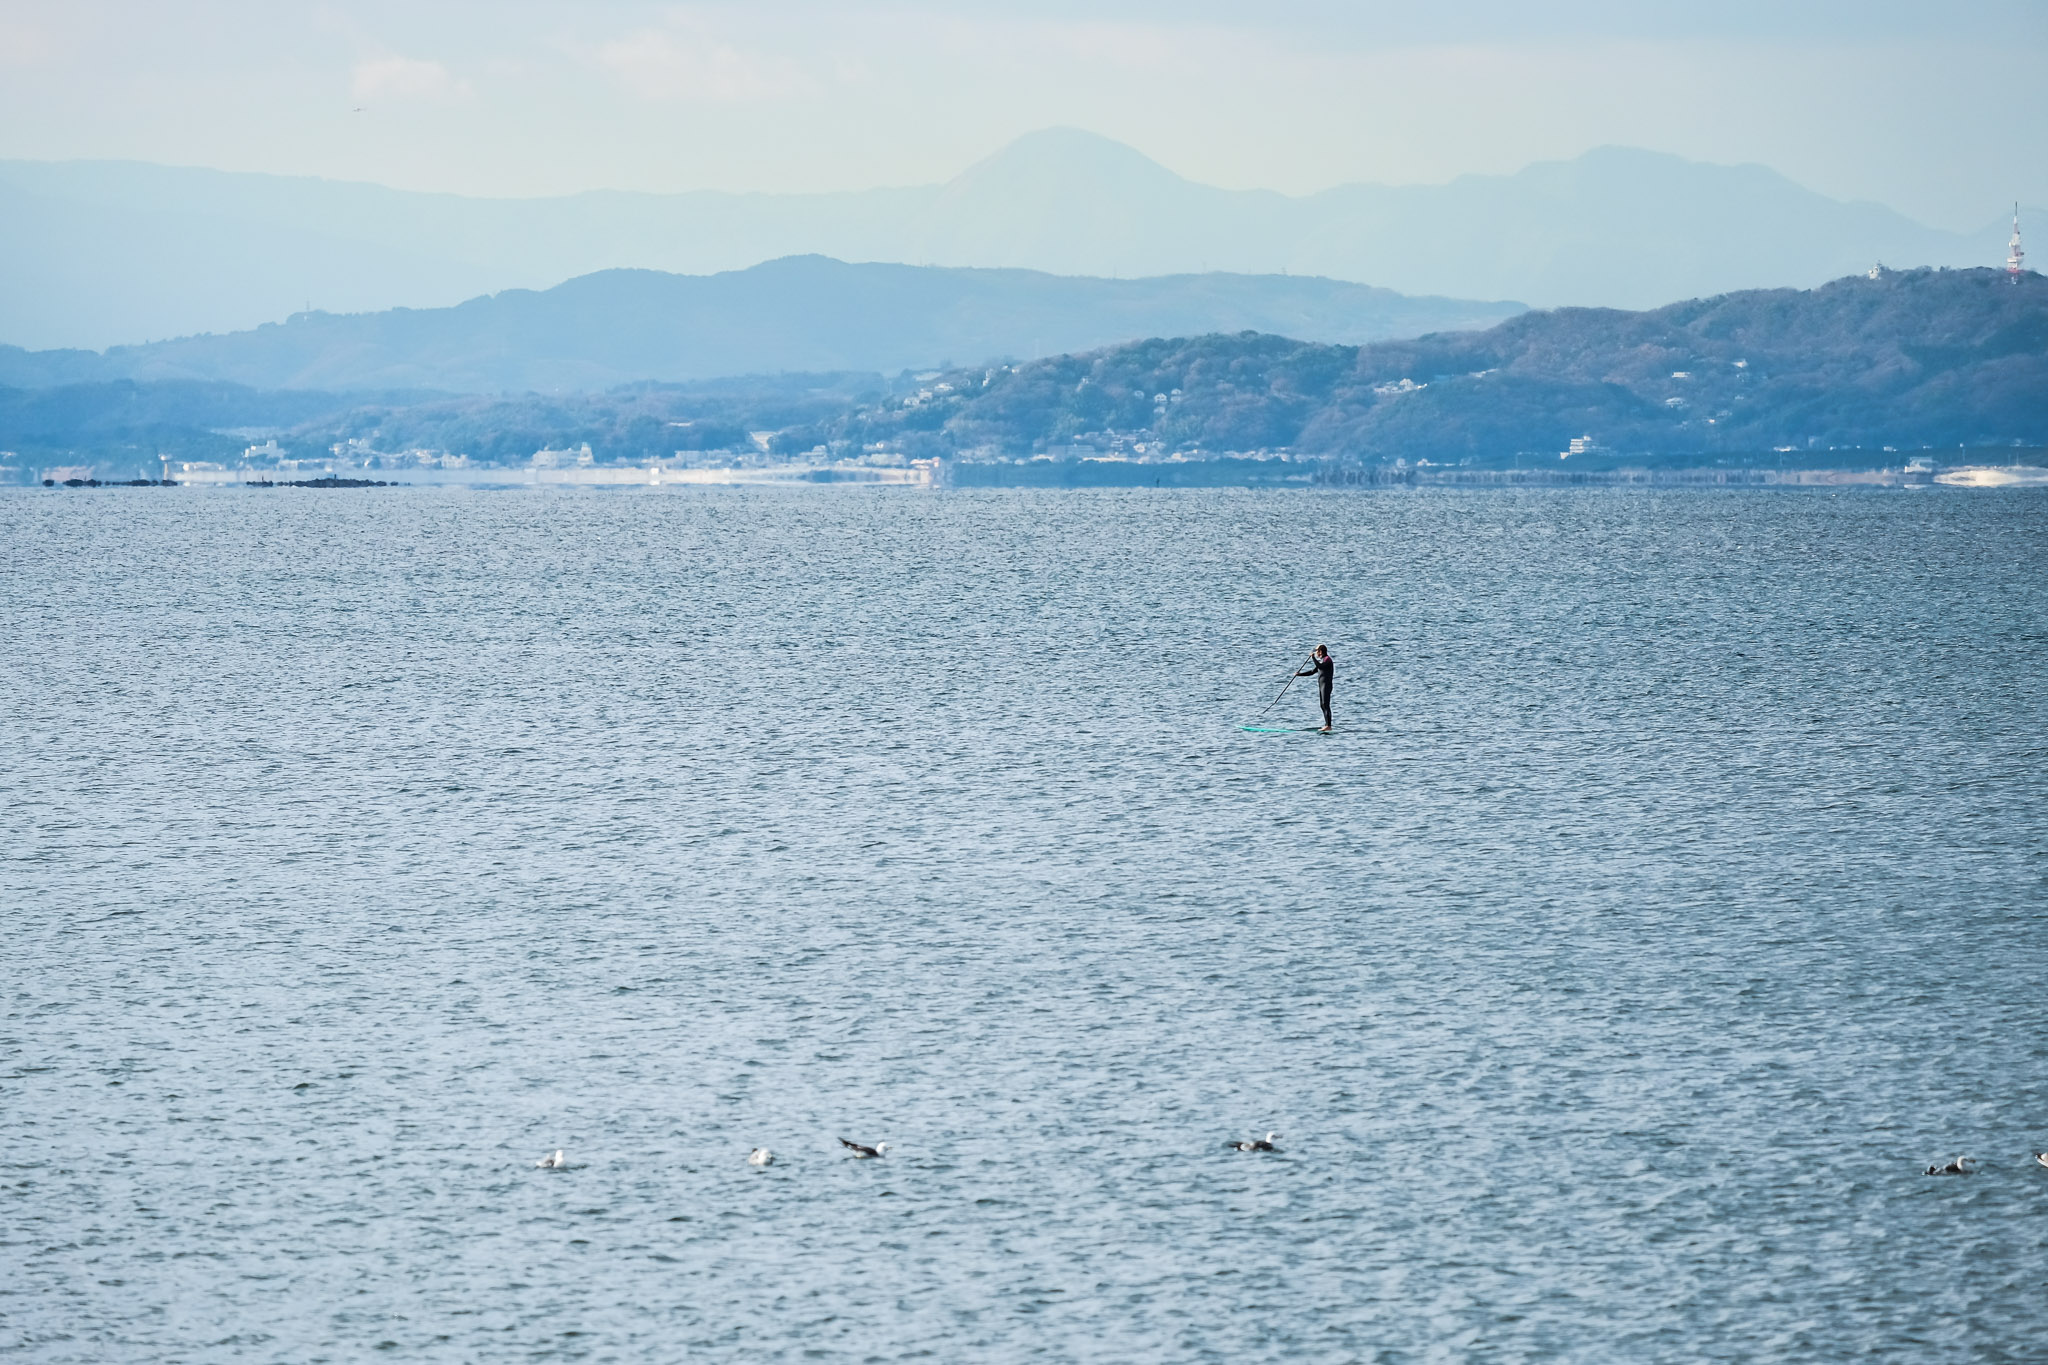
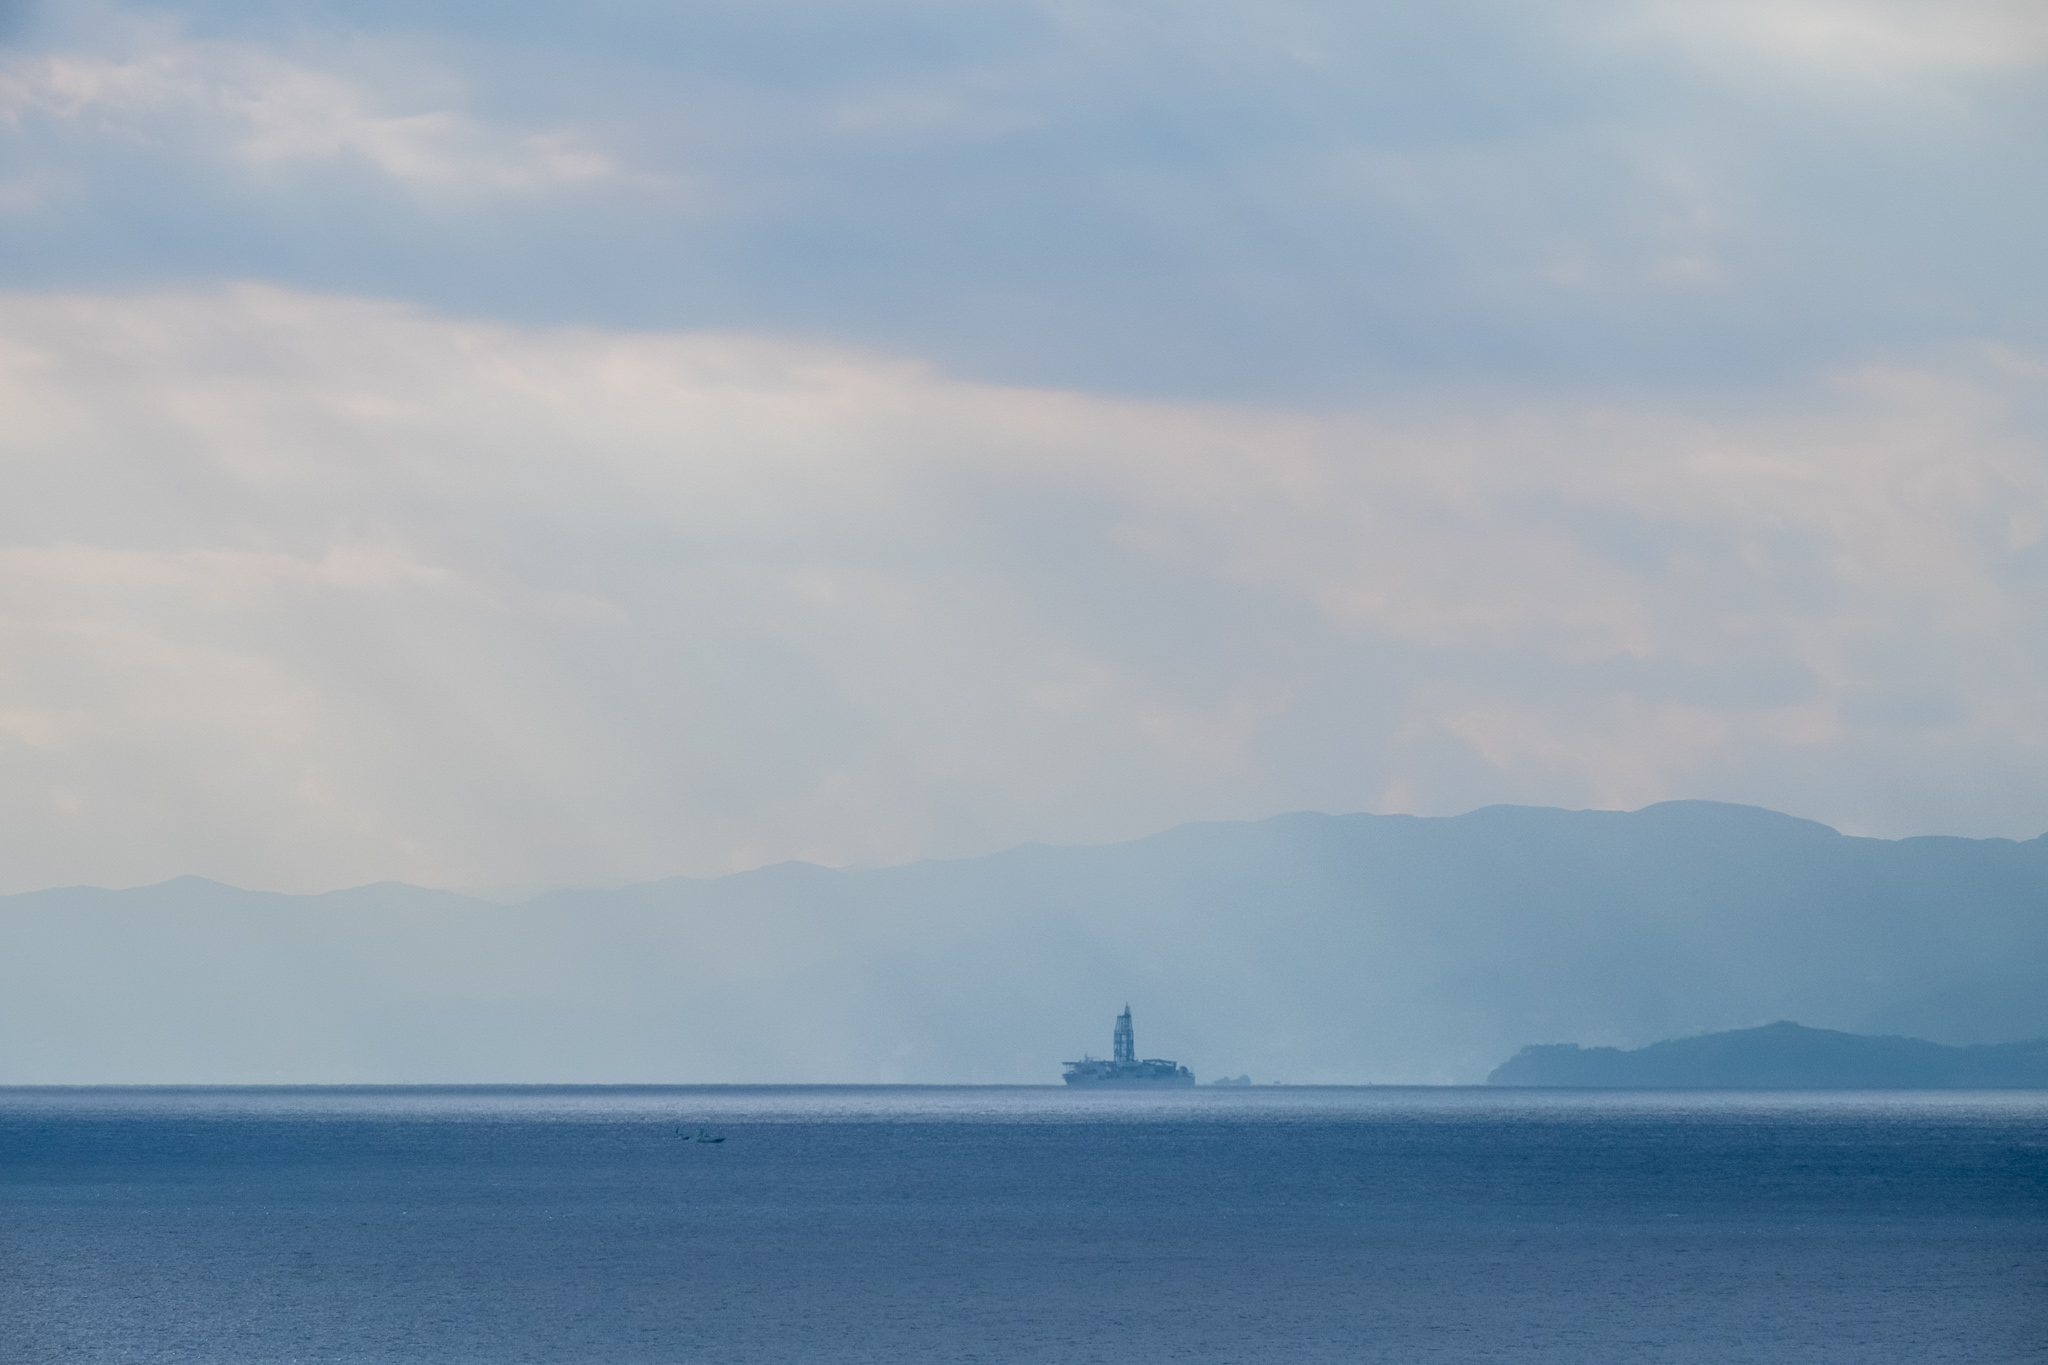
I'm not sure what this guy is paddling in the middle of the sea. It's pretty deep there.

Upon reaching the island, we will encounter a street similar to a walking street. Walk straight ahead and at the end you will find the Enoshima Shrine, where the goddess Benzaiten resides. When you reach the front of the shrine, if you climb the stairs, you will reach the second floor. However, for those with bad knees, there is an escalator available, but you need to purchase a ticket. The escalator is located on the left-hand side of the shrine. As I was with my parents and didn't want to walk a lot, I took the escalator. (Actually, the stairs are not that high, compared to the stairs at Chureito Pagoda, these are like kittens.)
They offer a package ticket for 750 yen, which includes the escalator ride to the 3rd floor, entrance to the Samuel Cocking Garden, and the Sea Candle ride. This is a good deal, as the entrance fee to the garden is 200 yen and the Sea Candle ride is 500 yen, which already totals 700 yen.
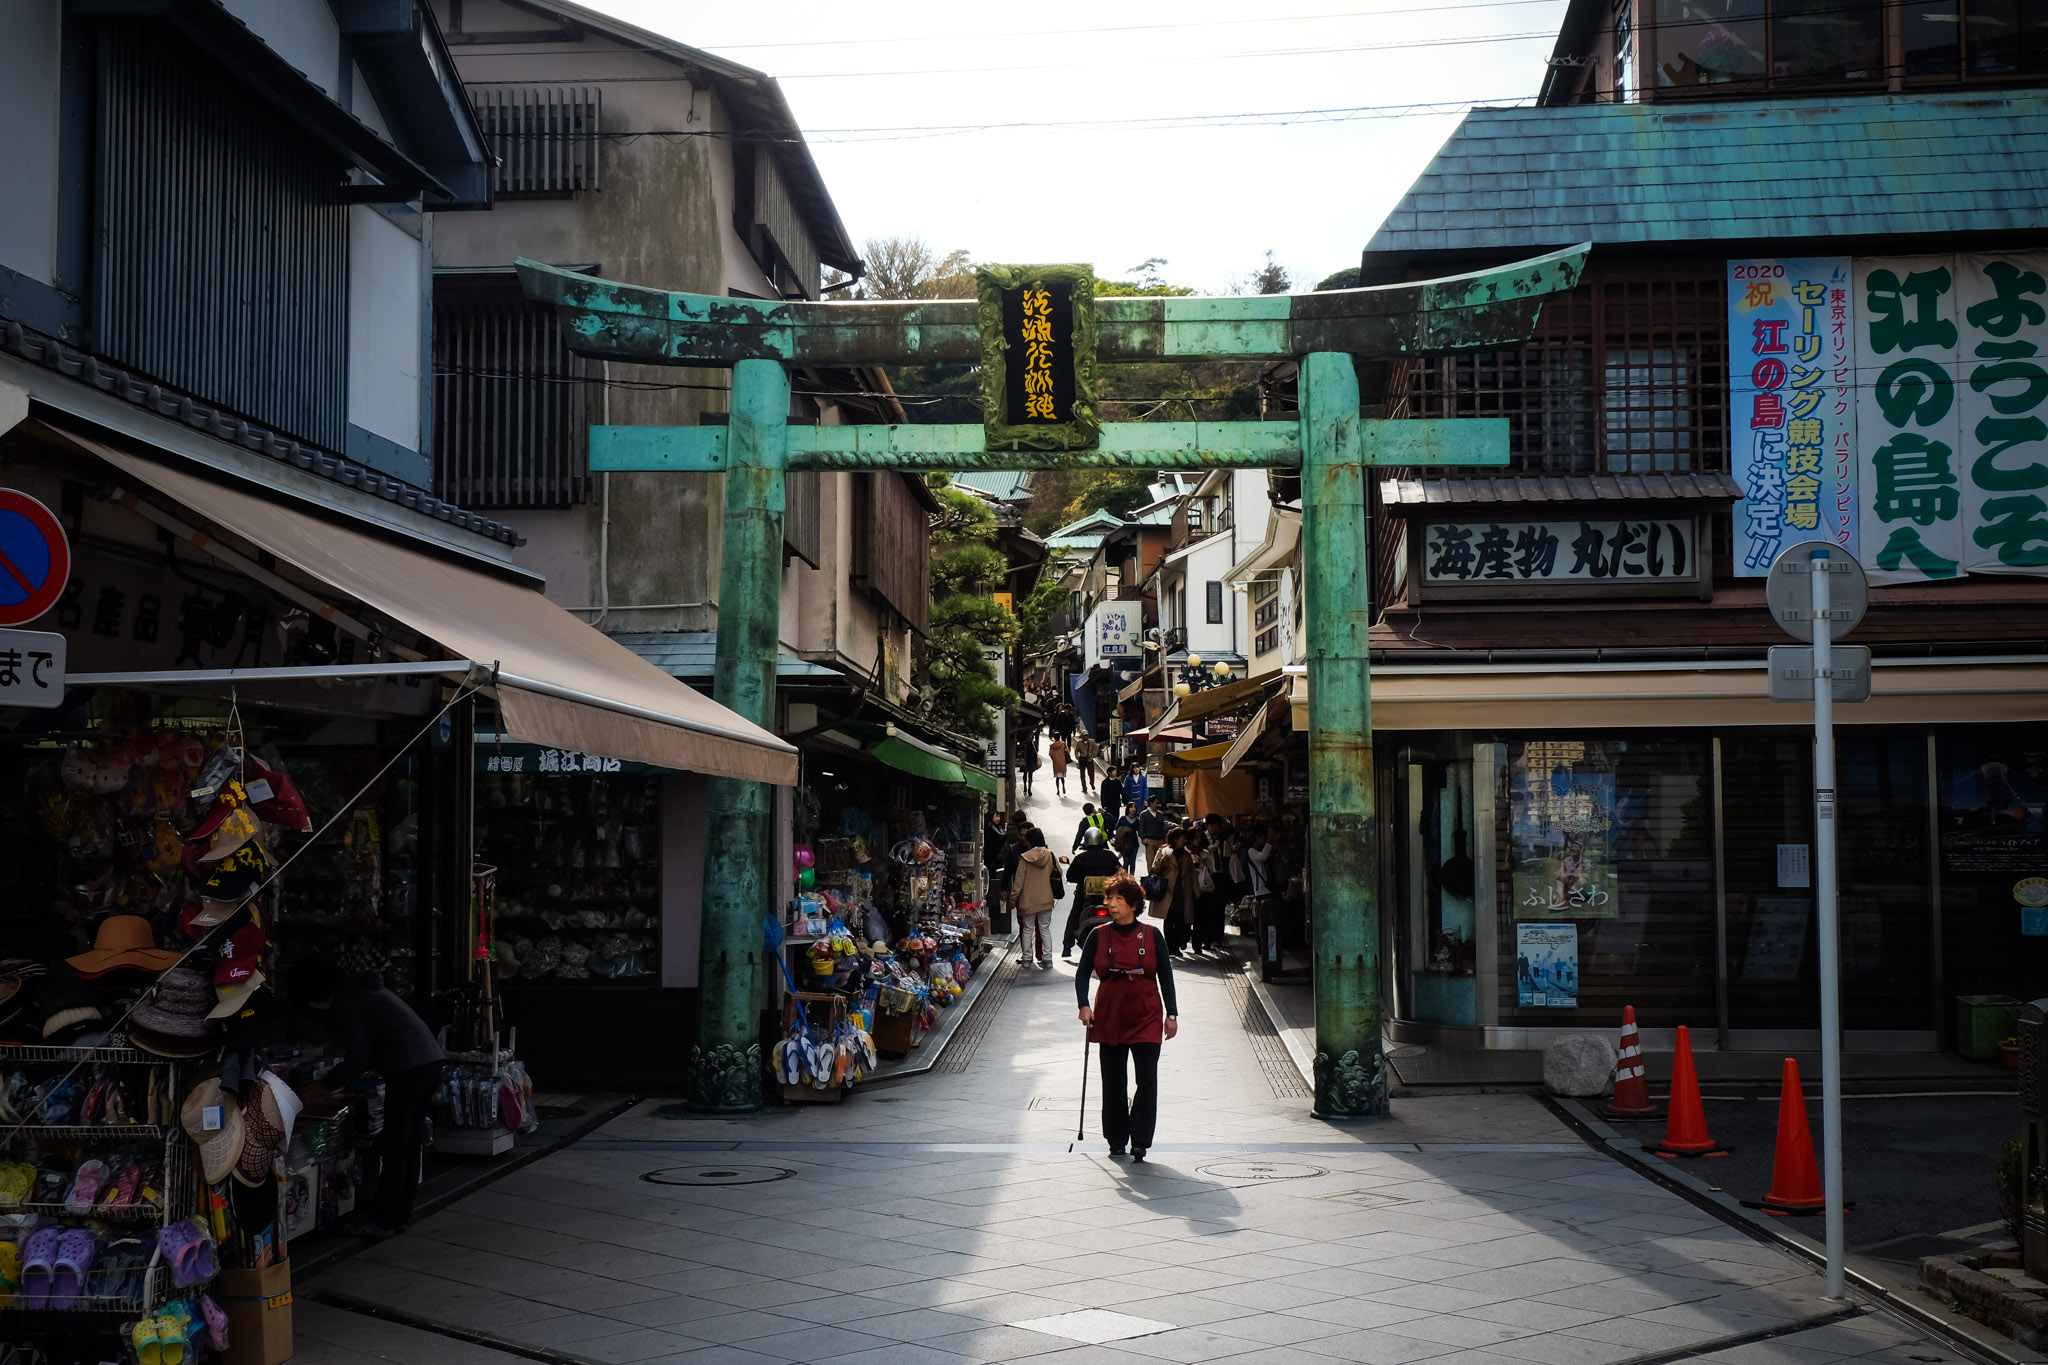

The tour here will be a climb up the stairs in 3 levels. Each level will have a viewpoint and a shrine. At the top, there will be a flat area with the Samuel Cocking Garden, which is a botanical garden, and the Sea Candle, a 60-meter-high observation tower. Then there will be a path down the other side to the Iwaya Caves.
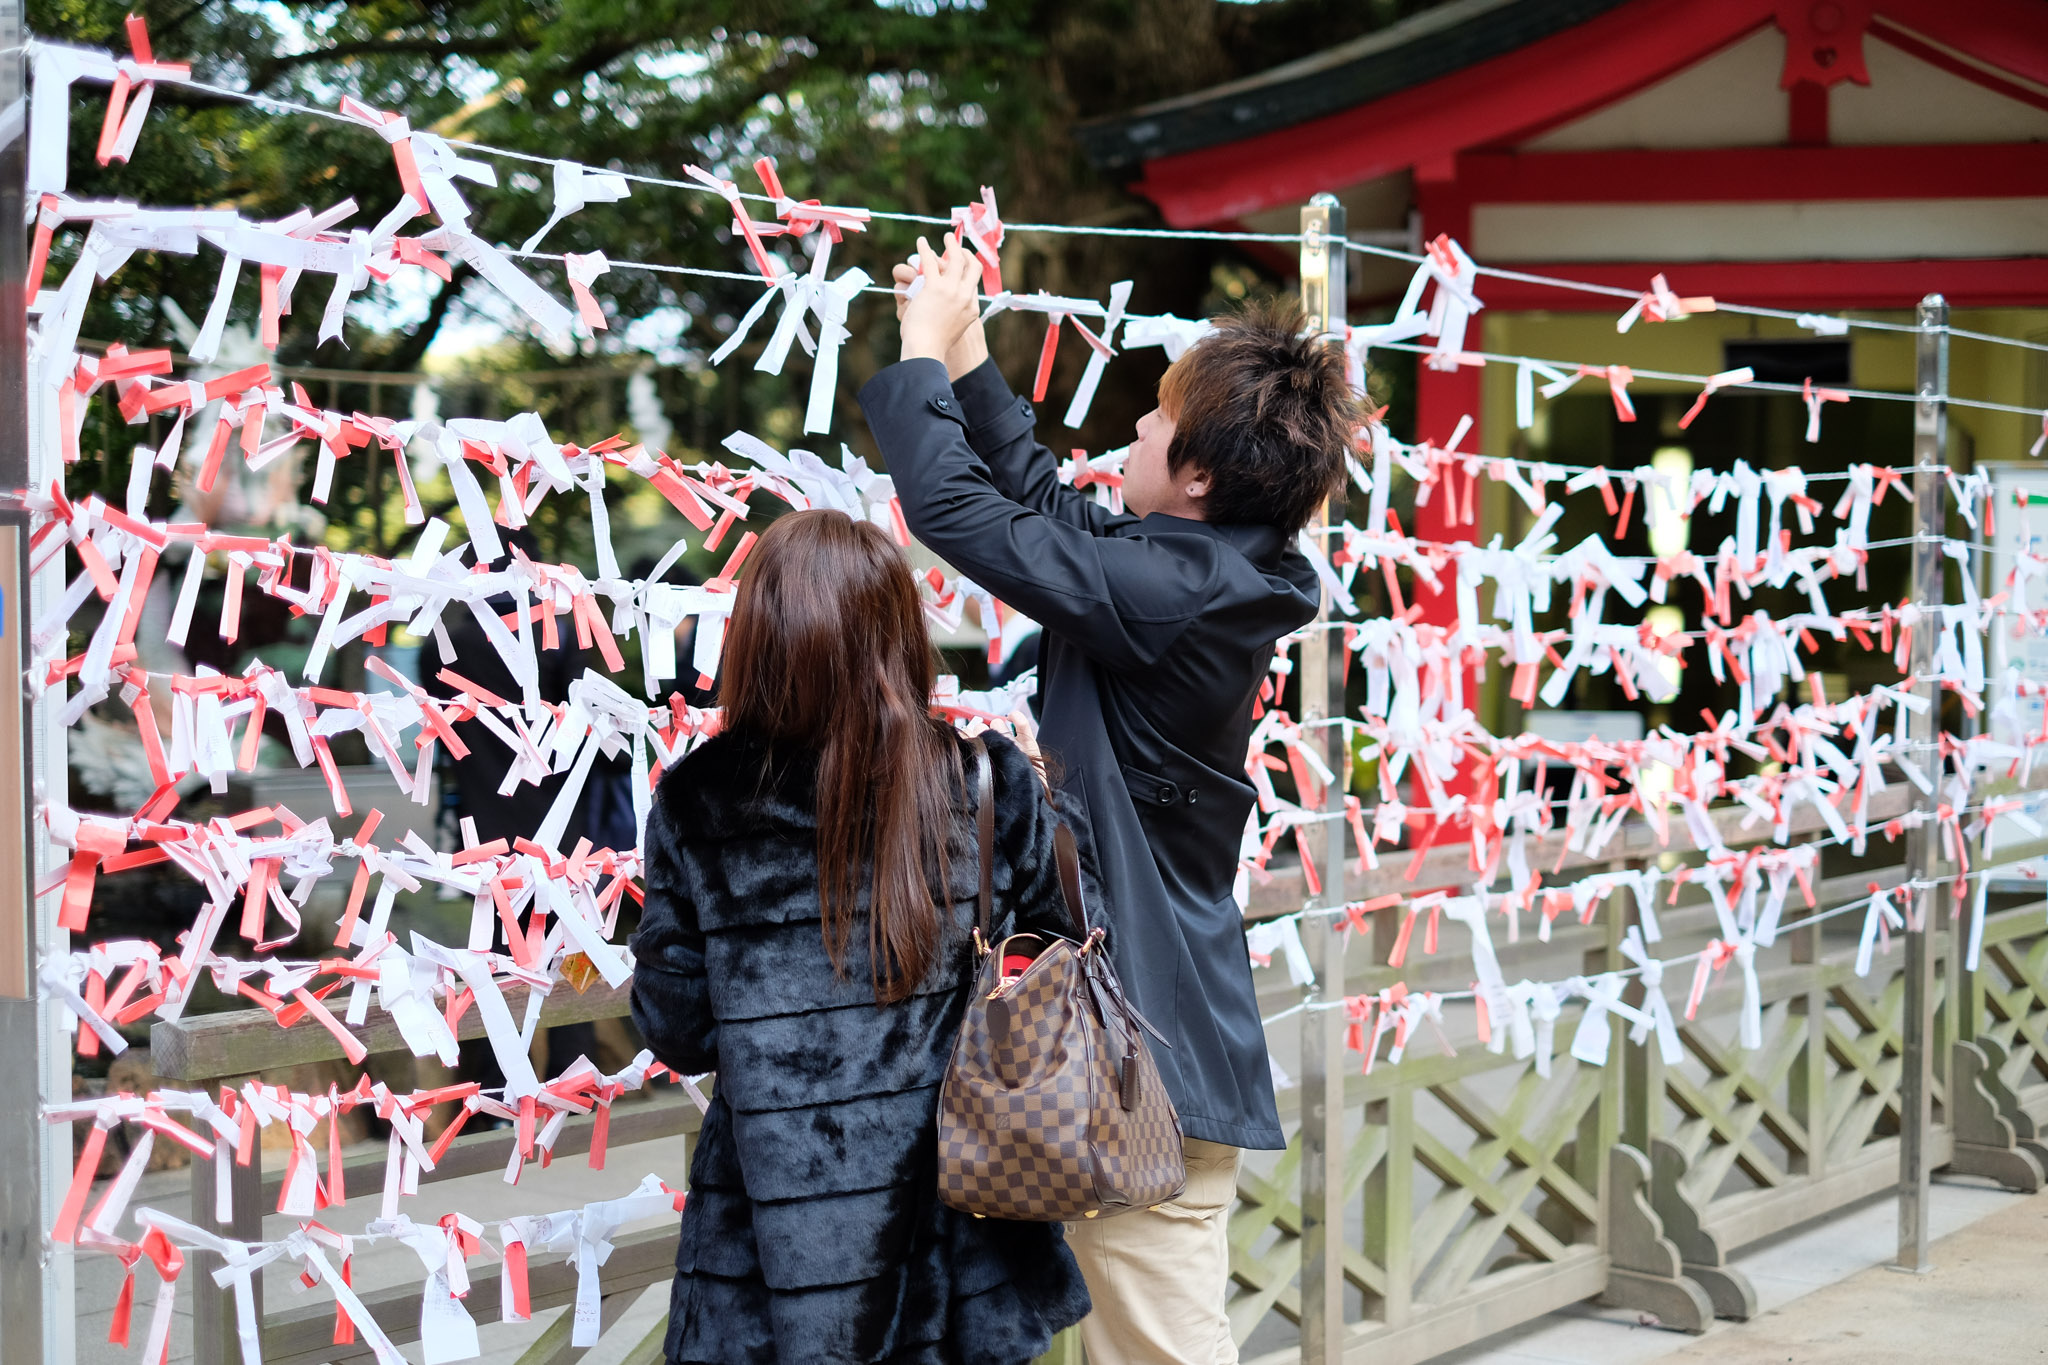

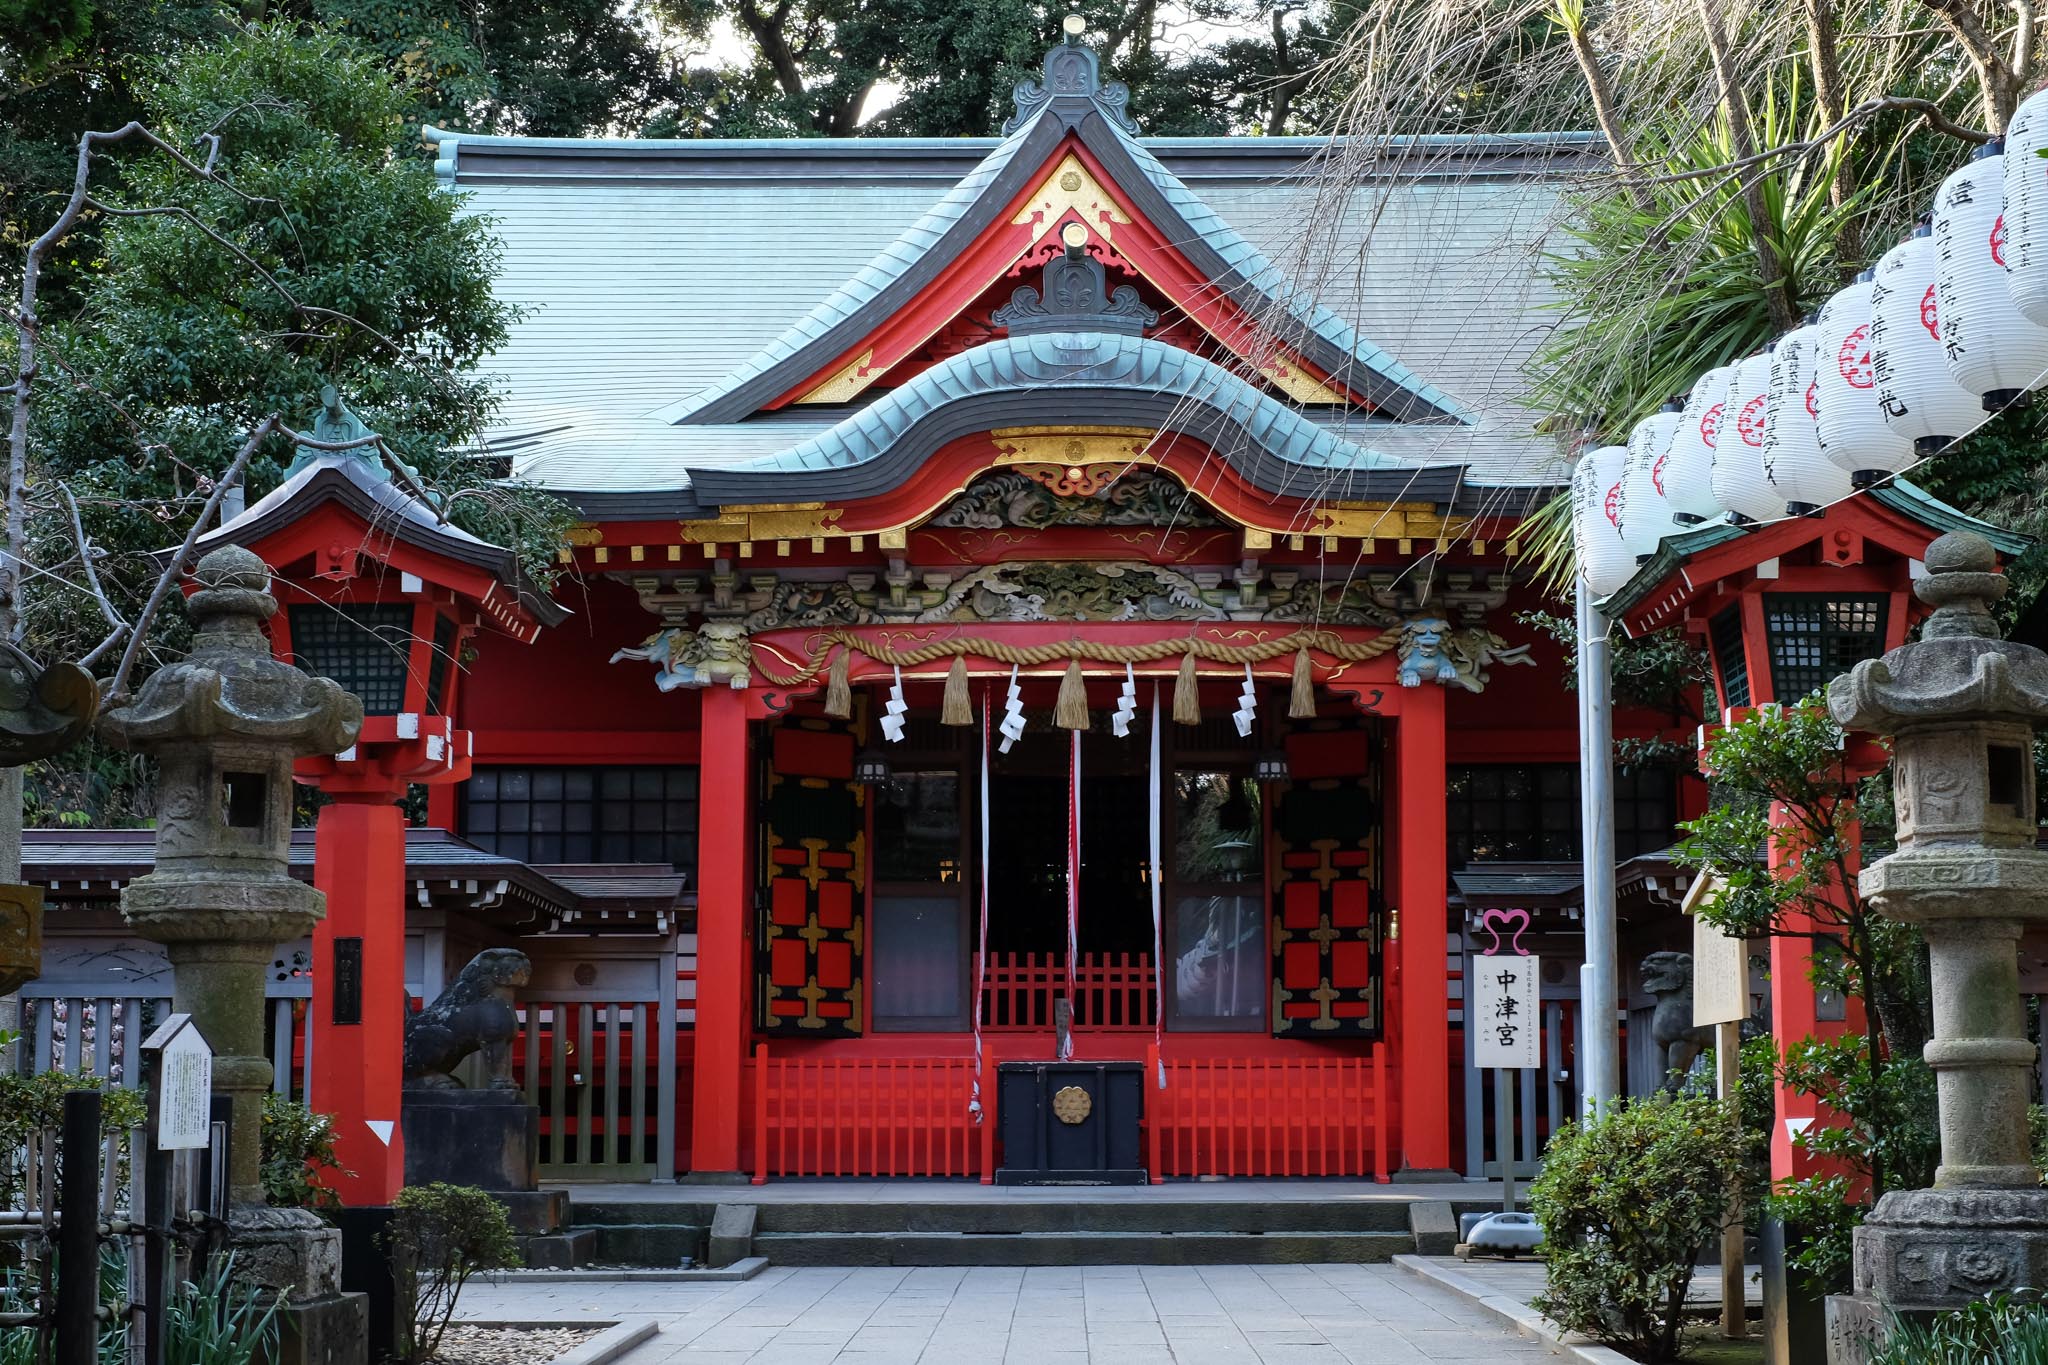
Samuel Cocking Garden
At the front of Samuel Cocking Garden, there is a viewpoint on the west side of the island. However, it is not as spectacular as the view from the top of the Sea Candle. At the entrance to the garden on the day I visited, there were people performing a fire show to earn money. I'm not sure if this happens every day. There are a few shops selling snacks in the area, such as steamed buns and soft serve ice cream.

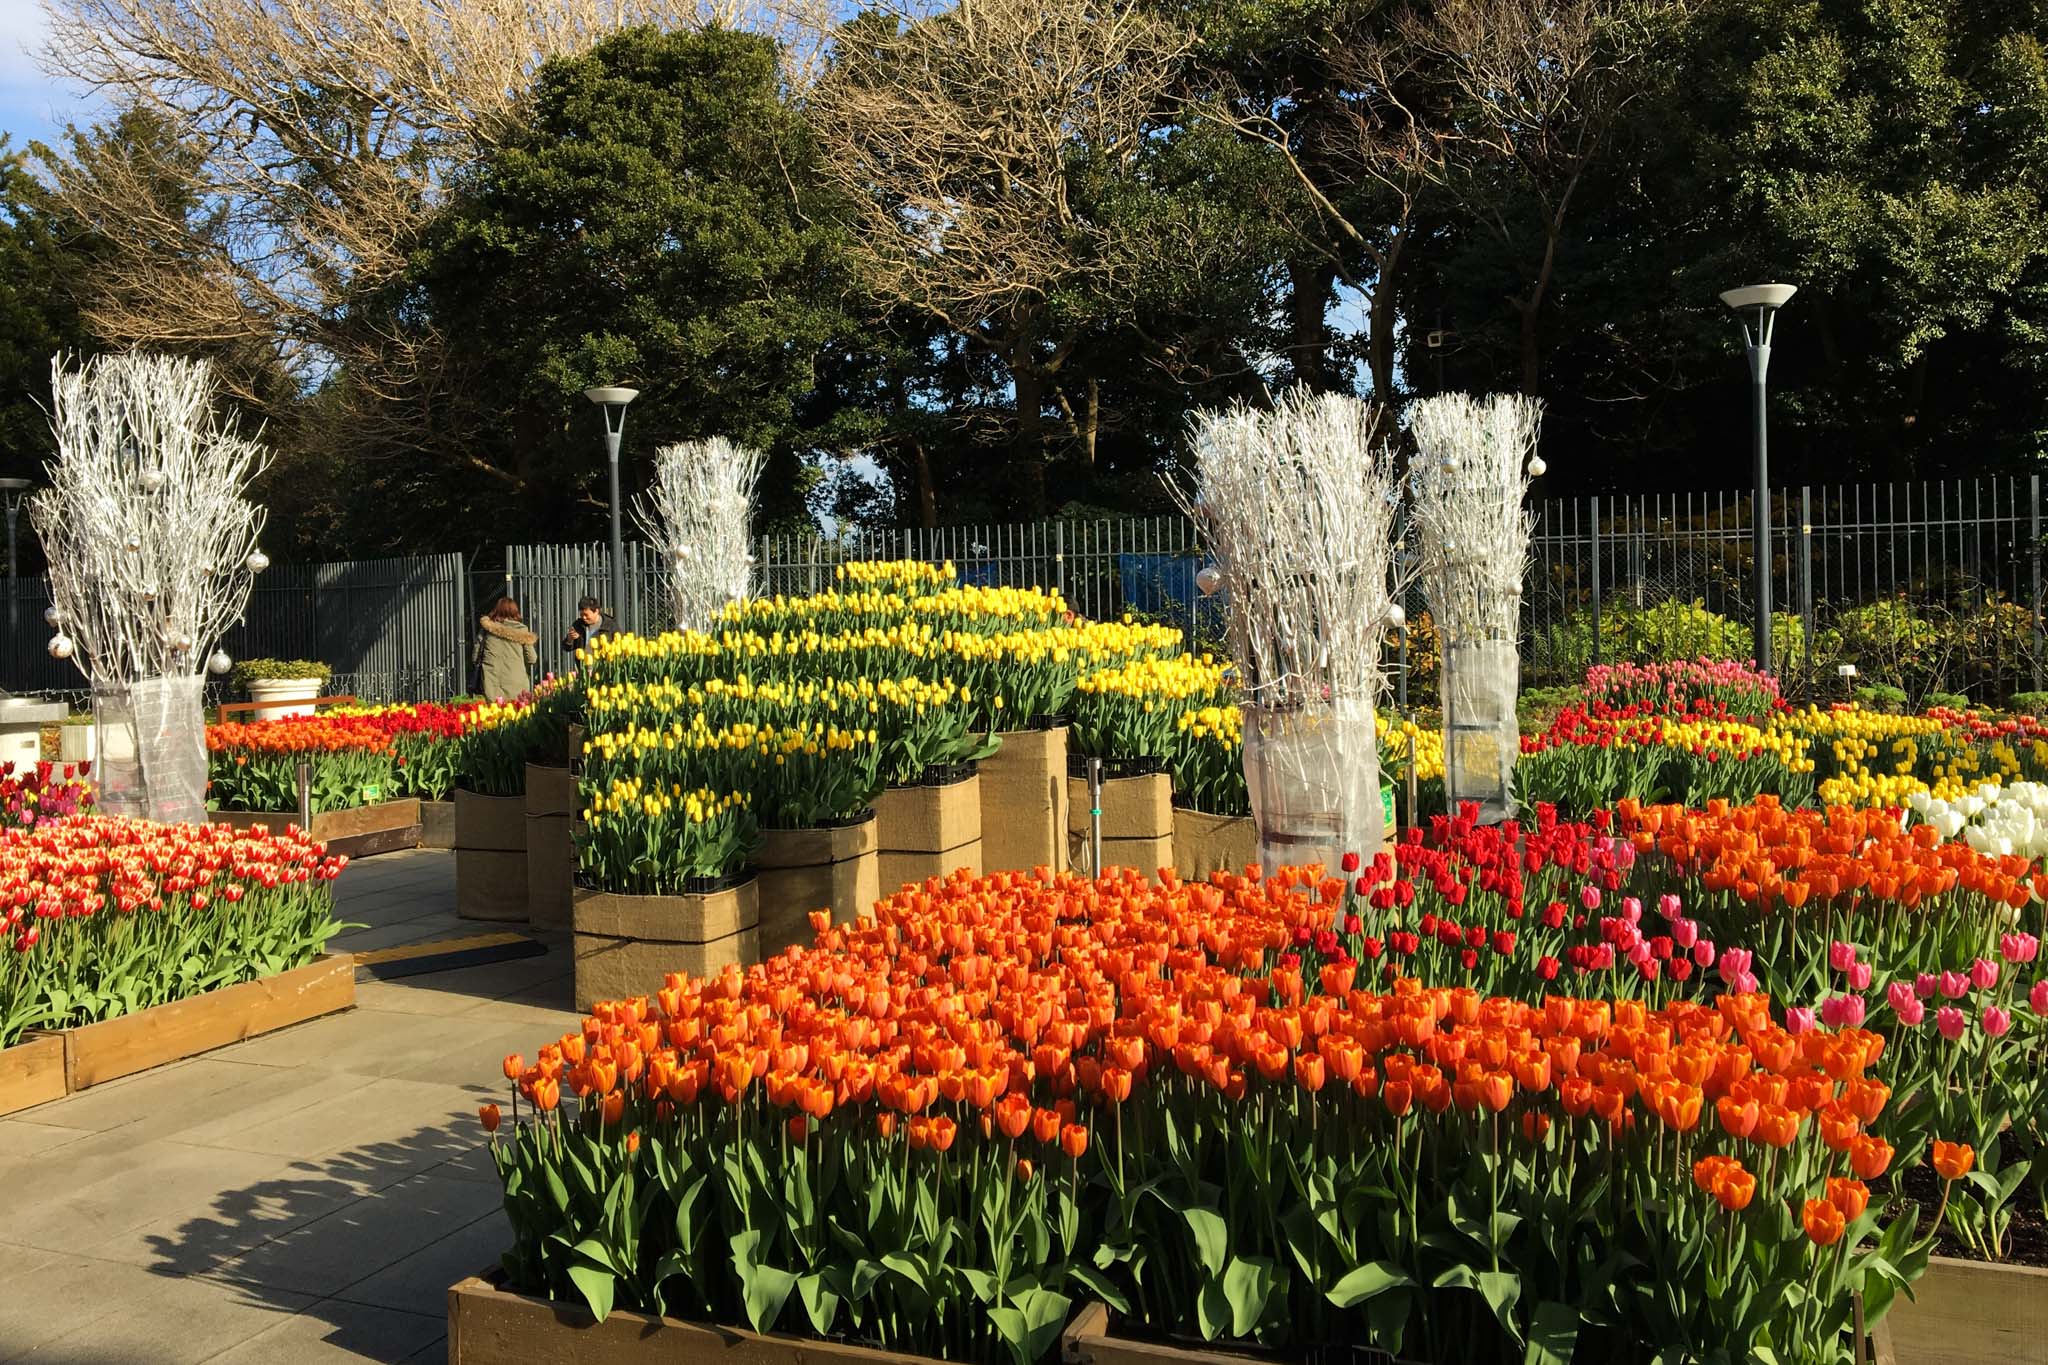
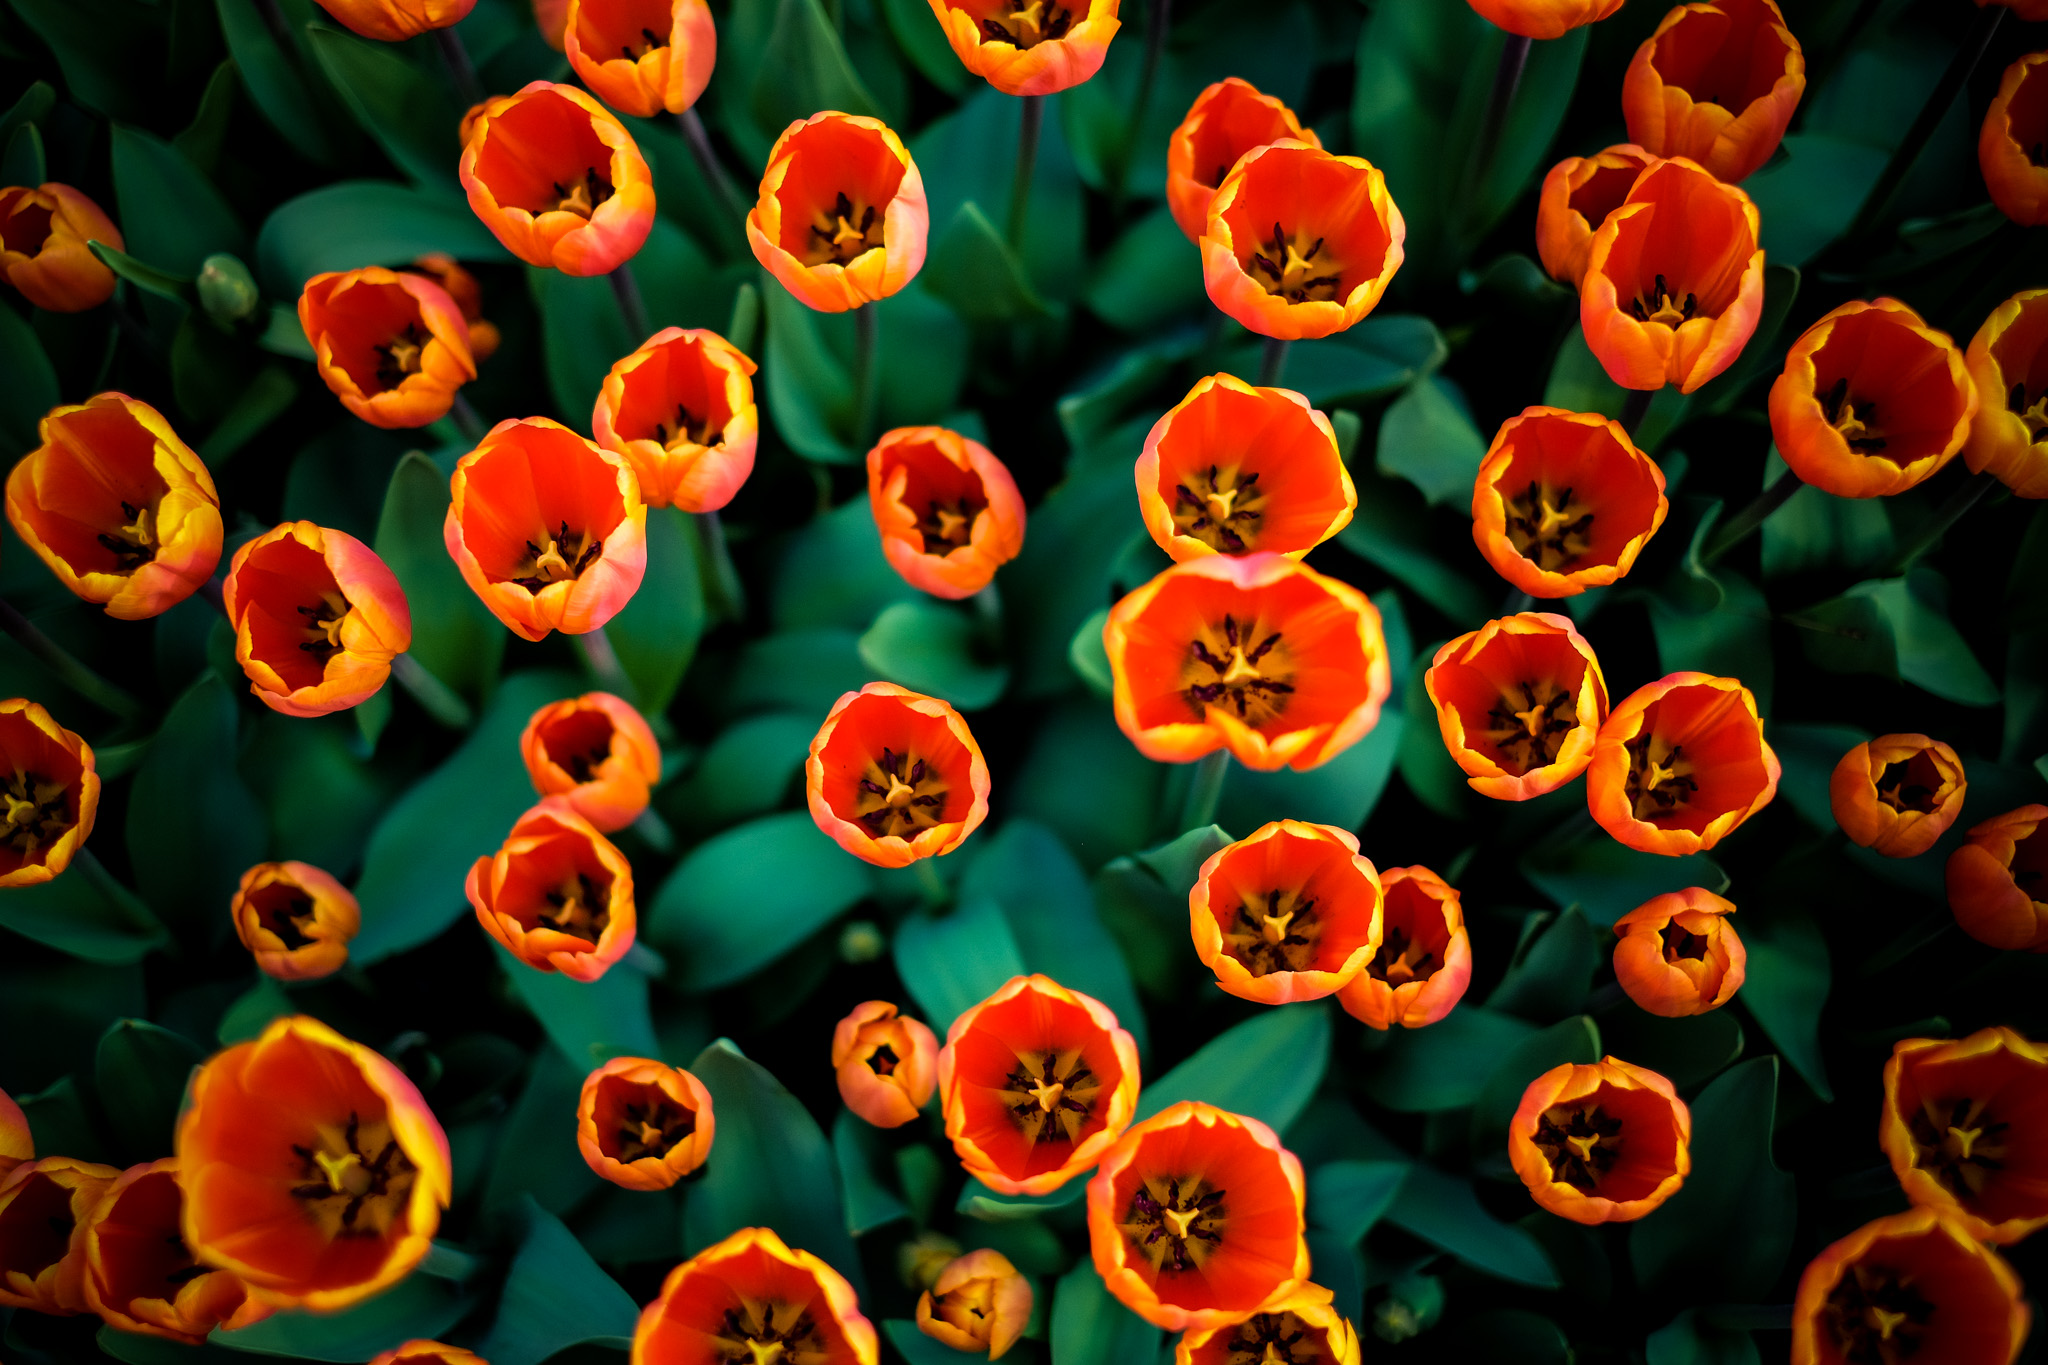
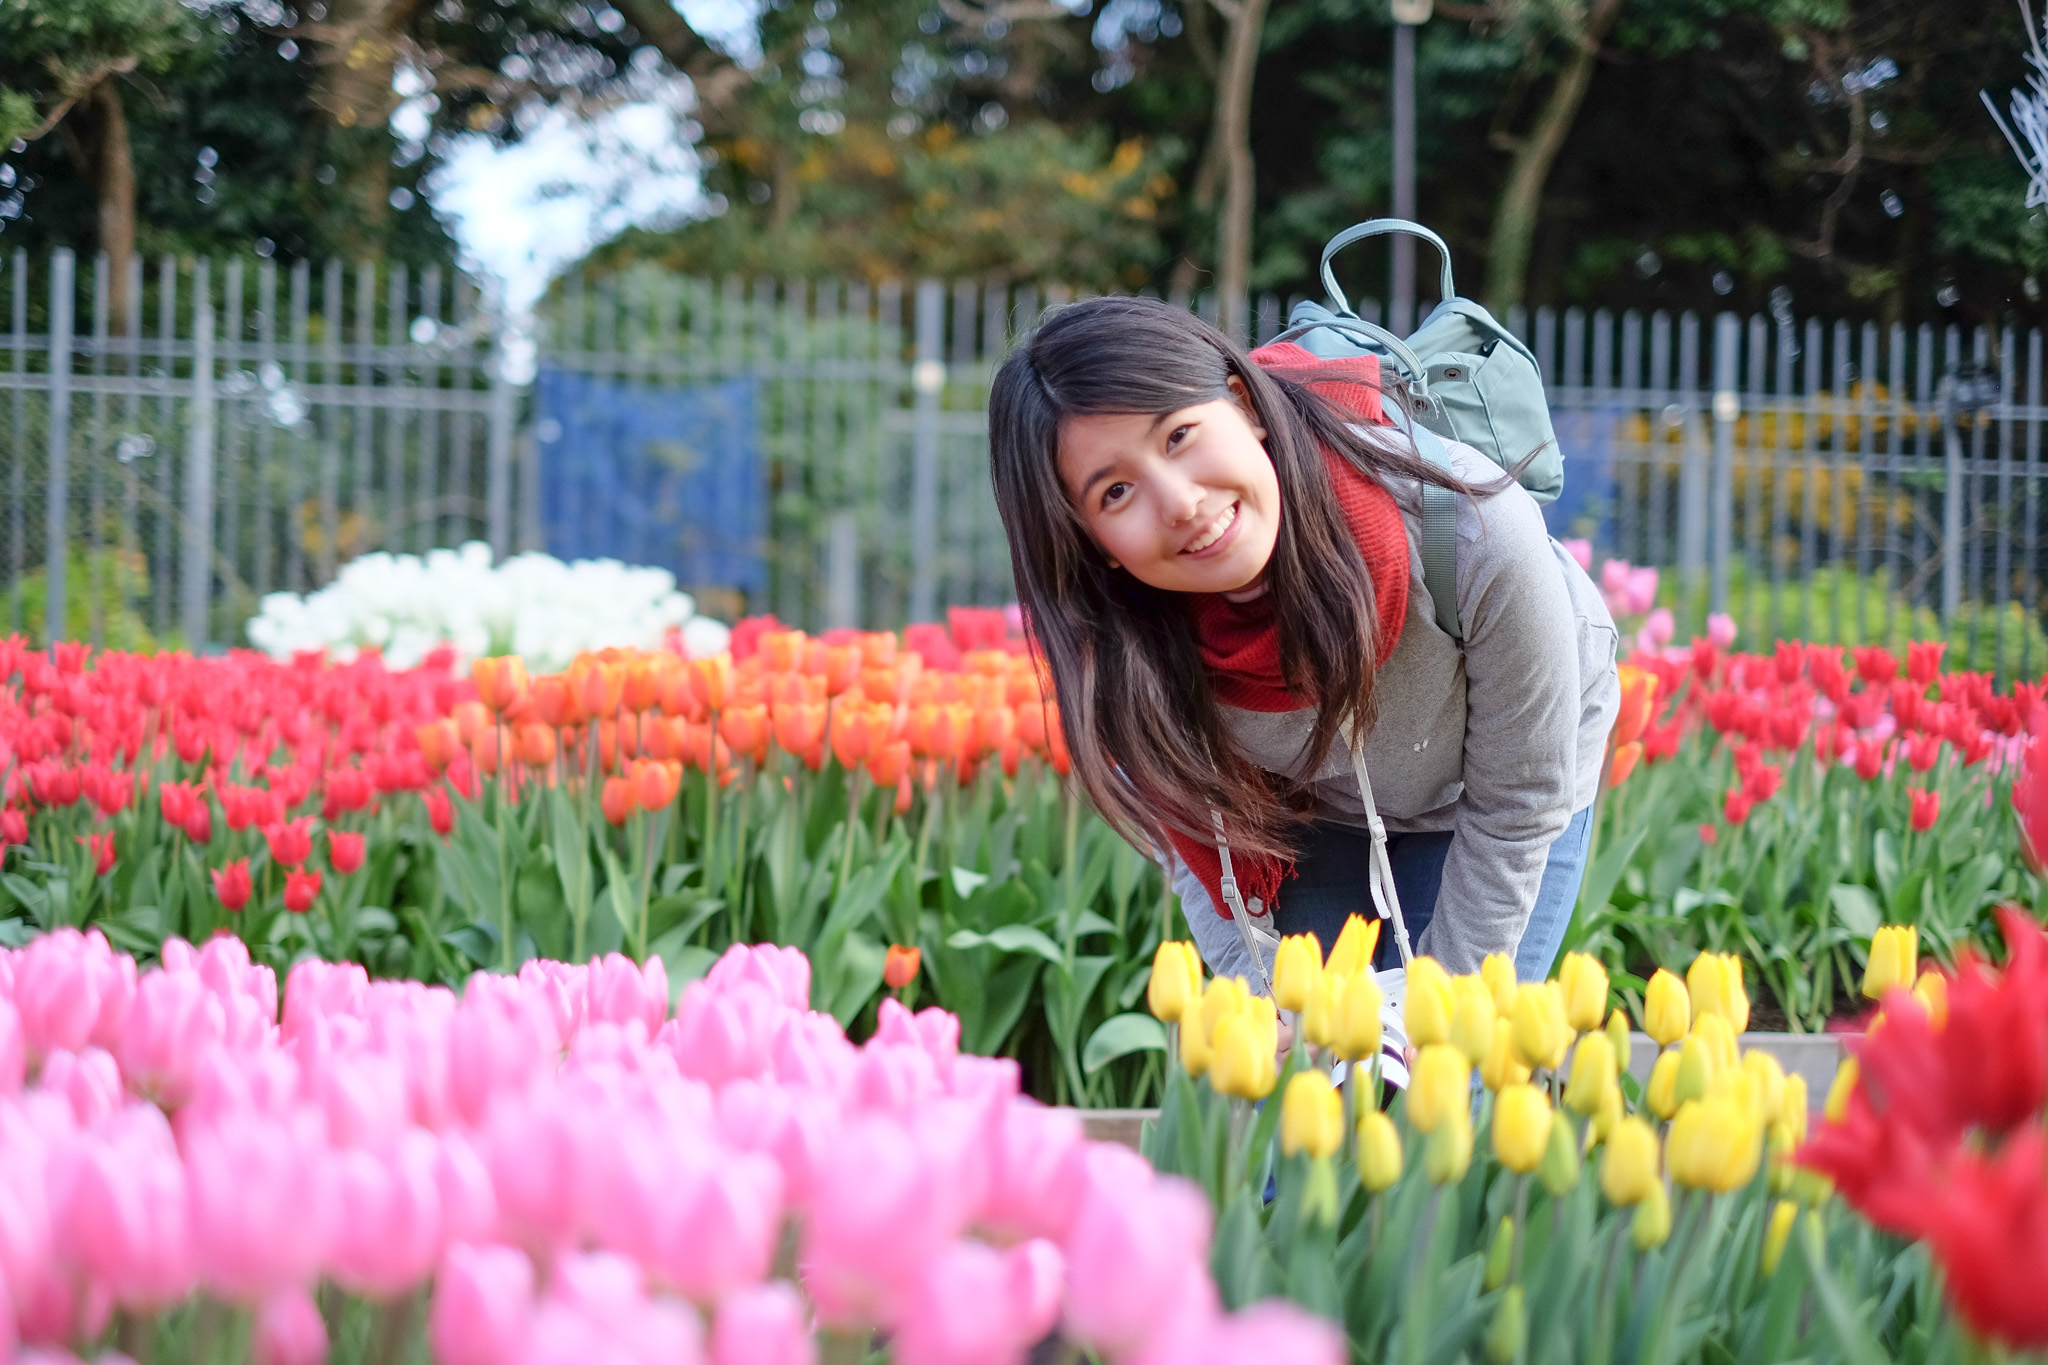
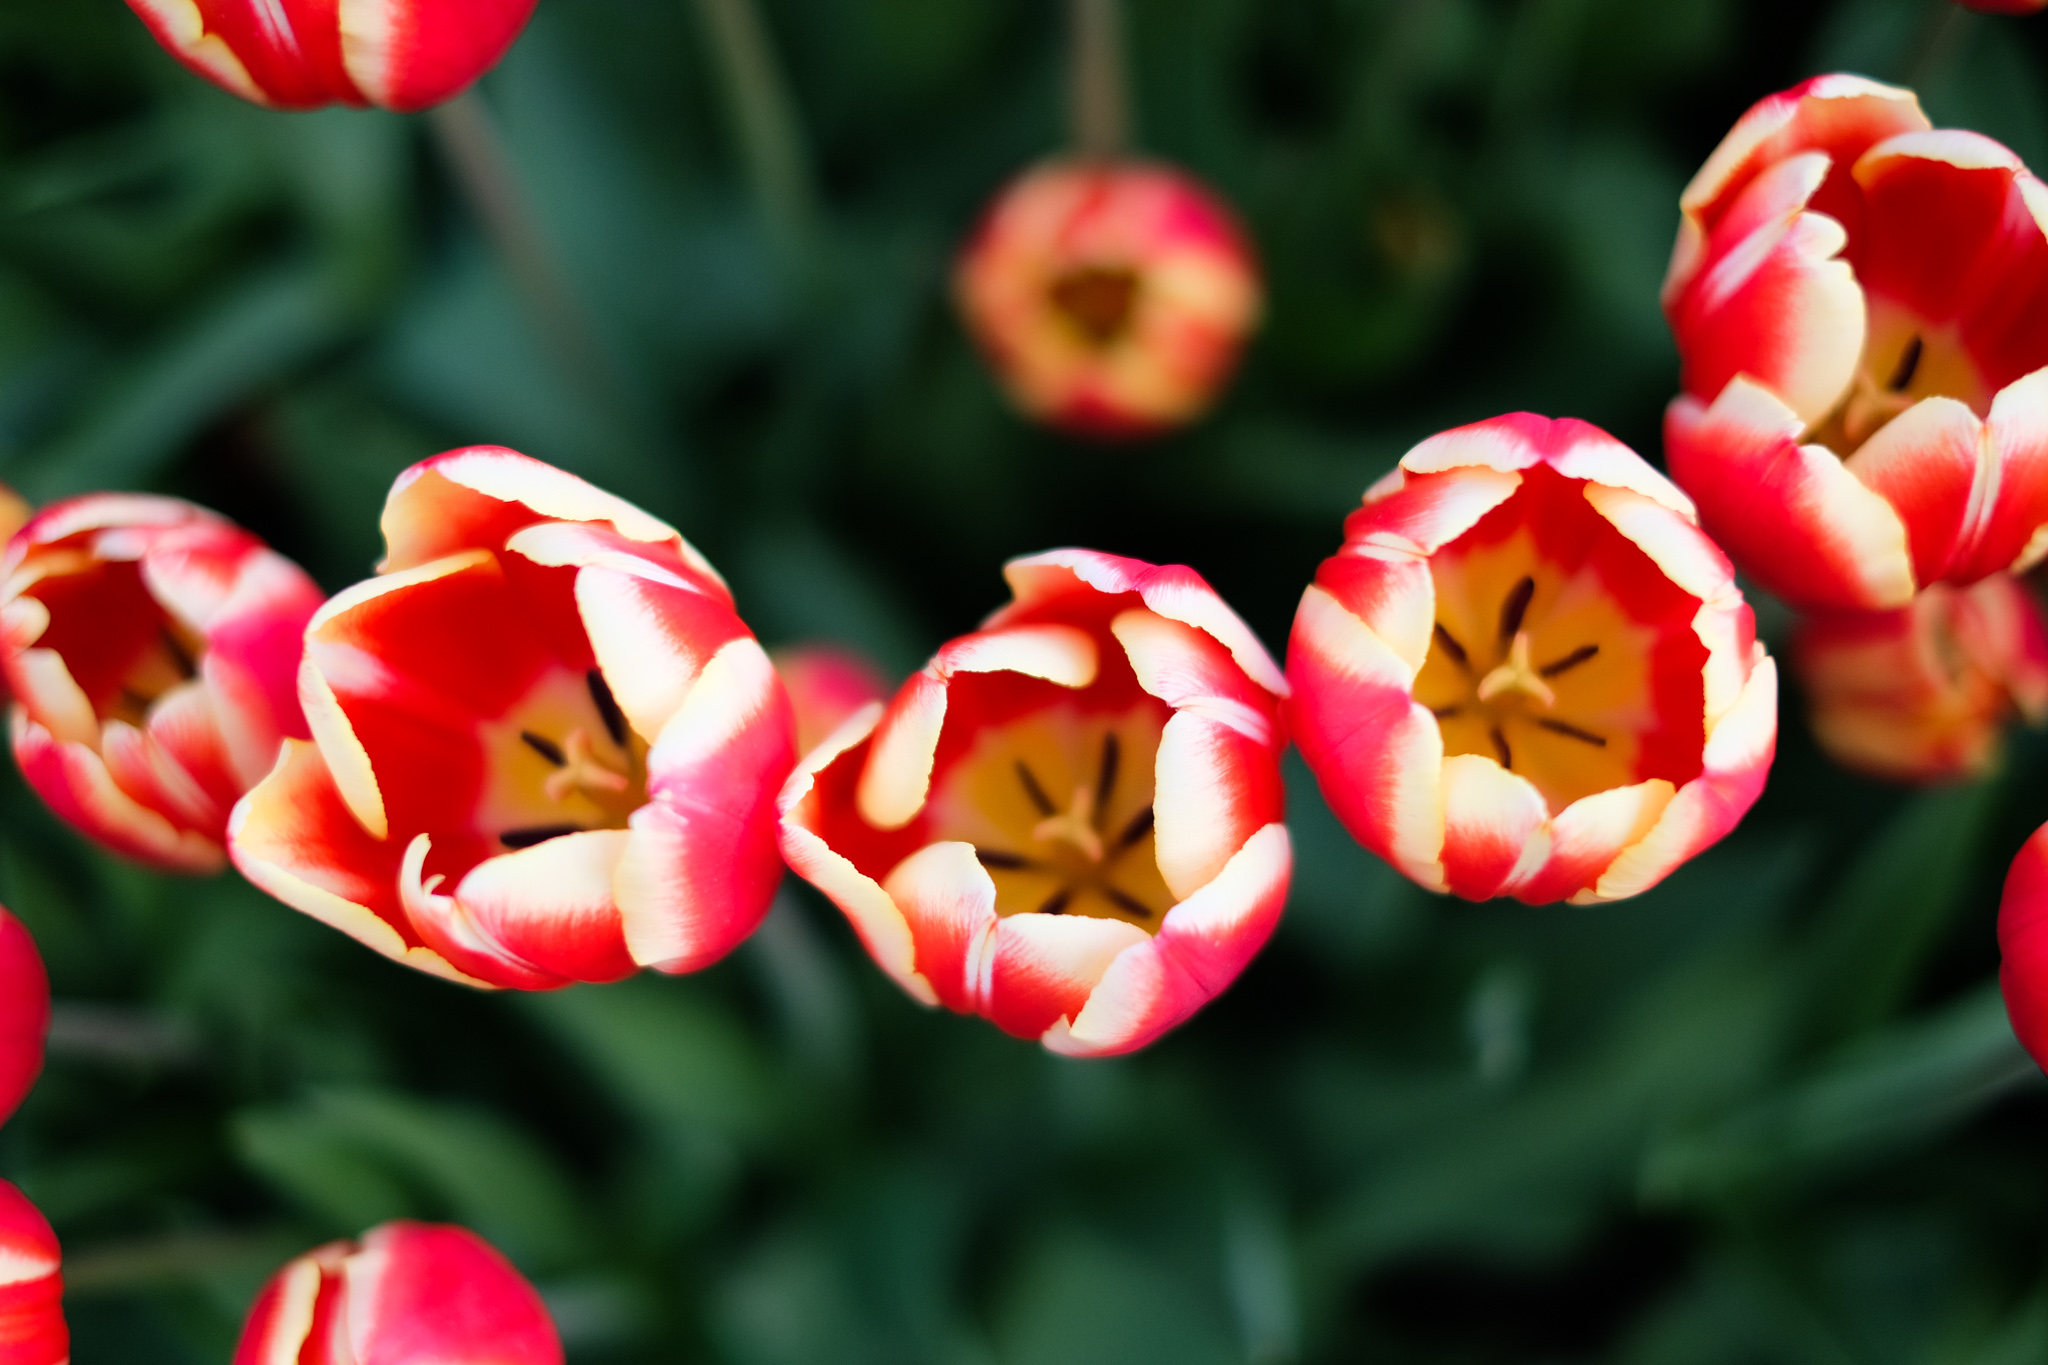
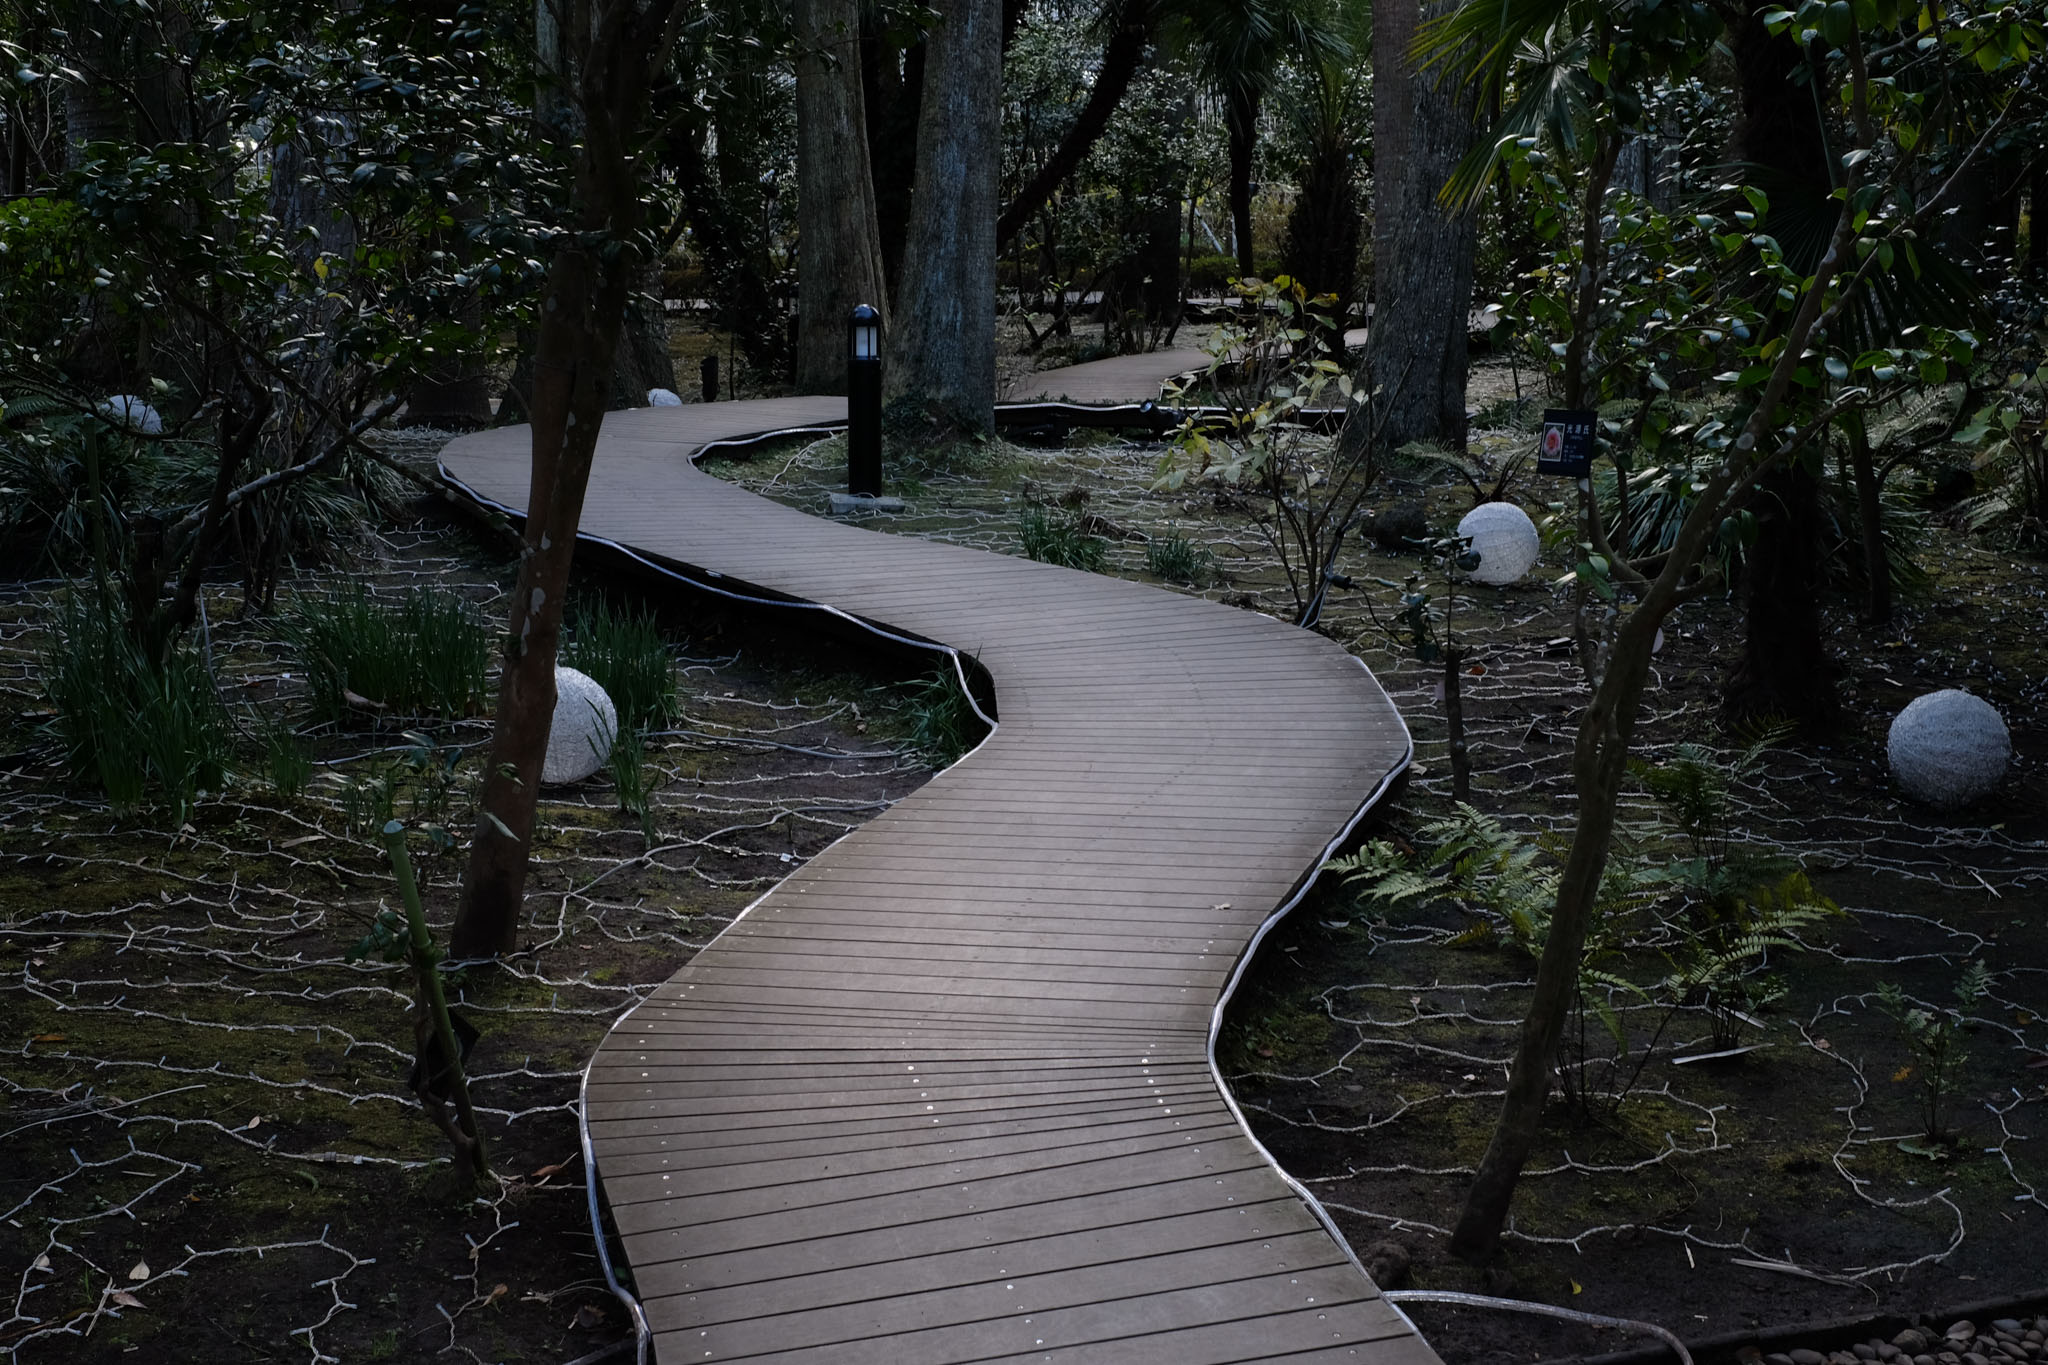
Inside the garden, there are various kinds of trees. There is a coffee shop, a viewpoint, and it seems that there will be illumination at night. If you are staying overnight here during the winter, don't forget to stop by and take a look.

Sea Candle
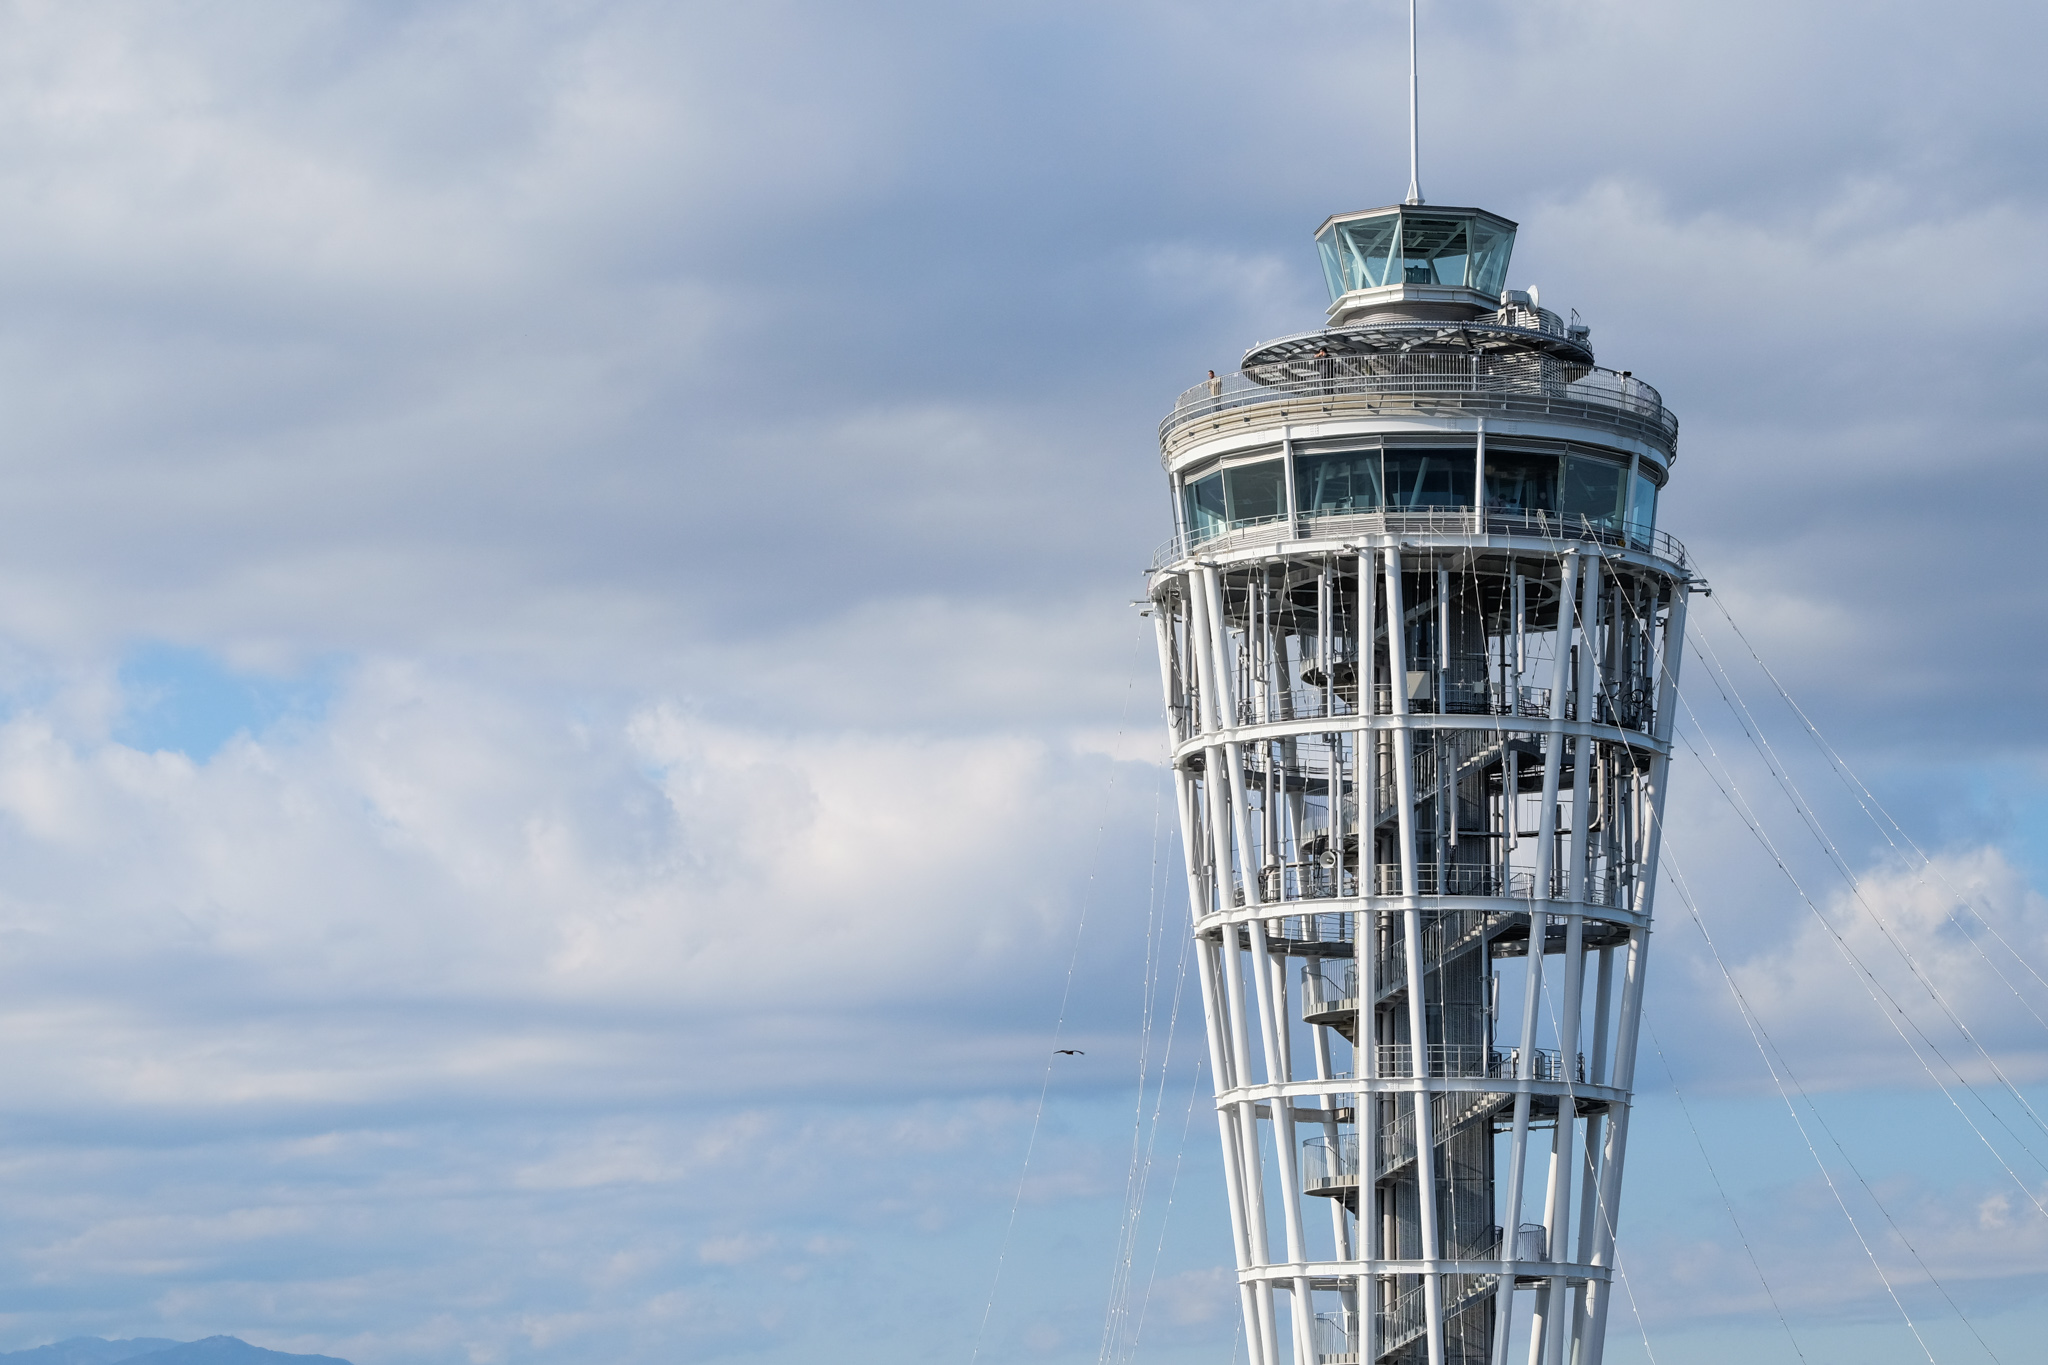
The Sea Candle is located at the far end of the park. If you don't want to pay to go to the top floor, there is a mezzanine level at the base where you can also enjoy the view, but it won't be as high. Those who purchase tickets will be able to take the elevator to the Observation Deck, which is an air-conditioned glass room with 360-degree views. However, for photographers like us, glass is the enemy. If you want to see the view without glass and enjoy the fresh air, take the stairs to the Open Air floor. The door is next to the elevator. Let me tell you, the view is amazing!

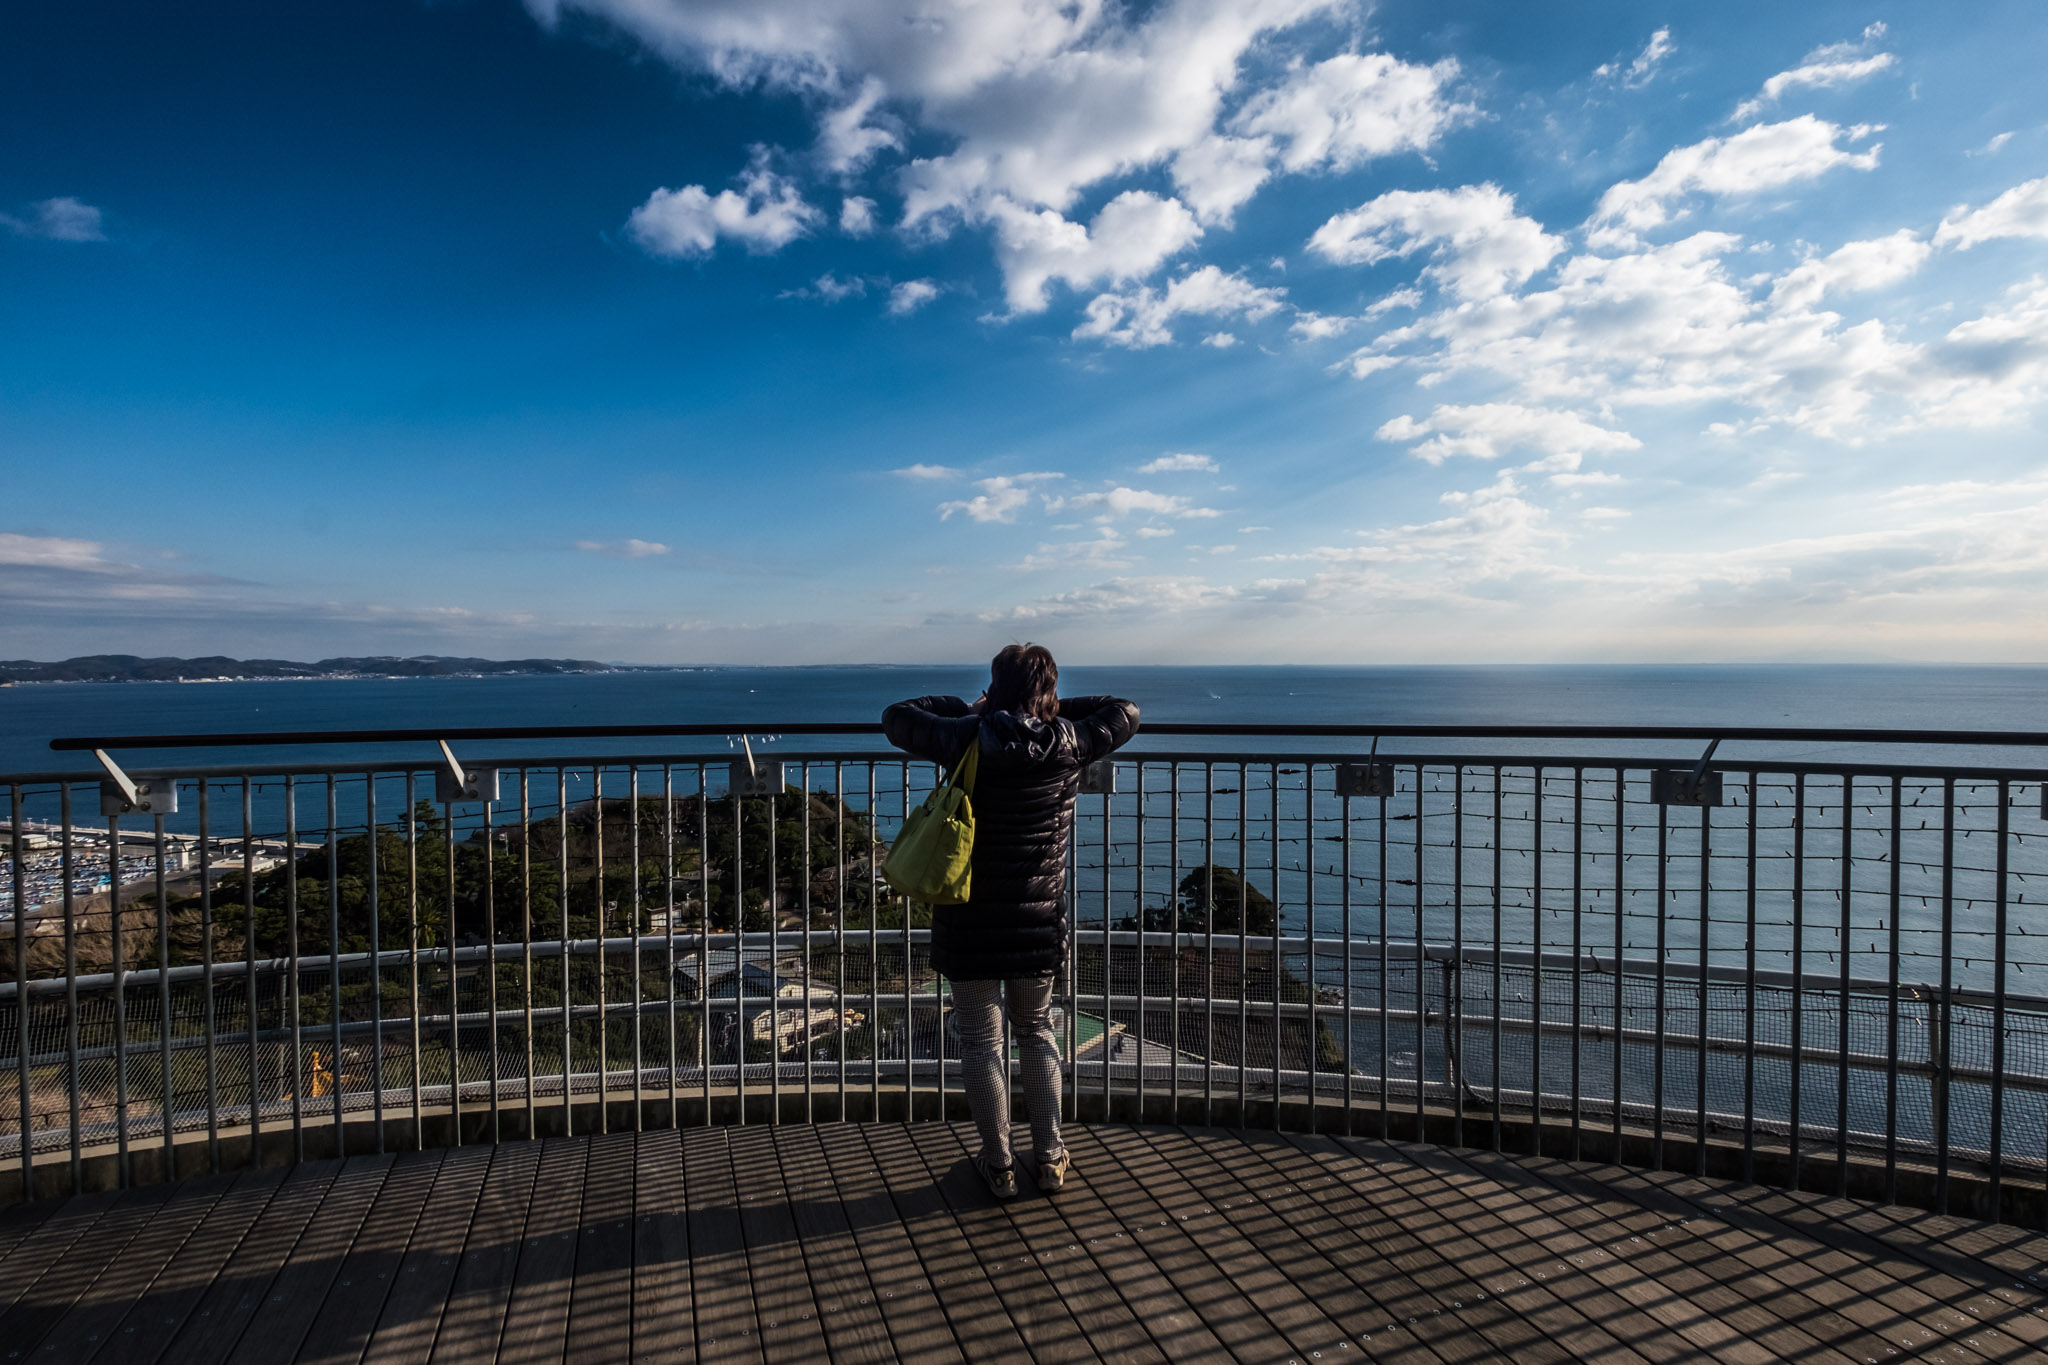
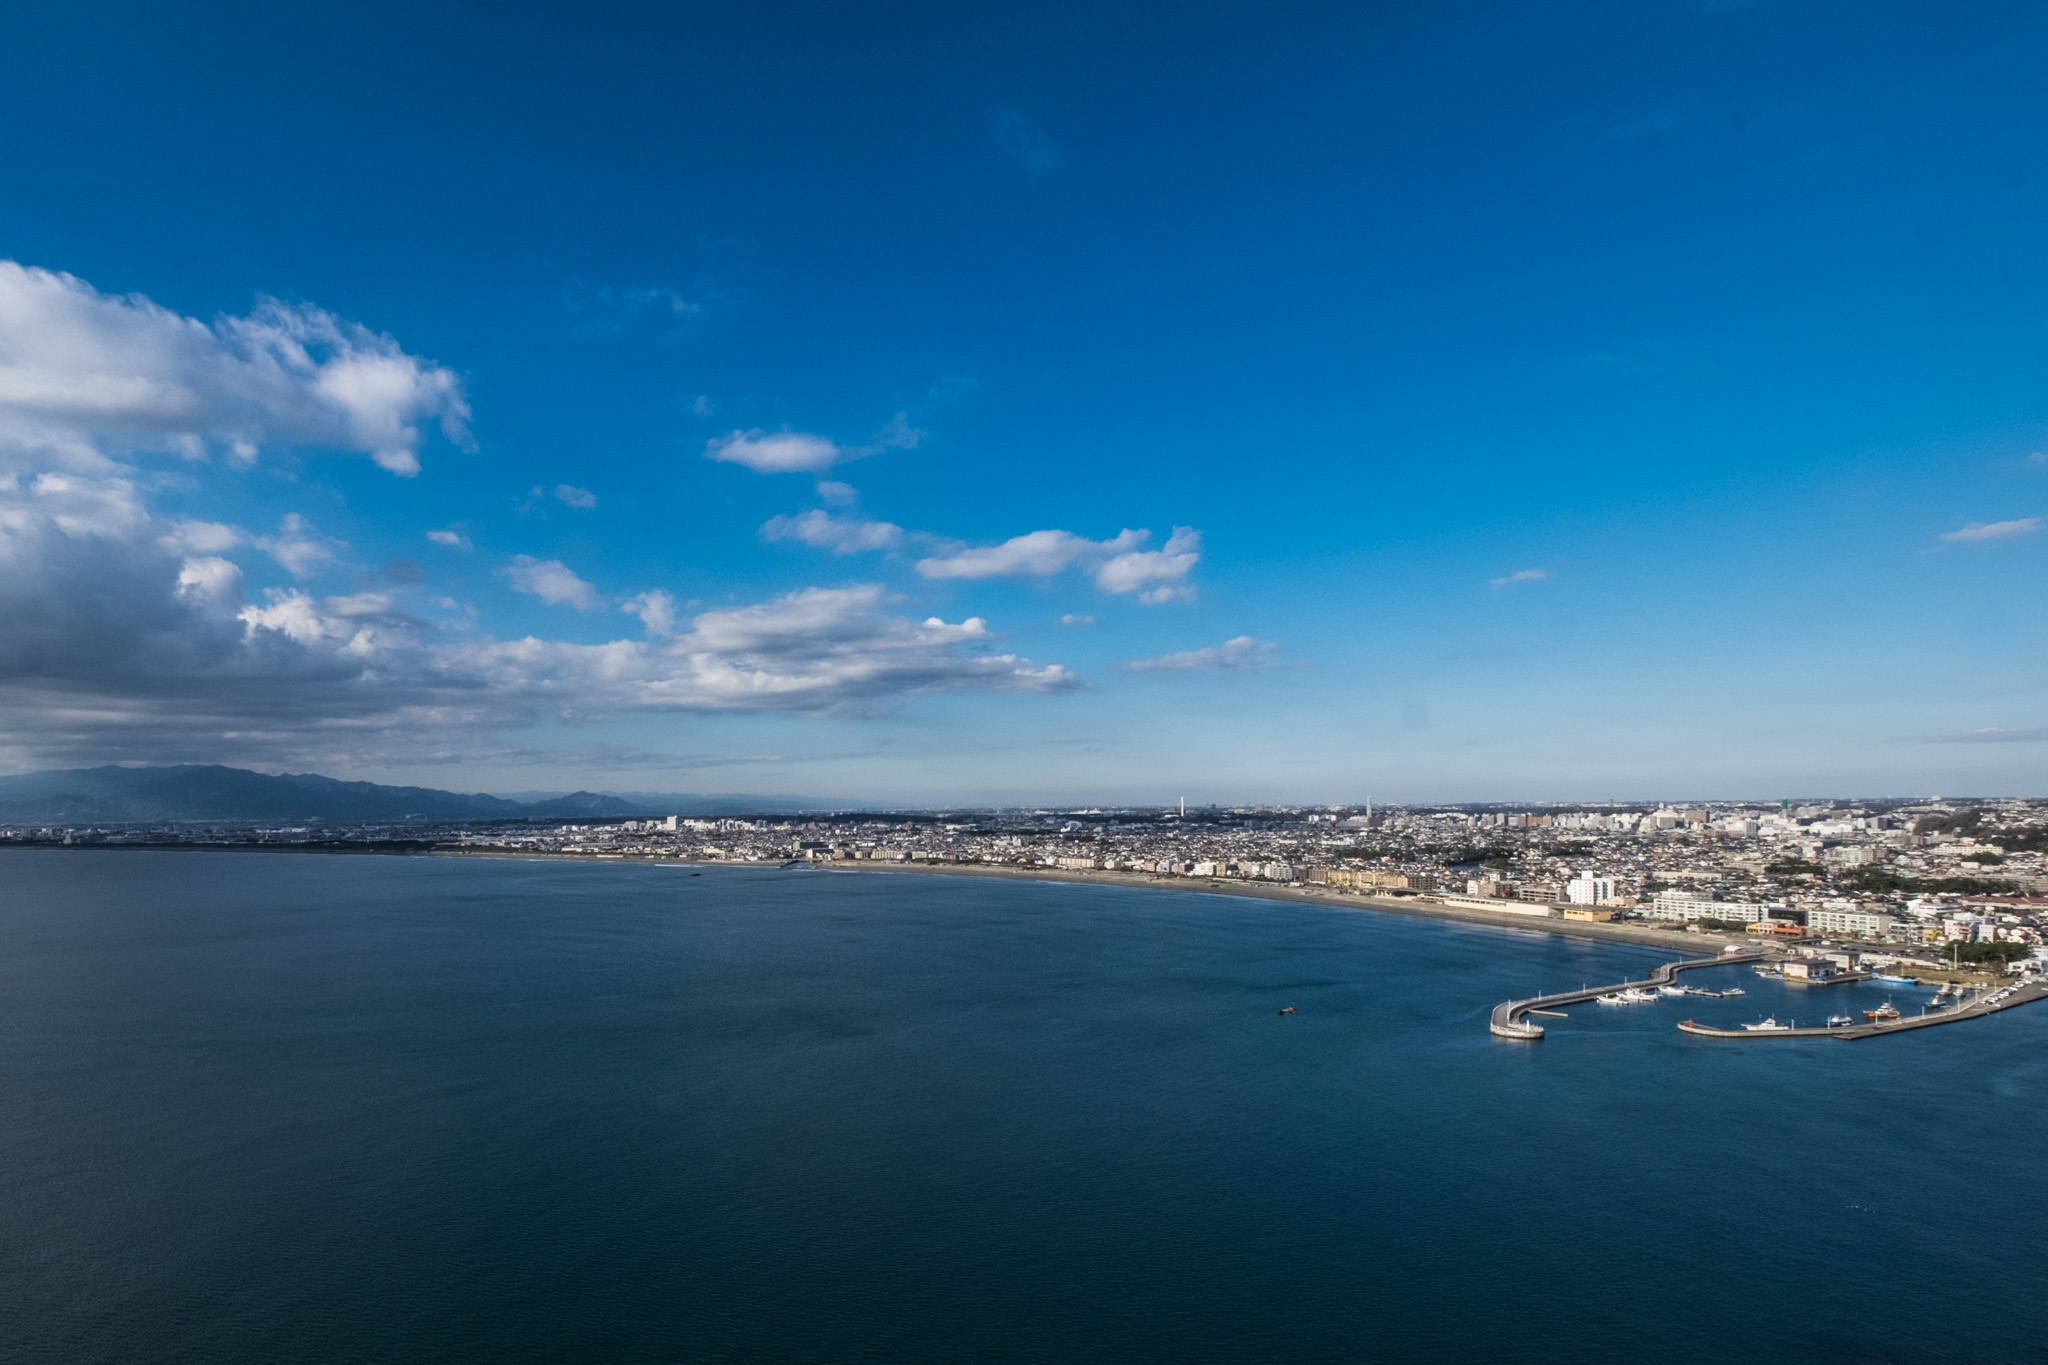
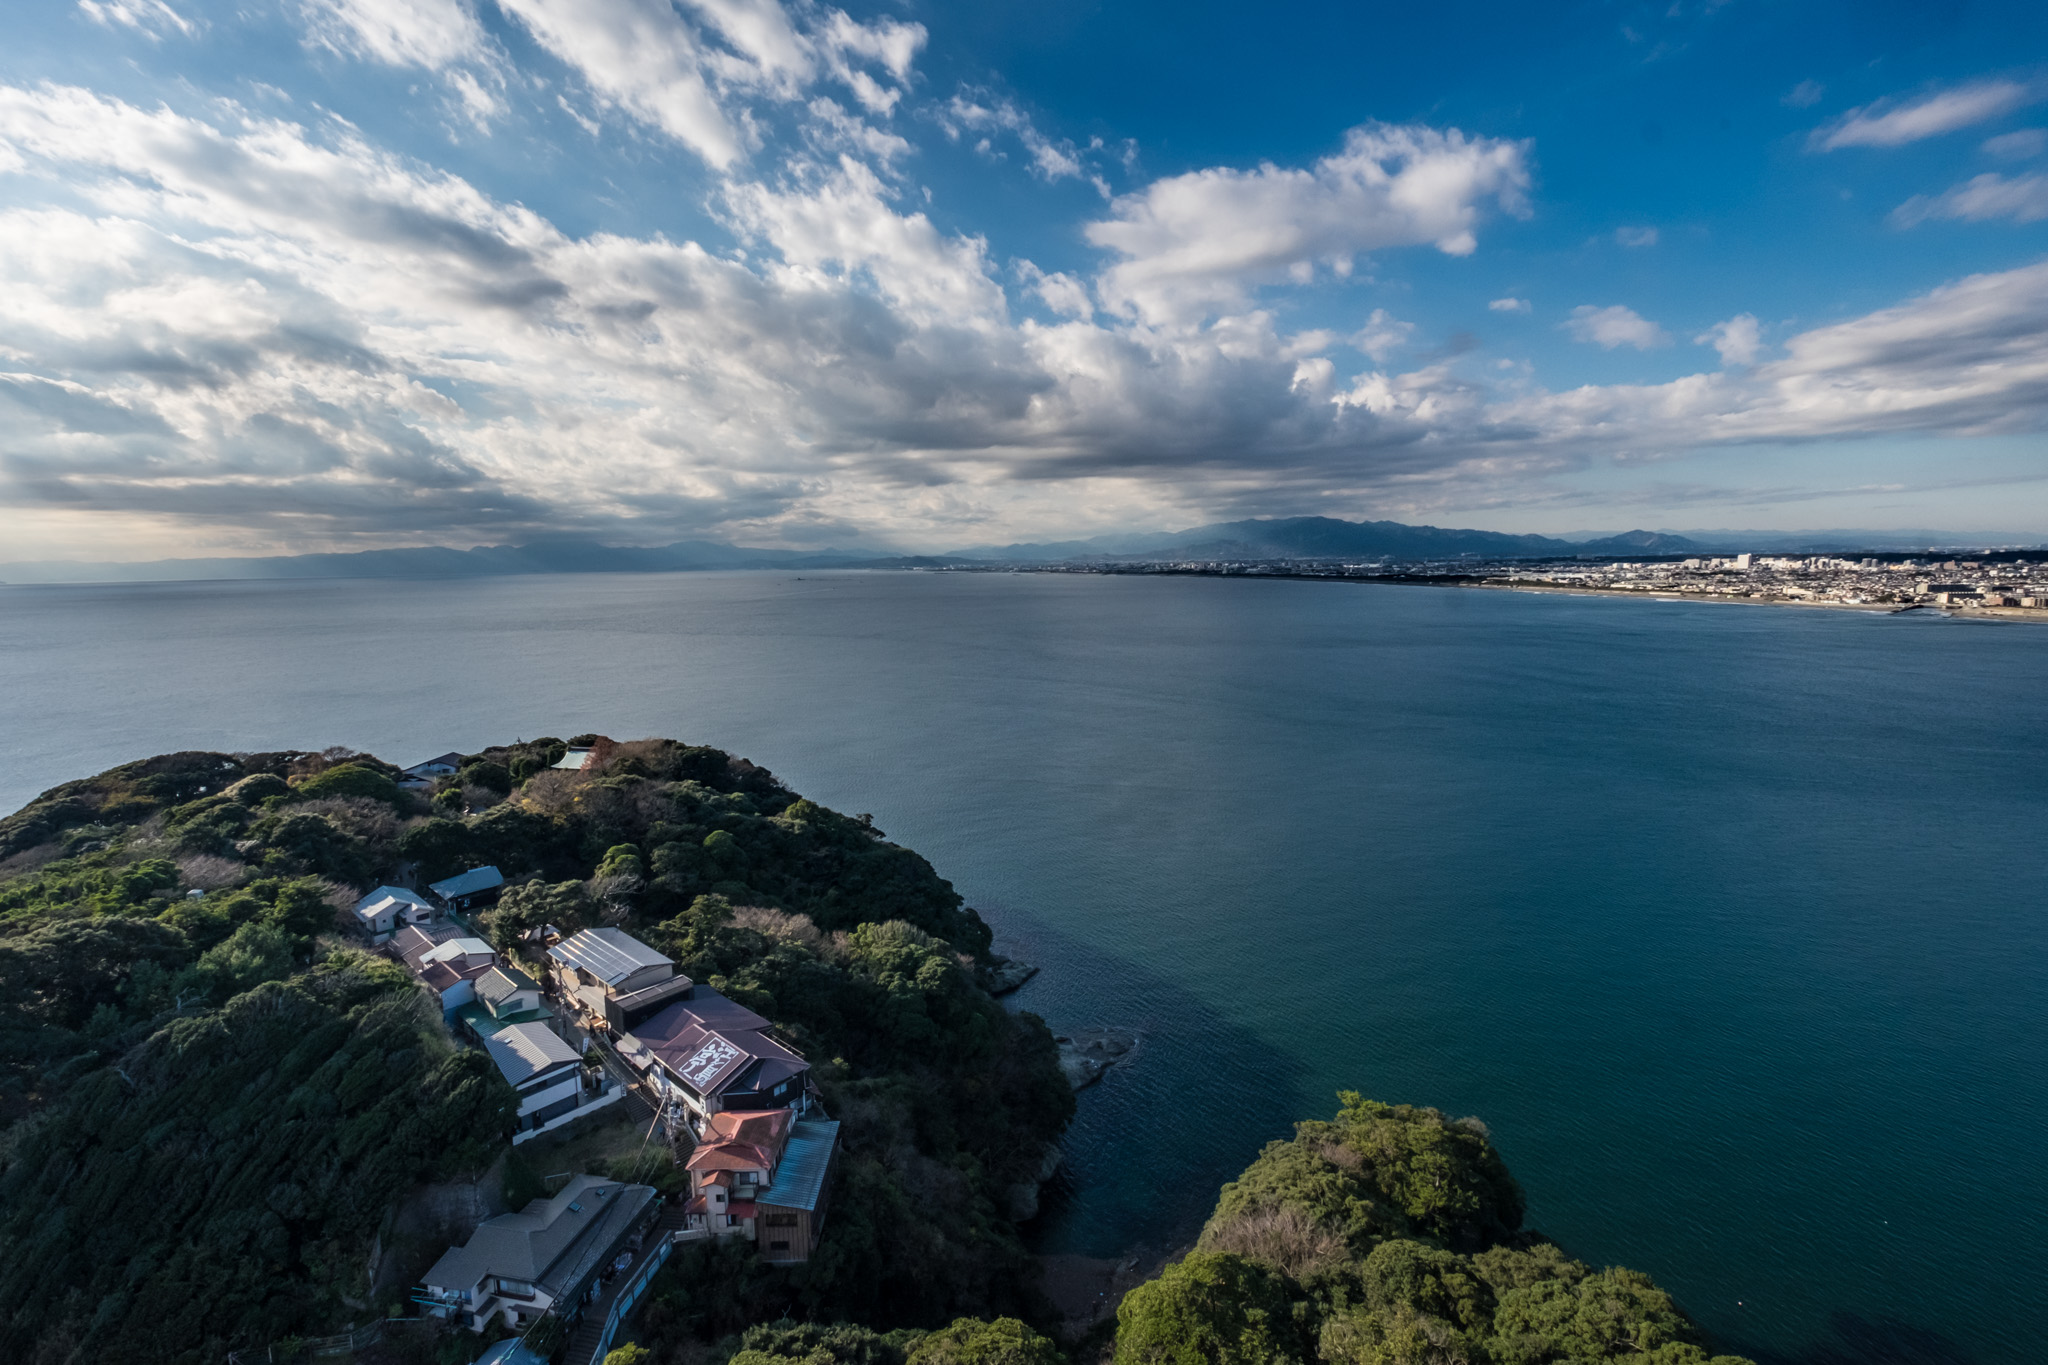
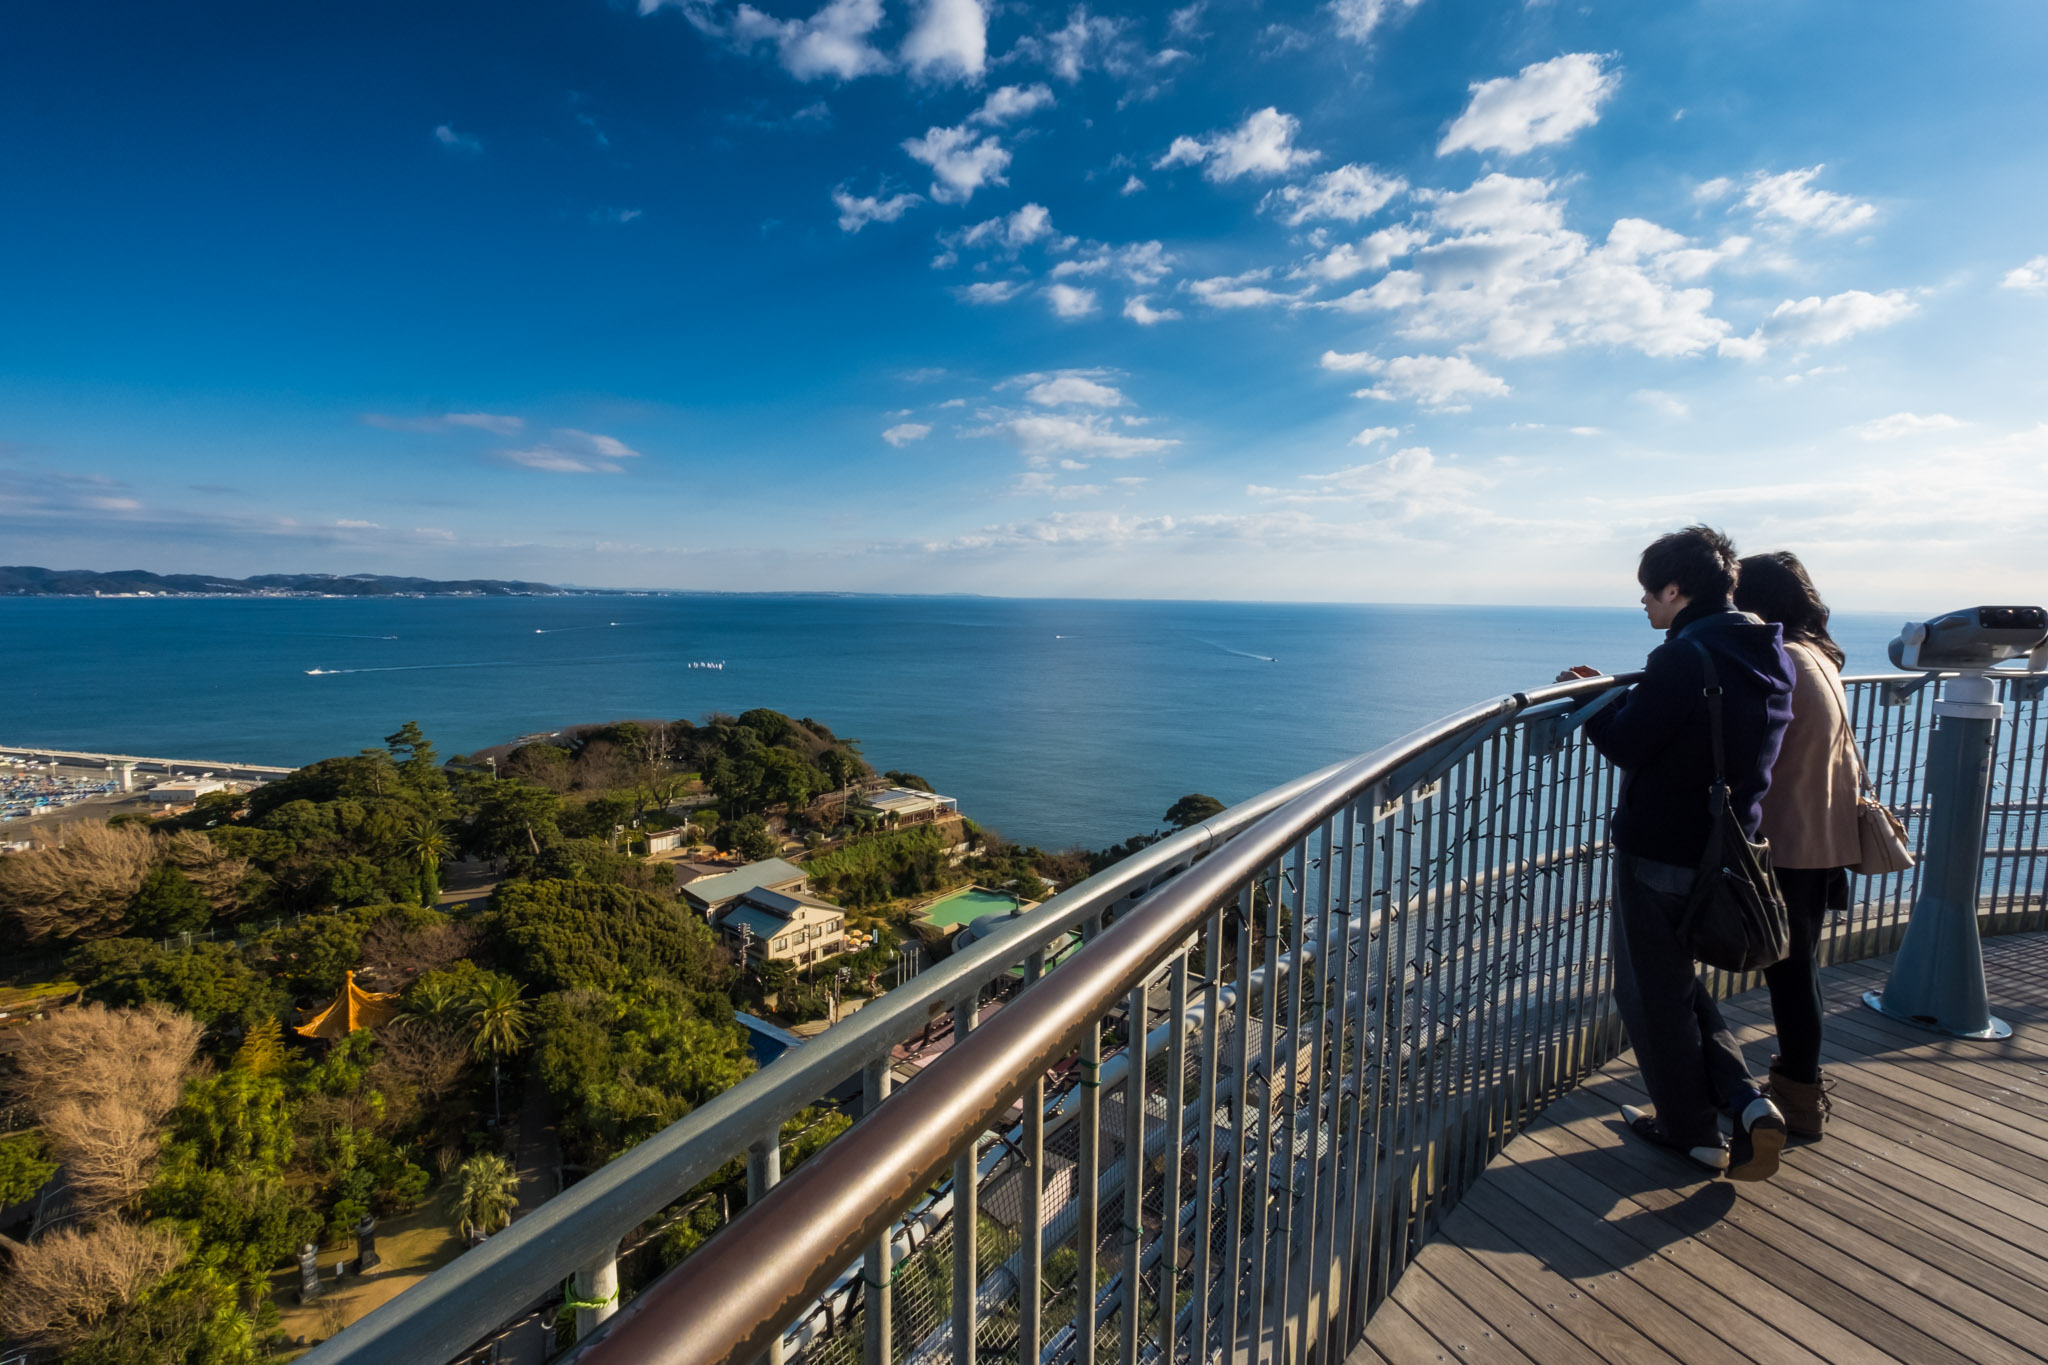
Iwaya Caves
After leaving the garden, there is a long path leading down to the Iwaya Caves at the end of the island. The cave closes at 4 pm. It takes about 20 minutes to walk from this point to the cave. Along the way, there are shrines, restaurants, and snacks all the way. In addition, the path to the Love Bell is also on the way to the cave, but you have to separate it from the main path a little bit. That point is the highest point on the island. Couples will come to ring the bell and lock the key with the fence in that area. Personally, I didn't go in because it was getting late and I was afraid that I would go to the cave and come back in the dark.
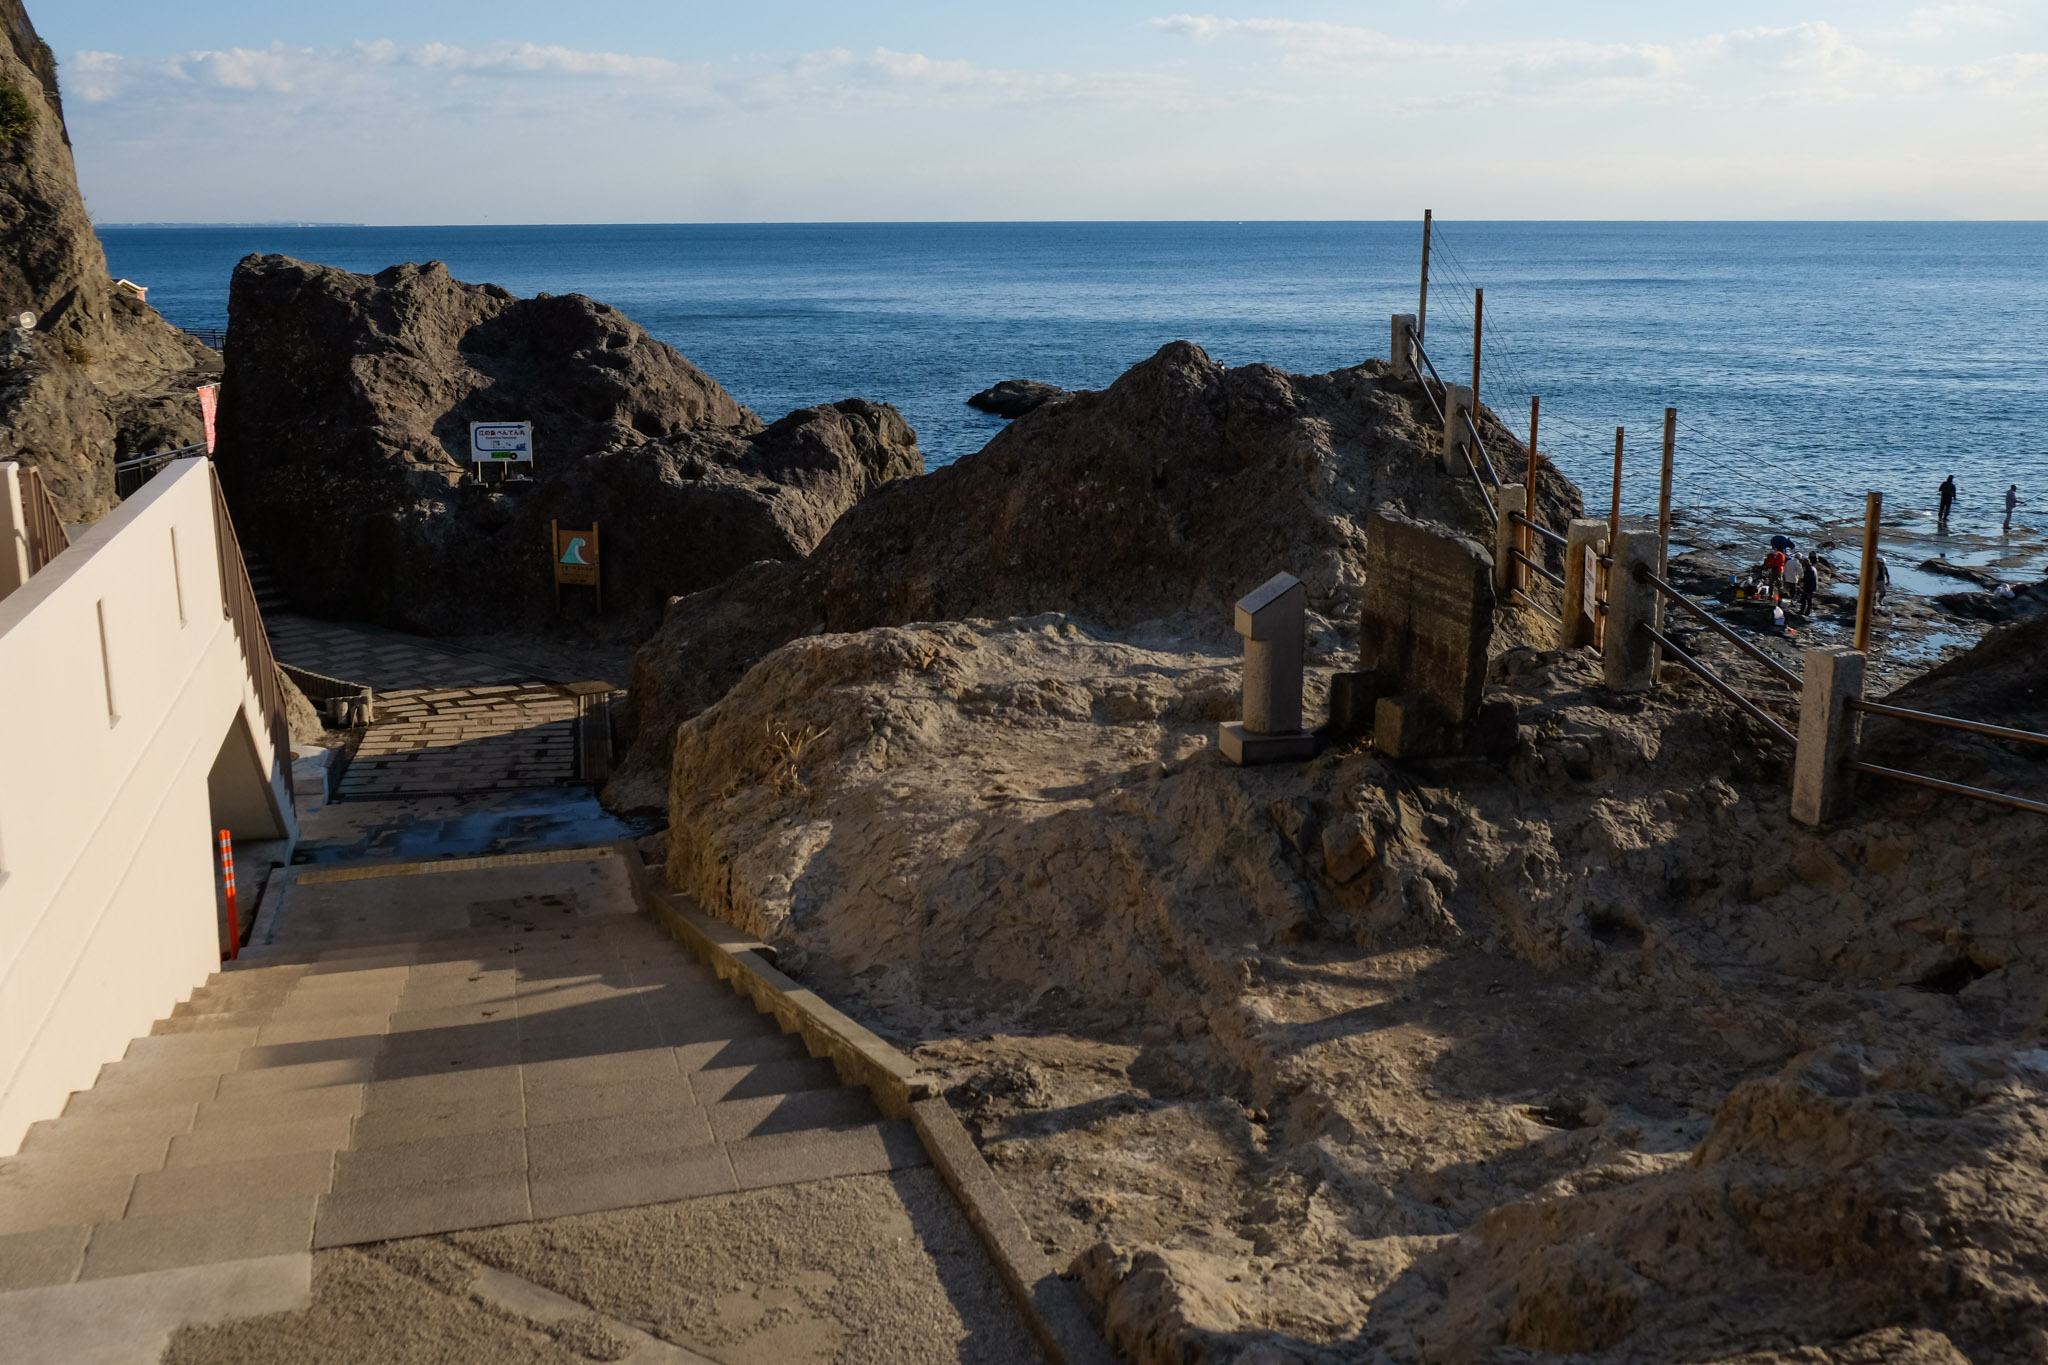
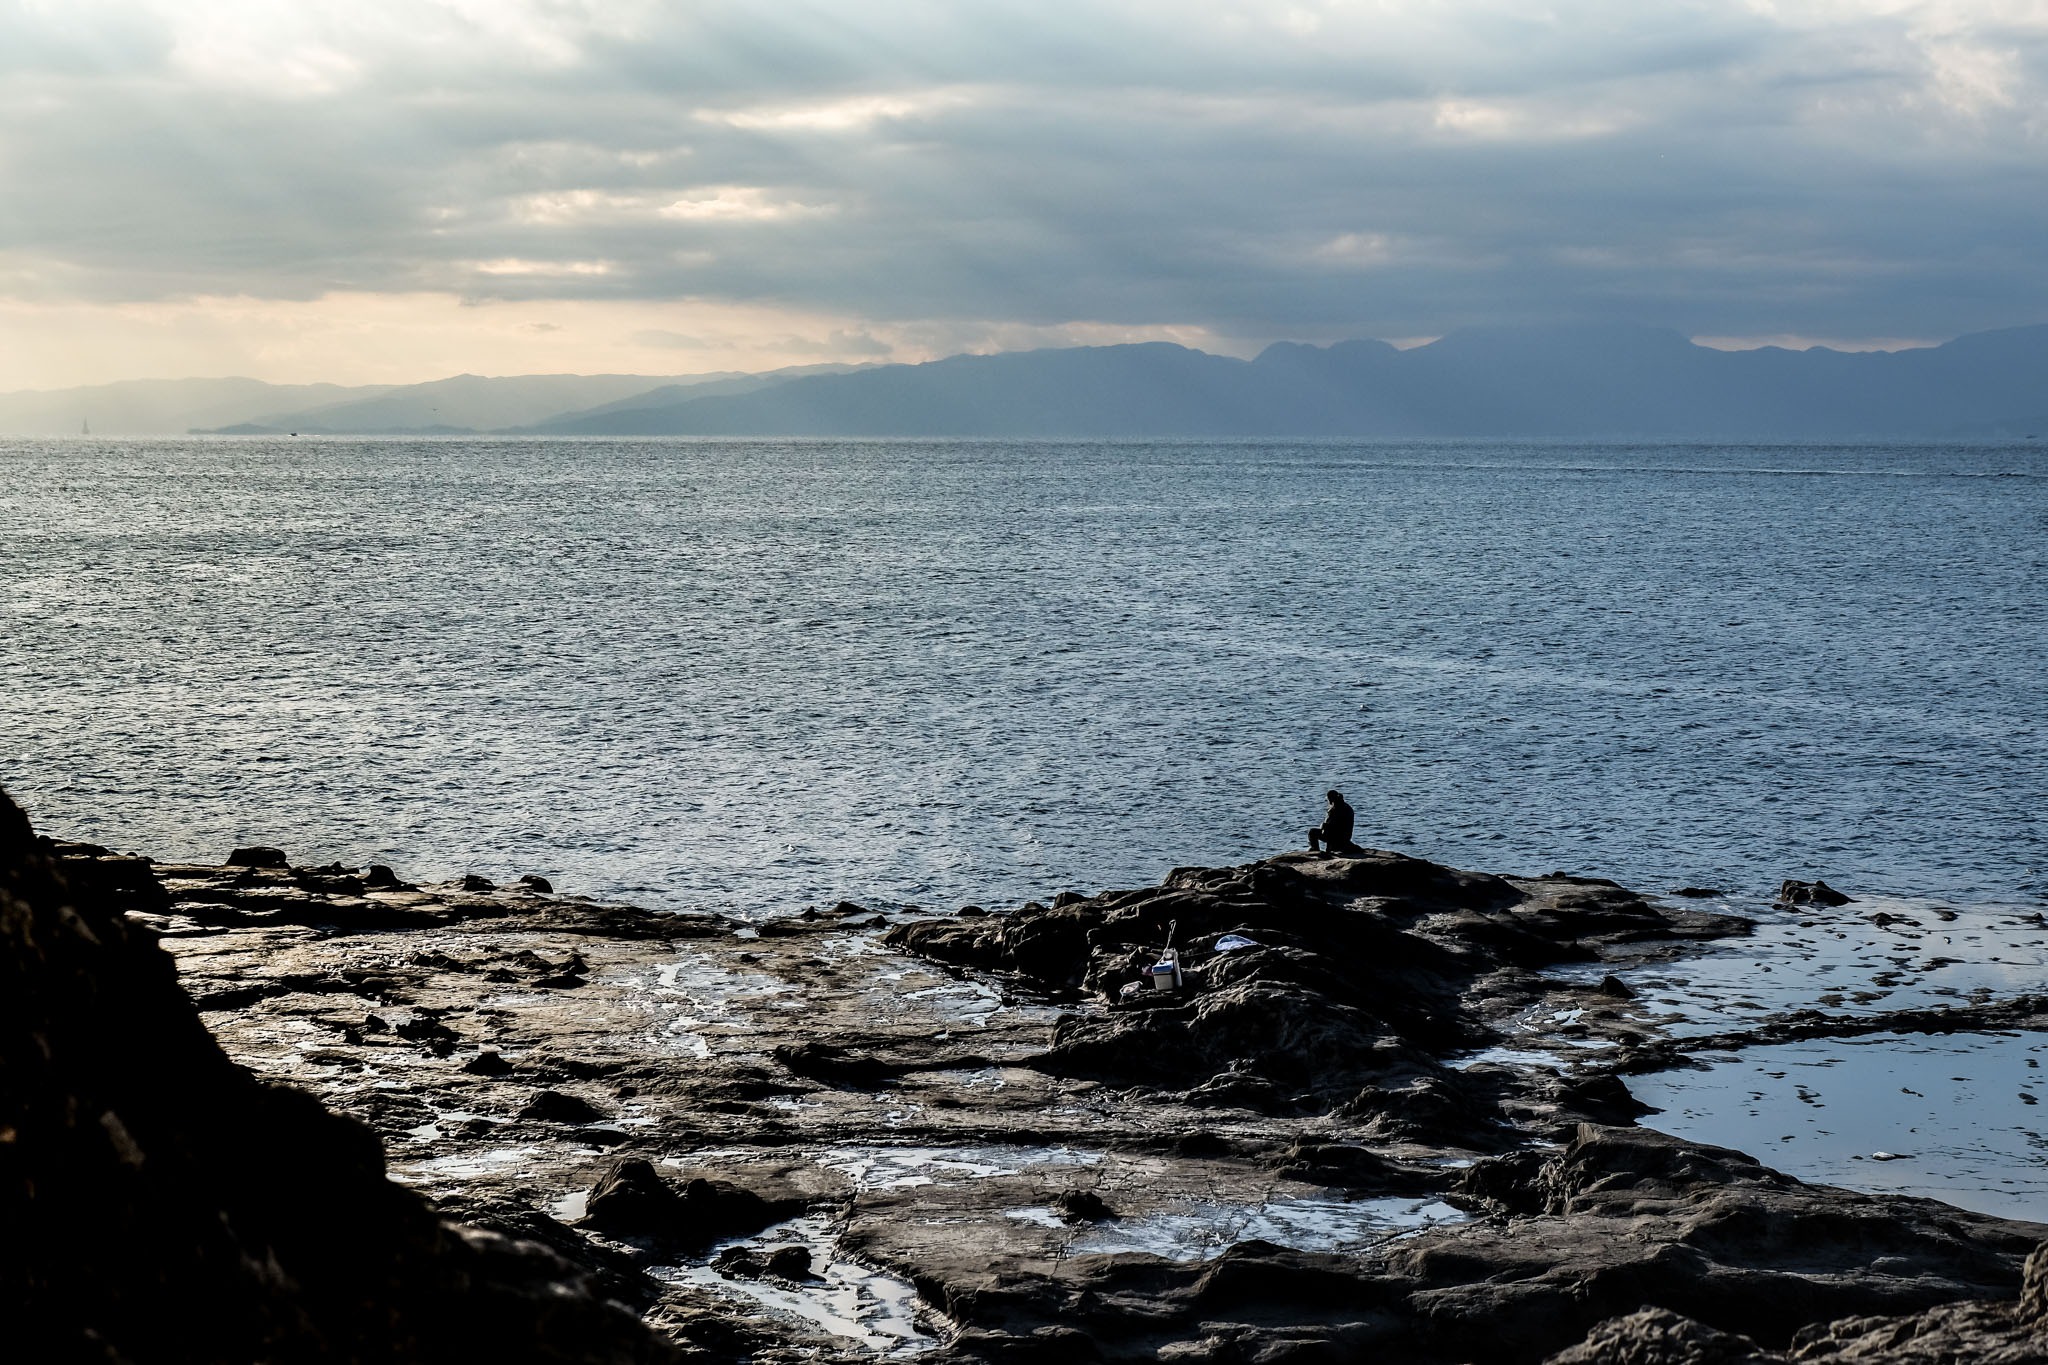
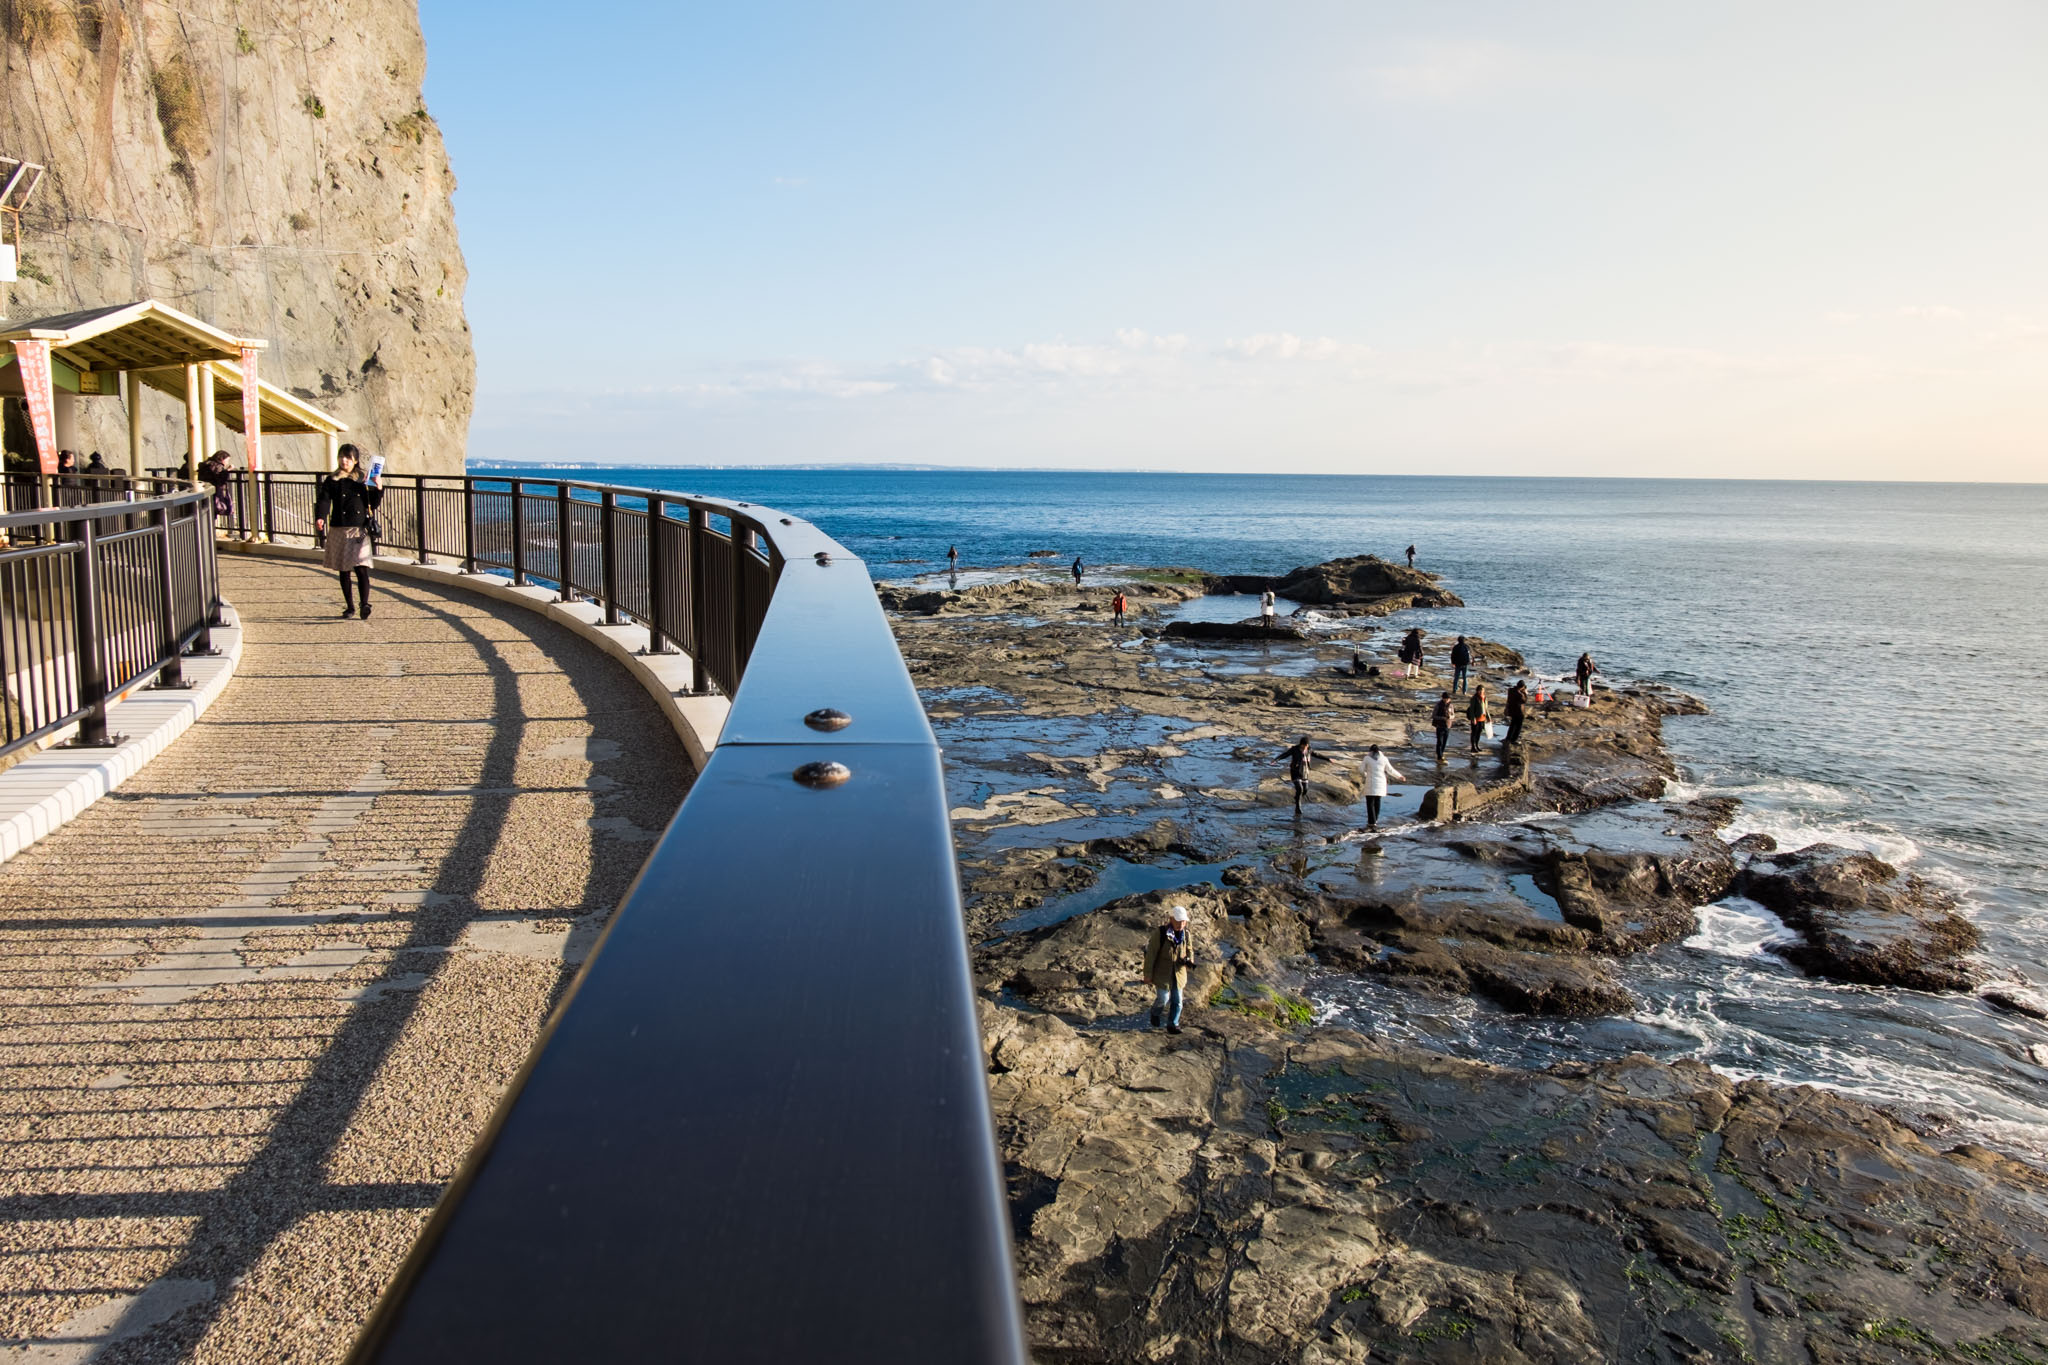
The path leading to the cave slopes down towards the sea. It is a well-maintained concrete path that allows you to walk along the rocky seashore. In the evenings, locals come here to fish, and young people gather to take photos by the sea.
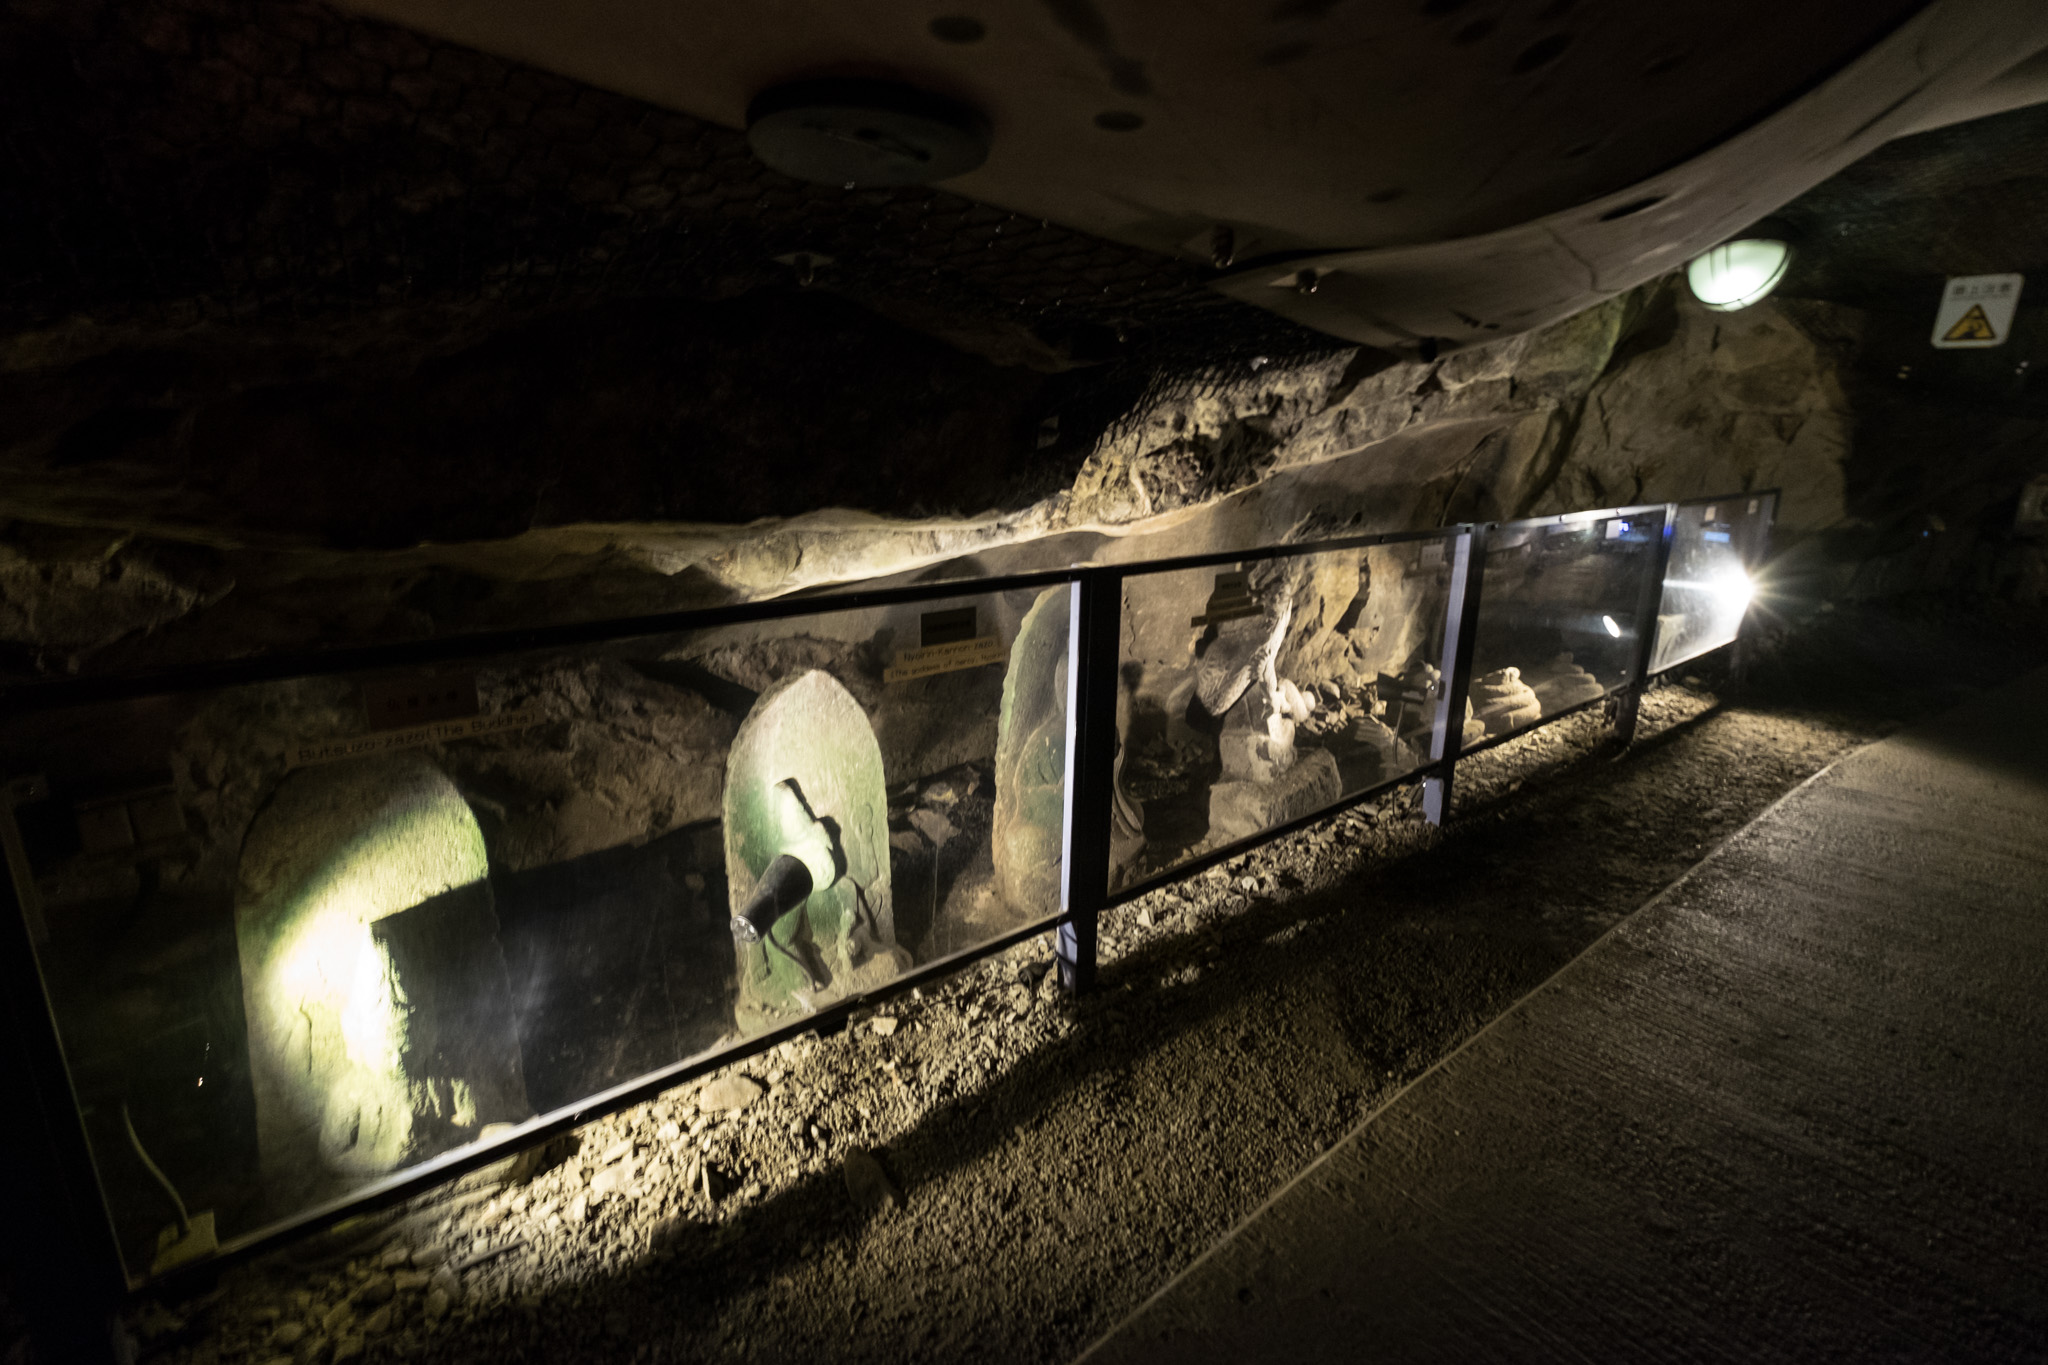
The entrance fee for Iwaya Caves is 500 yen per person. Inside, there are two smaller caves, Cave 1 & Cave 2. The first cave displays various Buddha statues found in the cave. The entrance to the cave is beautifully lit, but the inside is very dark. Staff will provide you with a paper lantern to hold as you walk through. In some places, you will need to bend down, and in others, there may be water dripping down. However, there are sturdy barriers in place. This cave was formed by the erosion of water and wind, which allows for good air circulation, making it not too stuffy.

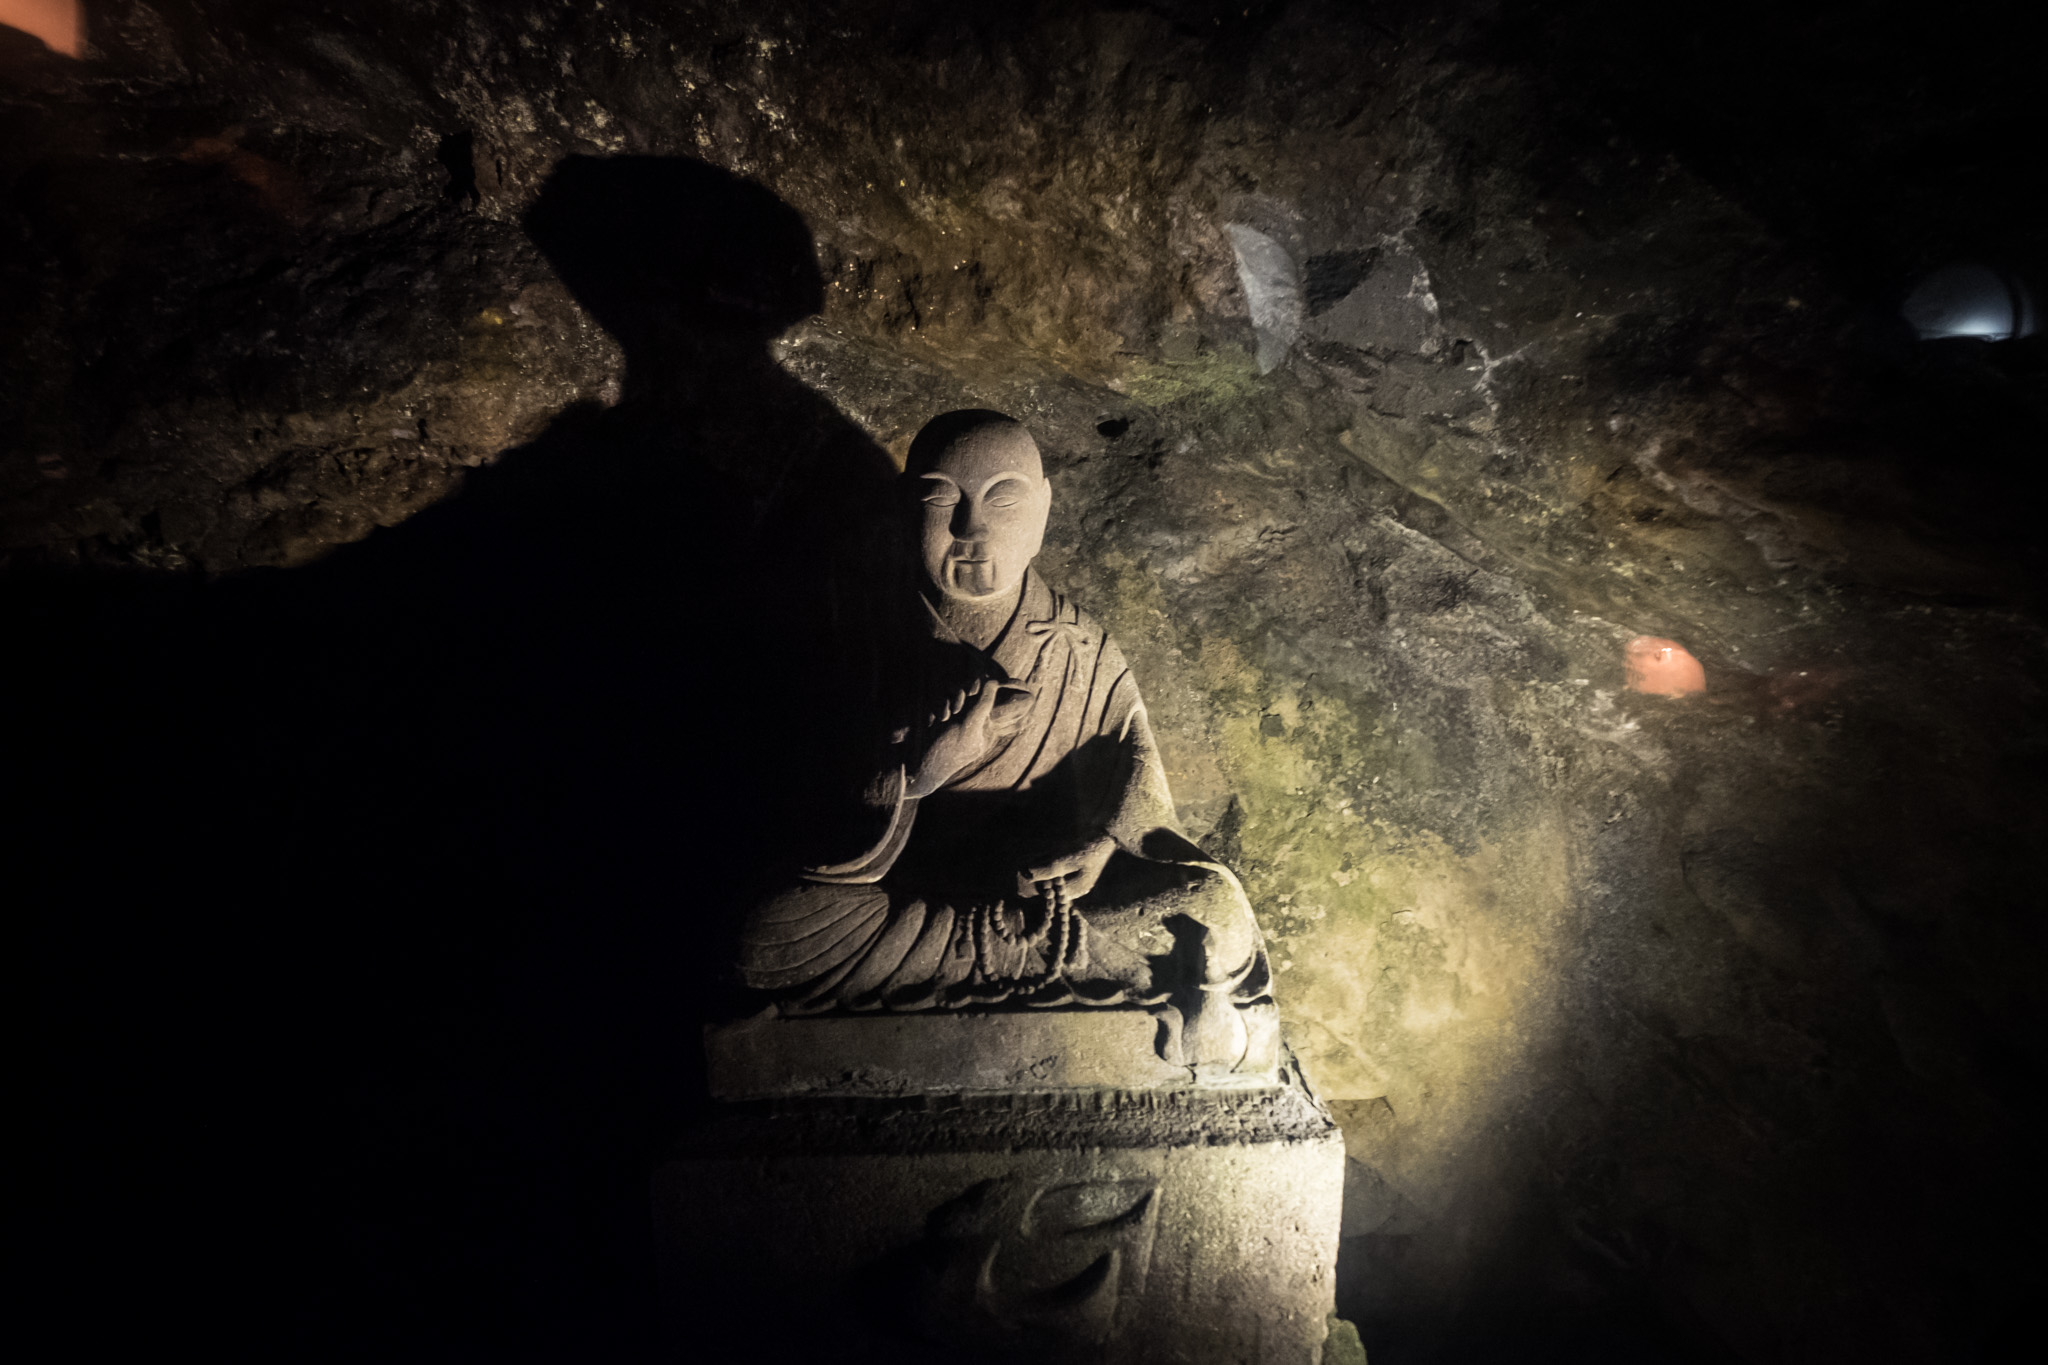
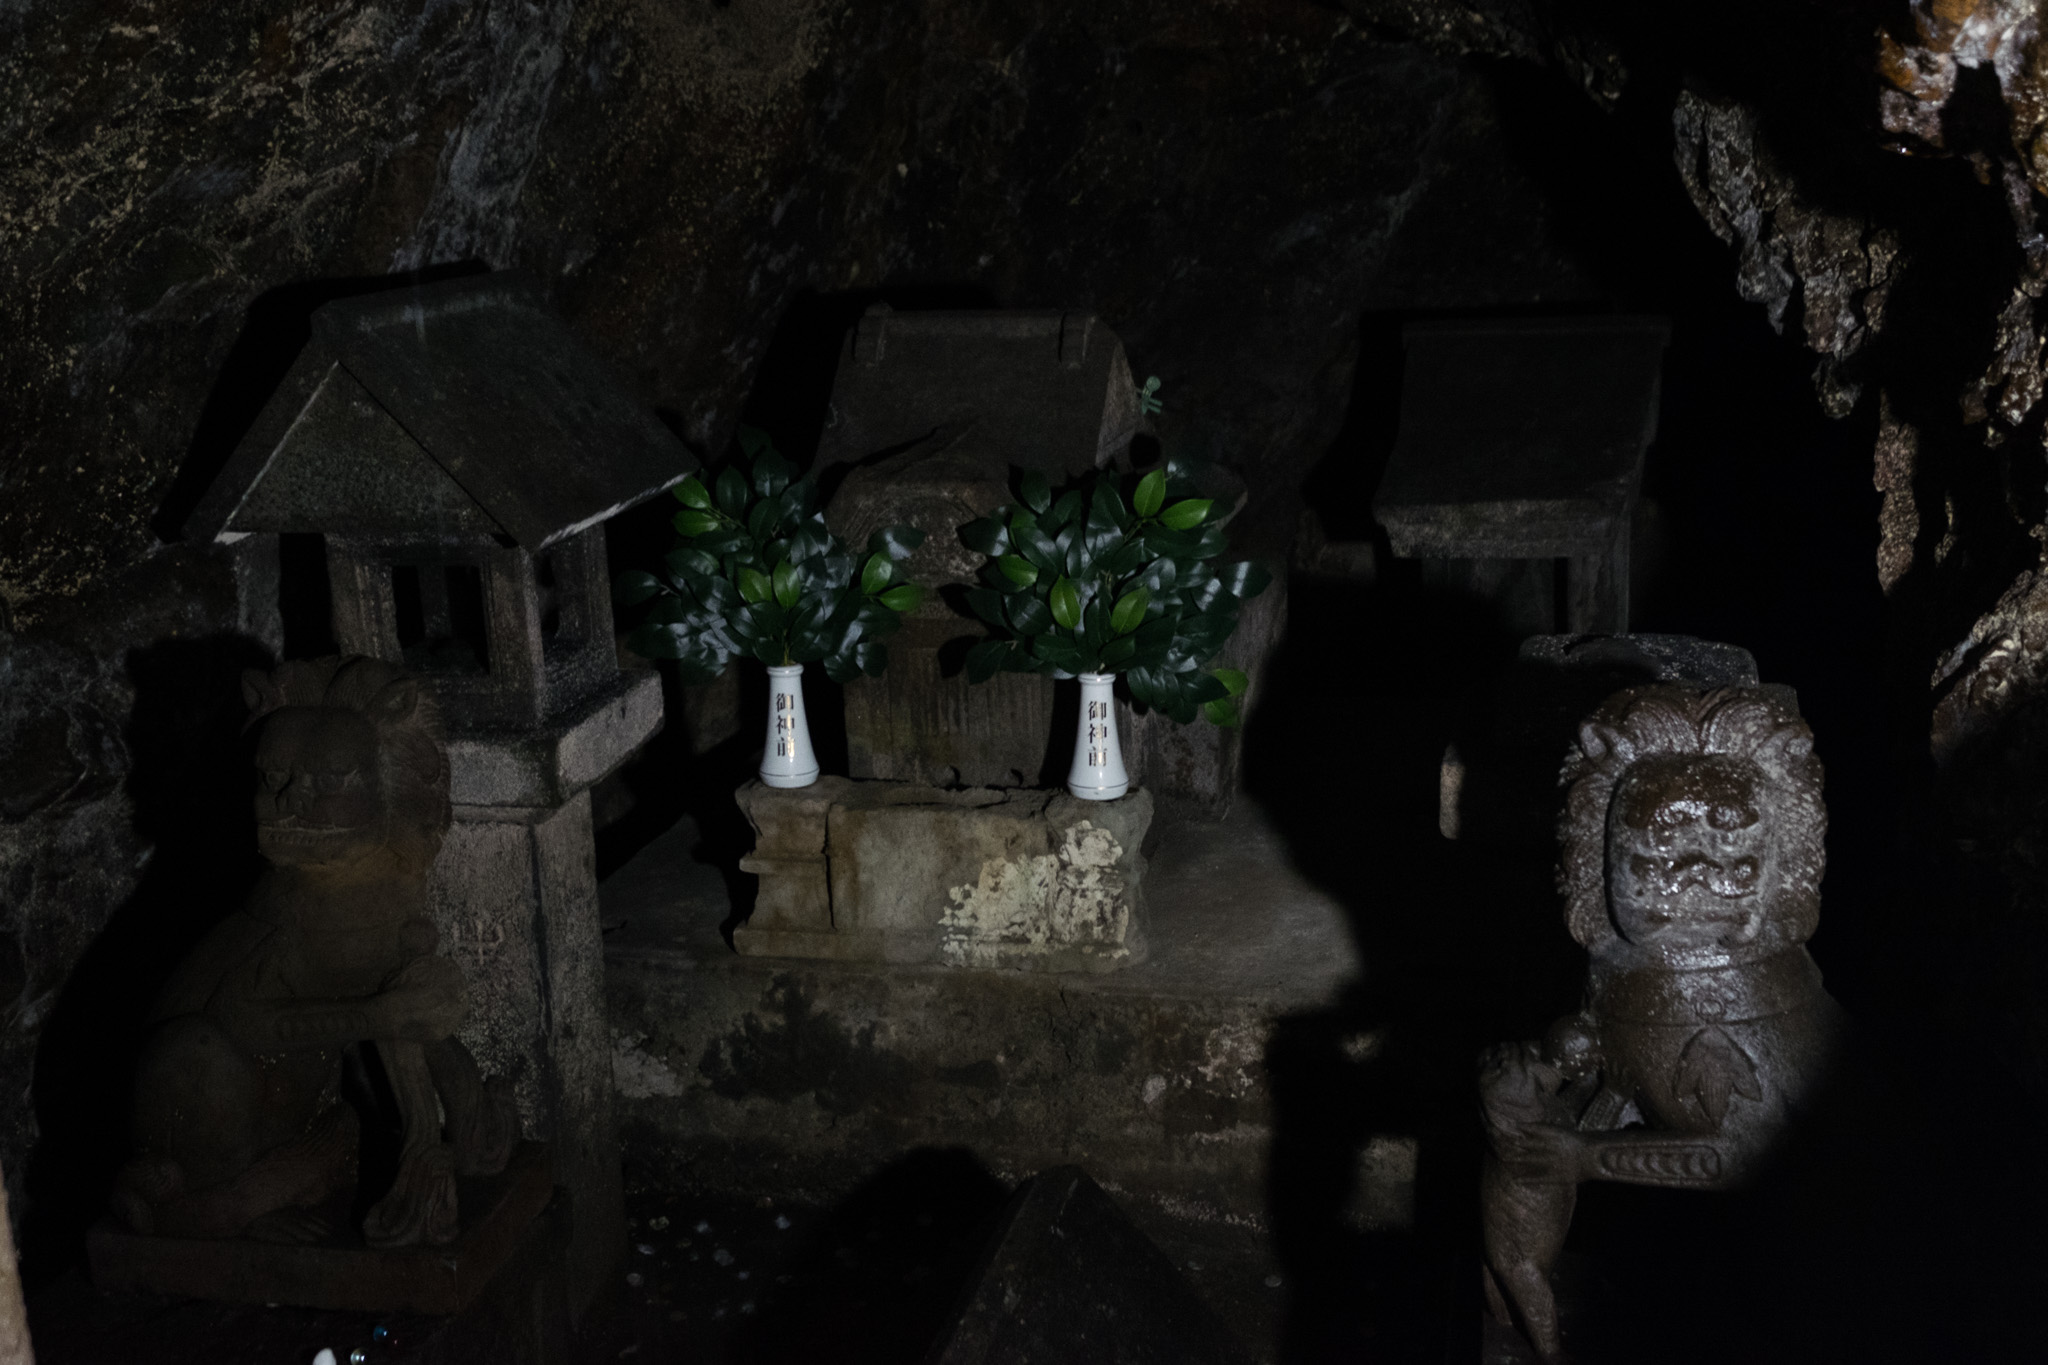
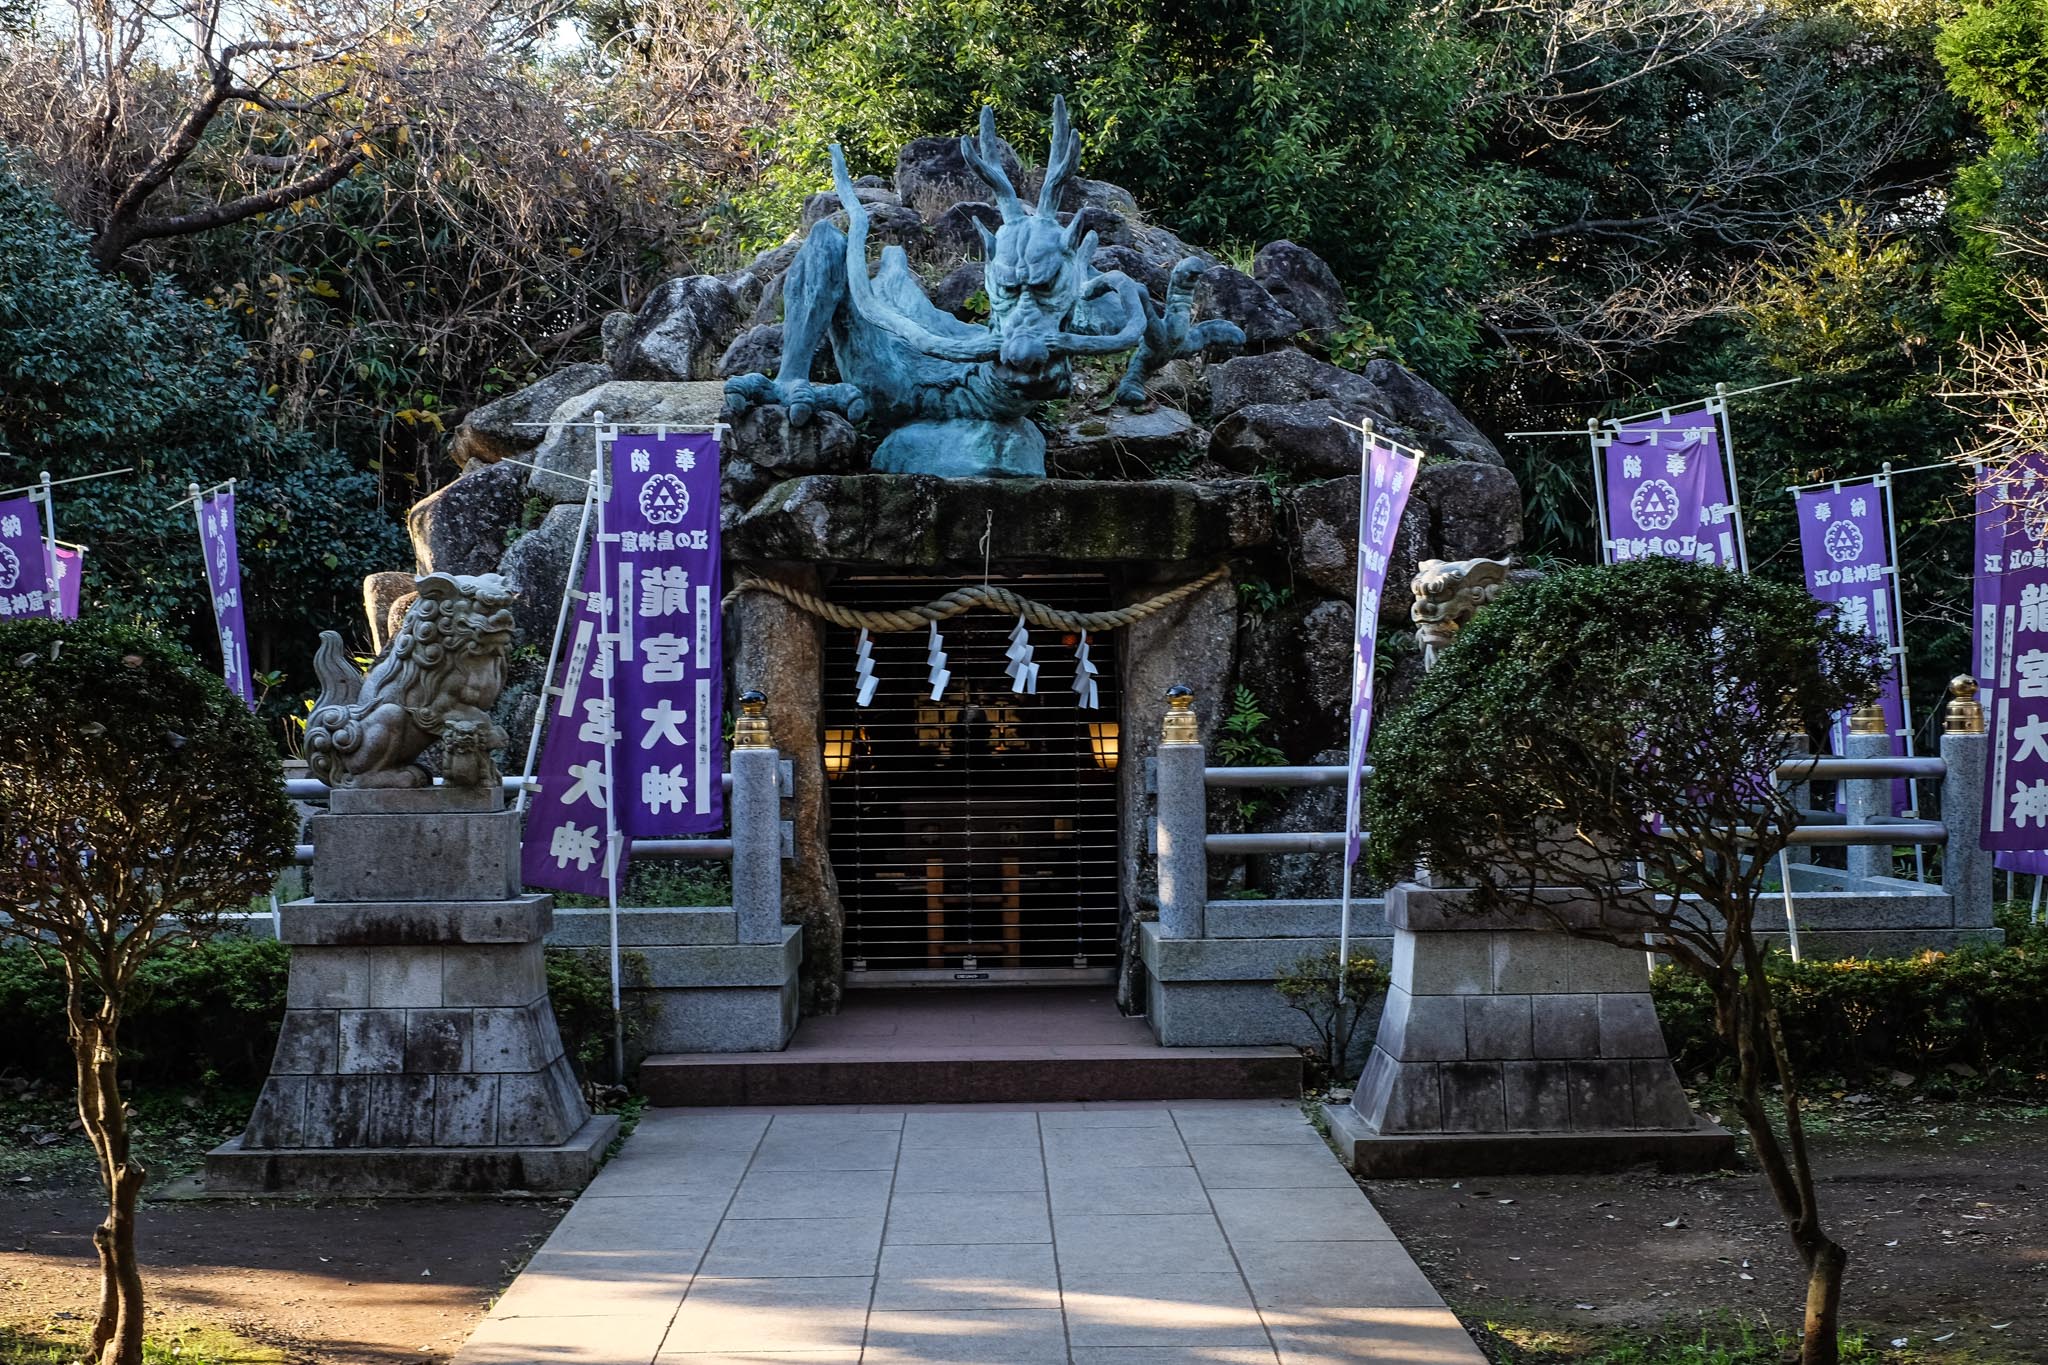
The second cave requires a short walk along the cliff edge. This cave was built to house the dragon that was terrorizing the area. Inside the cave, there is a statue of a dragon. Throw a coin, beat the drum, and make a wish.
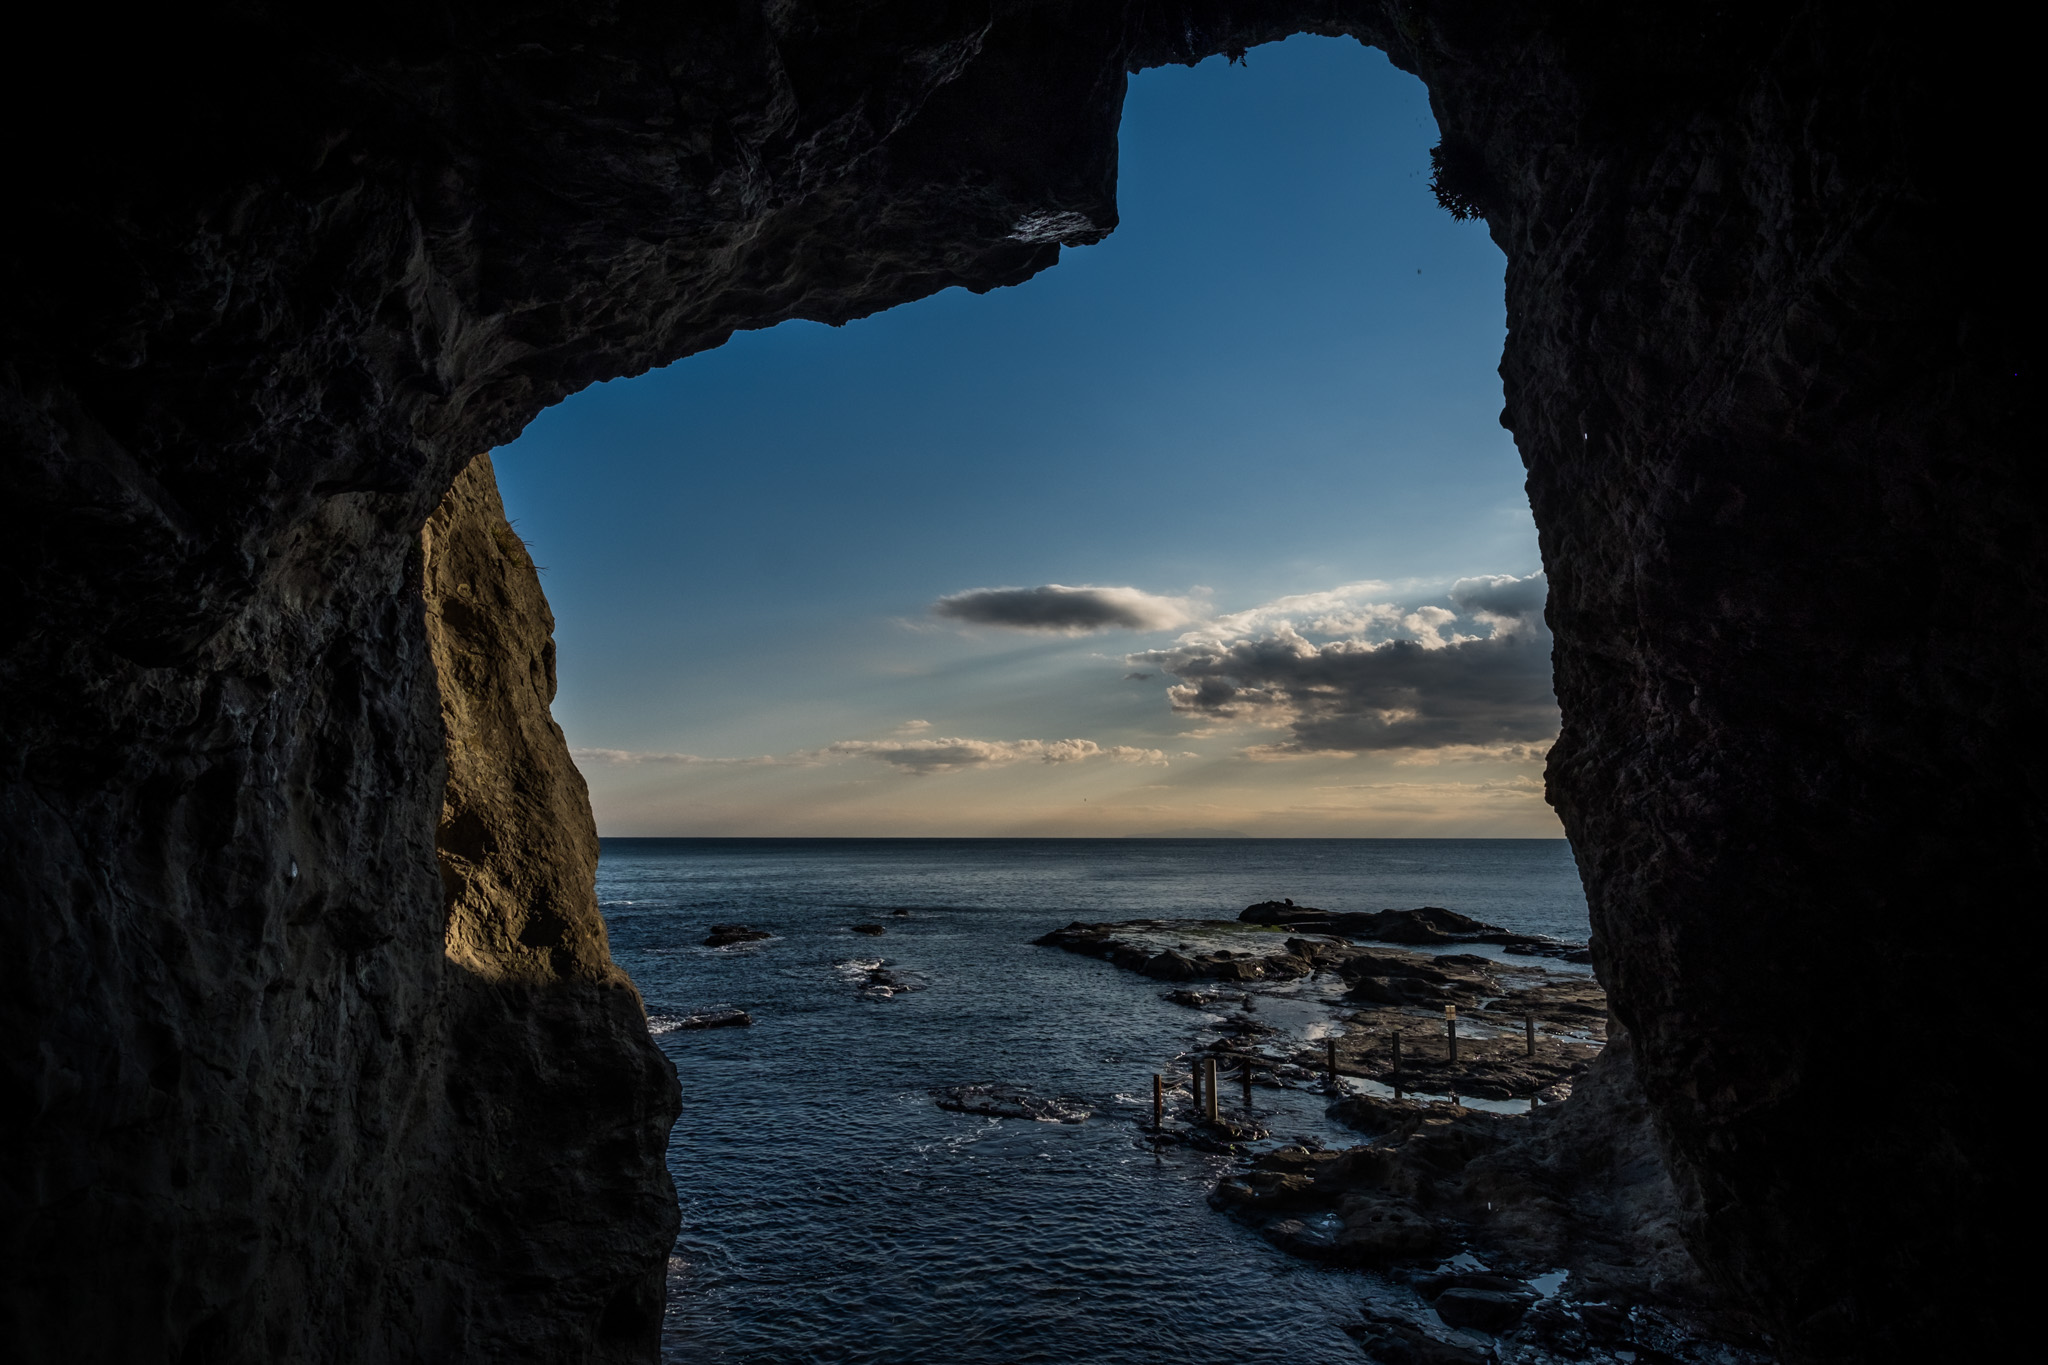
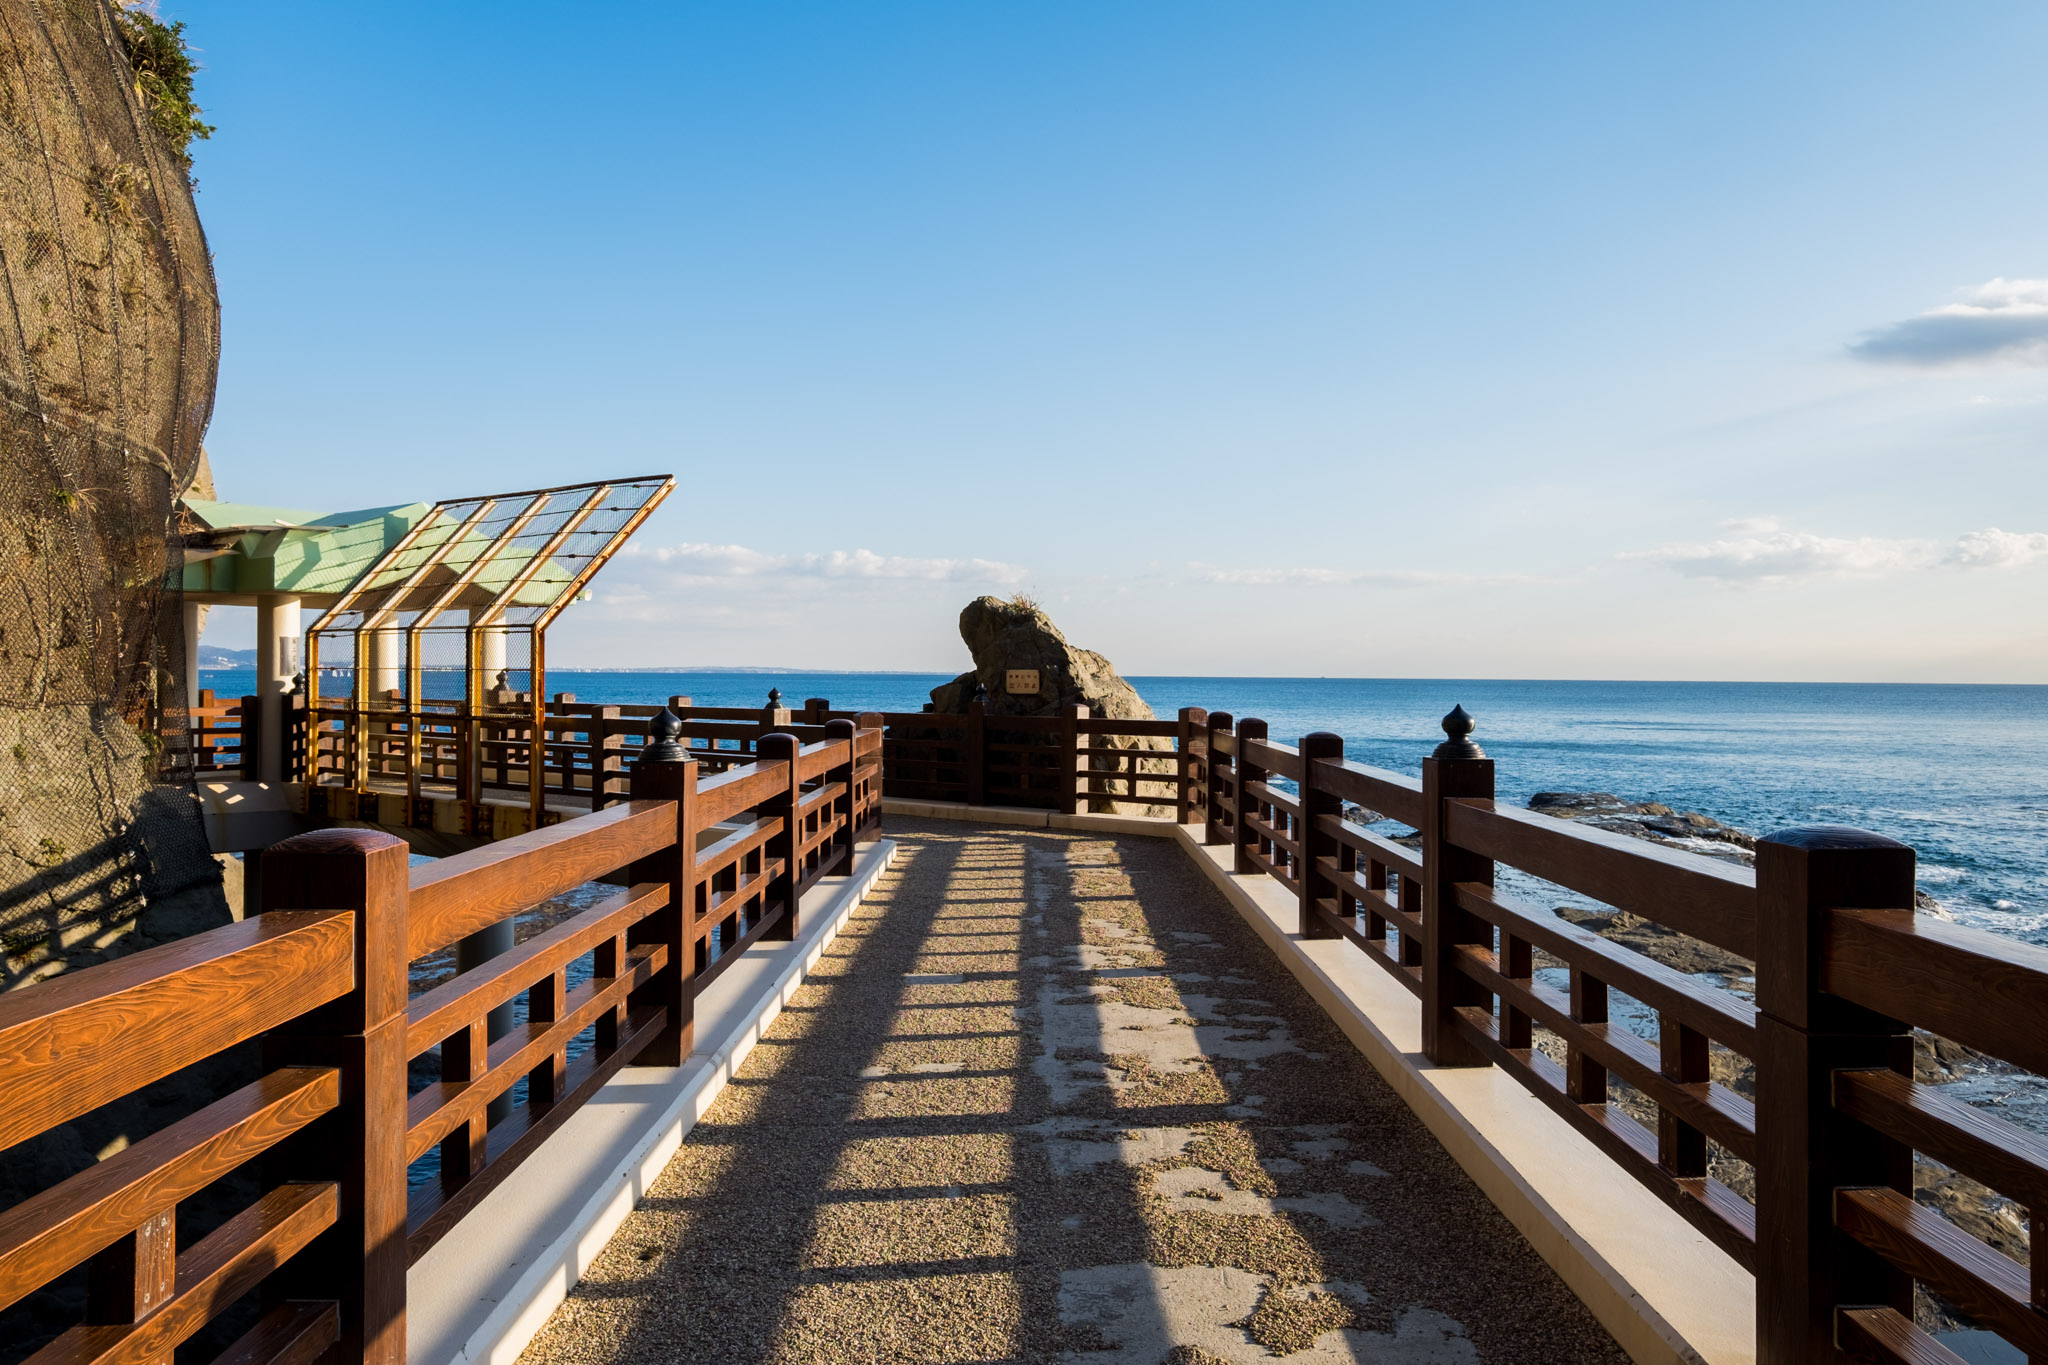
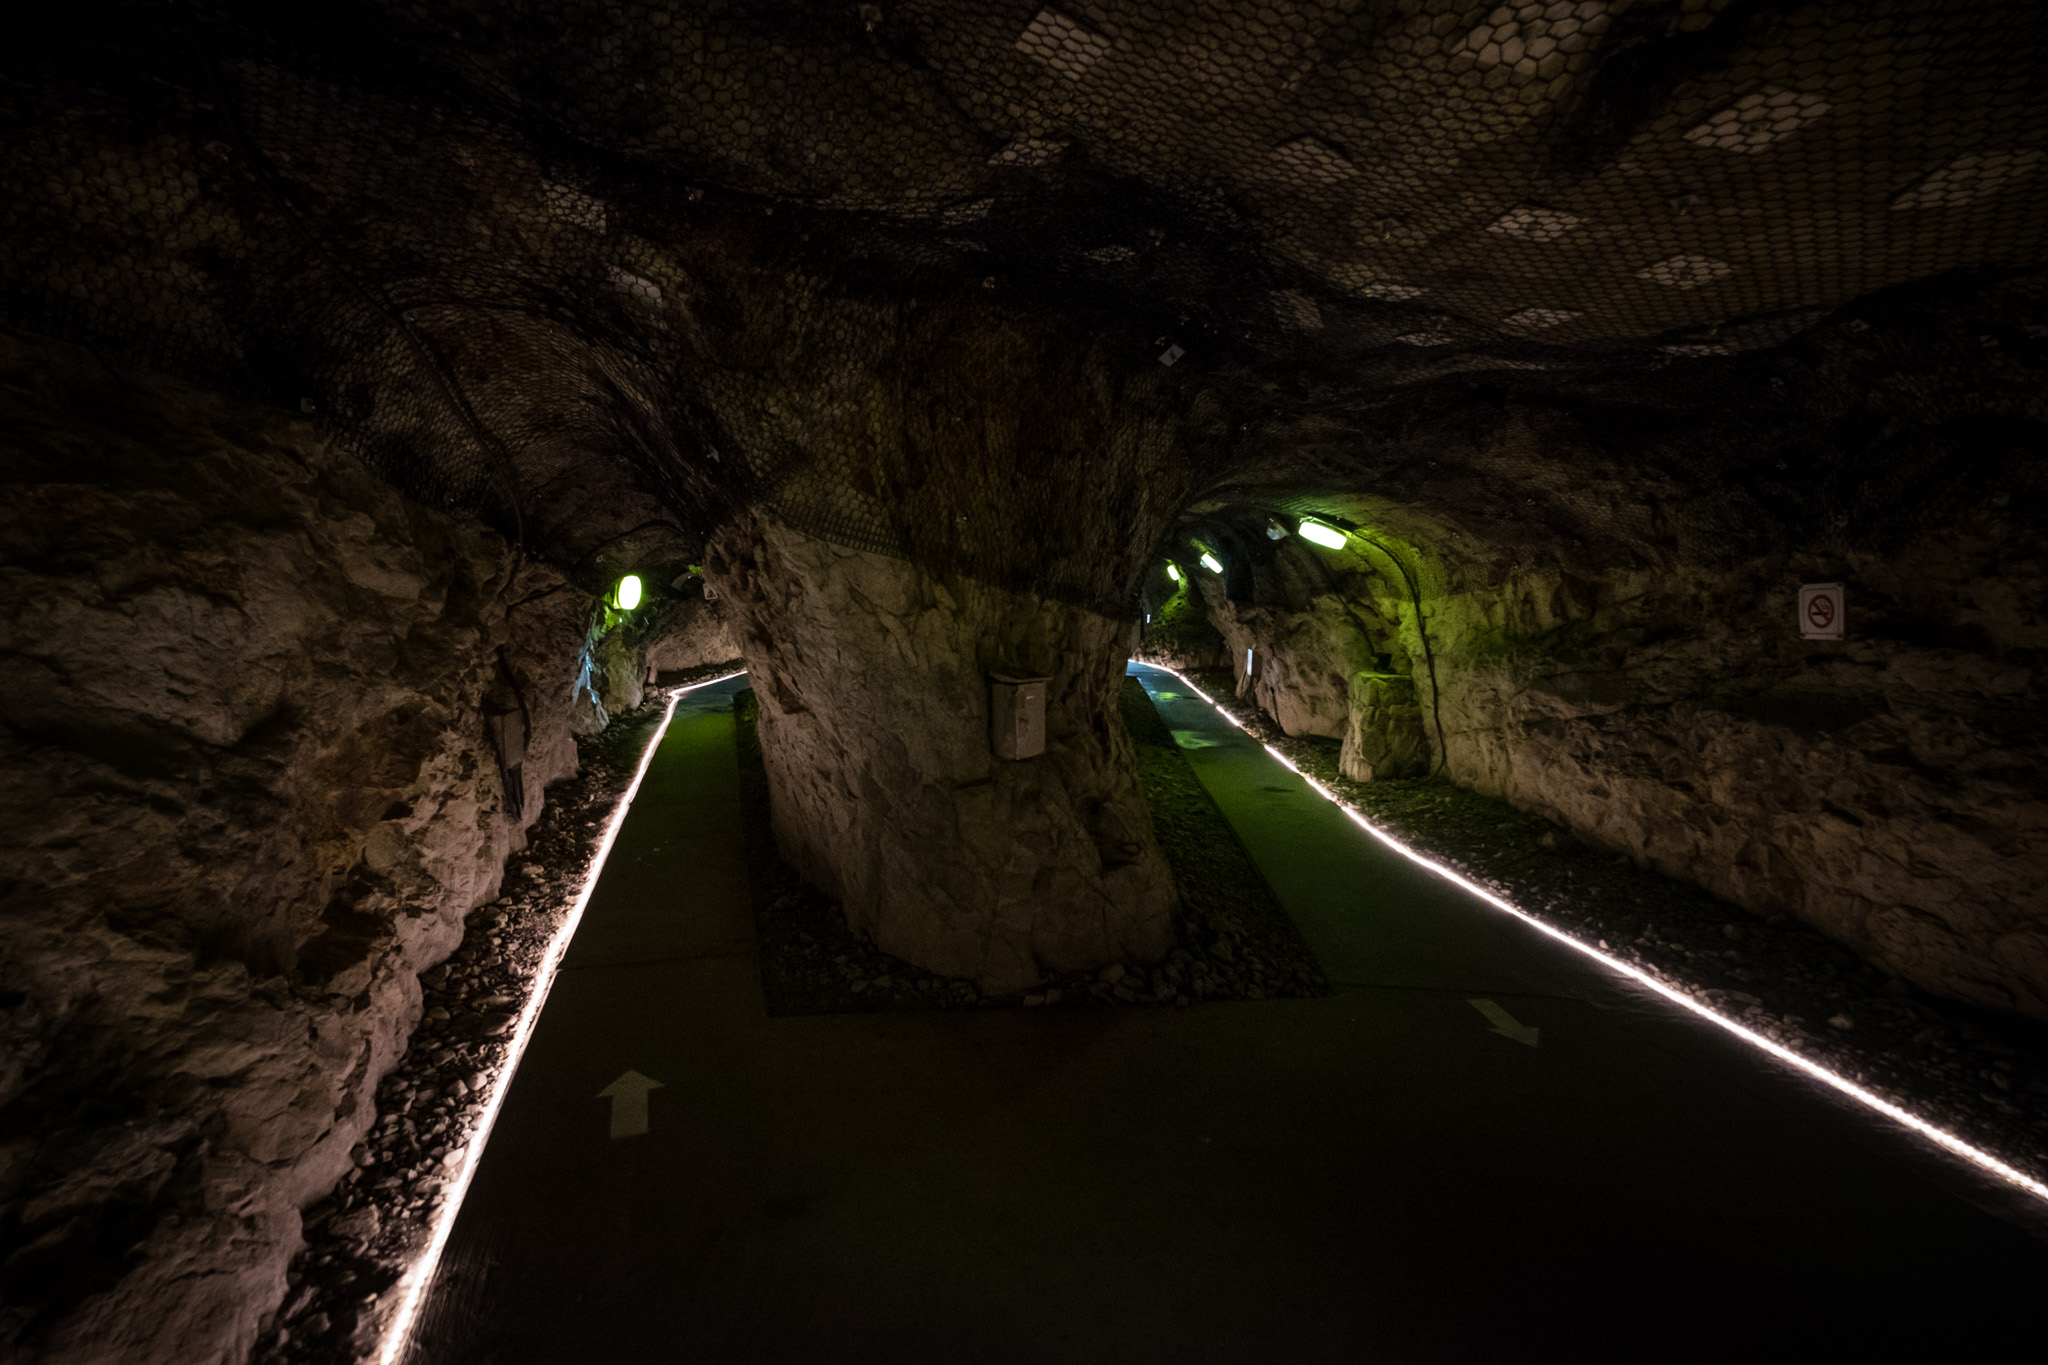
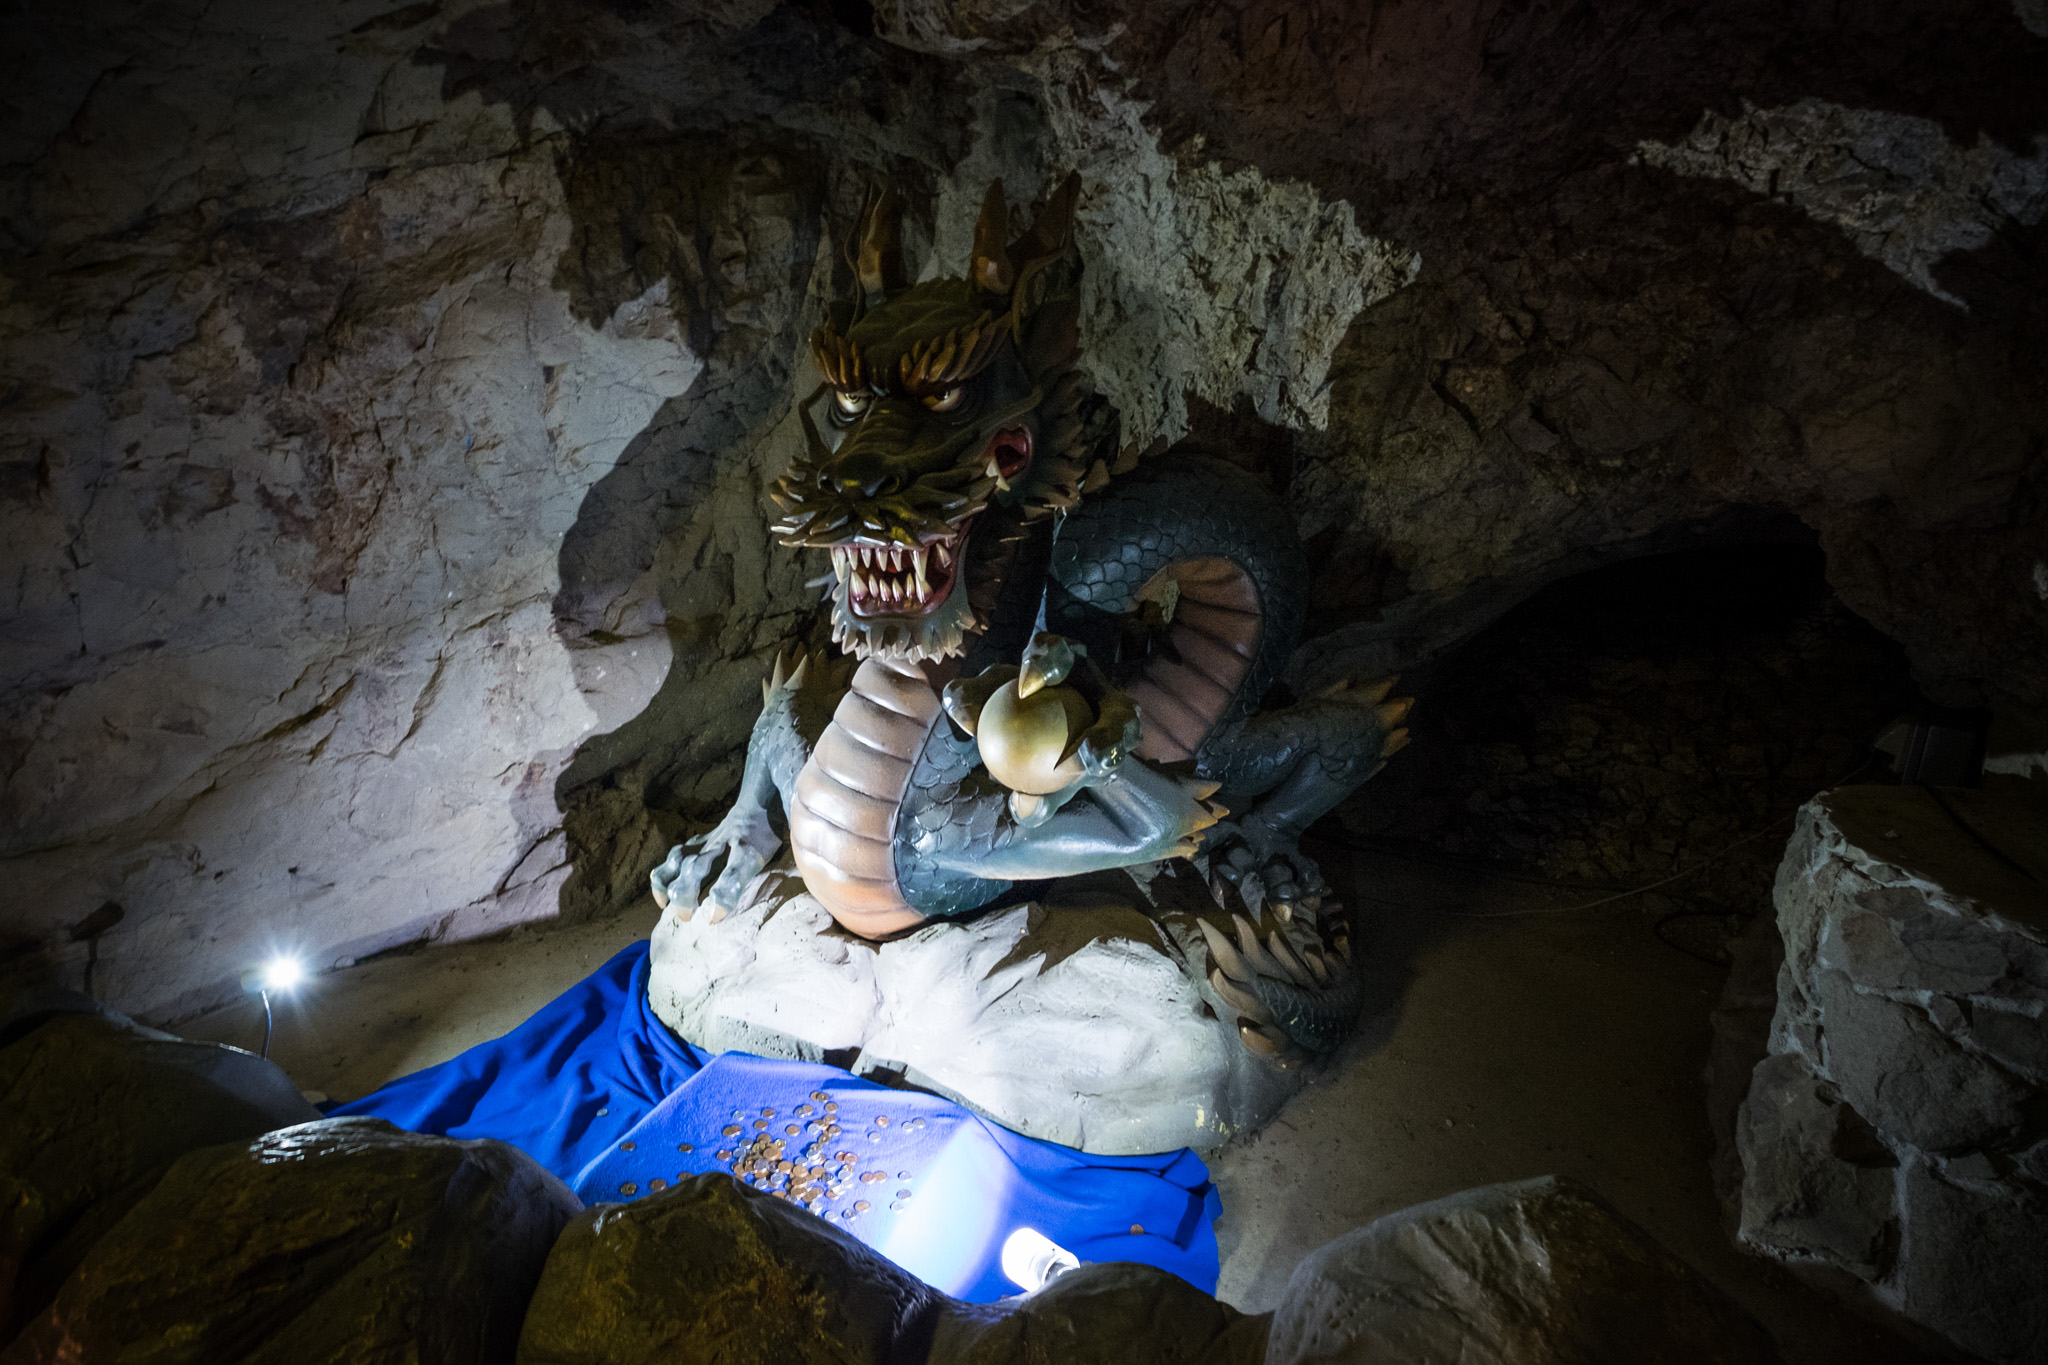

After that, I walked back for a long time. There was no escalator down on the way back. At that time, the sun was starting to set. The view of the coast was very beautiful. I wanted to stay and take pictures until the sun went down, but I was afraid it would be too dark when I walked back. There were no houses in the middle of the island, only a shrine. 555+ By 4 pm, the shops in the area were starting to close.
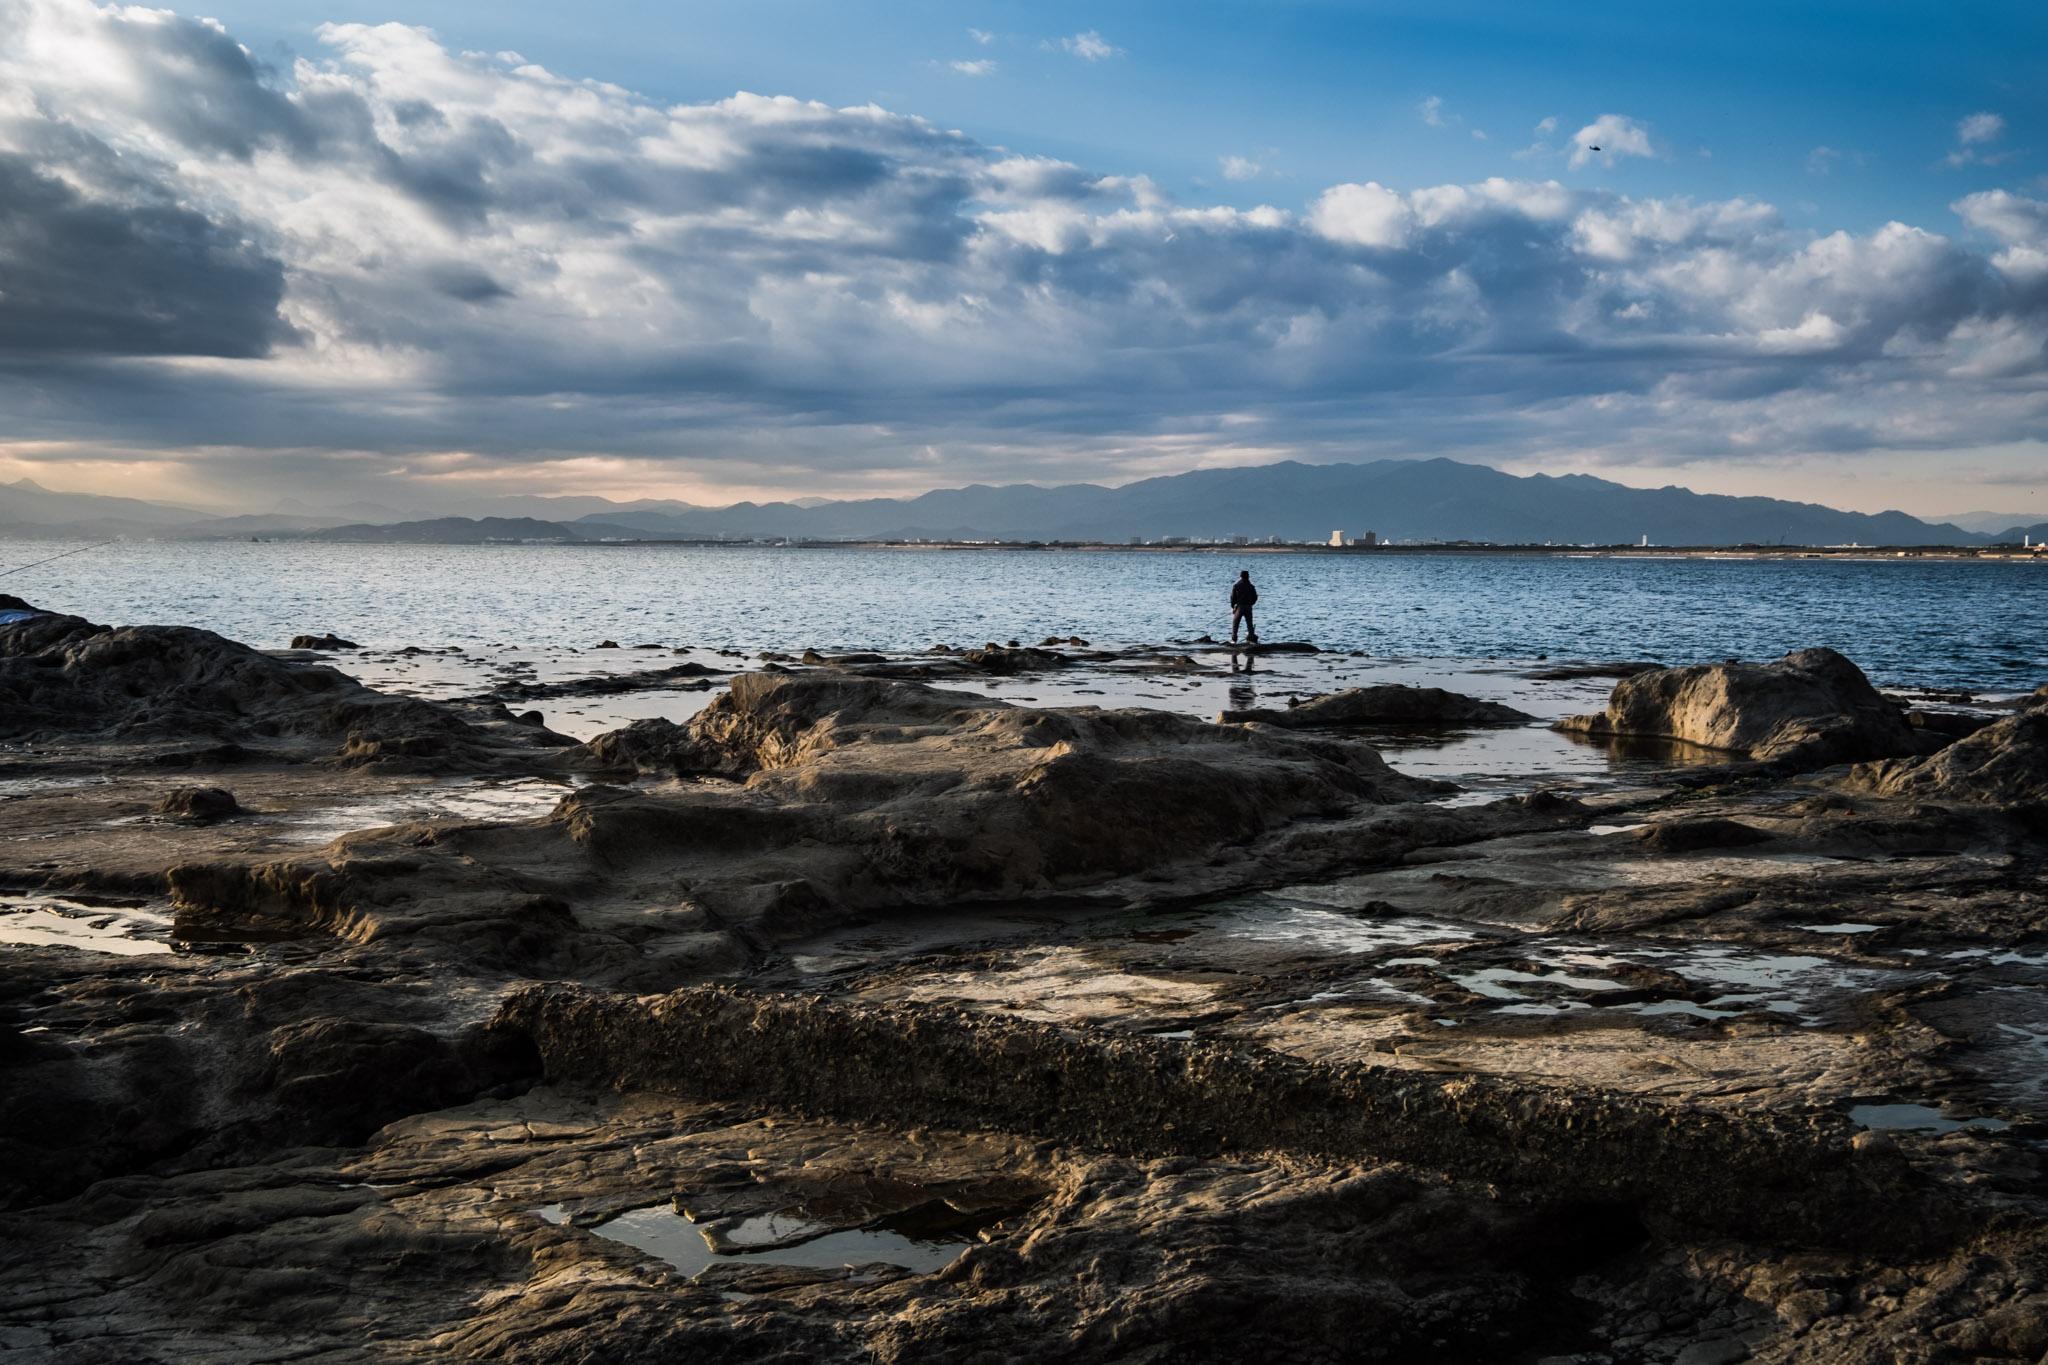


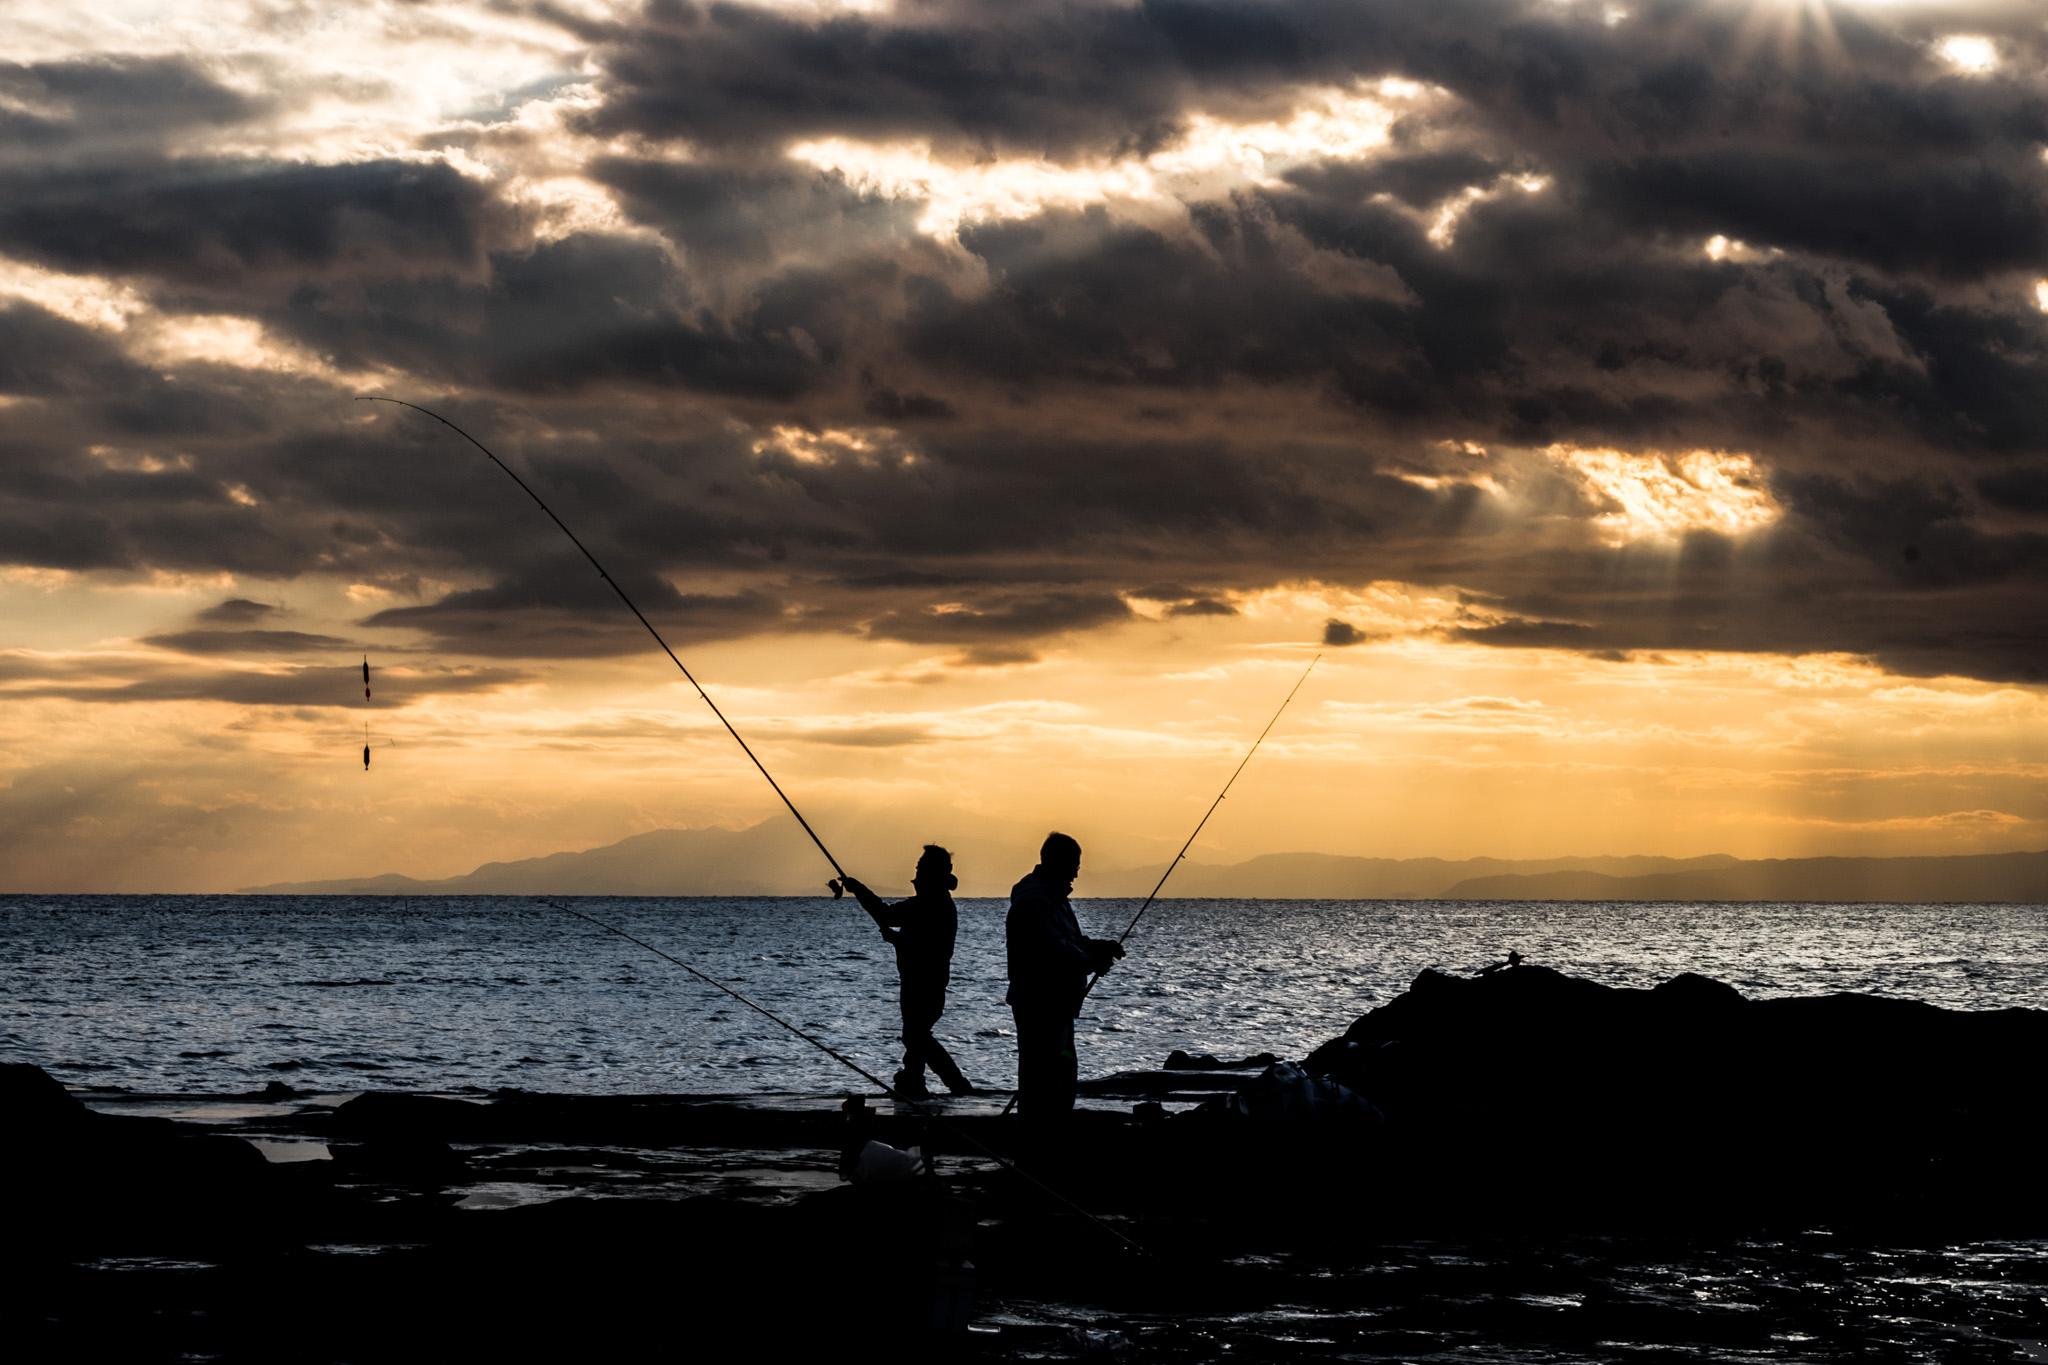
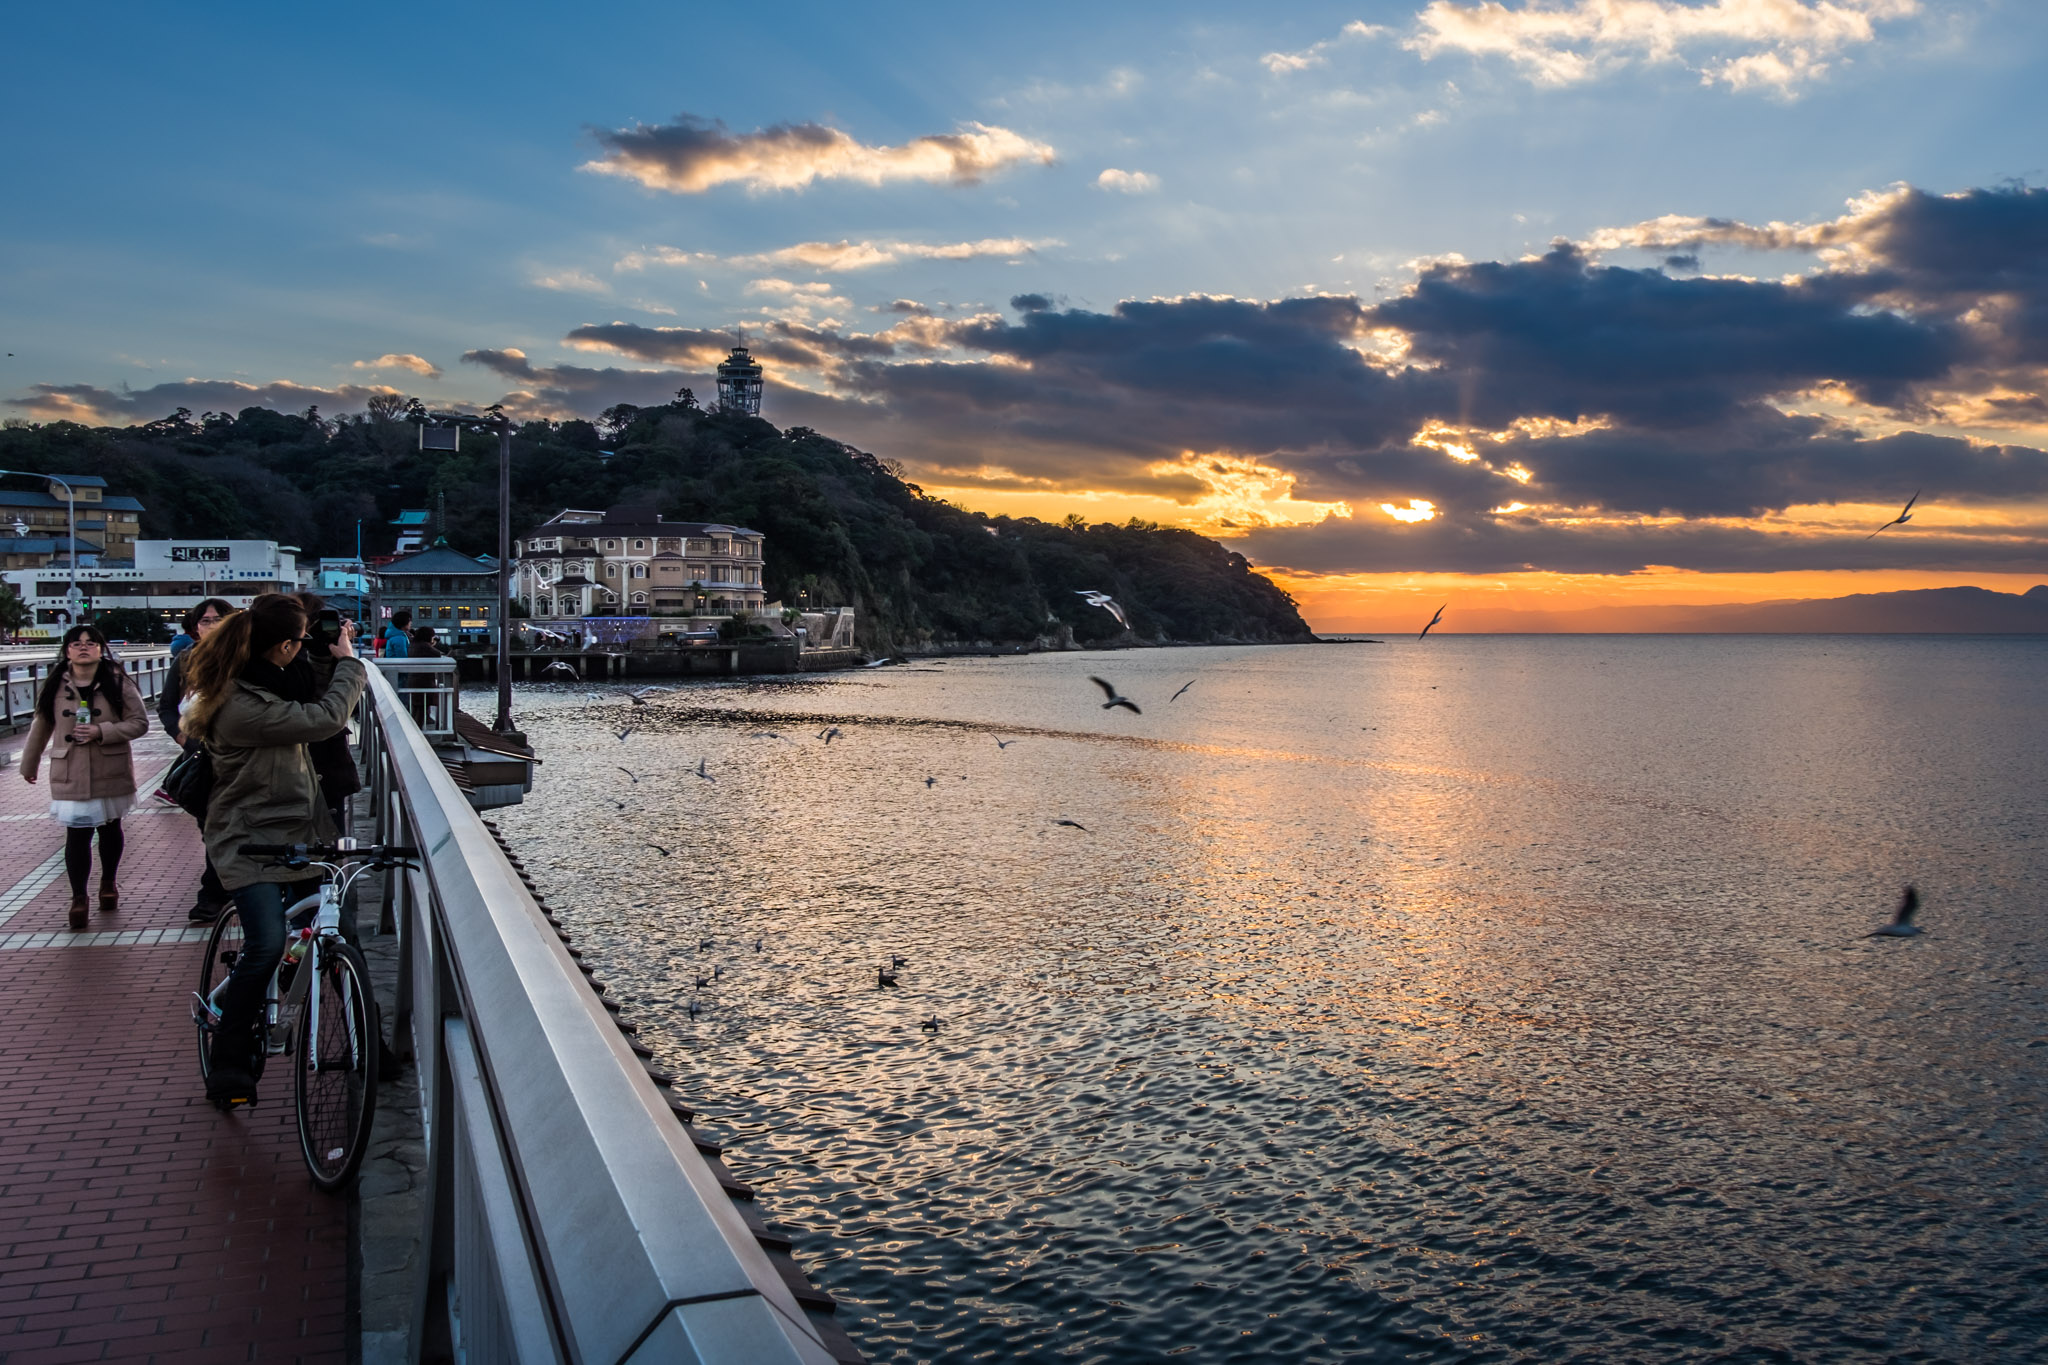
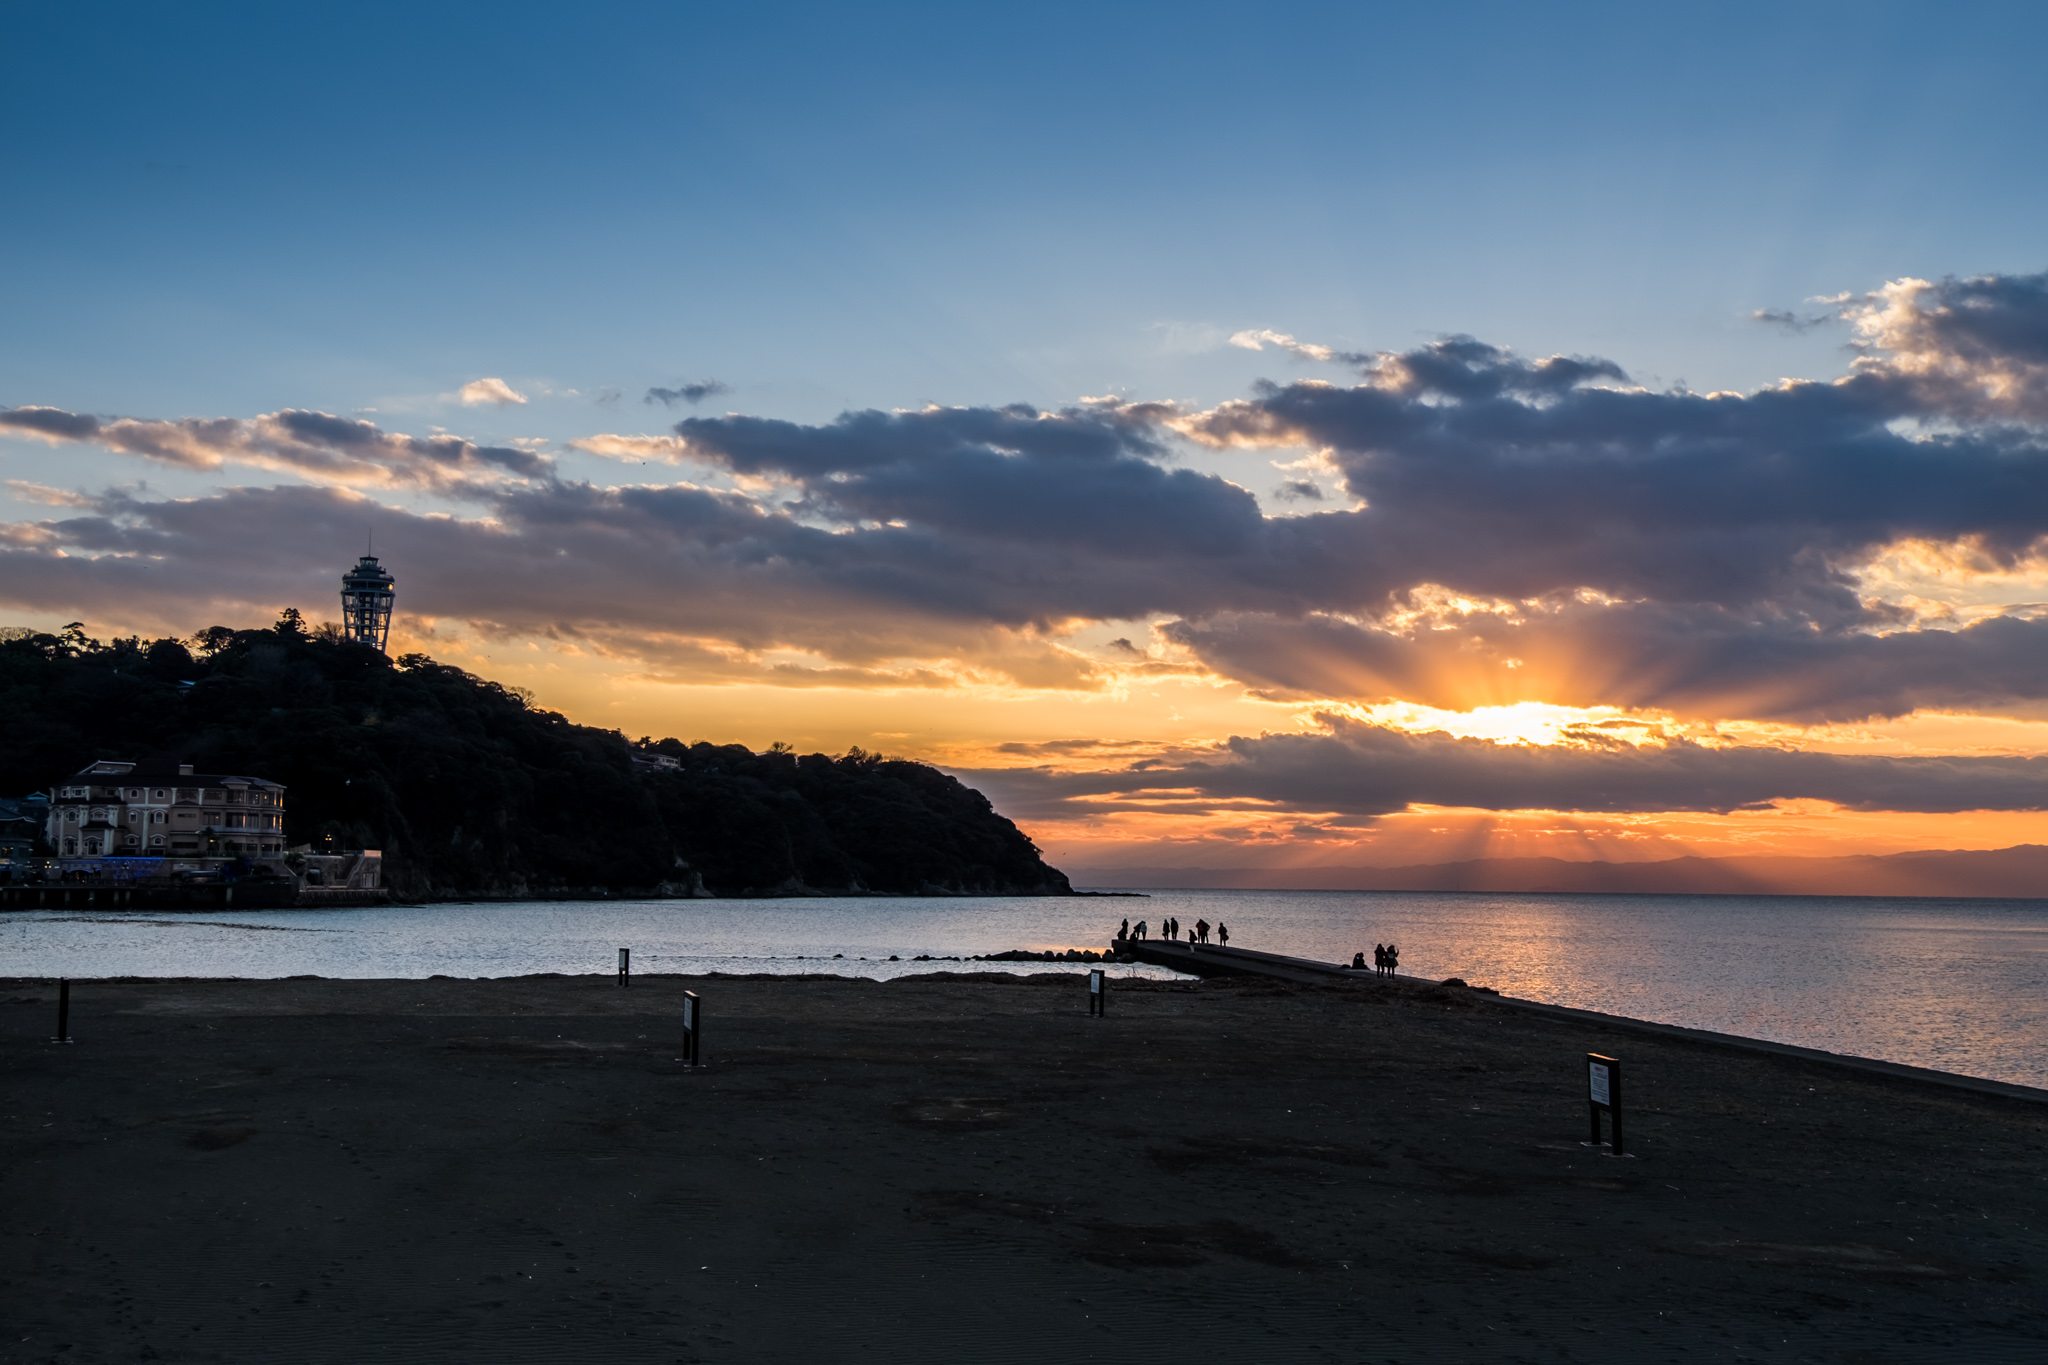
On the way back, I didn't return to Enoshima Station, but took the Odakyu Enoshima Line Local train from Katase-Enoshima Station (see the map in the first comment). This was because the train schedule and walking distance were more convenient. I changed trains to the JR Tokaido Line at FUJISAWA Station and took a long ride into Tokyo.
Day 5 : Jigokudani Monkey Park (Nagano) - Tokyo Character Street
Today, we're heading to Jigokudani Monkey Park in Nagano Prefecture. It's a bit far from Tokyo, so we'll take the Shinkansen bullet train from Tokyo Station. The journey takes about 30 minutes. Please note that the Tokyo Wide Pass does not cover the journey to Nagano, so you'll need to purchase an additional ticket from Saku Daira. However, the JR East Pass covers the entire journey.
There weren't many sights to see on the way today, as the Nagono area was extremely cold, colder than any other day. I barely wanted to take my hands out of my pockets.
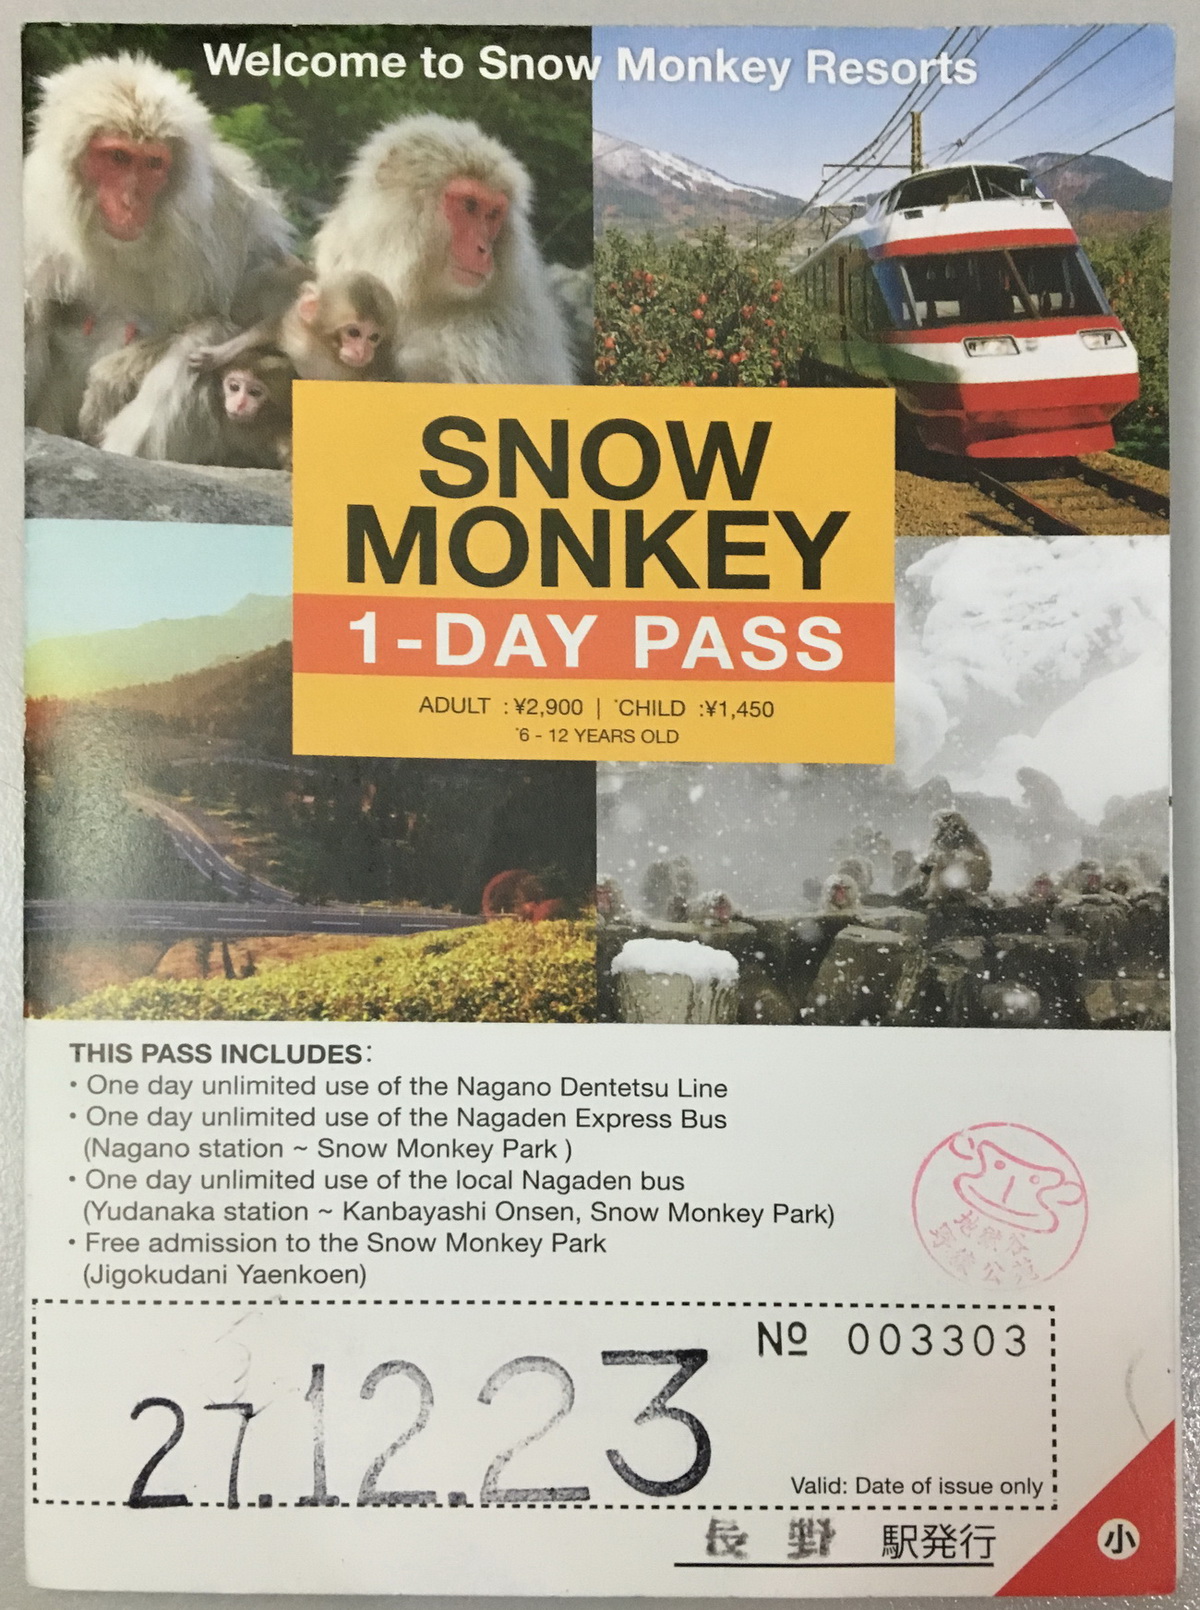
At Nagano Station, you can purchase a Monkey Pass. This pass covers all travel expenses to Jigokudani Monkey Park, including bus fare, local train fare, and entrance fees to the outer and inner gardens. The pass costs 2,900 yen. Roughly calculated, it will be cheaper than paying for travel and entrance fees ourselves. Moreover, if you plan to visit other places around Nagano, it will be even more worthwhile. With this pass, we can ride both buses and trains in Nagano. The pass also includes detailed travel information to Jigokudani Monkey Park, including maps, bus schedules, and train schedules. It's really useful!
The Pass sales location is at the Nagano Dentetsu Station in front of the ticket vending machines. However, the Shinkansen stop is at Nagano Station (JR). You need to go down to the basement level to find the Nagano Dentetsu Station.
From Nagano Station, it takes about 40 minutes by bus to Jigokudani Monkey Park. There are two bus stops where you can get off: Kanbayashi Onsen and Snow Monkey Park. It depends on which bus you take which stop you will pass. Kanbayashi Onsen is a little closer, about 50 meters.


Bus stop and bus schedule to and from Nagano Station - Jigokudani Monkey Park. It is recommended to choose a Shinkansen train that arrives half an hour before the bus departure time to allow time to purchase a pass and find the bus stop.
If you don't want to spend a long time on the bus, you can take the Local Train from Nagano Station to Yudanaka Station and then take a bus. The total time is about the same, but you will be on the train longer than the bus. However, if you want convenience, it is recommended to take the bus directly from the station.

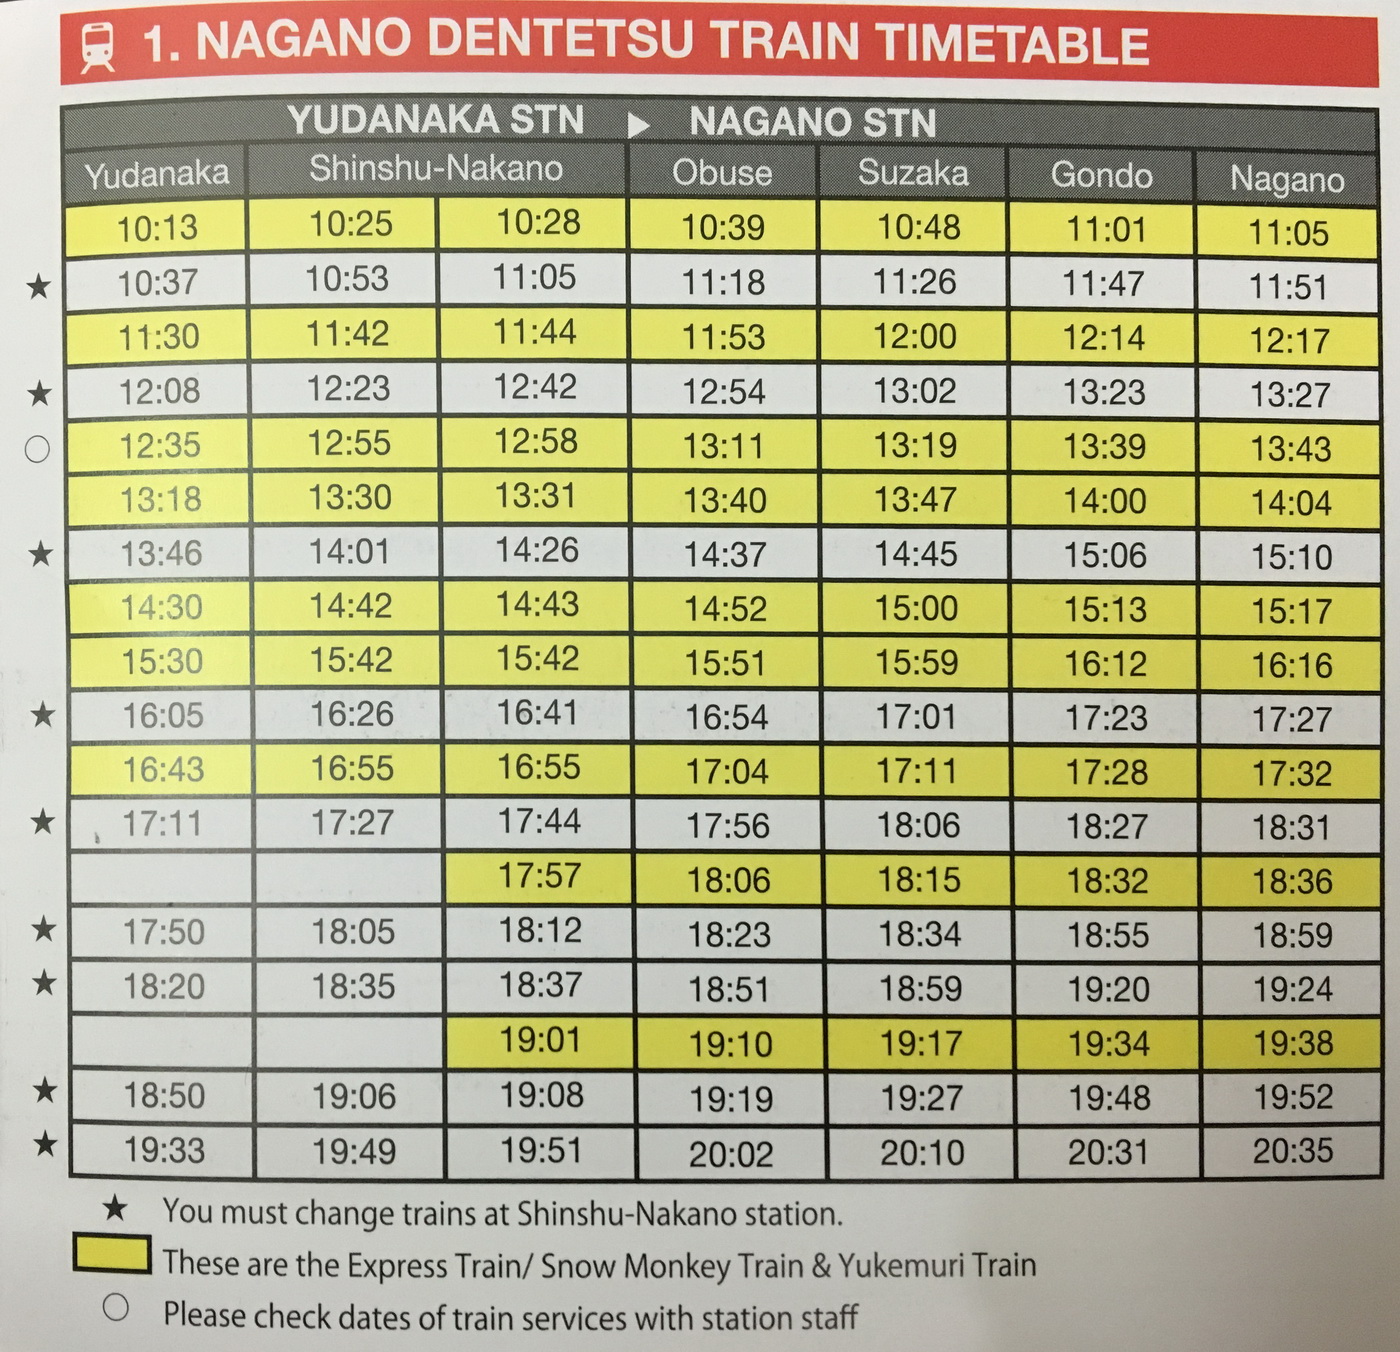

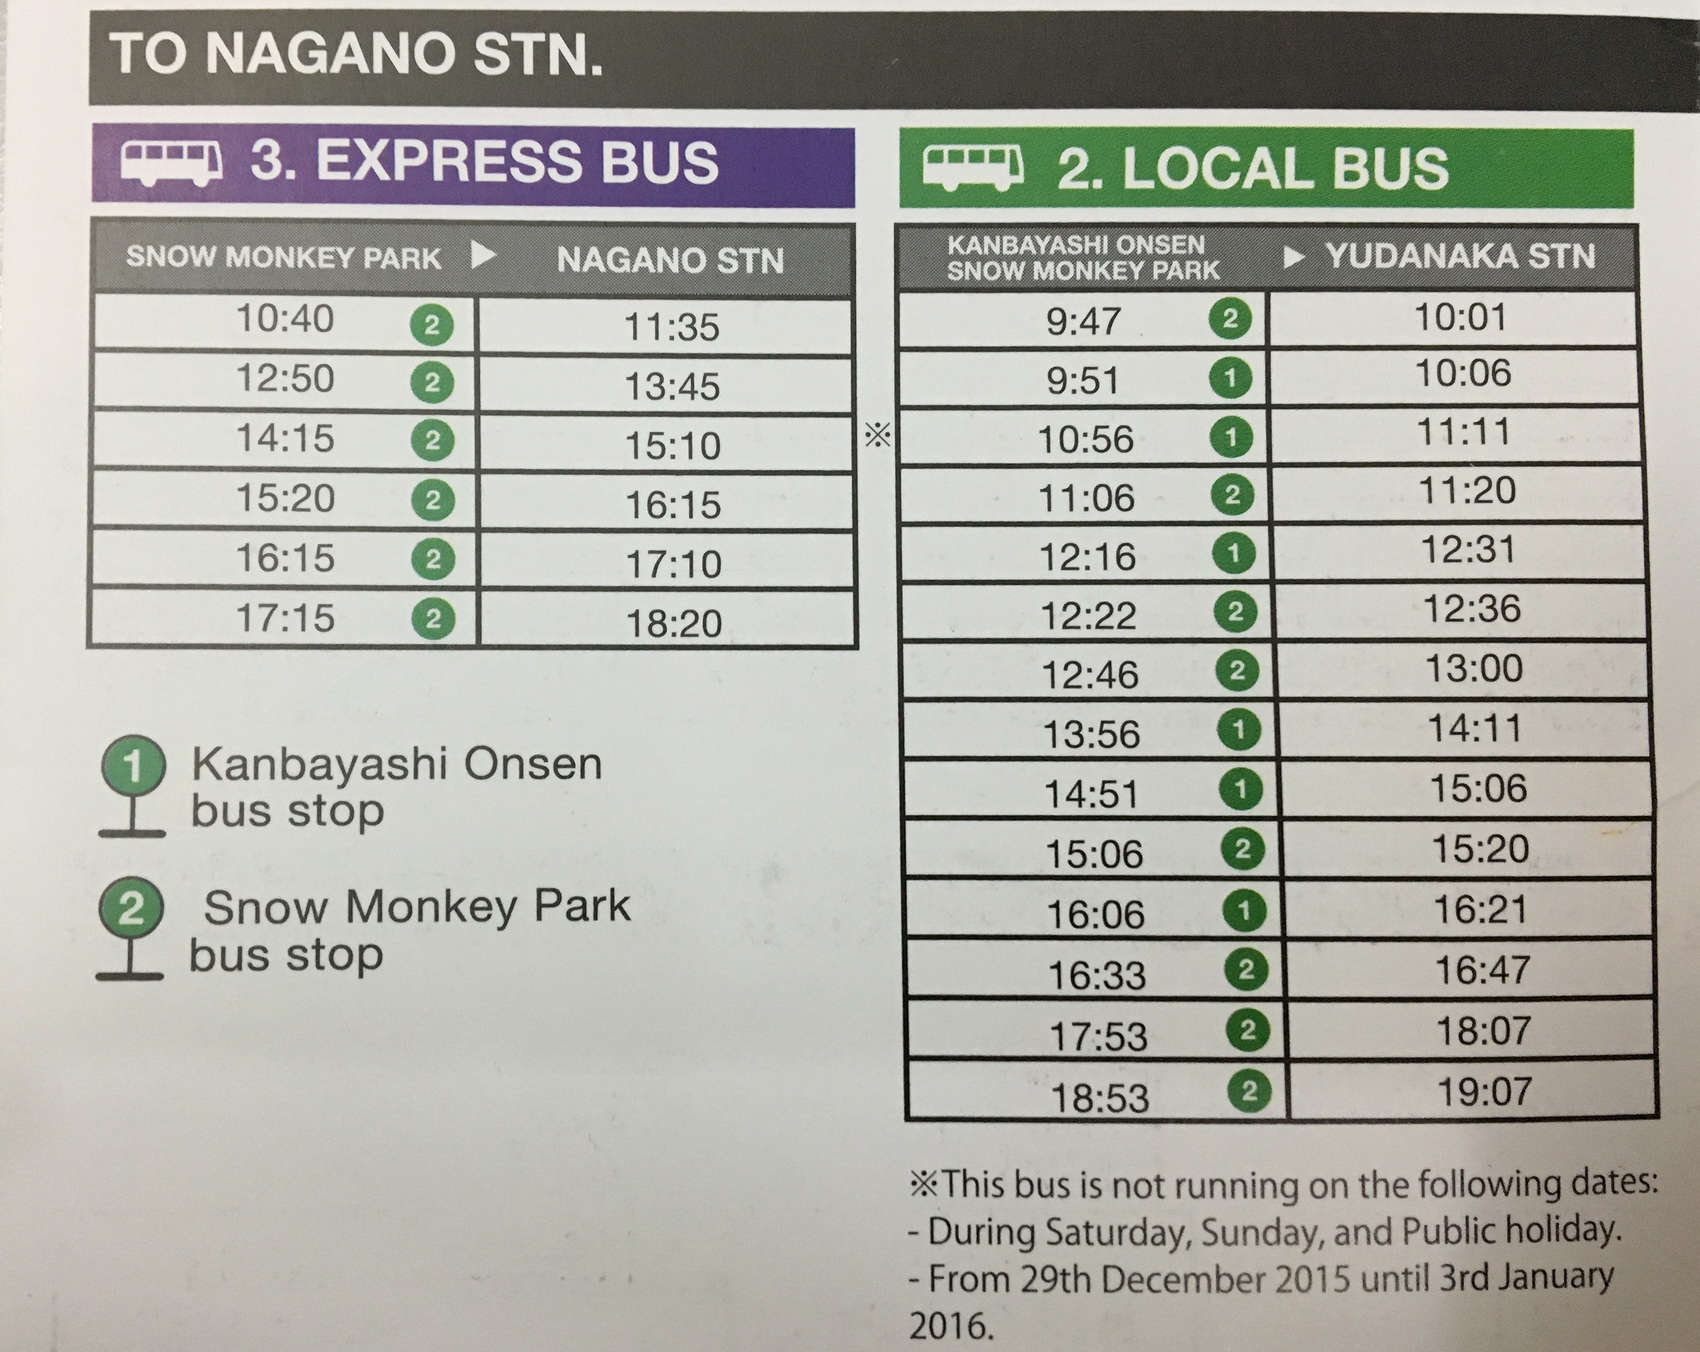
Train schedule to Yudanaka Station and bus schedule to Jigokudani Monkey Park
Upon arrival, we will need to walk along the road for approximately 15 minutes before reaching the parking lot, restaurant, and restrooms. Those who wish to use the restroom or grab a bite to eat should do so here, as the following hour will be spent trekking through the forest. There will be no restrooms available until we reach the hot springs.

Even though it didn't snow that day, the air was freezing cold. Throughout the day at Monkey Park, I was constantly breathing out smoke. It was the only day I had to wear gloves (even on the ski slopes I played bare-handed). During the time I was there, it snowed heavily on some days. If you're going, be sure to bring warm clothes, a hat, and gloves.
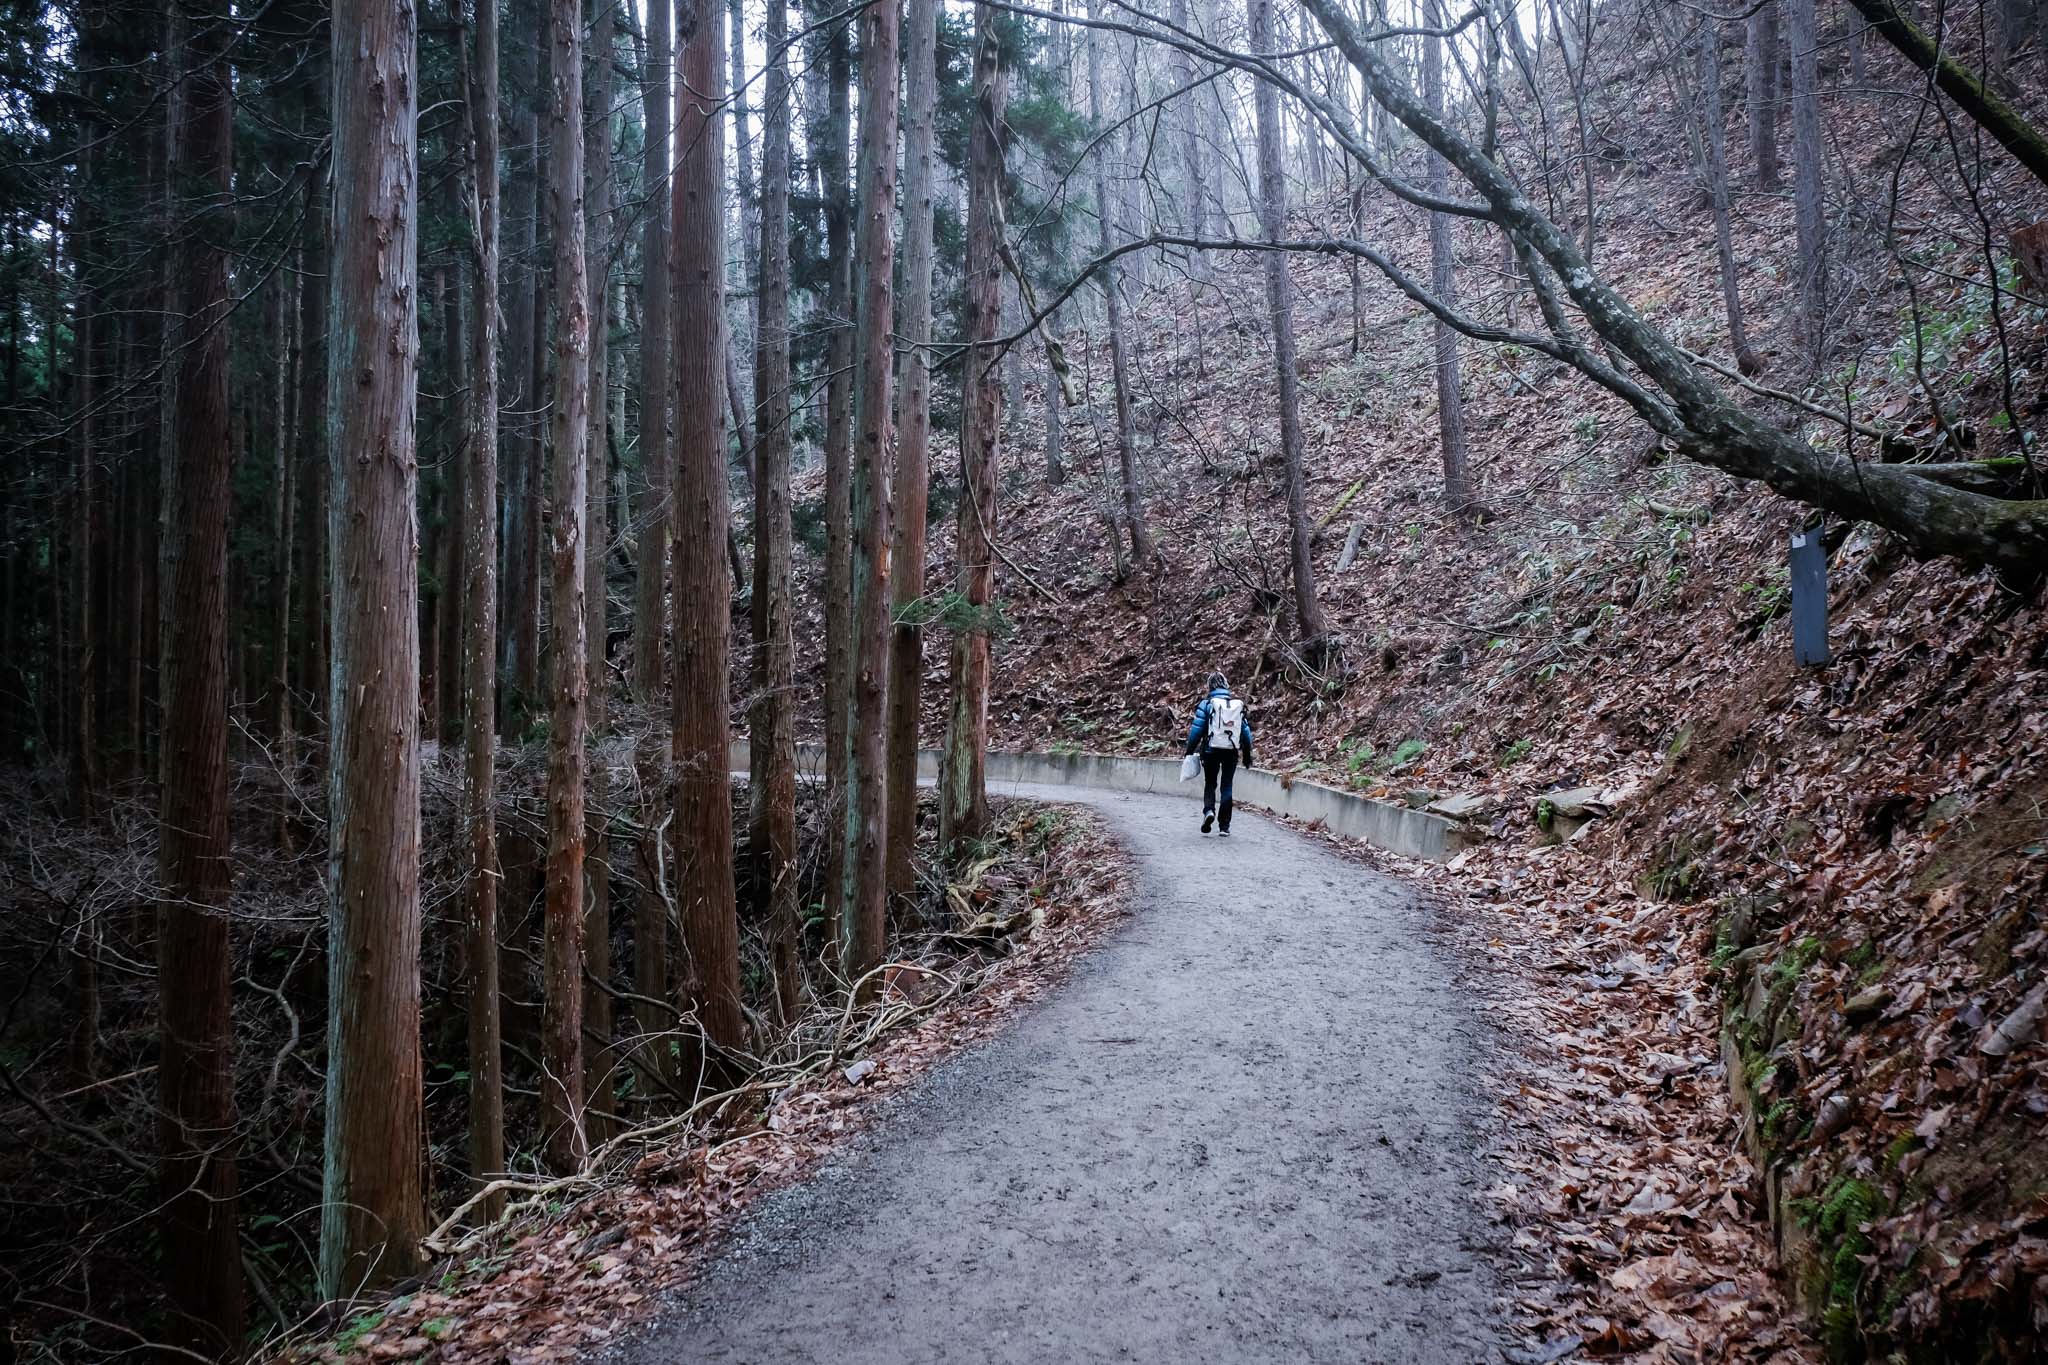
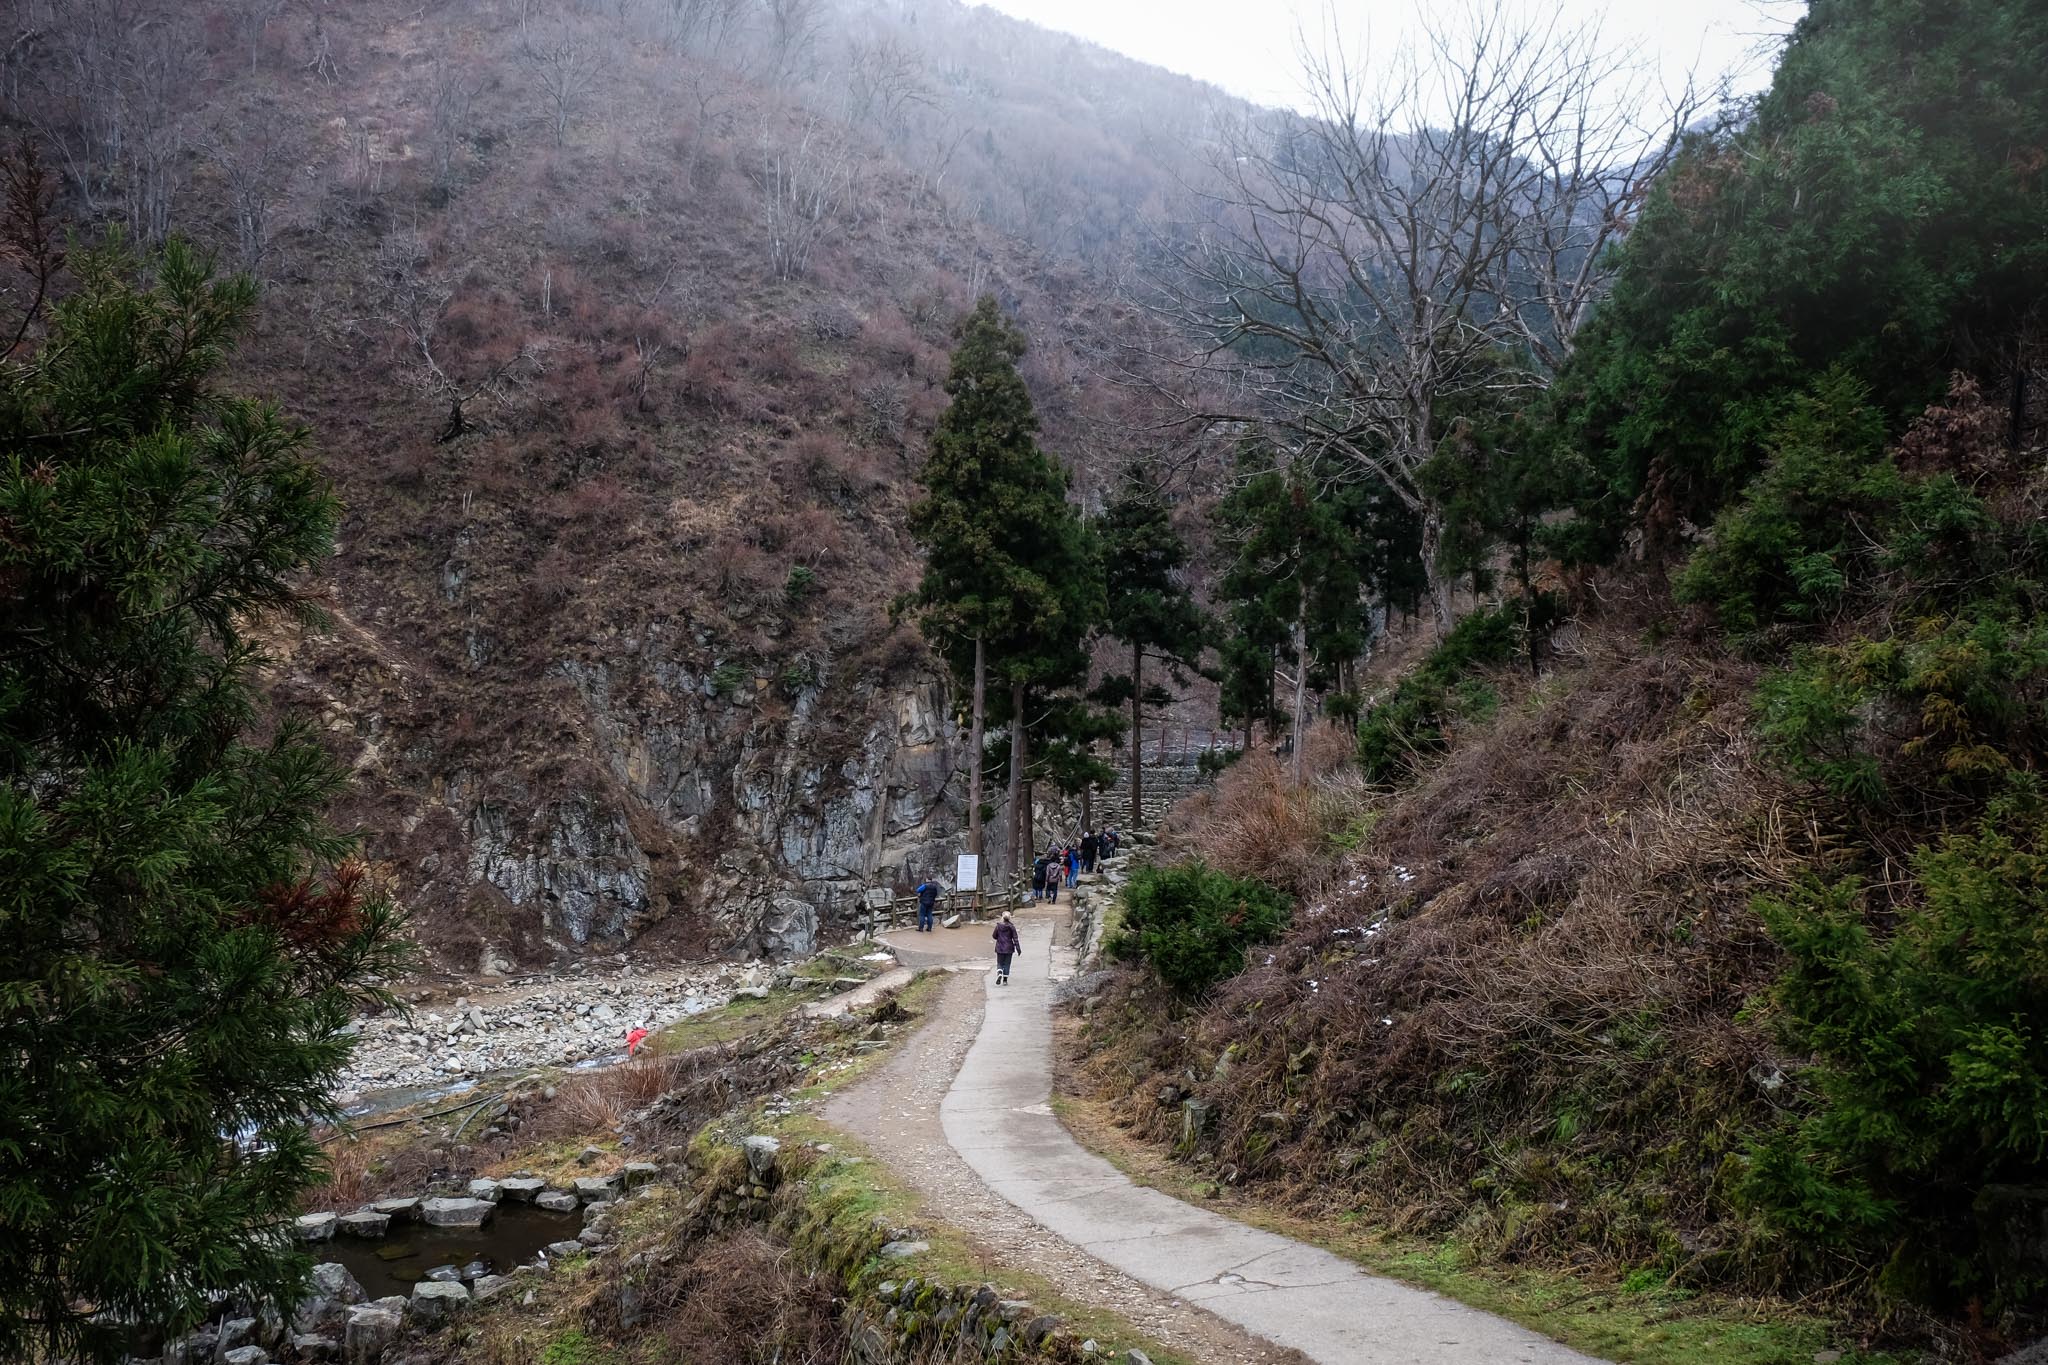
As we enter the garden, we will walk up a small hill. Then, the first part of the path will be a smooth road. If it rains, it will be a bit muddy, and when we walk, it will splash a little on our pants. Along the way, there will be signs indicating the distance.
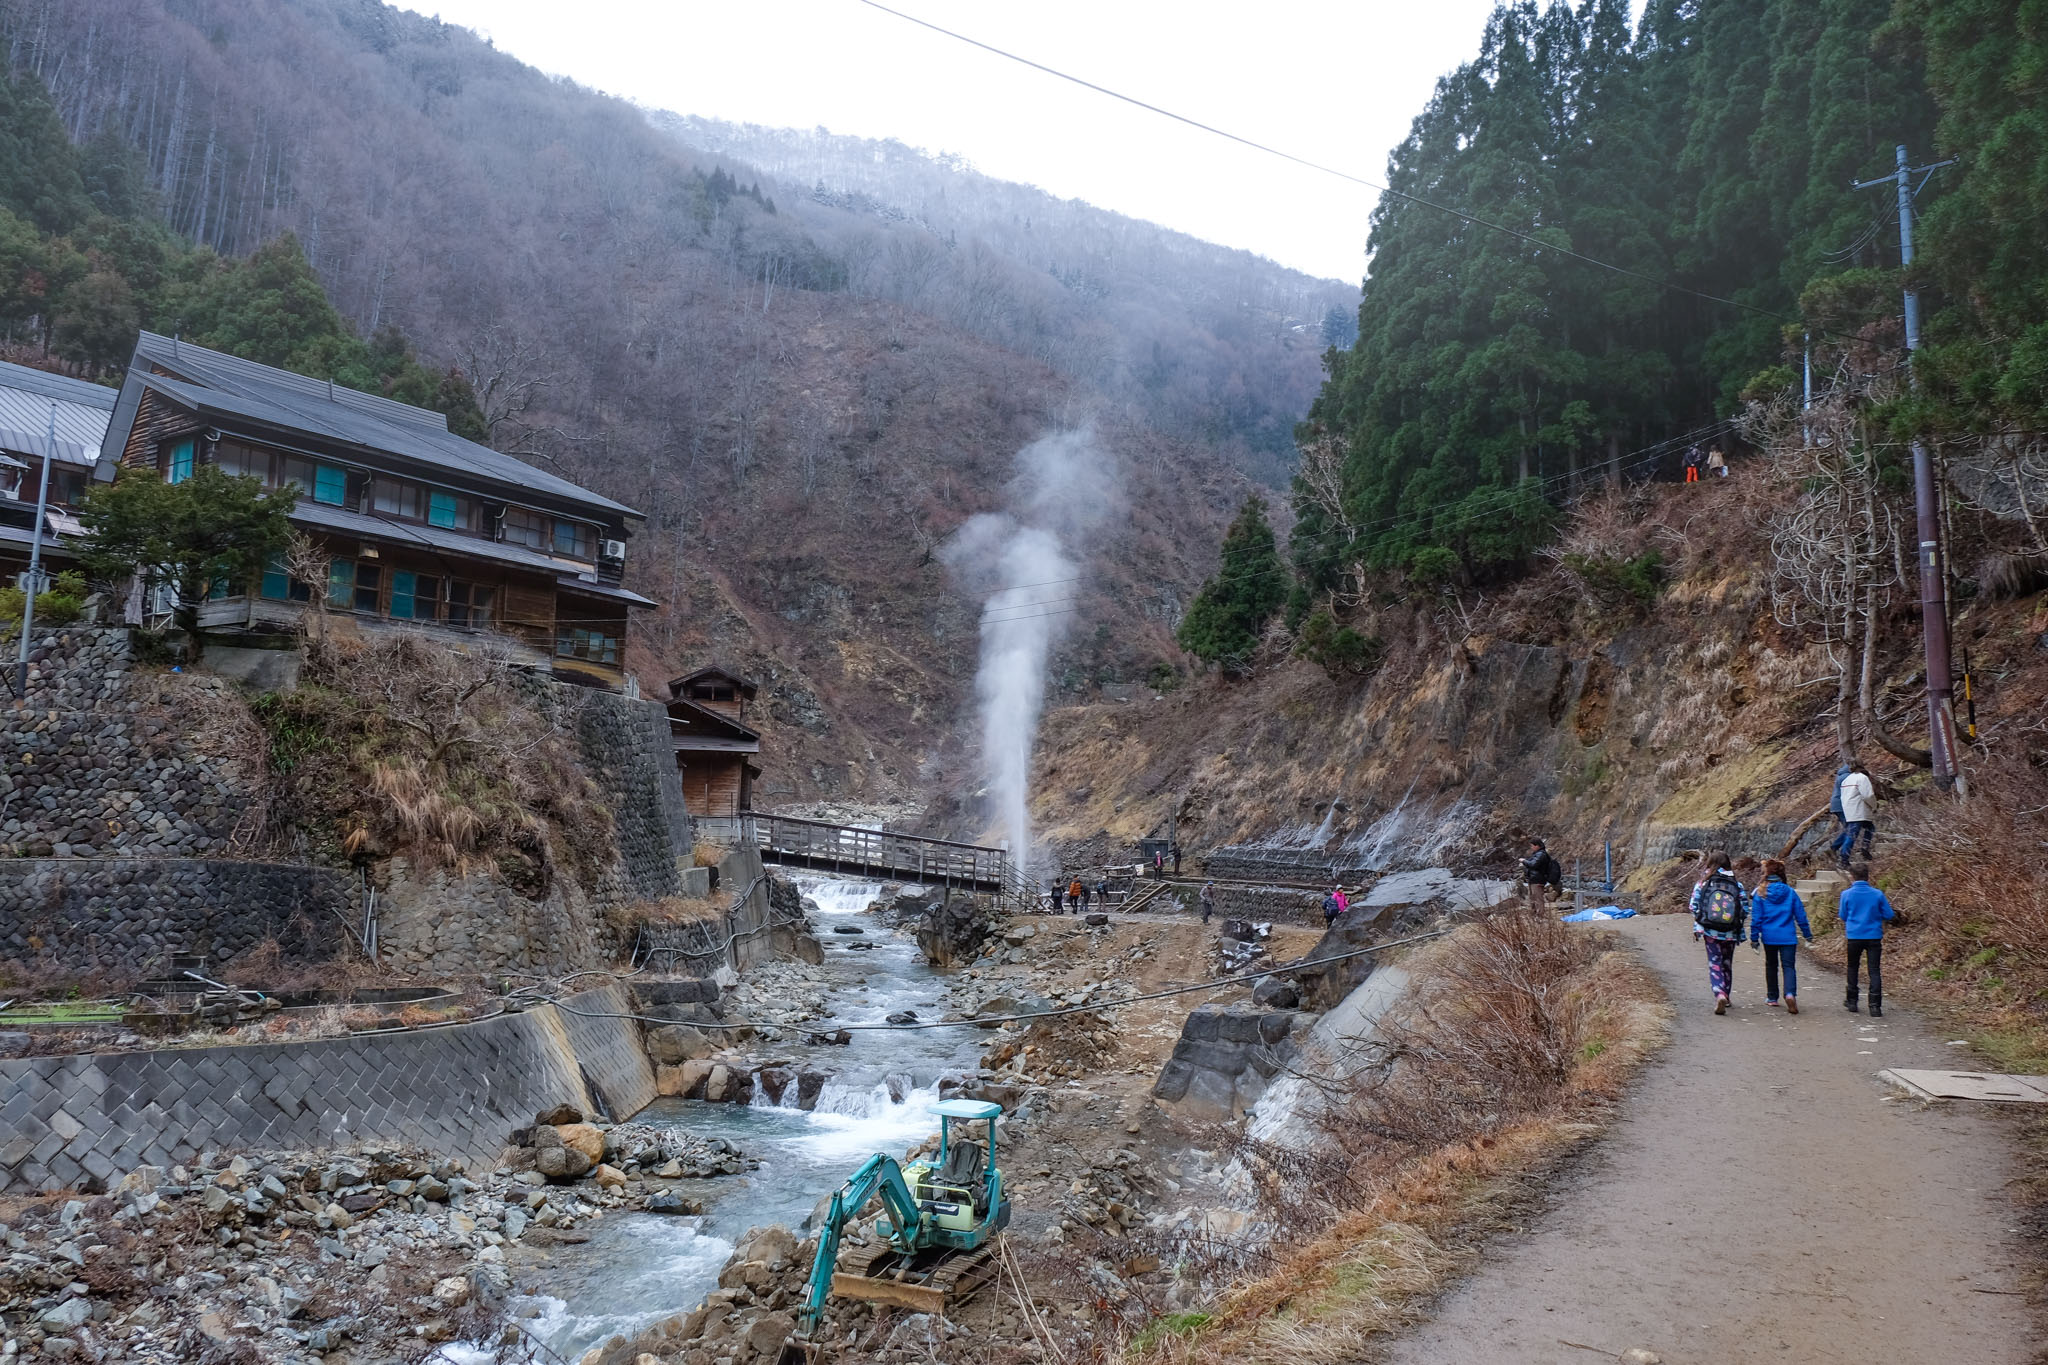
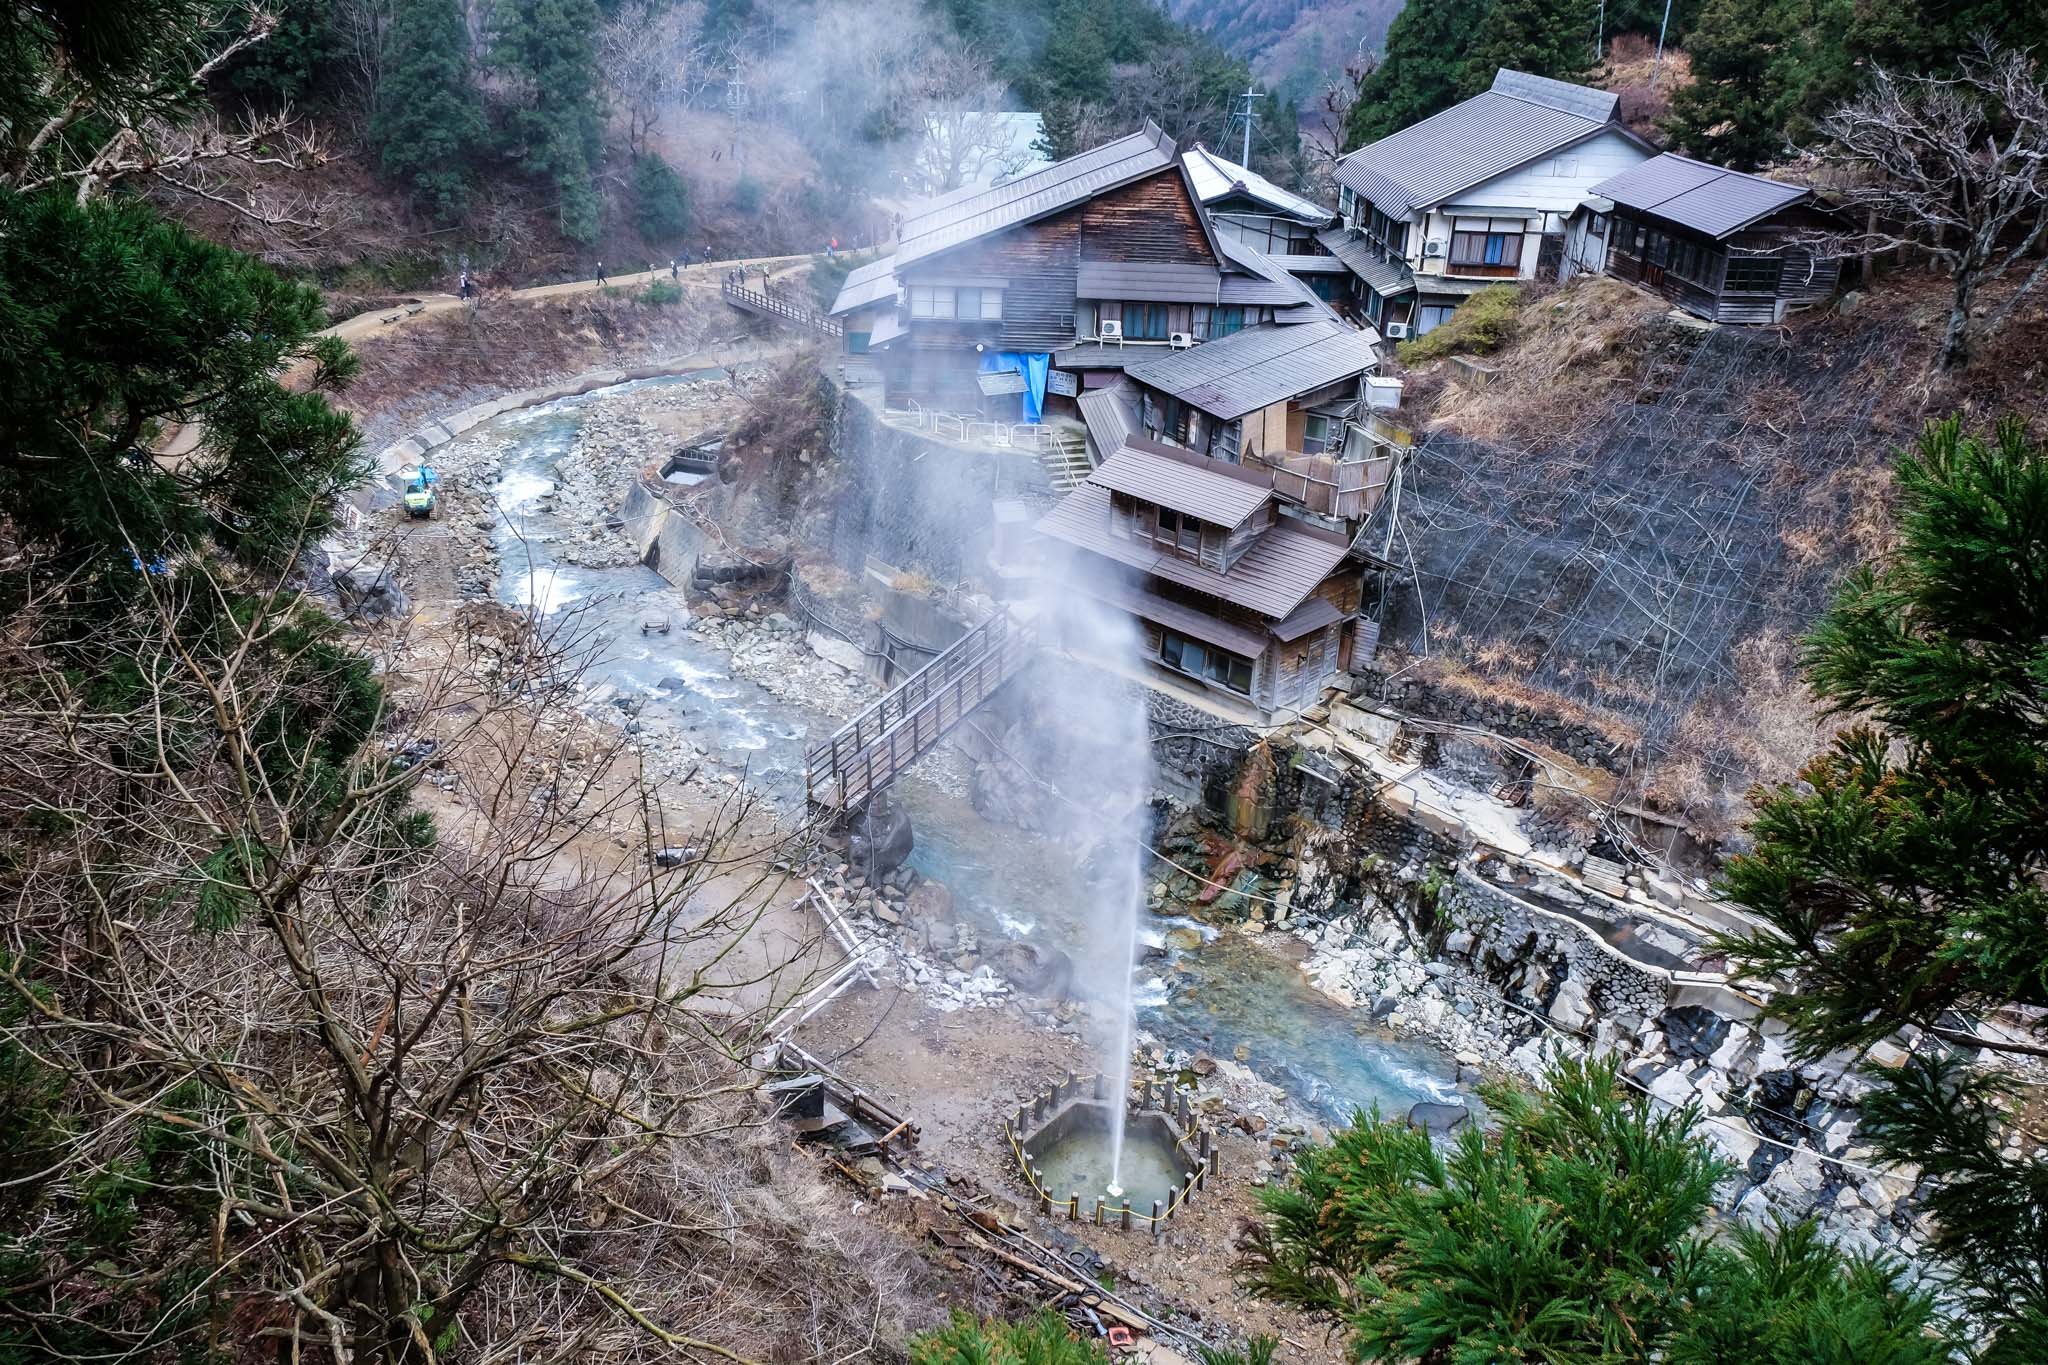
And then we will arrive at an area that looks like a resort under construction. There will be hot springs gushing up for us to see. We will occasionally encounter monkeys walking by. From this point, we will have to climb the stairs to the side and walk a little further until we reach the building where we can check our tickets to enter the hot spring. Those who do not have a pass can purchase one there. Then we will see the stream and the monkey hot spring. In this area, monkeys are starting to become more abundant, both sitting on the side of the path and walking past us.
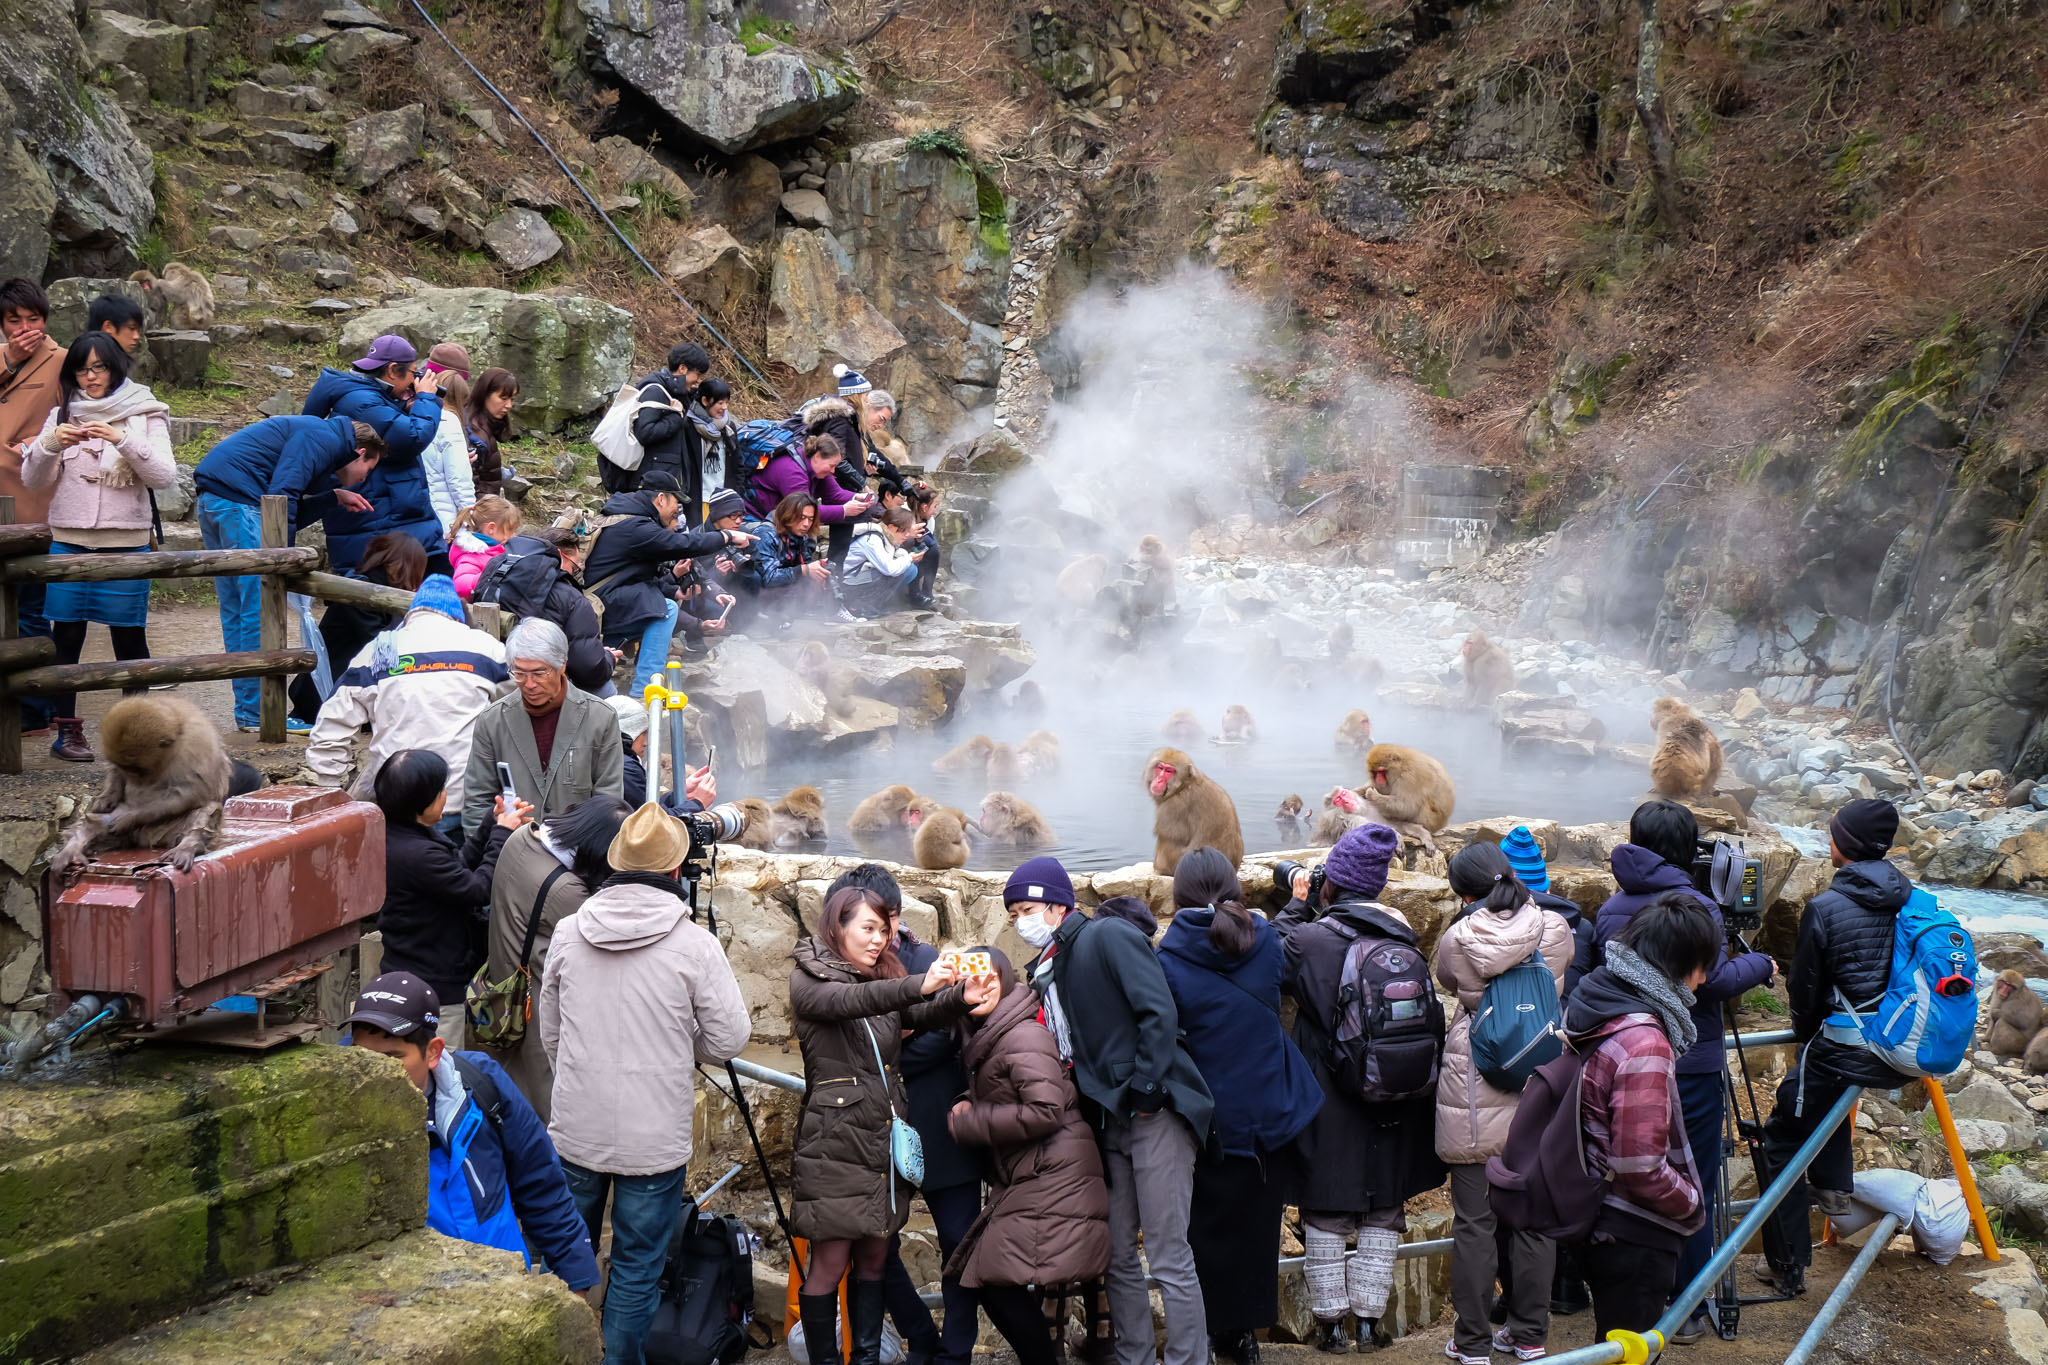
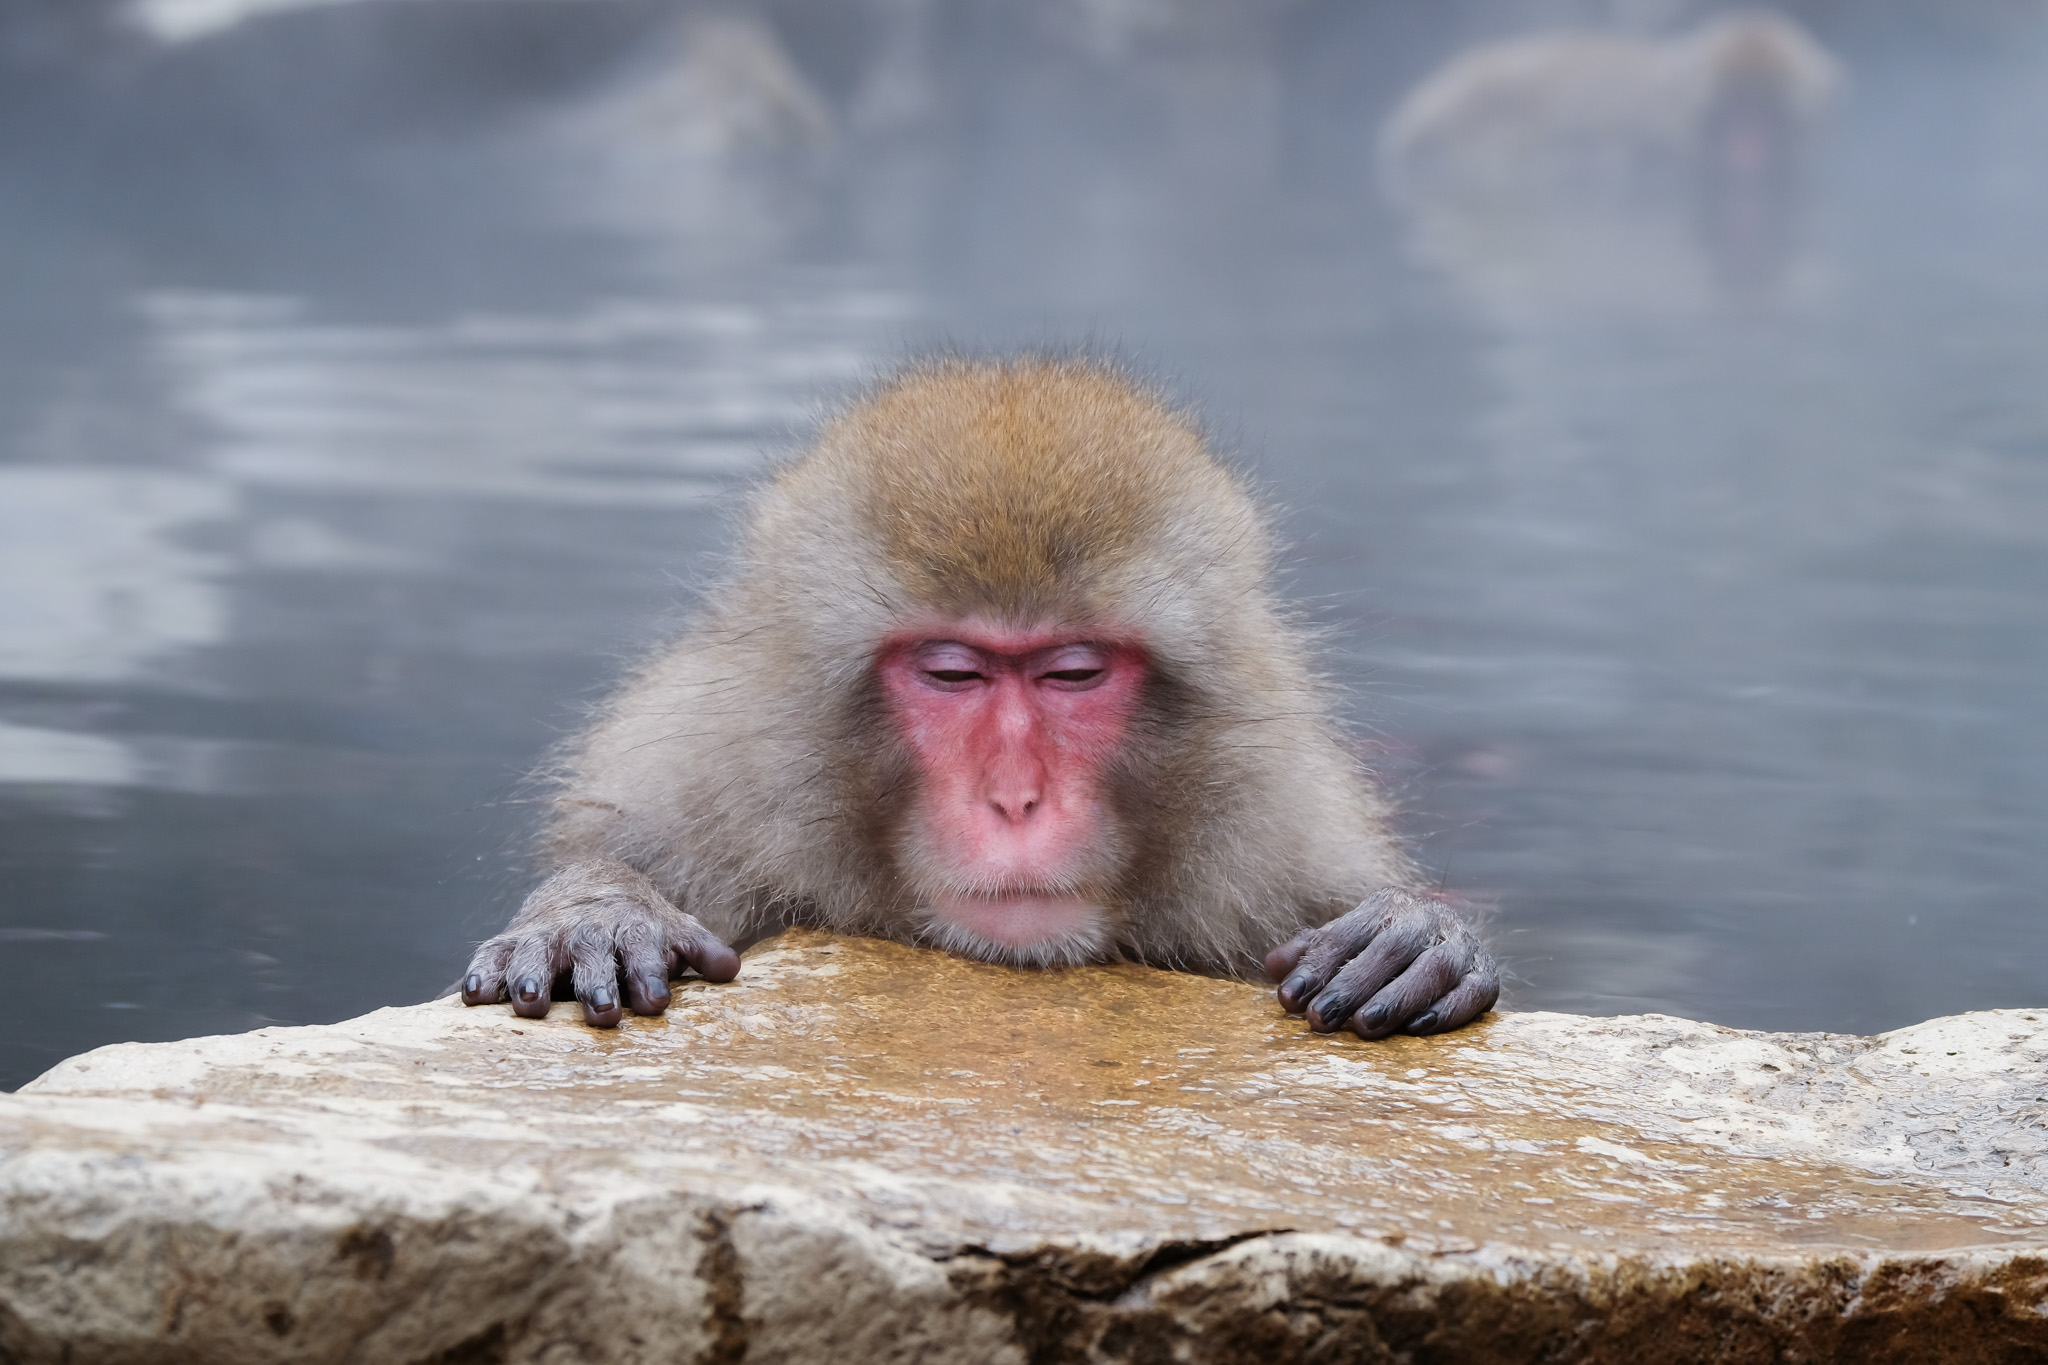
The hot spring for monkeys is a shallow pool that allows monkeys to soak without submerging their heads. There are no railings around the pool, so visitors can also soak with the monkeys. The monkeys here are friendly and will come right up to you, almost pushing you into the pool. When I visited, it was quite crowded, so you might have to jostle for space to take photos of the monkeys.
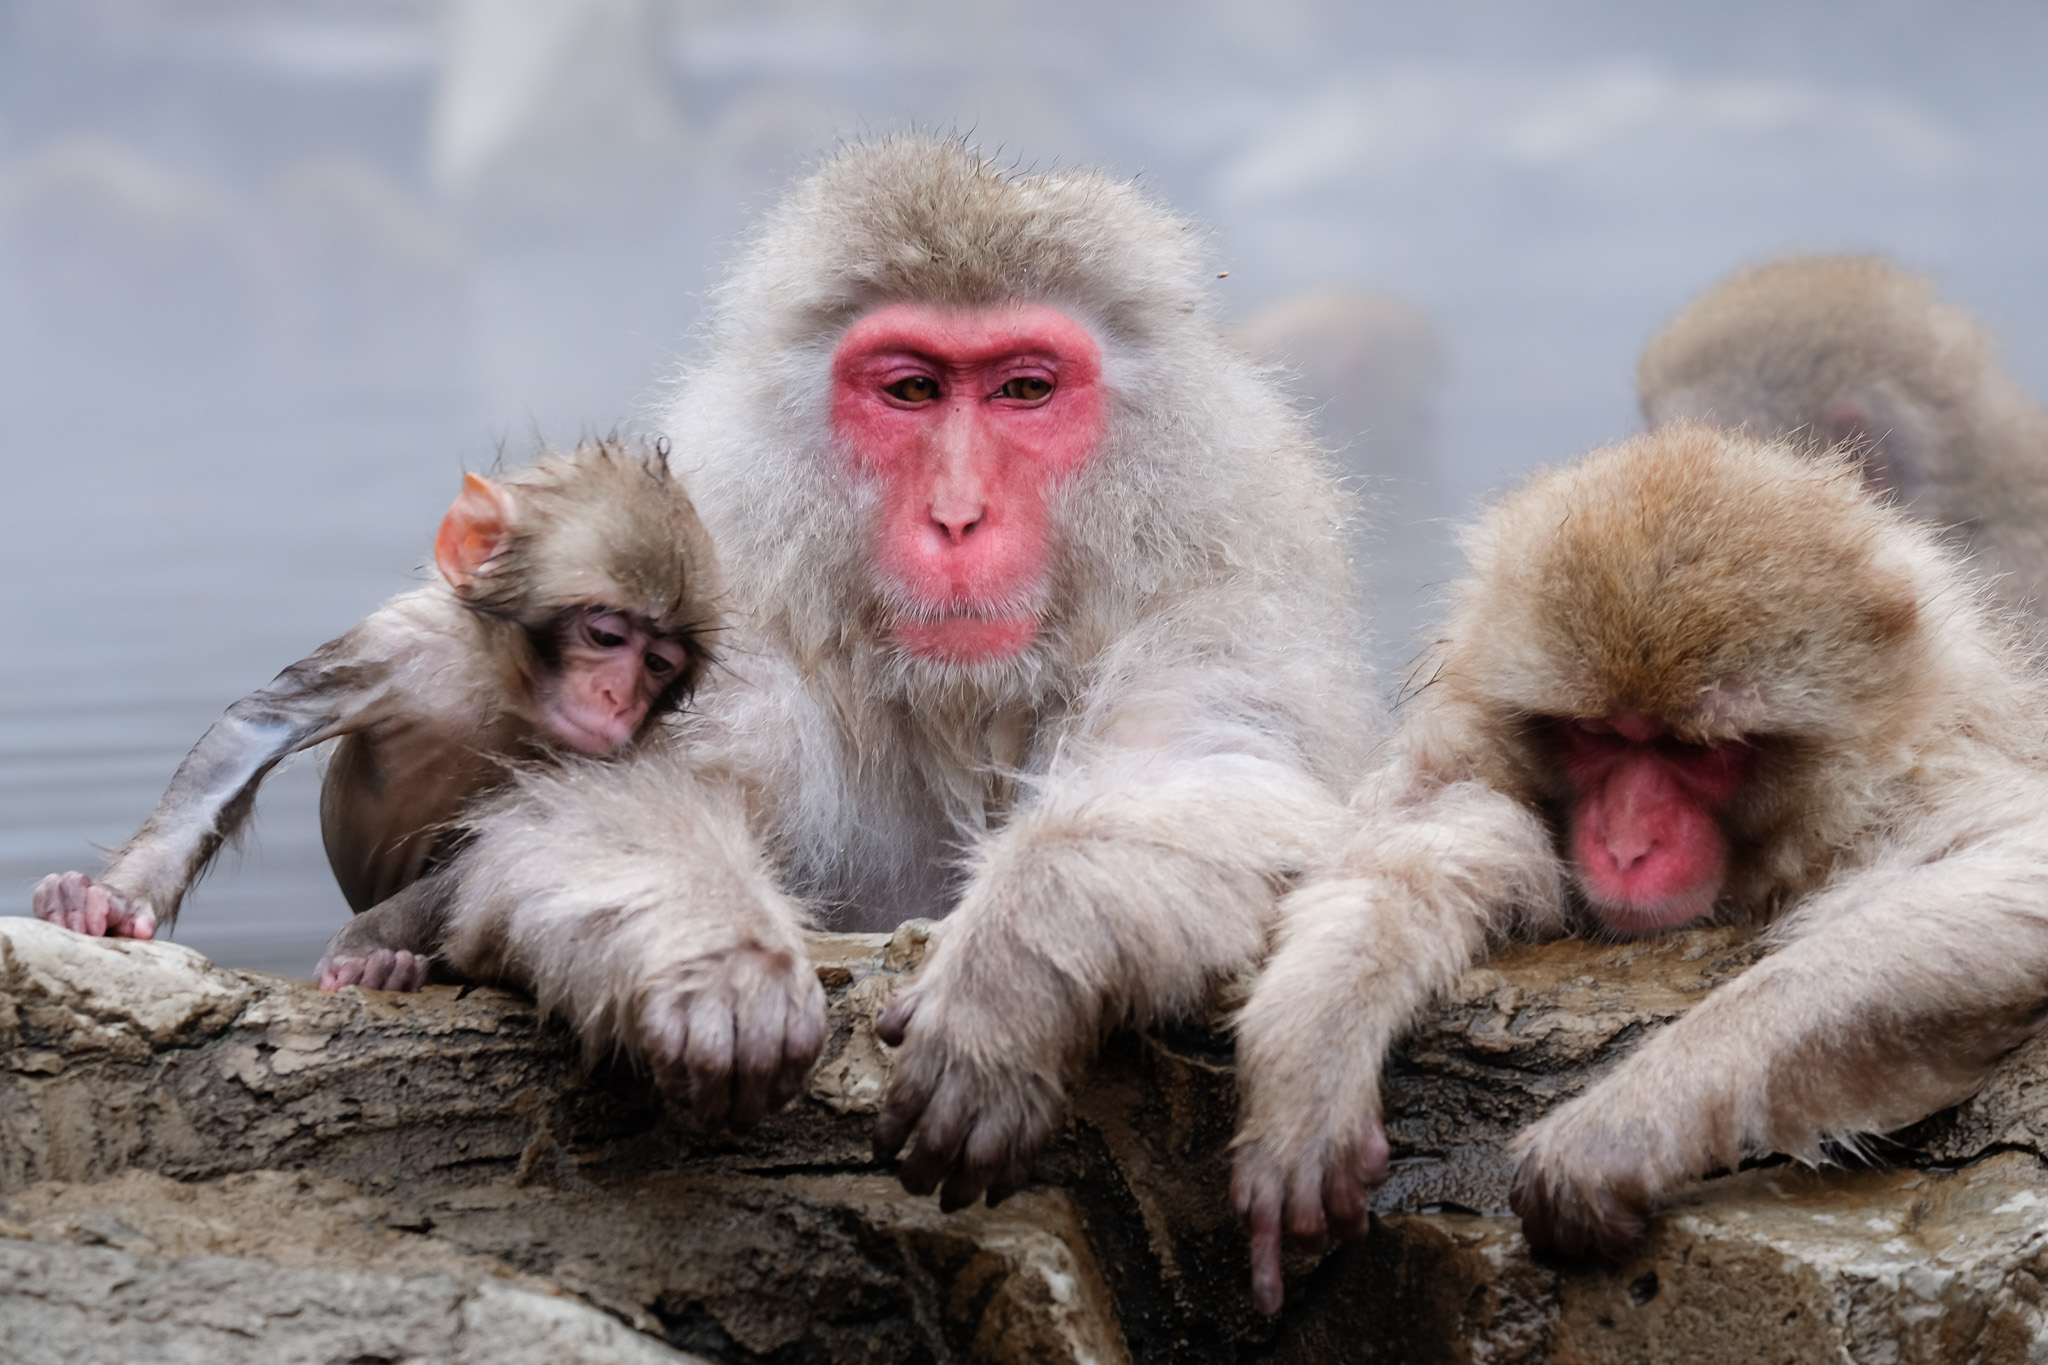
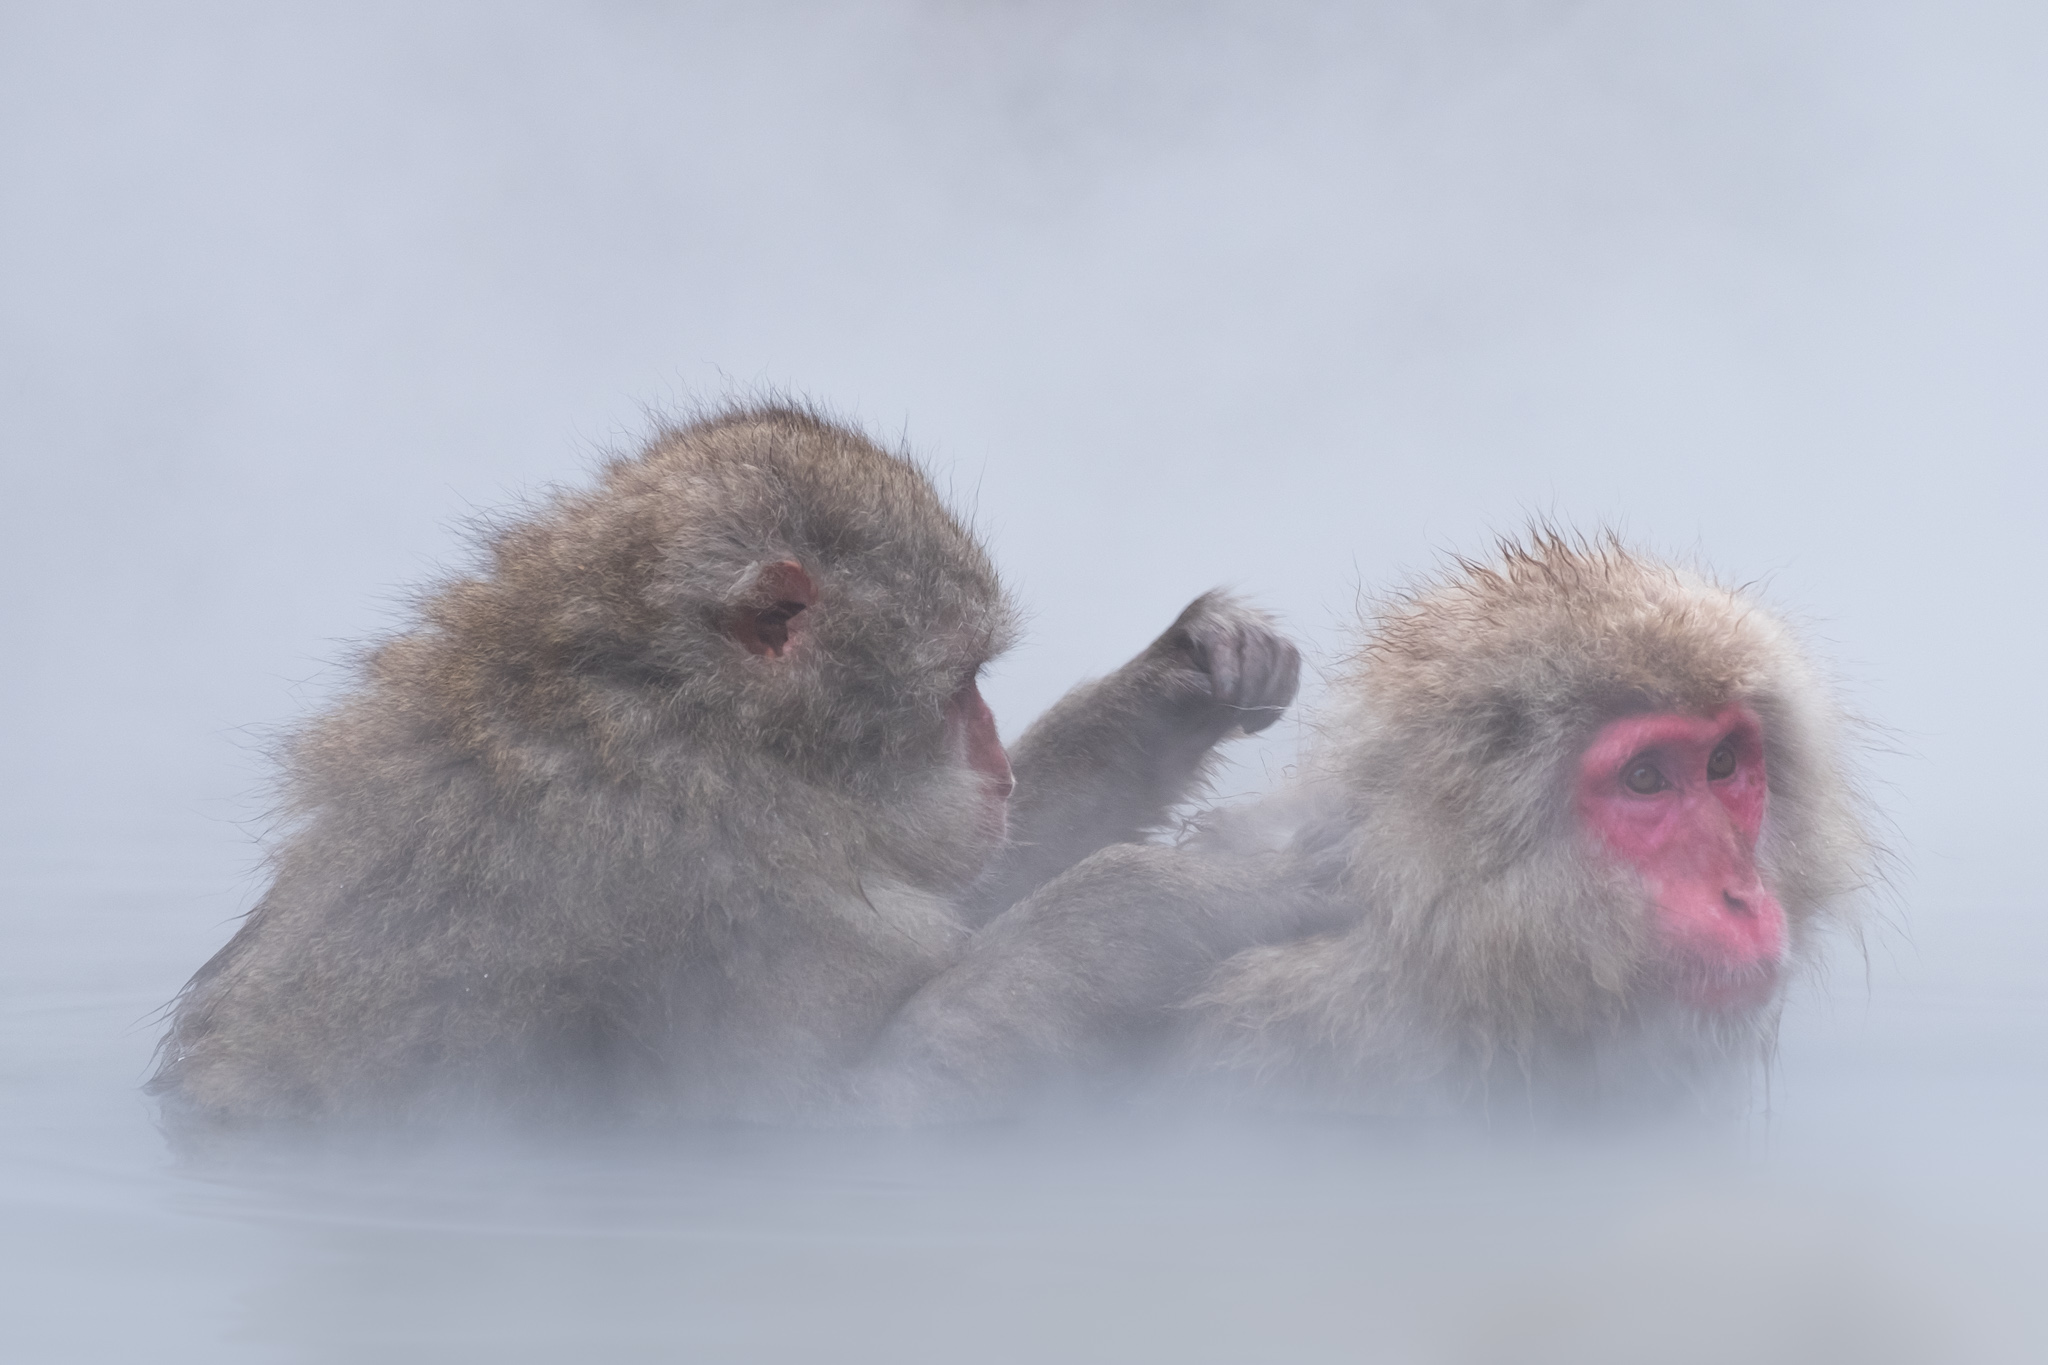

I took the 9:05 bus to Jigokudani Monkey Park and arrived at the park entrance around 10:00 am. I spent about 2 hours there, then had a quick lunch near the park entrance before taking the 12:50 bus back to the station. I spent about 40 minutes at the monkey pool and took about 300 photos of the monkeys playing. If you're just watching, you might be able to spend less time there. The walk to and from the pool takes about 1.5 hours.

Tokyo Character Street
That day, I actually had plans to visit a temple in Nagano City, but when I got back, it started to rain, so I decided to return to Tokyo. My quick plan was to stop by Tokyo Character Street at Tokyo Station and have a bowl of eel rice for 300 baht.
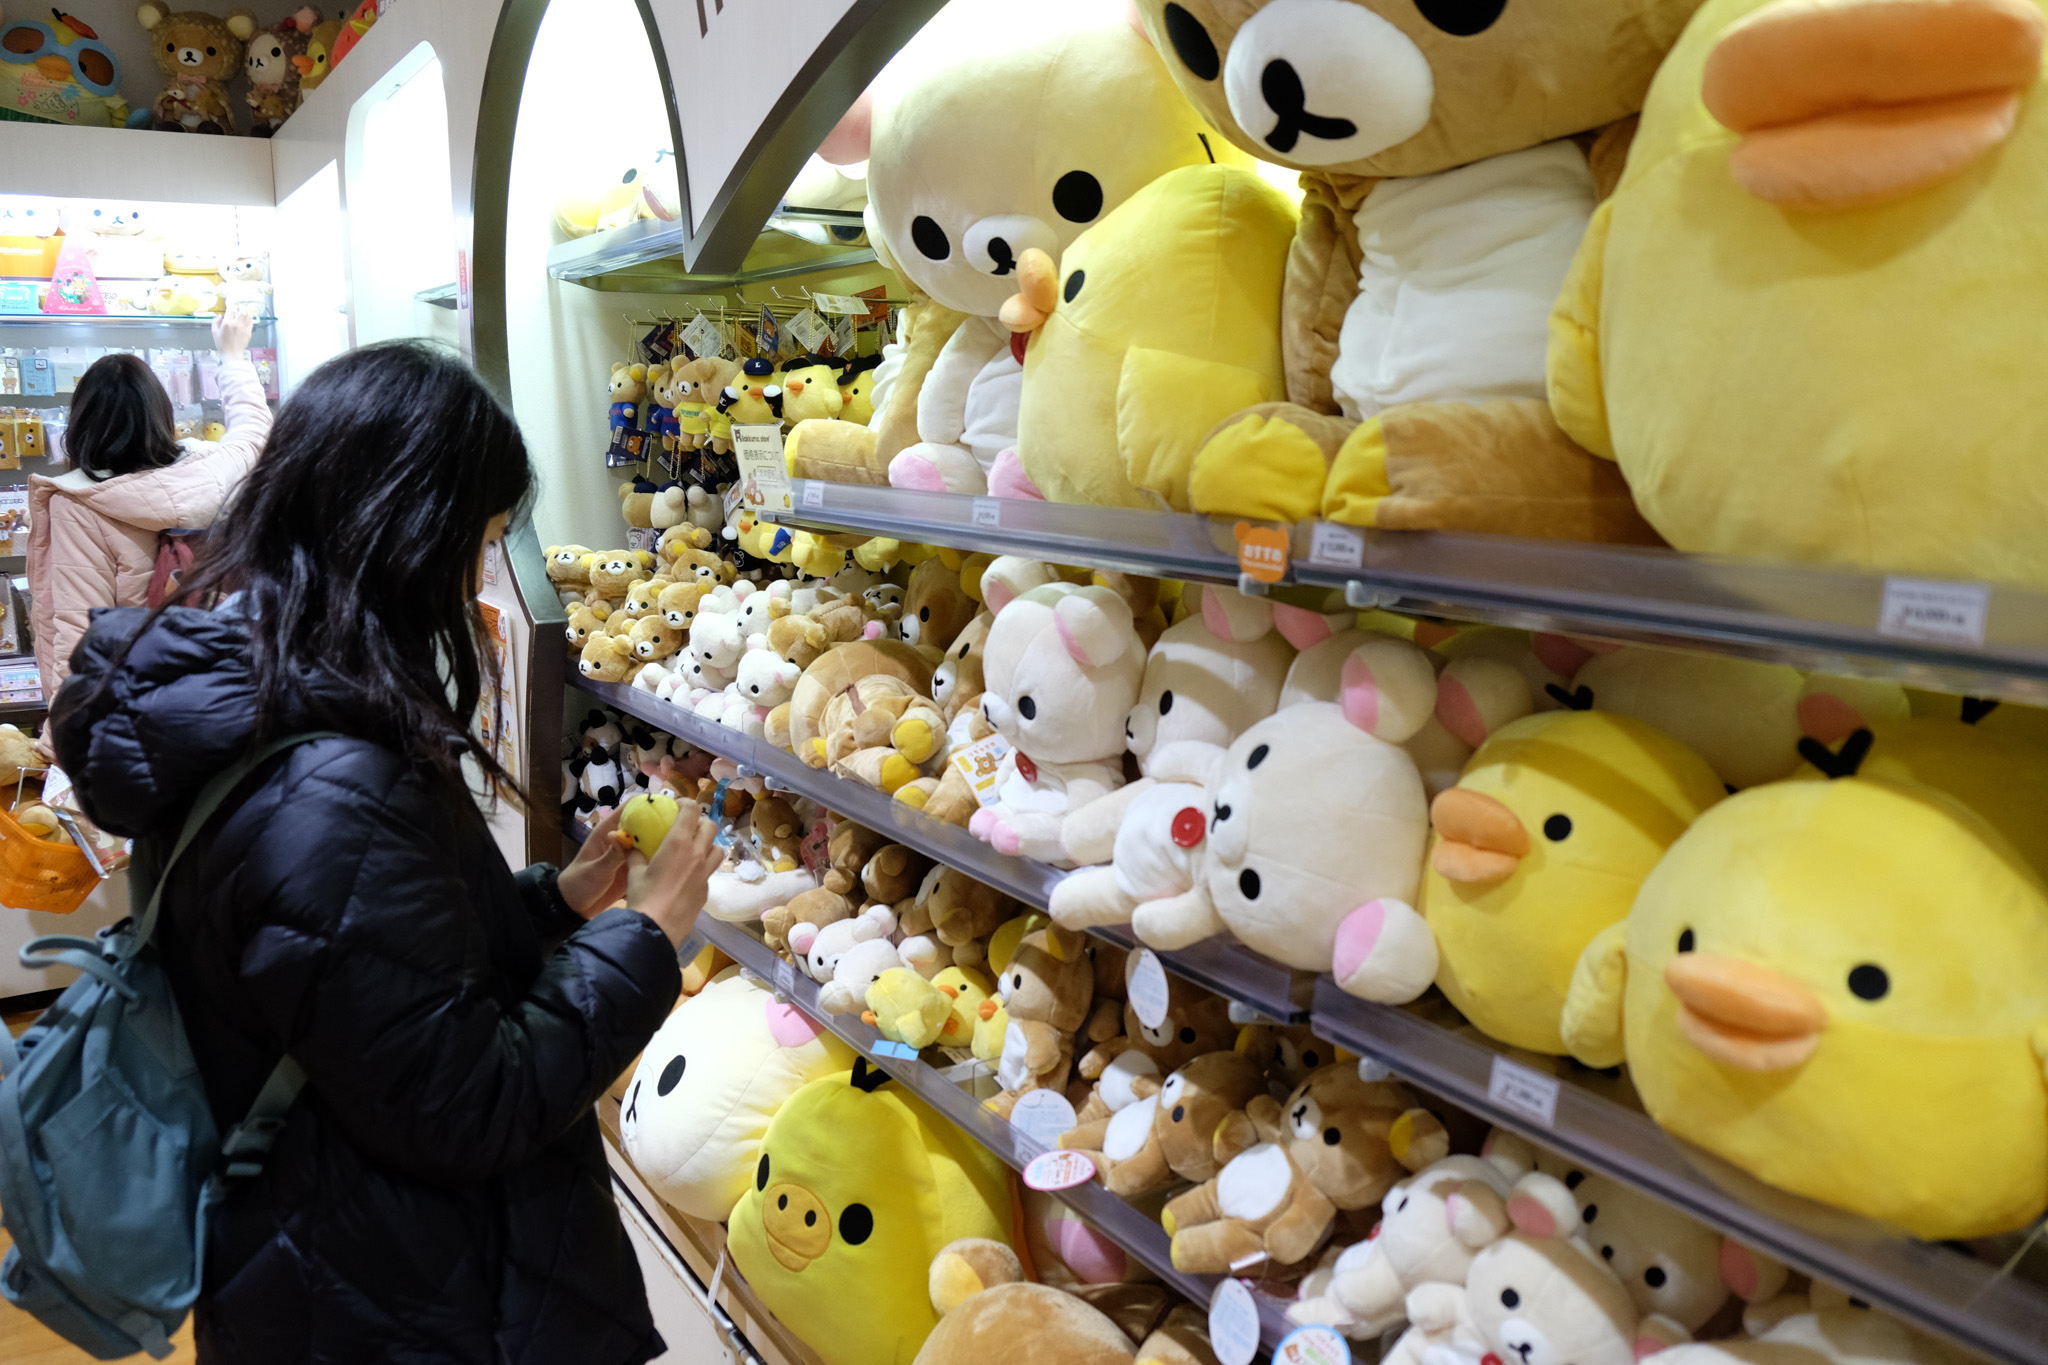
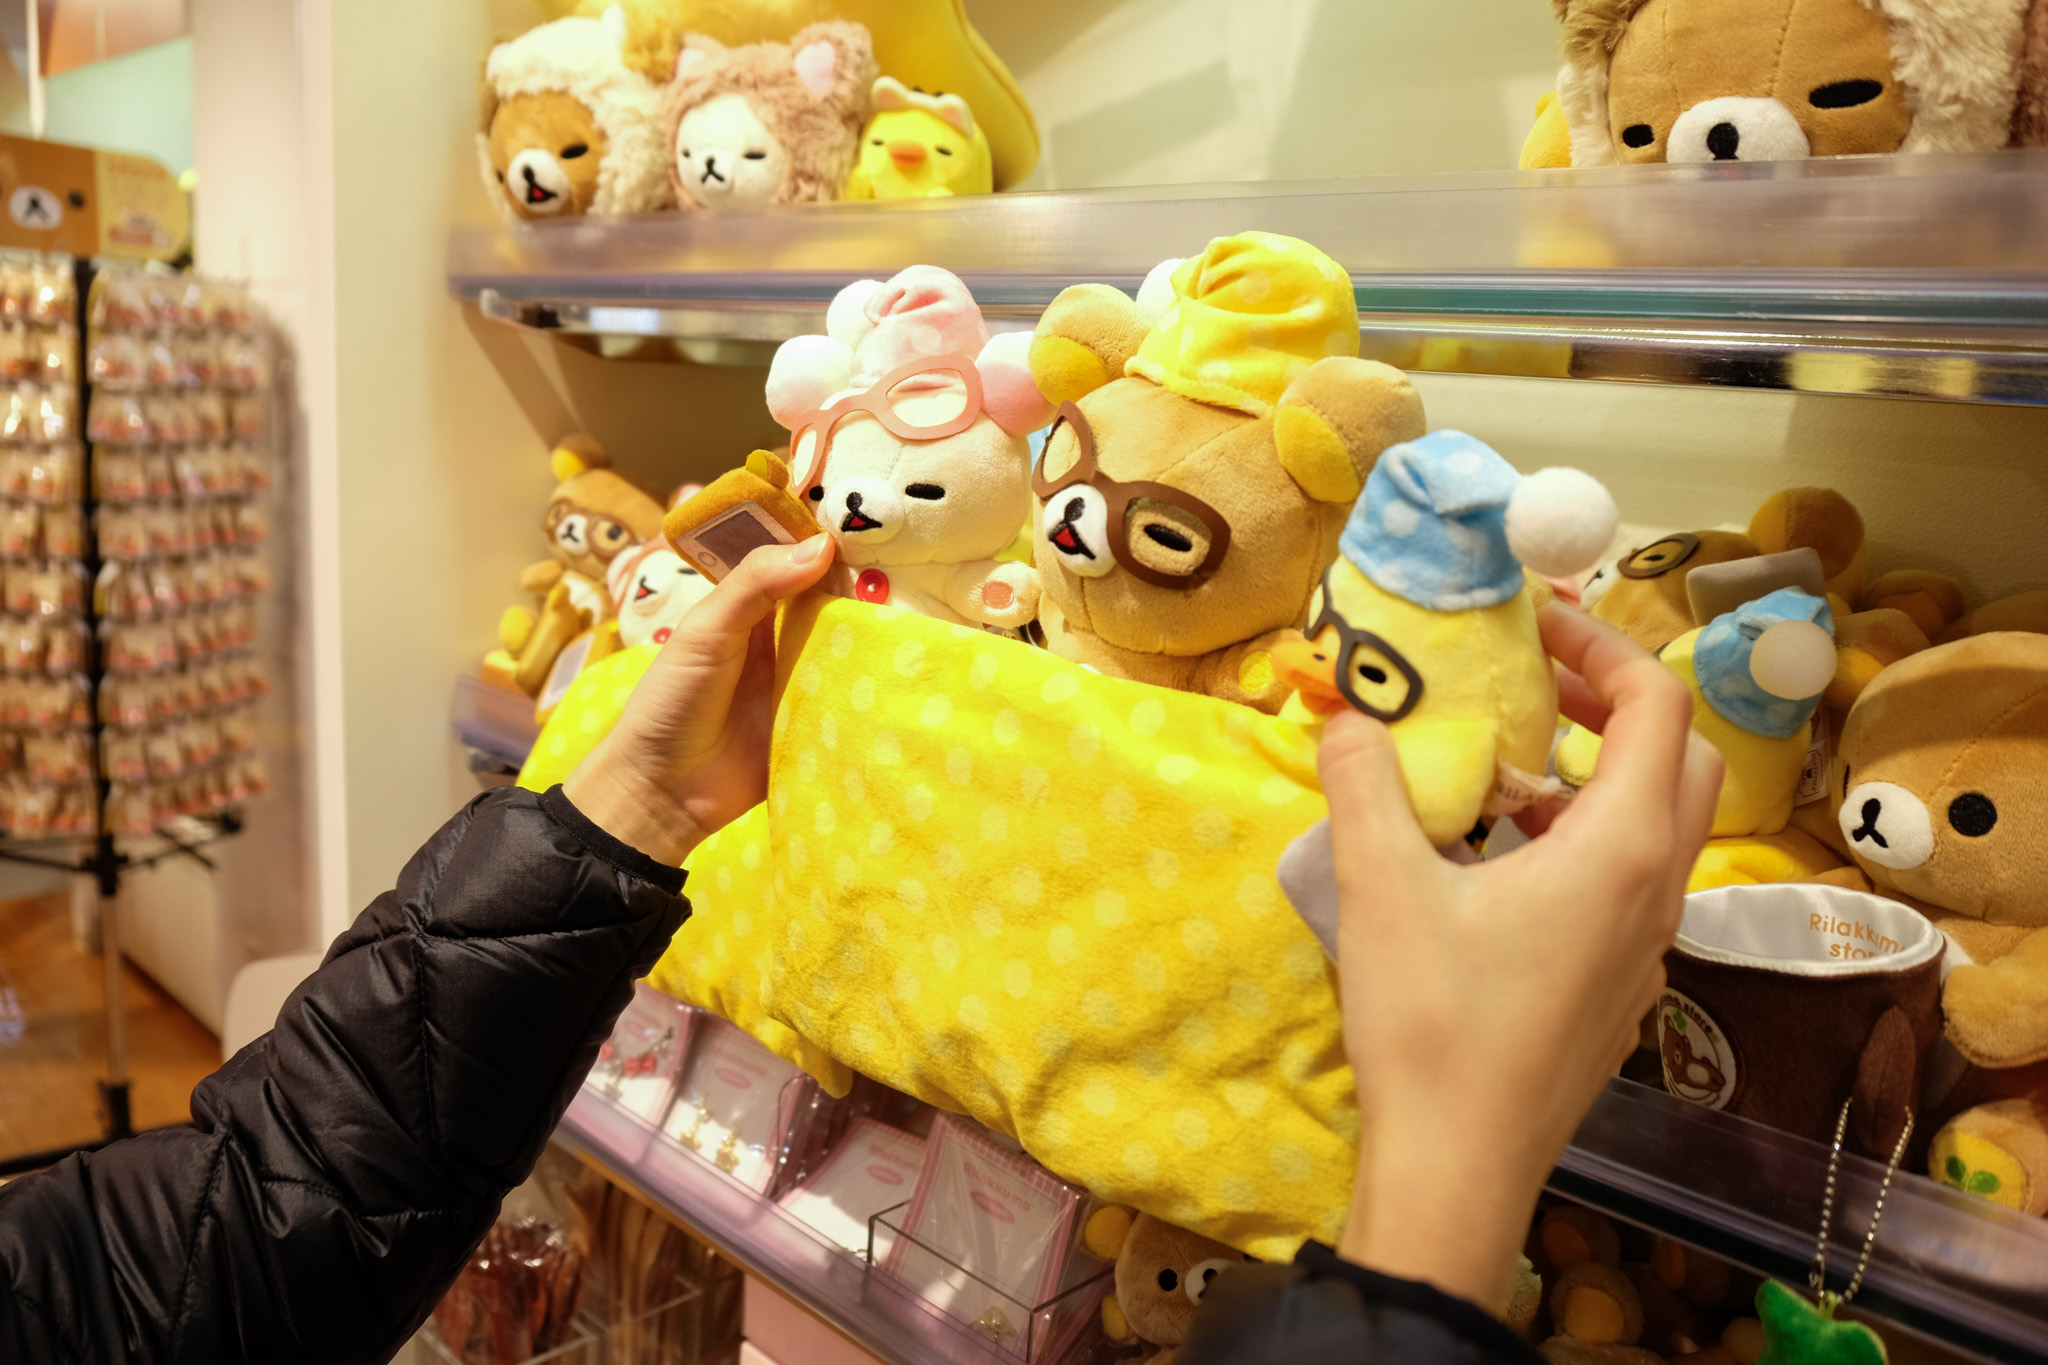
Tokyo Character Street is a store that sells various anime character goods. It is located on the B1 floor of the train station, so it is not difficult to get there. Just find the way down and look at the map that is posted on the wall. The items sold are from the original brands, and the prices are cheaper than buying them at toy stores. However, the store does not have a lot of items, and there are not many stores. There are only about 15-20 stores, and some of them sell general goods.
Each month has its own theme. When I went, it was the theme of Gudetama, the lazy egg.

Rilakkuma Shop
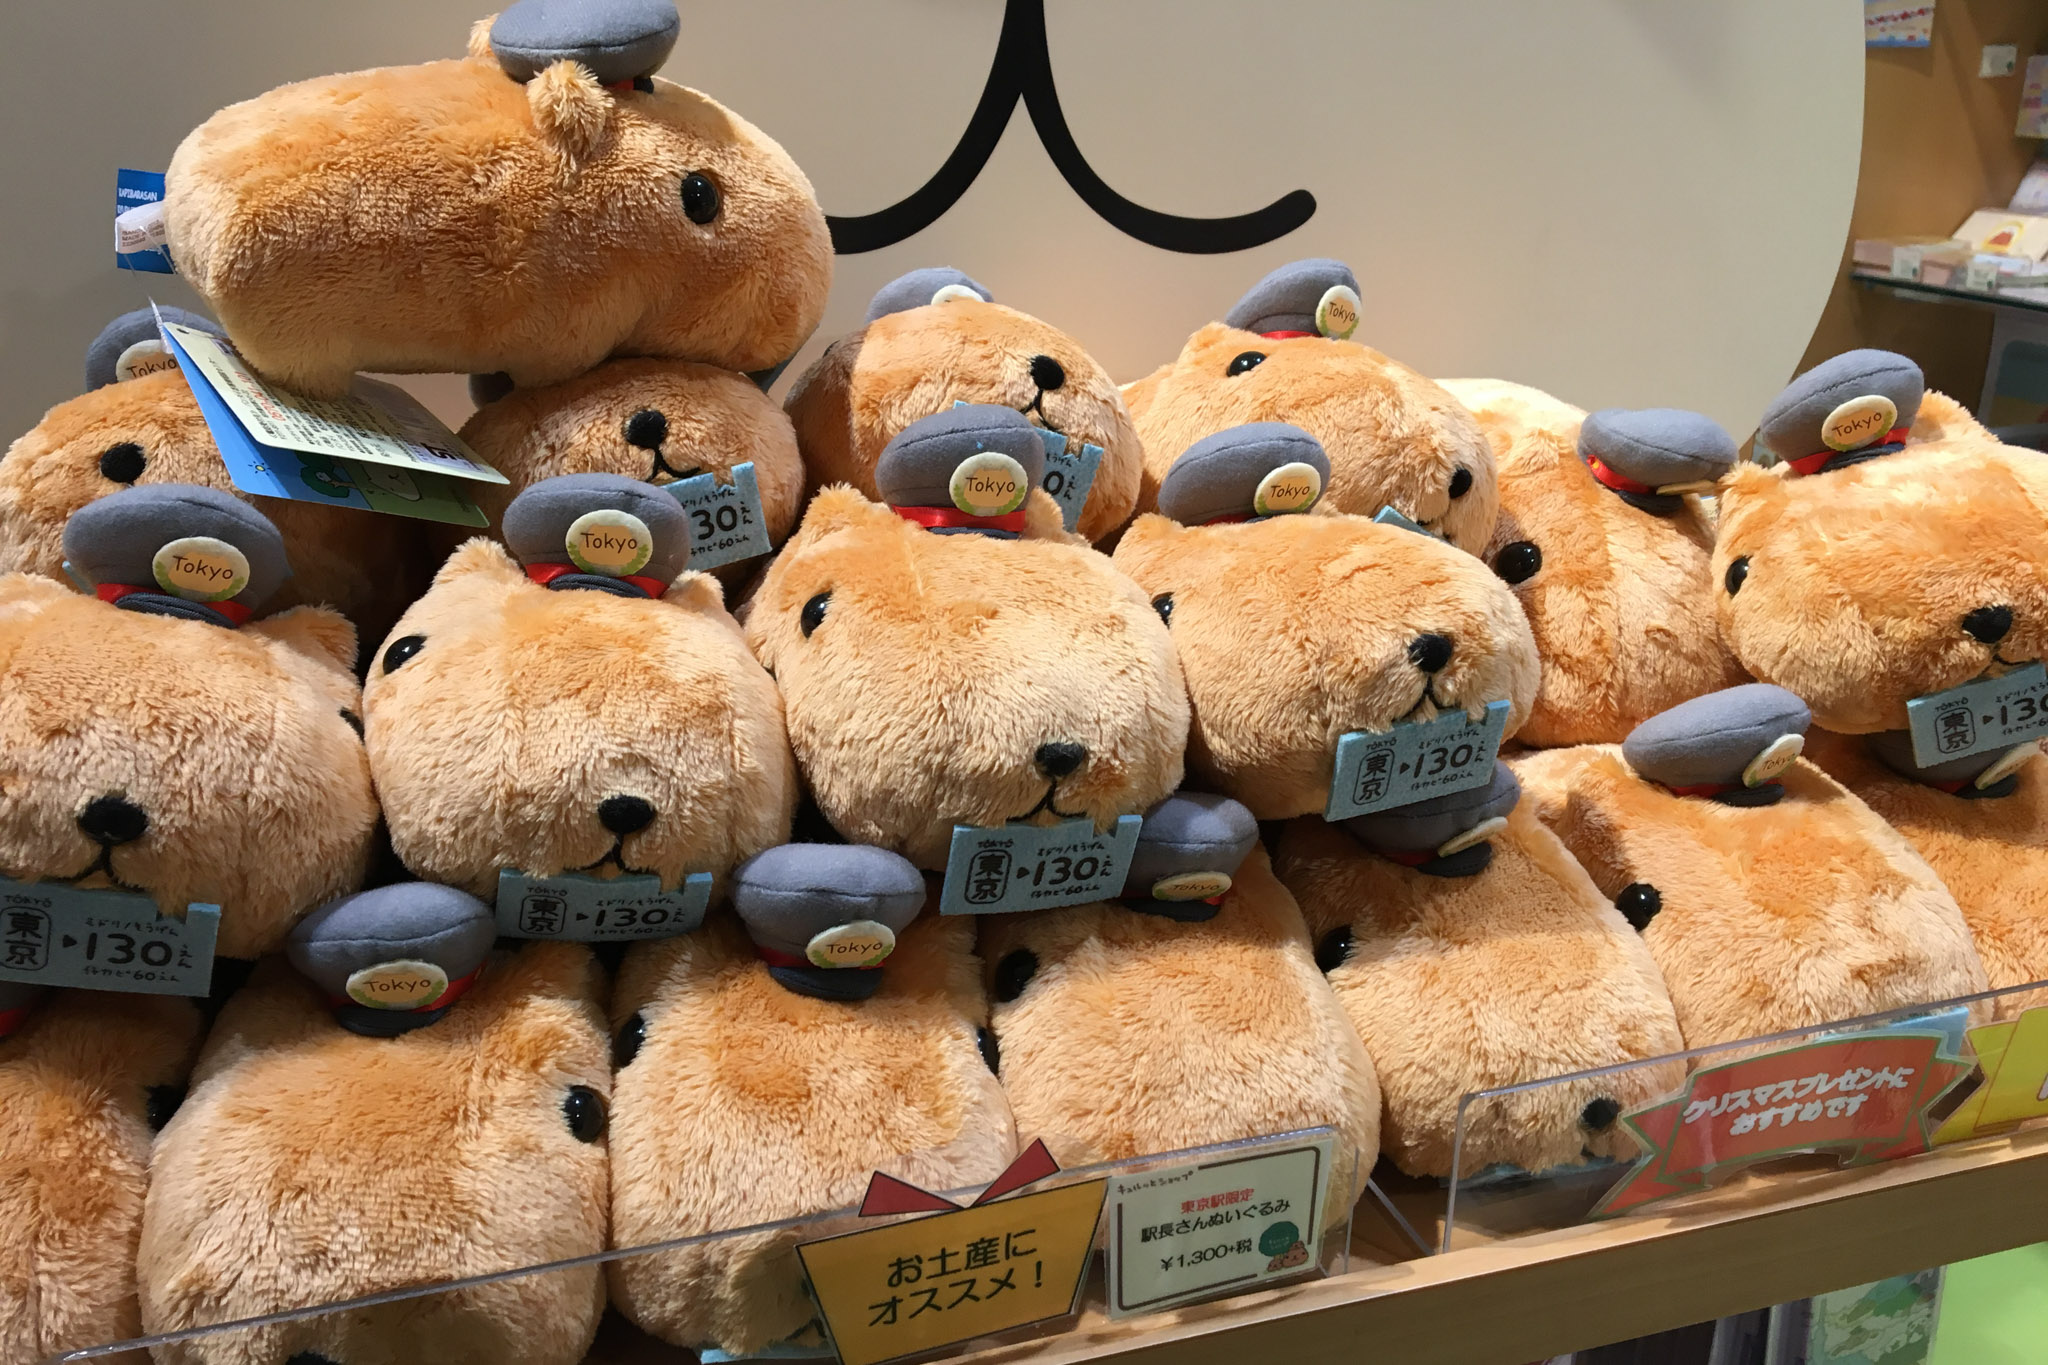
The Guinea Pig

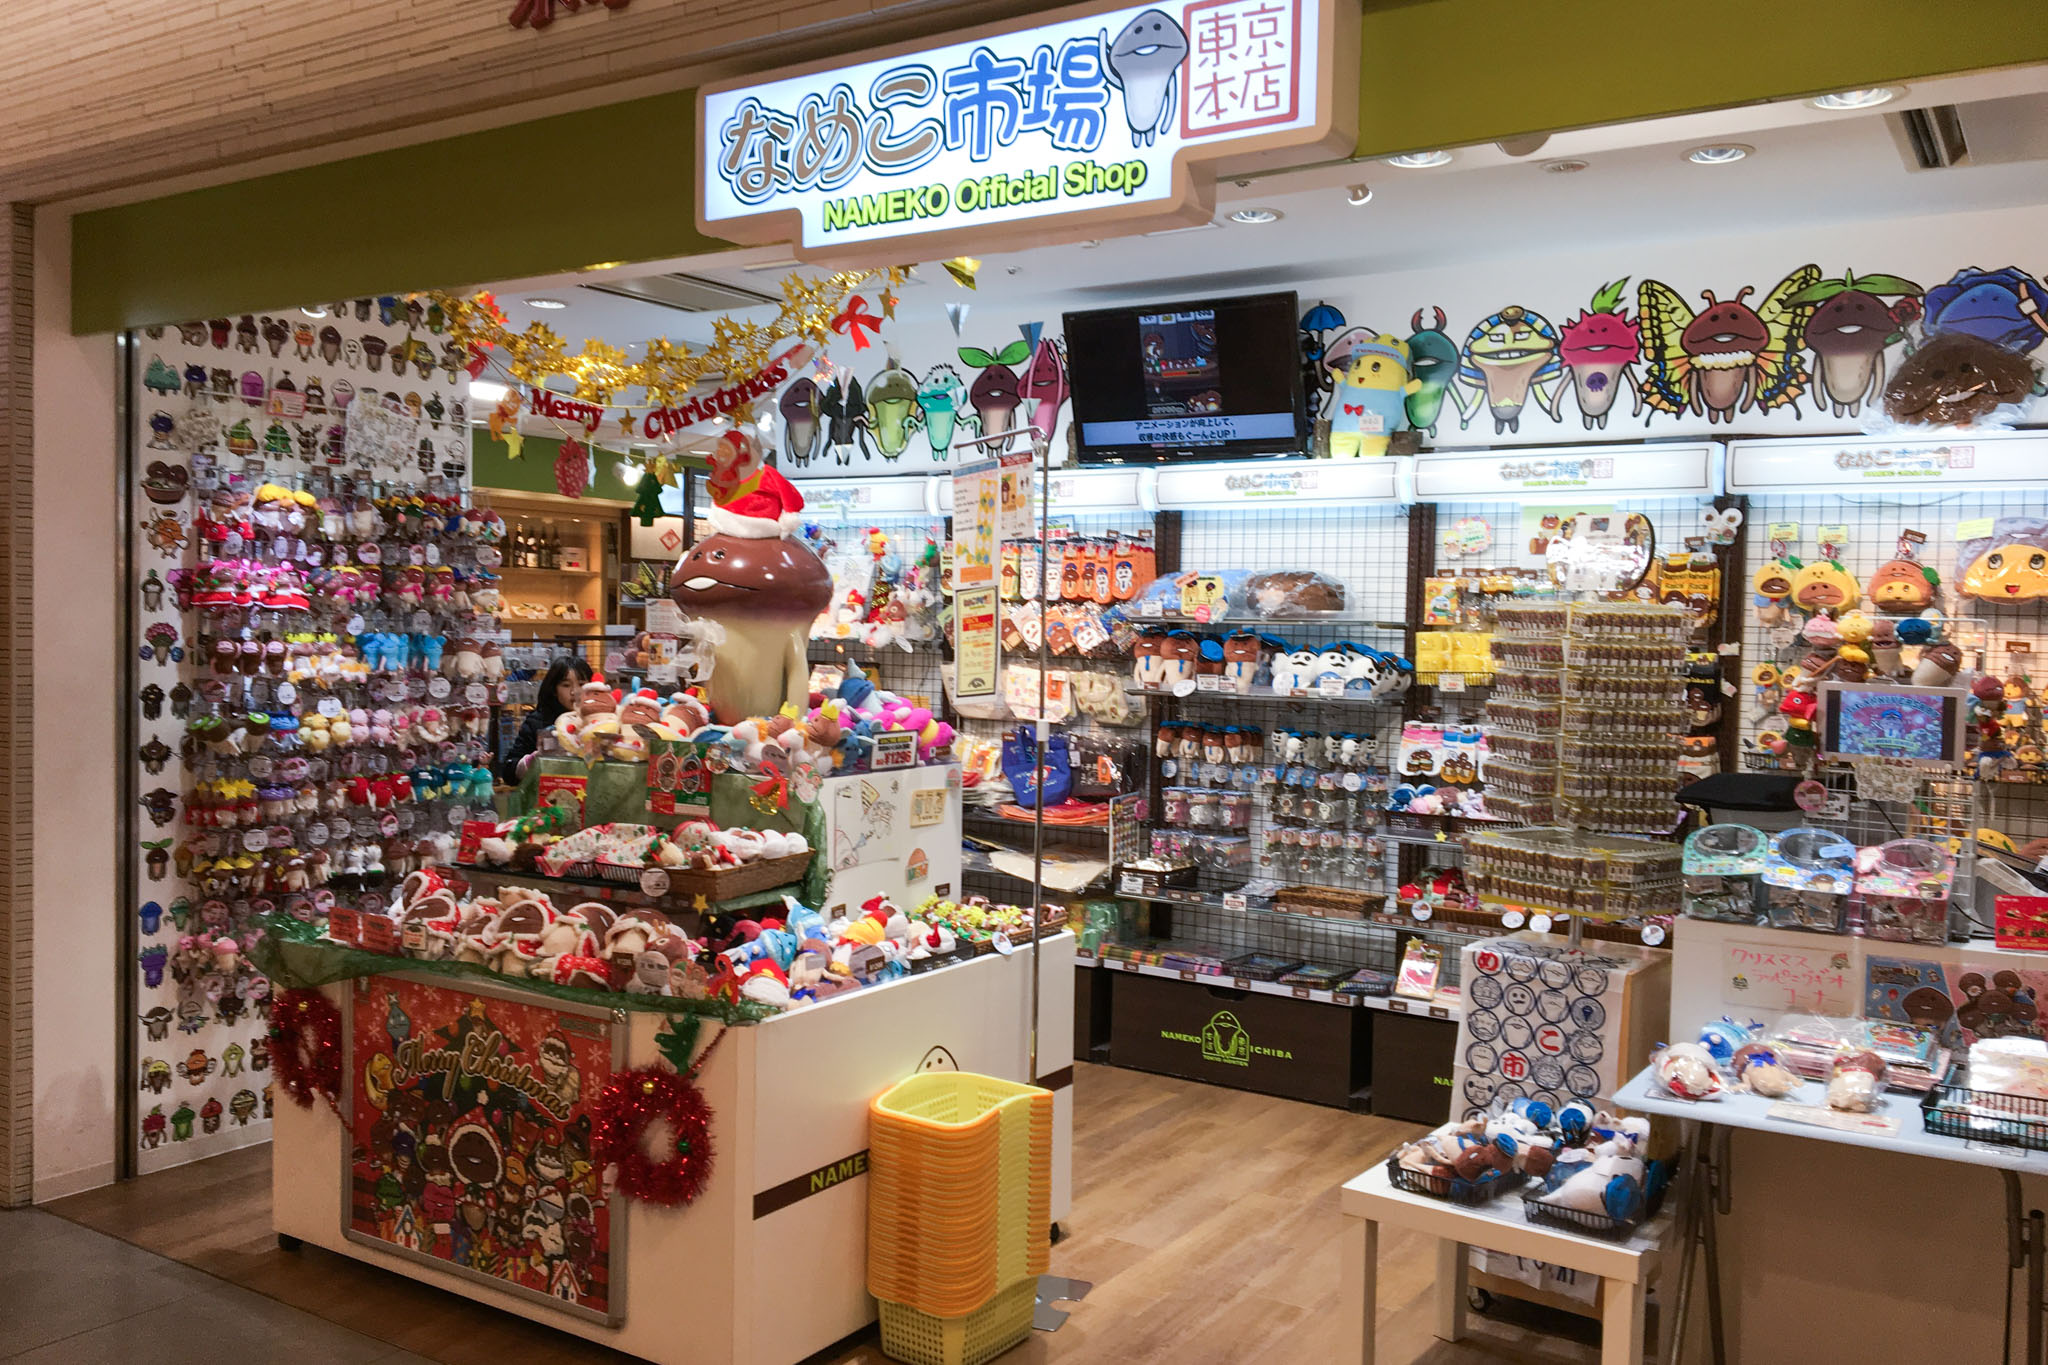
Mushrooms!!

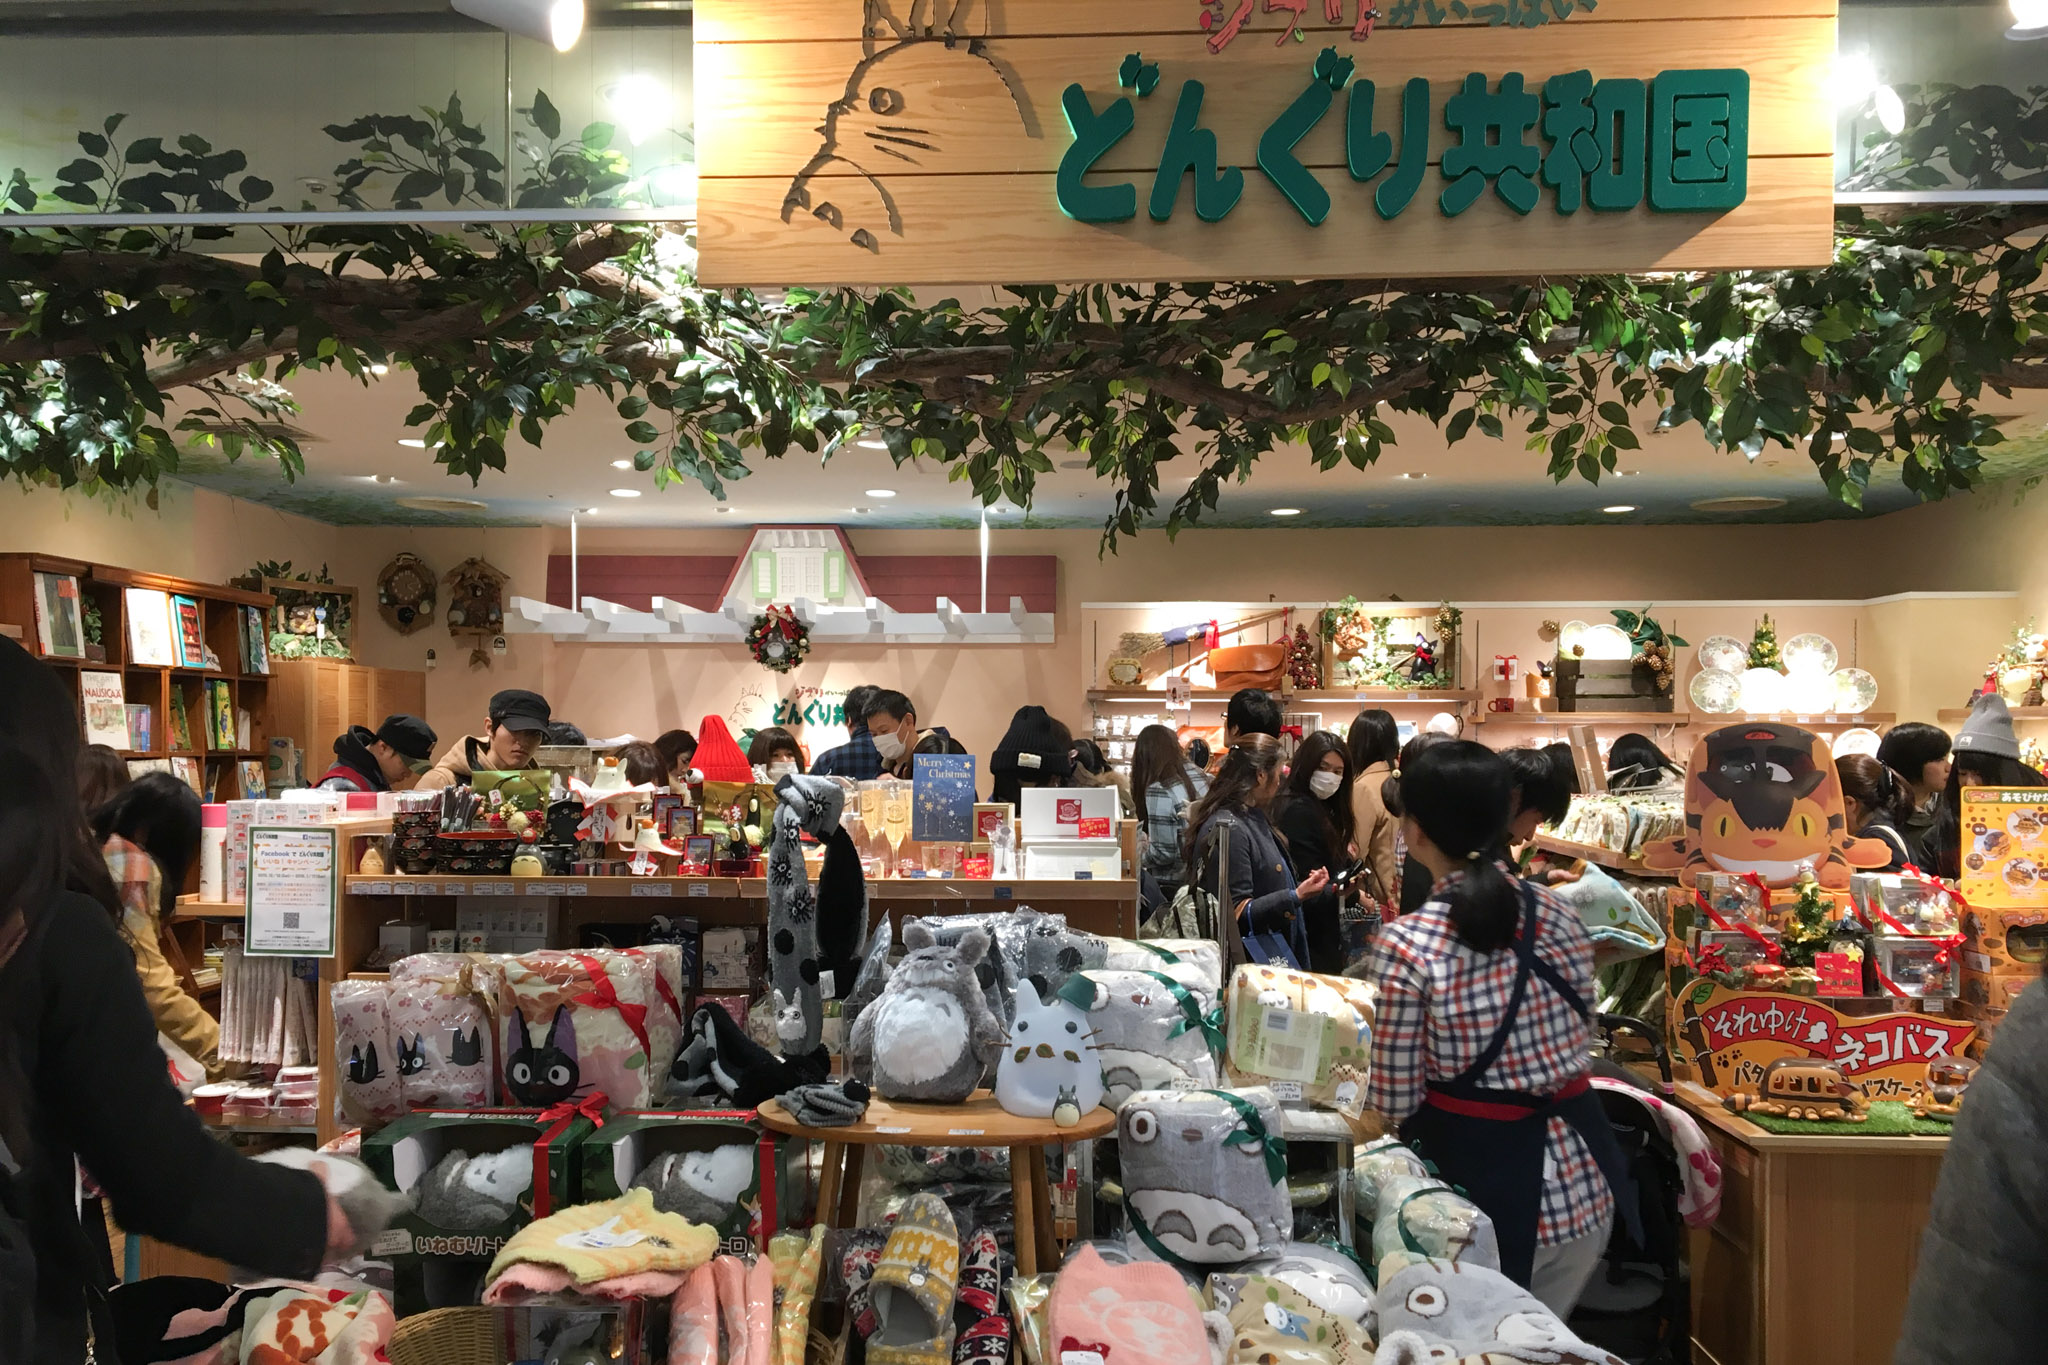
Jibi Shop
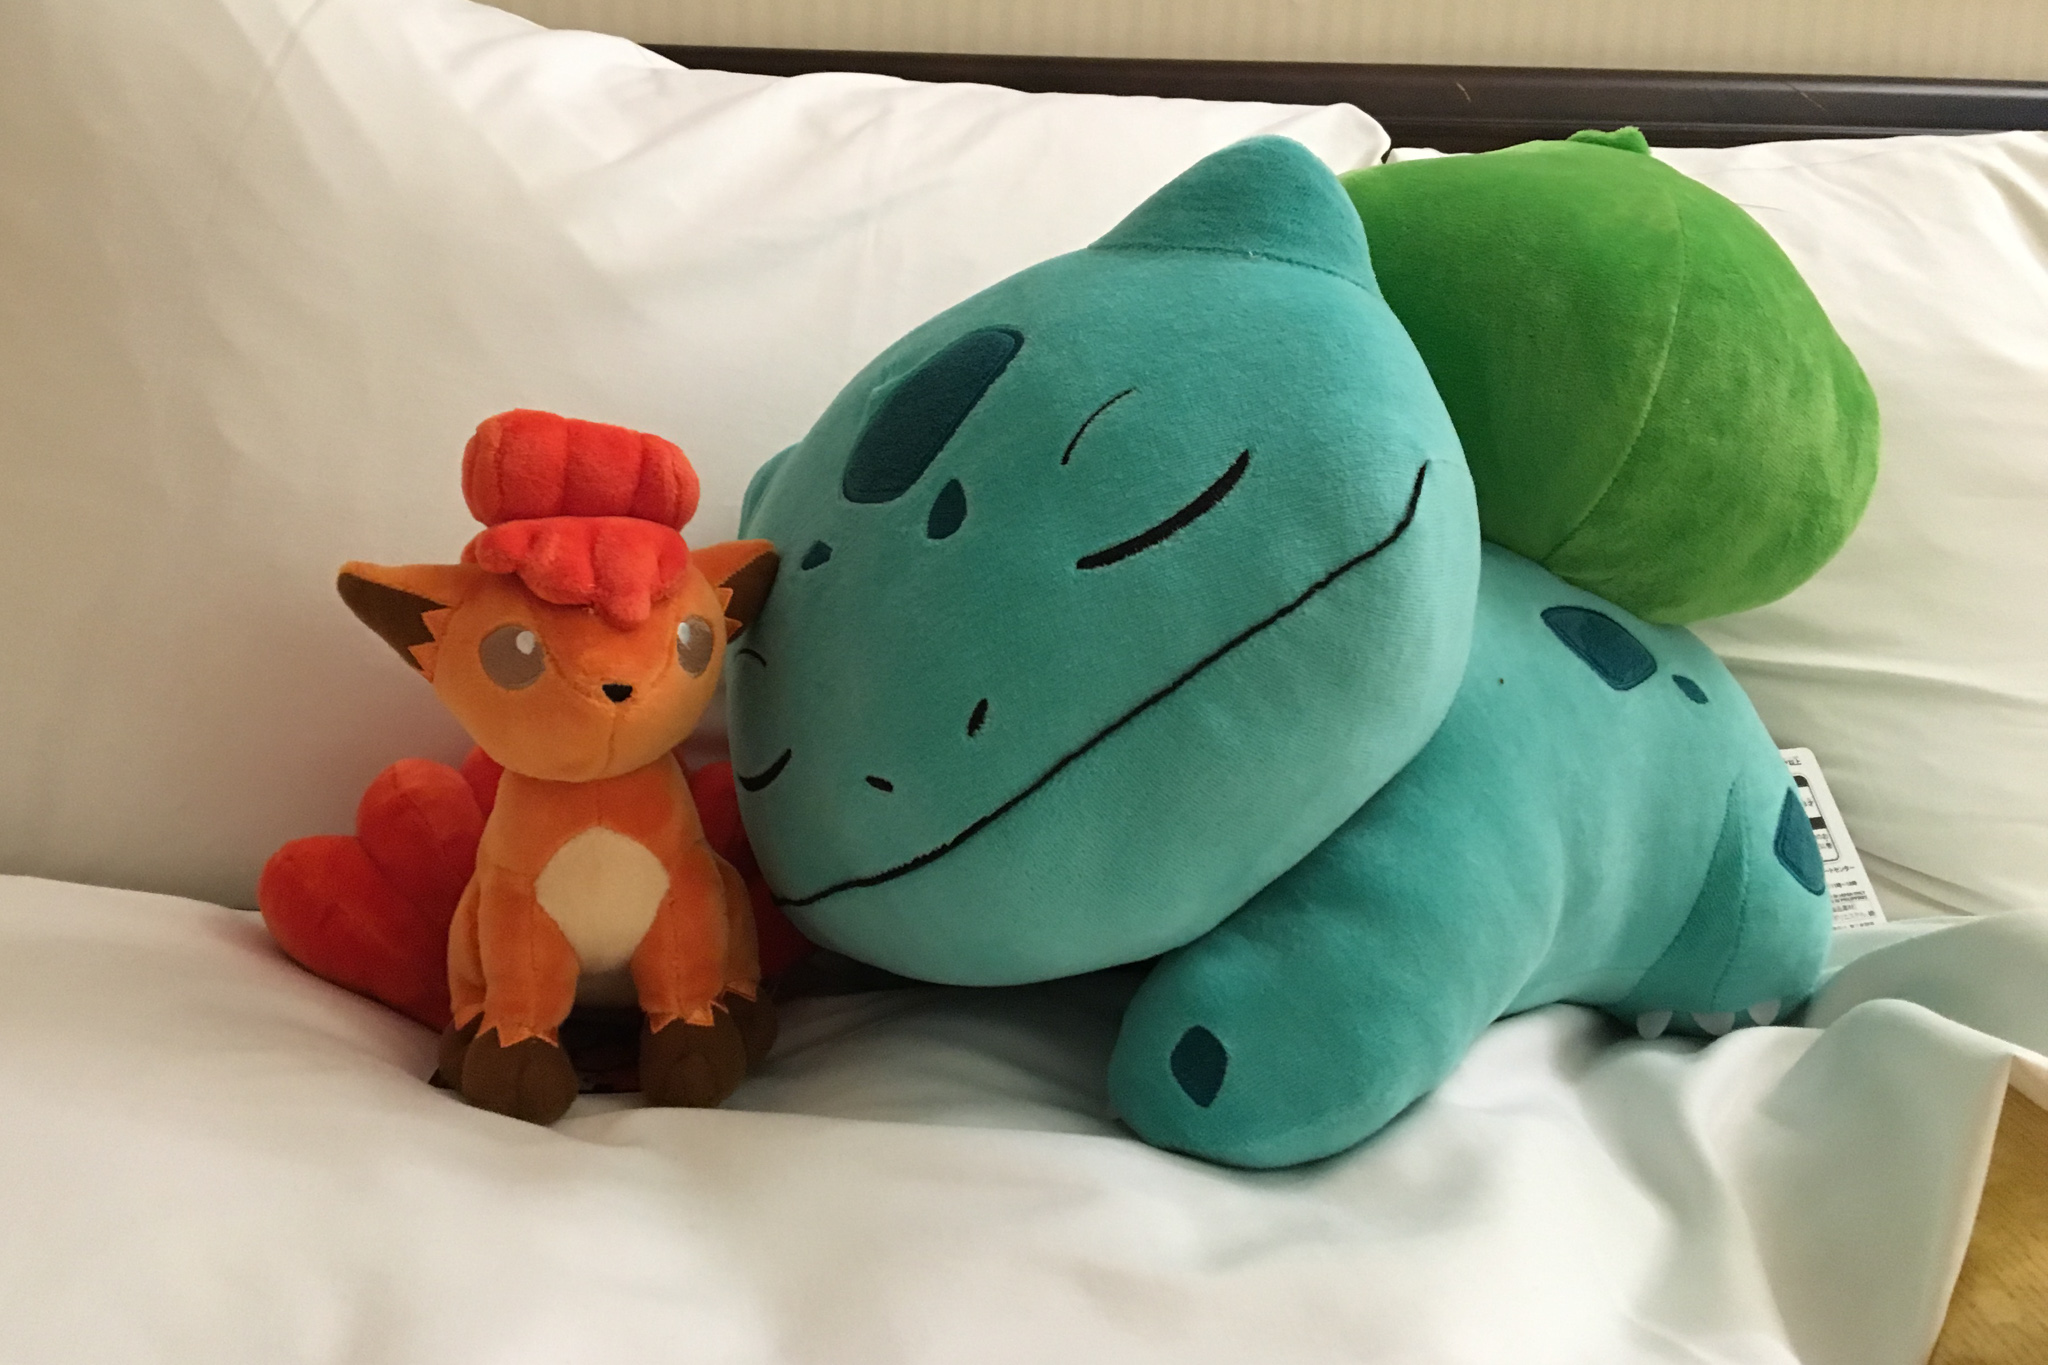
Pokemon Store
I thought I wouldn't spend money on toys anymore, but I'm going to die in this shop.

It's so cool!
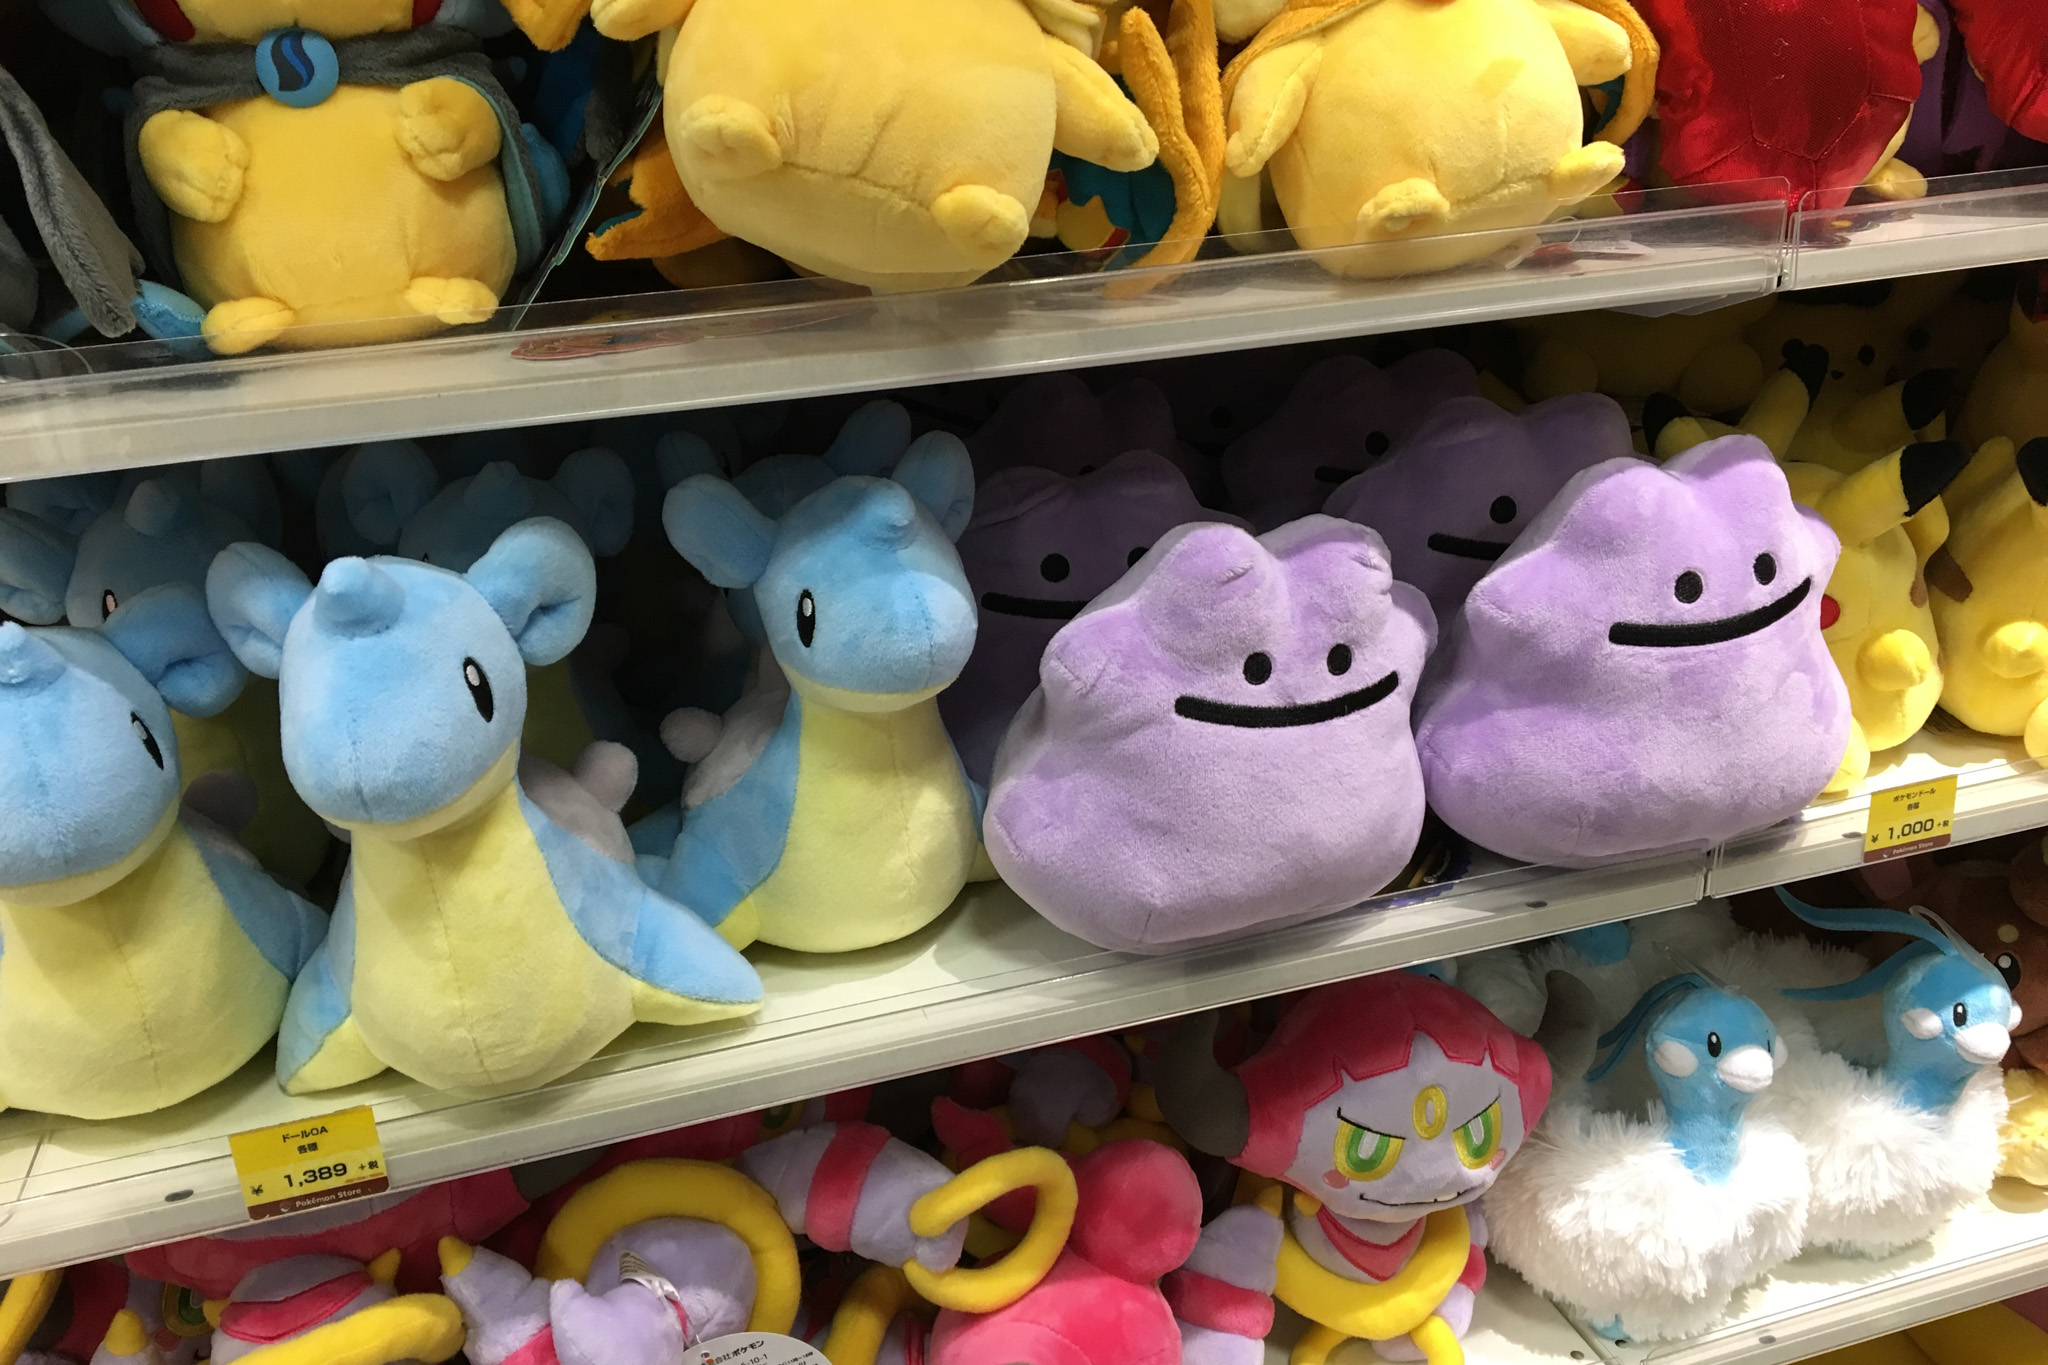
We each got one, wallets lighter in an instant ;___;
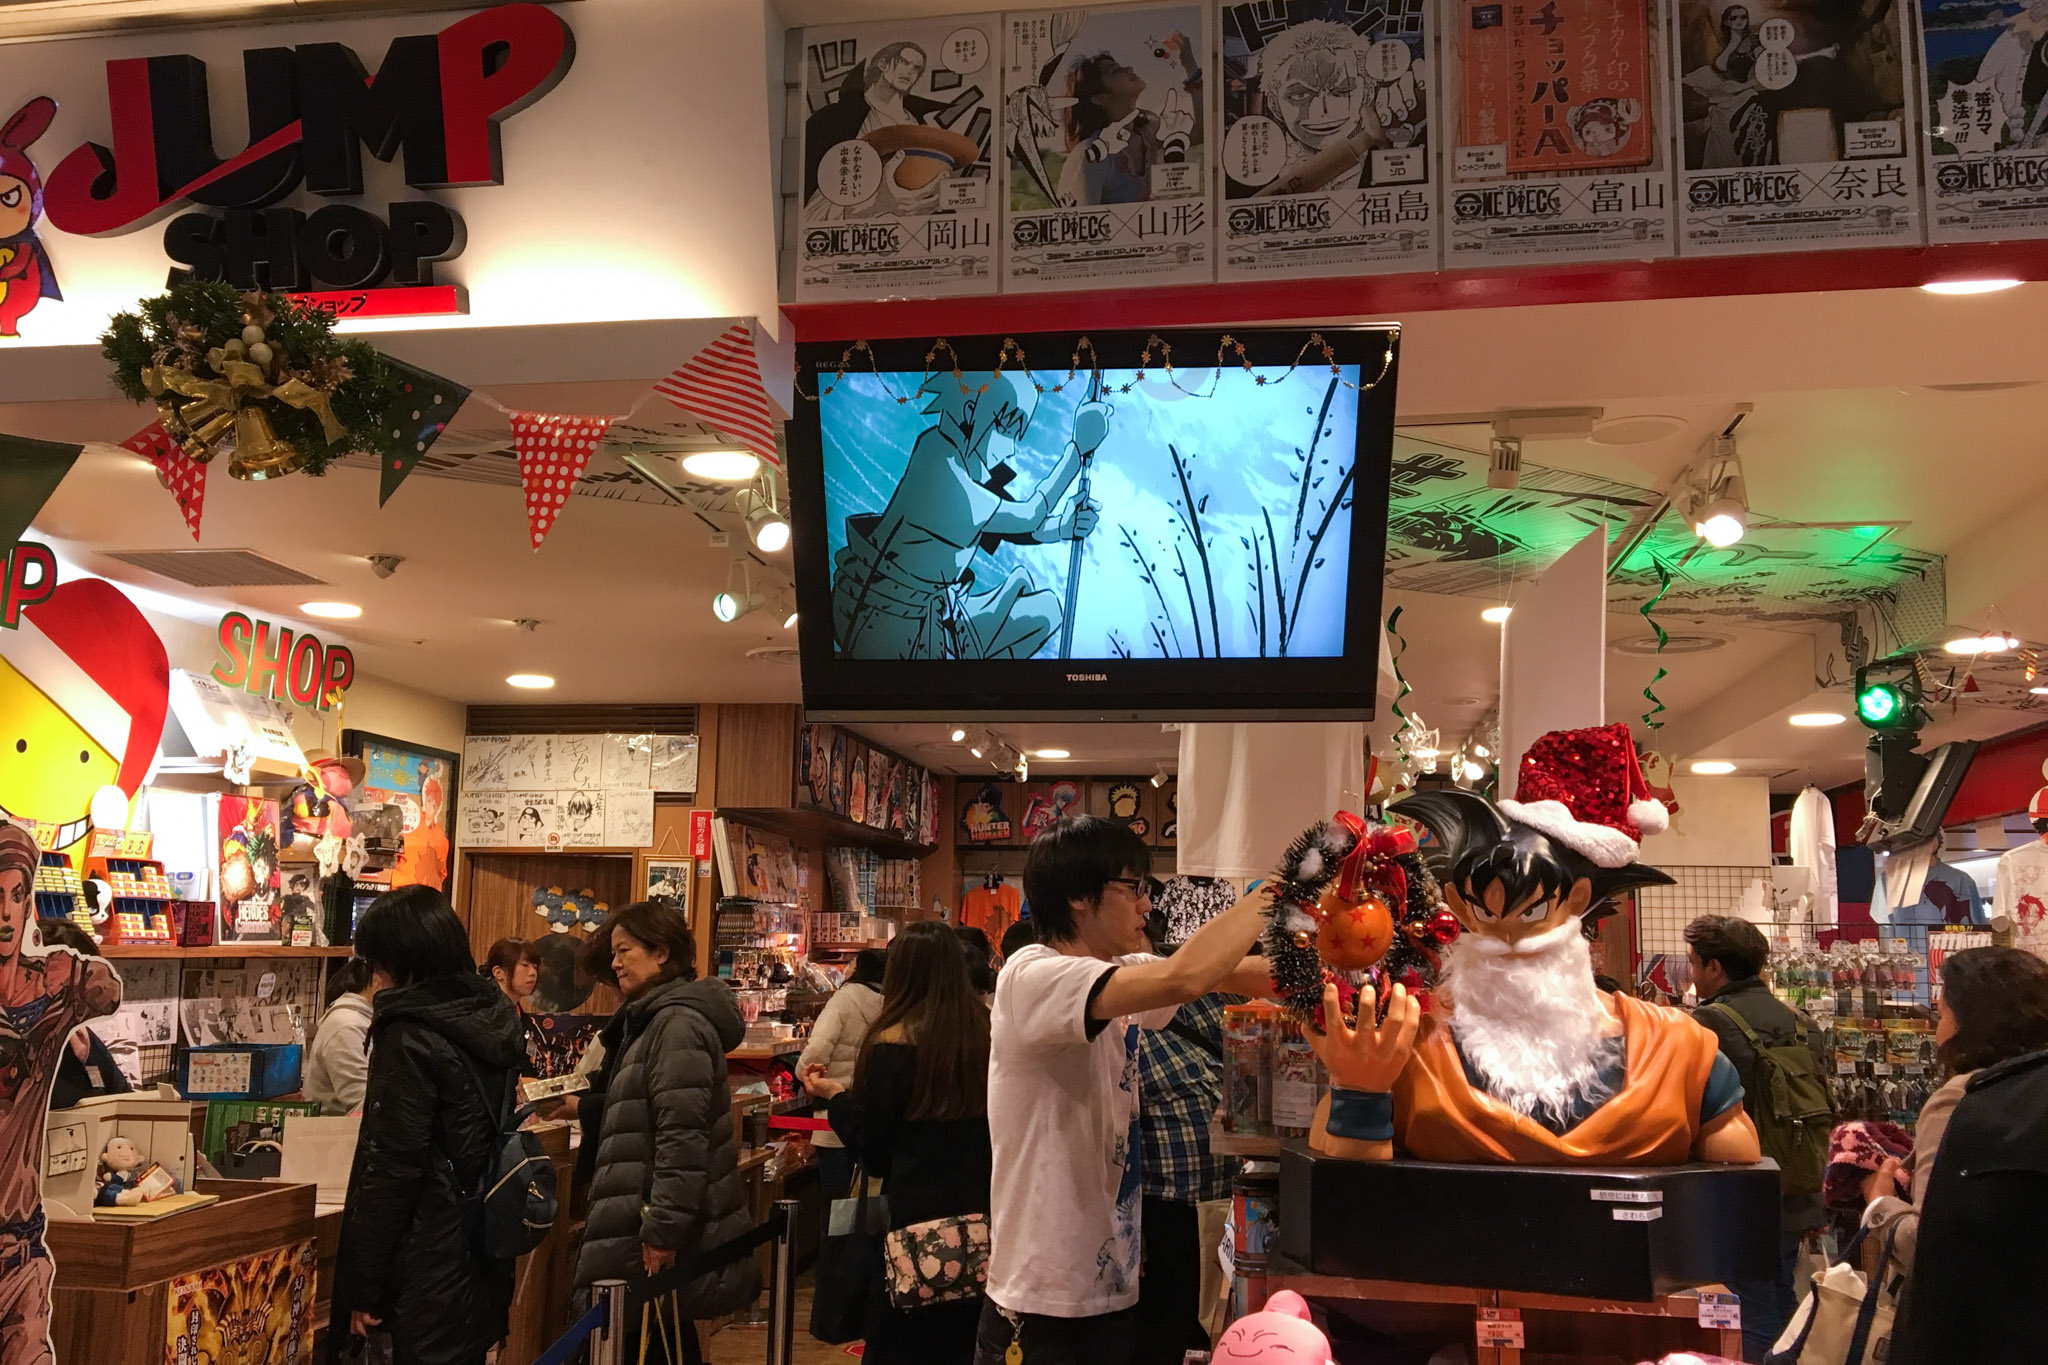
Jump shop
This is another great place for boys.
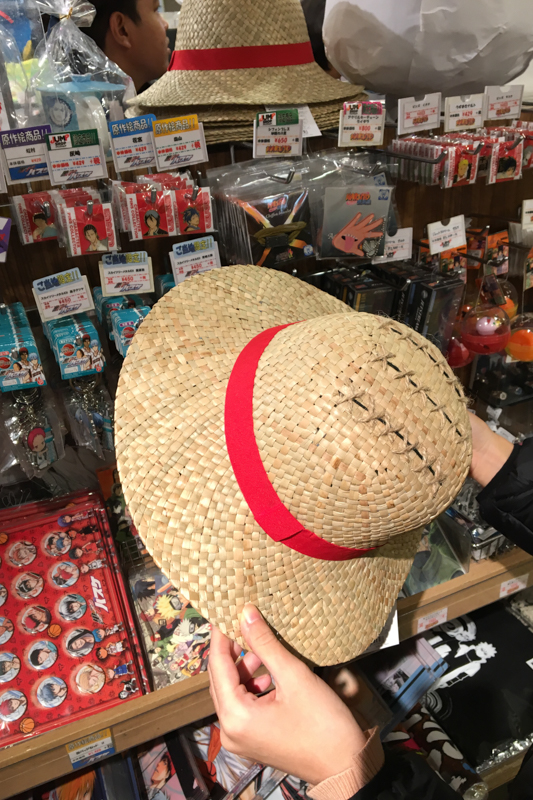
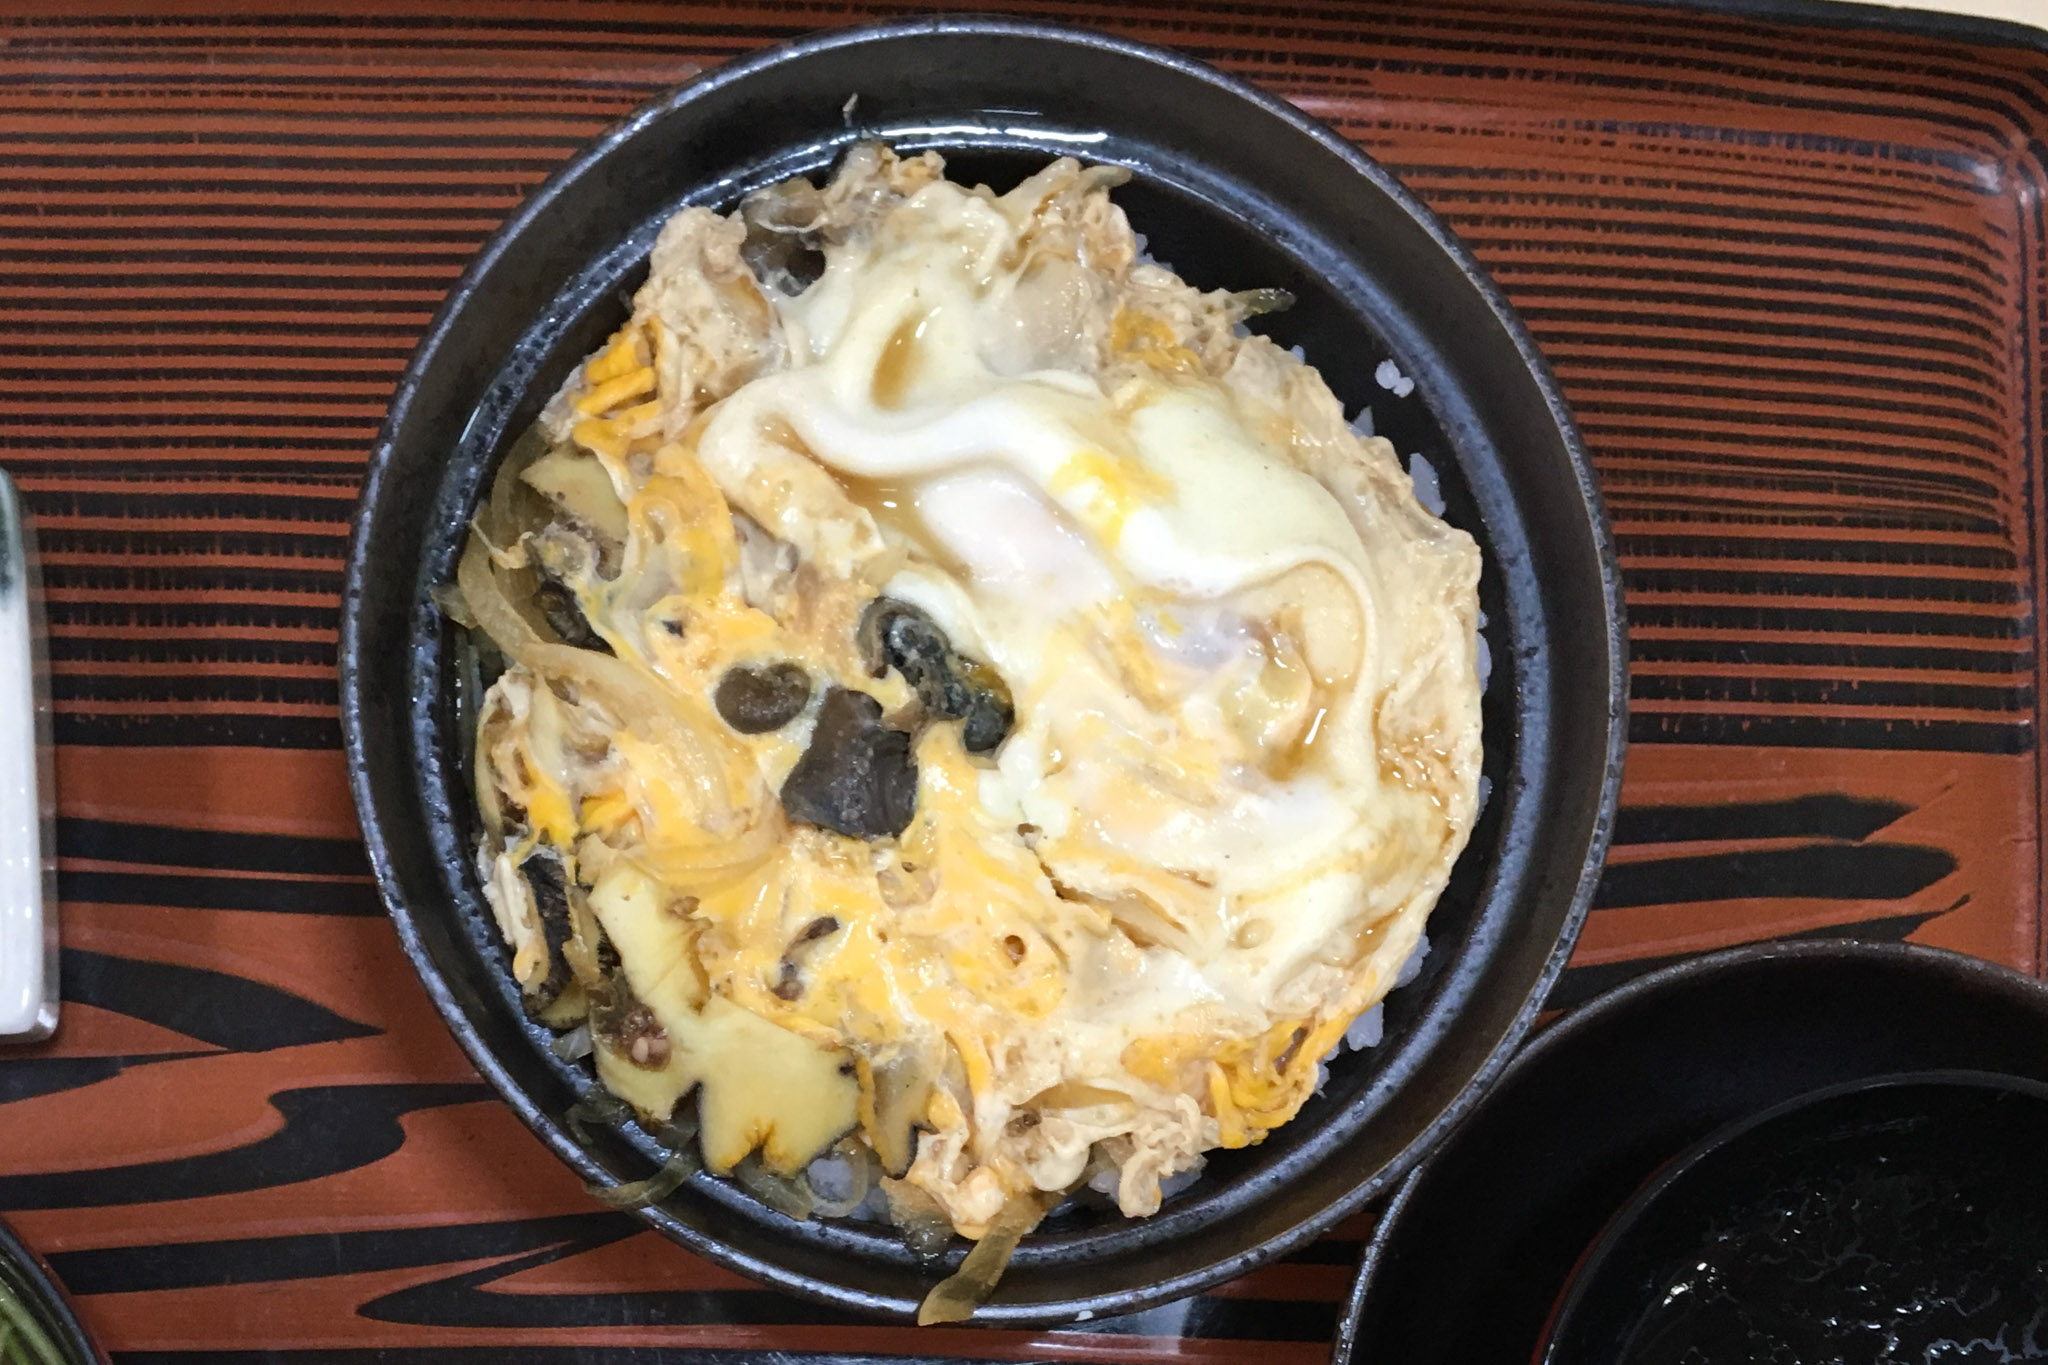
I spent all my money. I then went to Ueno Station to eat unagi rice, which I had planned to eat in Japan (it's my personal favorite). While looking for a restaurant that wasn't too expensive, I came across this one. It was affordable and easy to get to. I can't read the name of the restaurant, but you can search for 名代 宇奈とと 上野店 on Google Maps. Getting there is the same as going to the kaiten-zushi restaurant. The restaurant is located in an alley next to Ameyoko Market. Exit Ueno Station at the Shinobazu Exit or Hirokoji Exit. Follow the pictures.

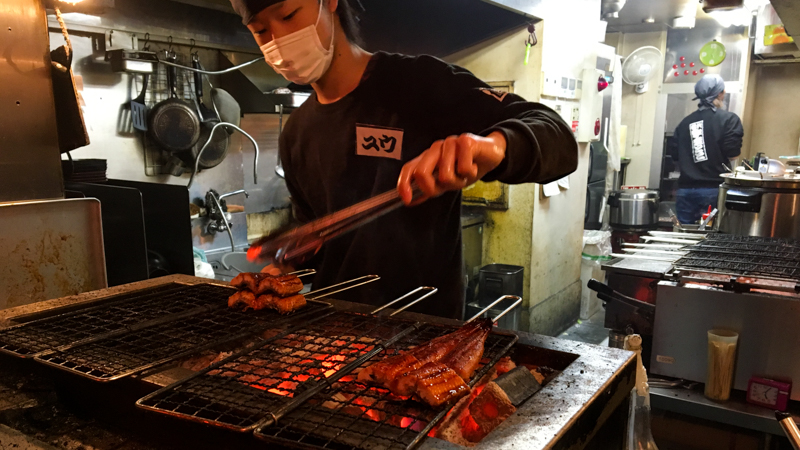
The shop is a bit small. Inside, there is a bar that can seat about 5-6 people. Outside, there are tables that can seat a lot of people. They can bring out more tables as needed. They will grill the eel in front of the shop for you to see. The menu and prices are shown in the picture.
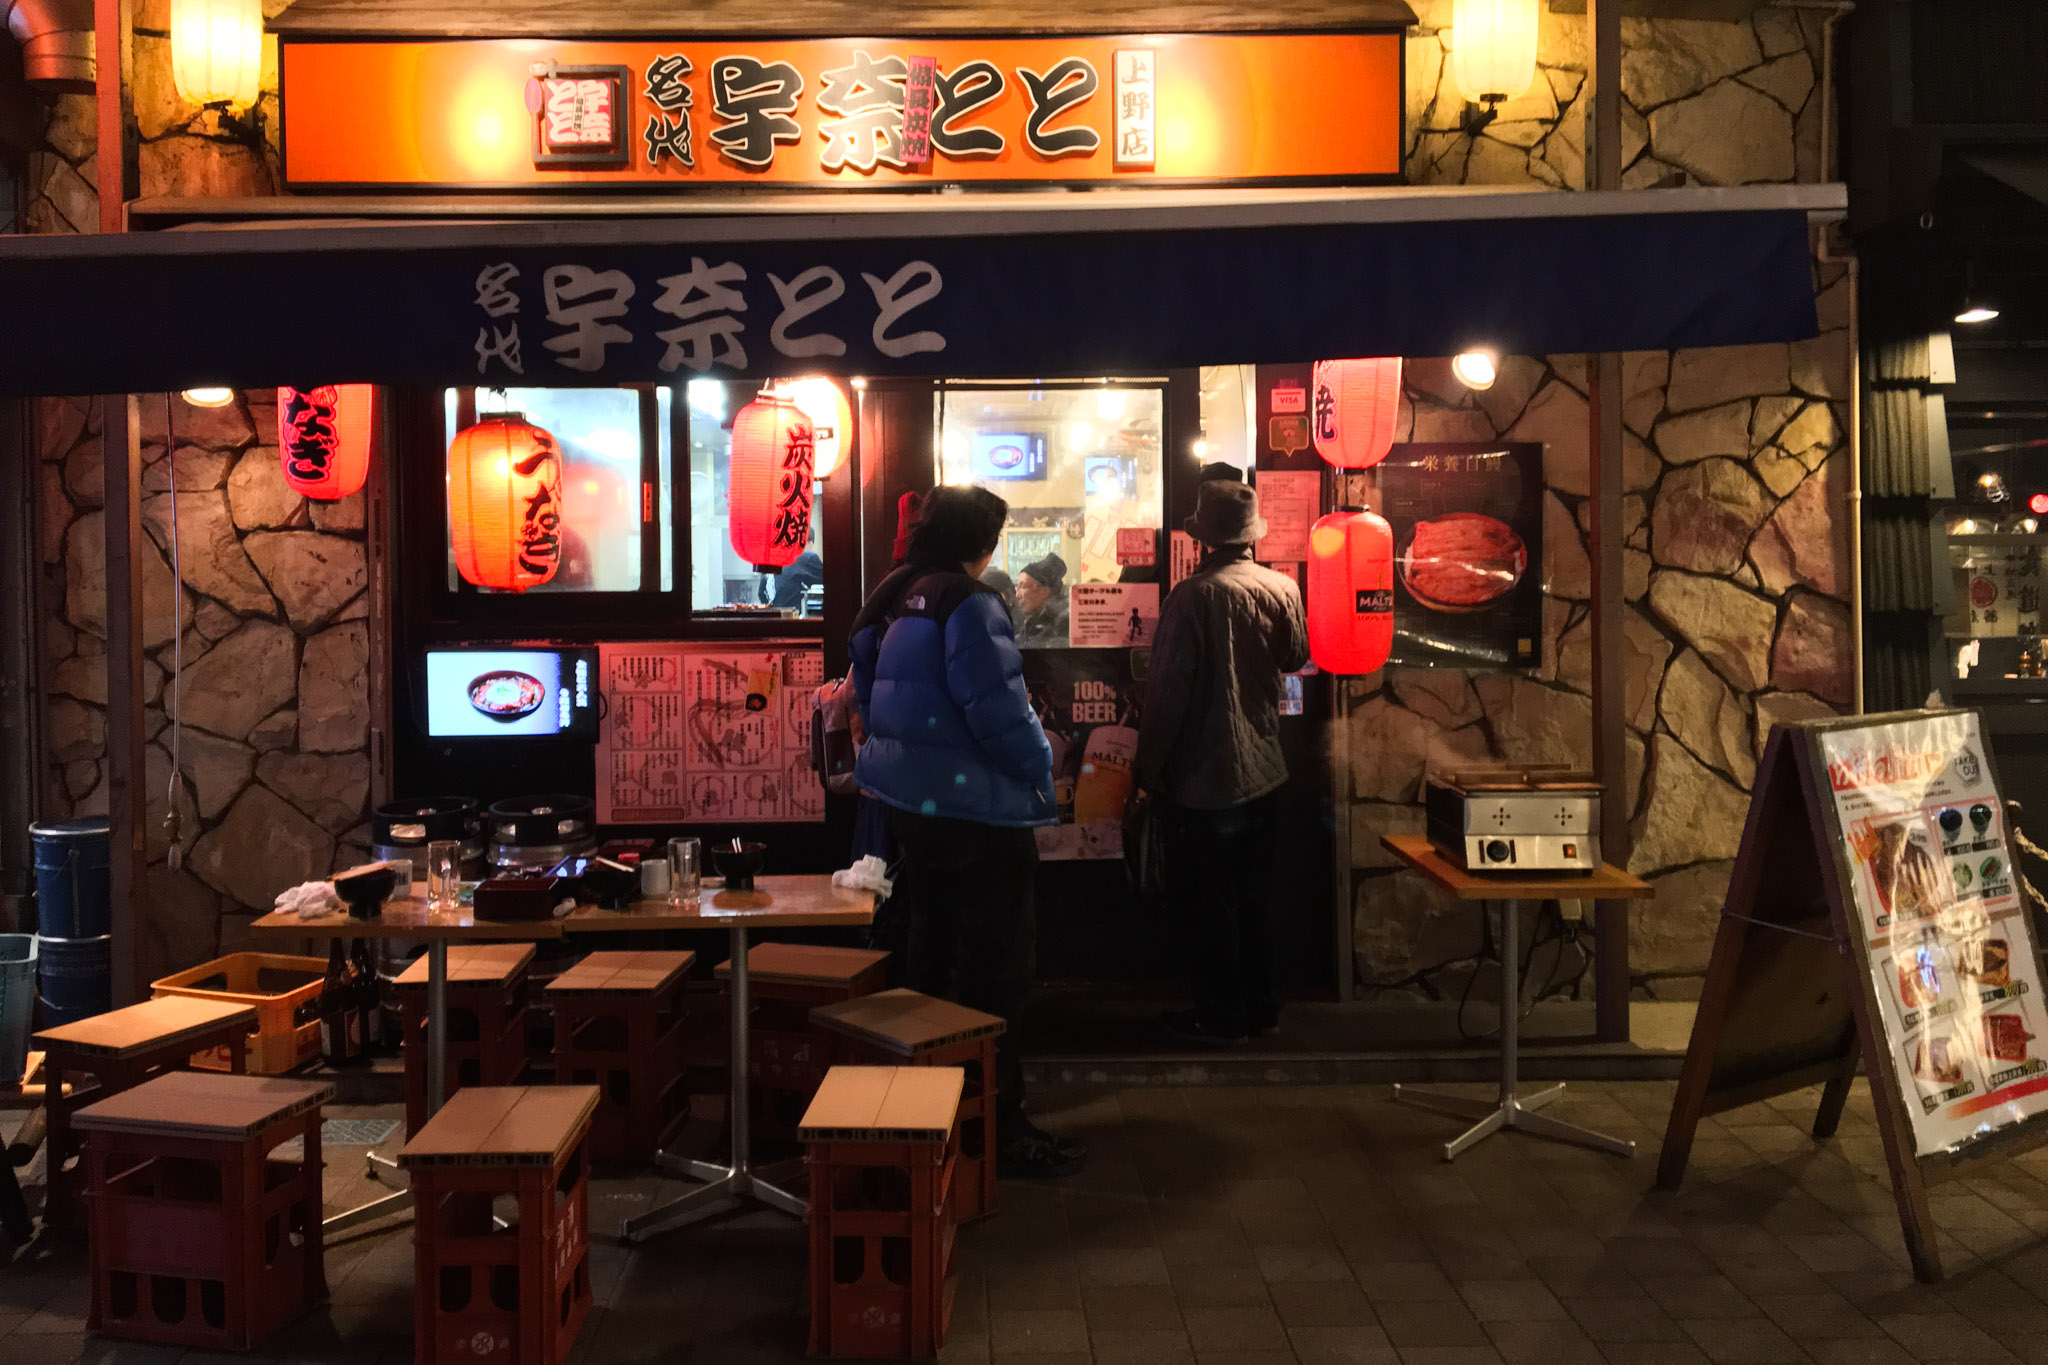
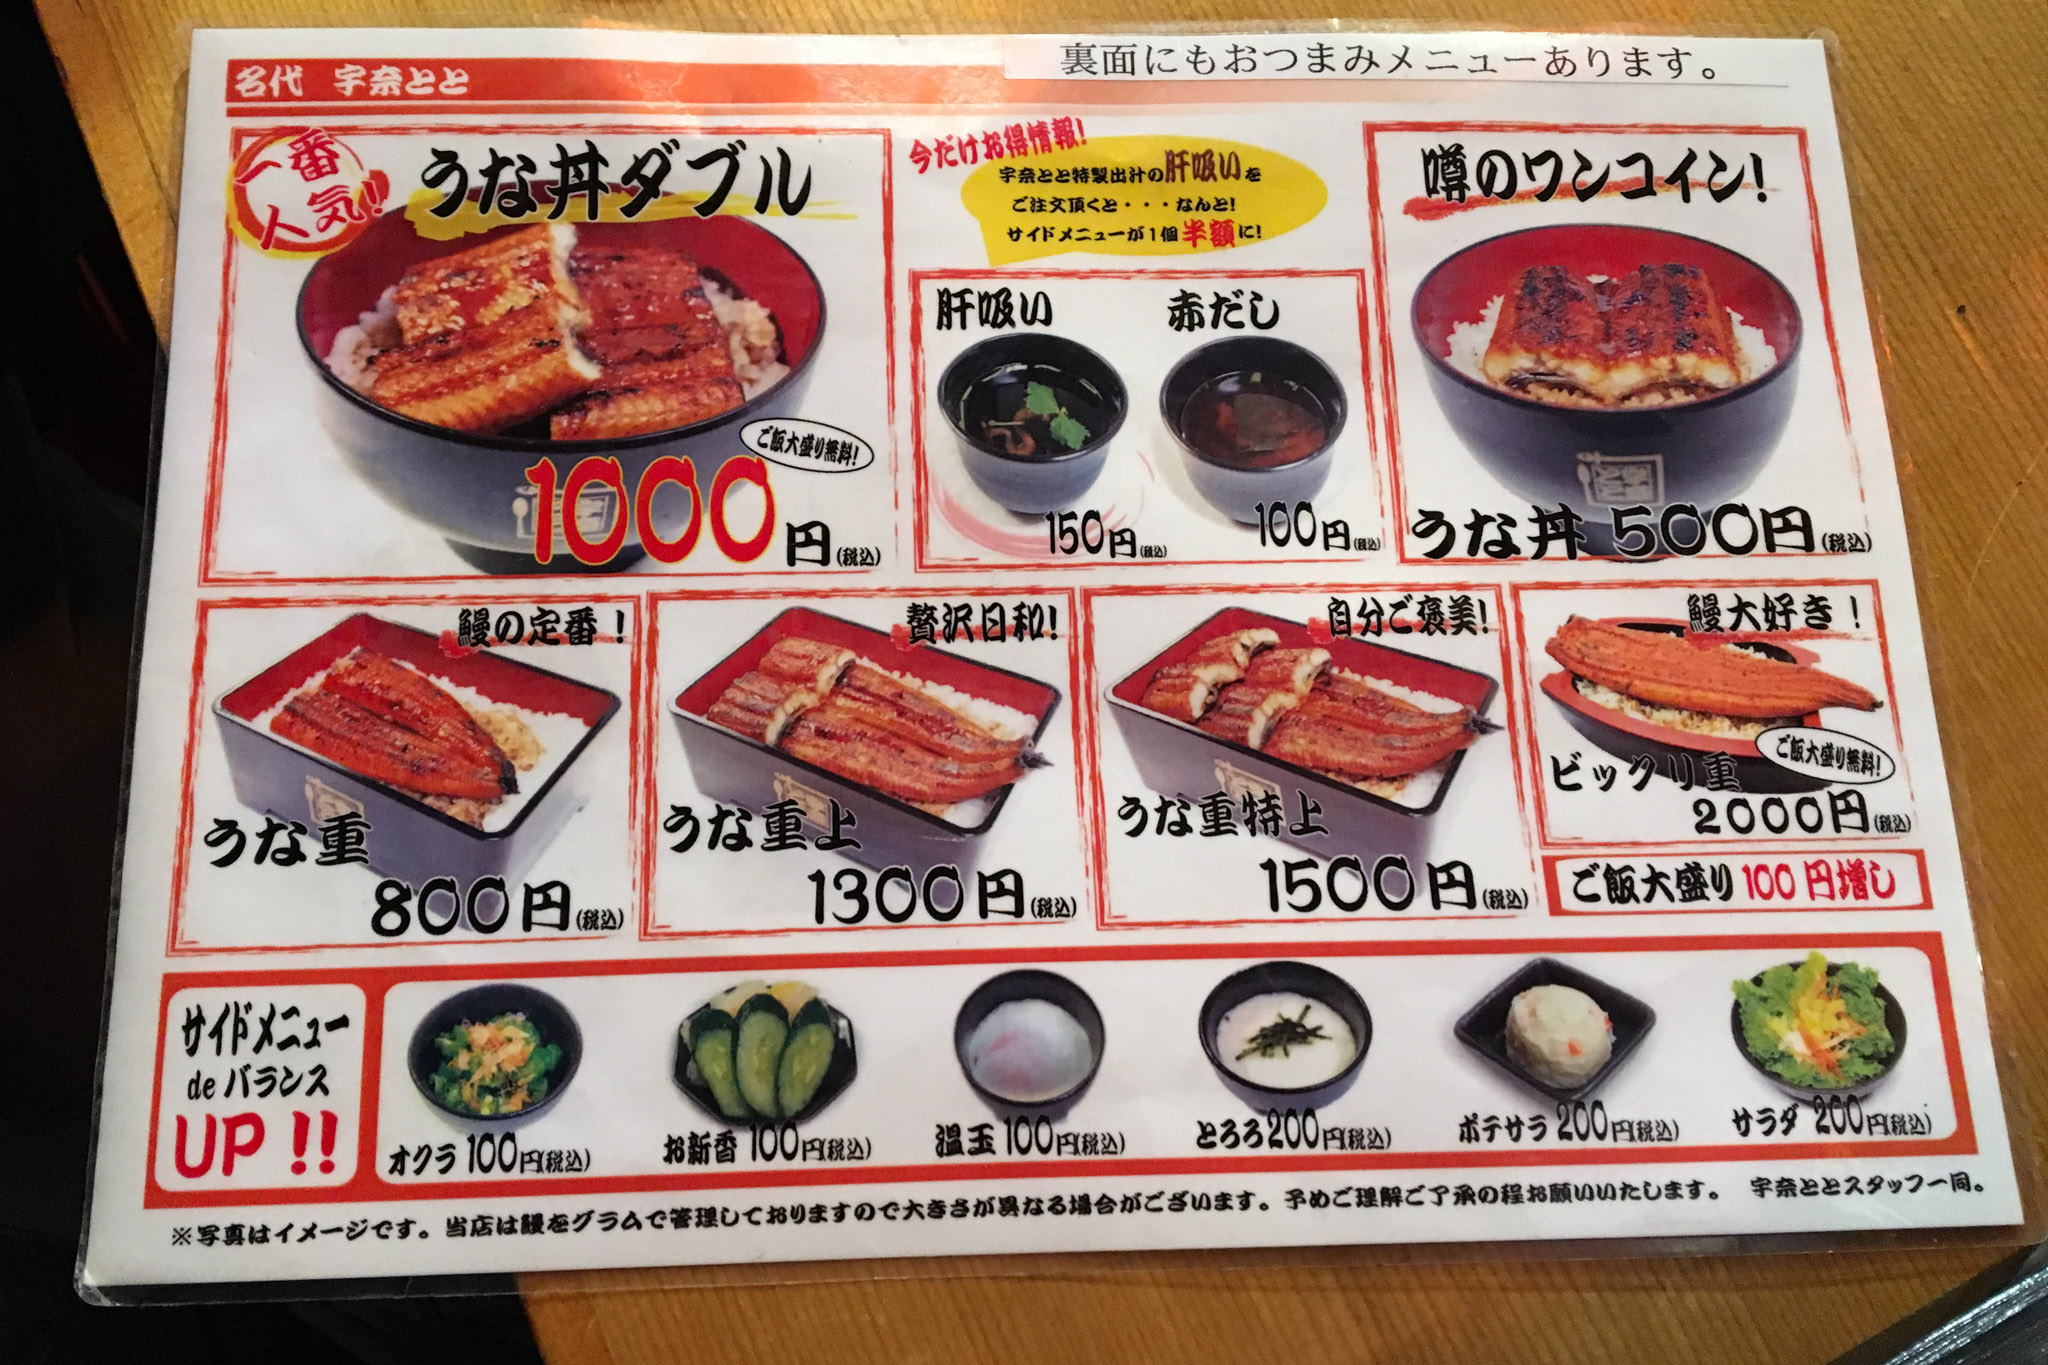
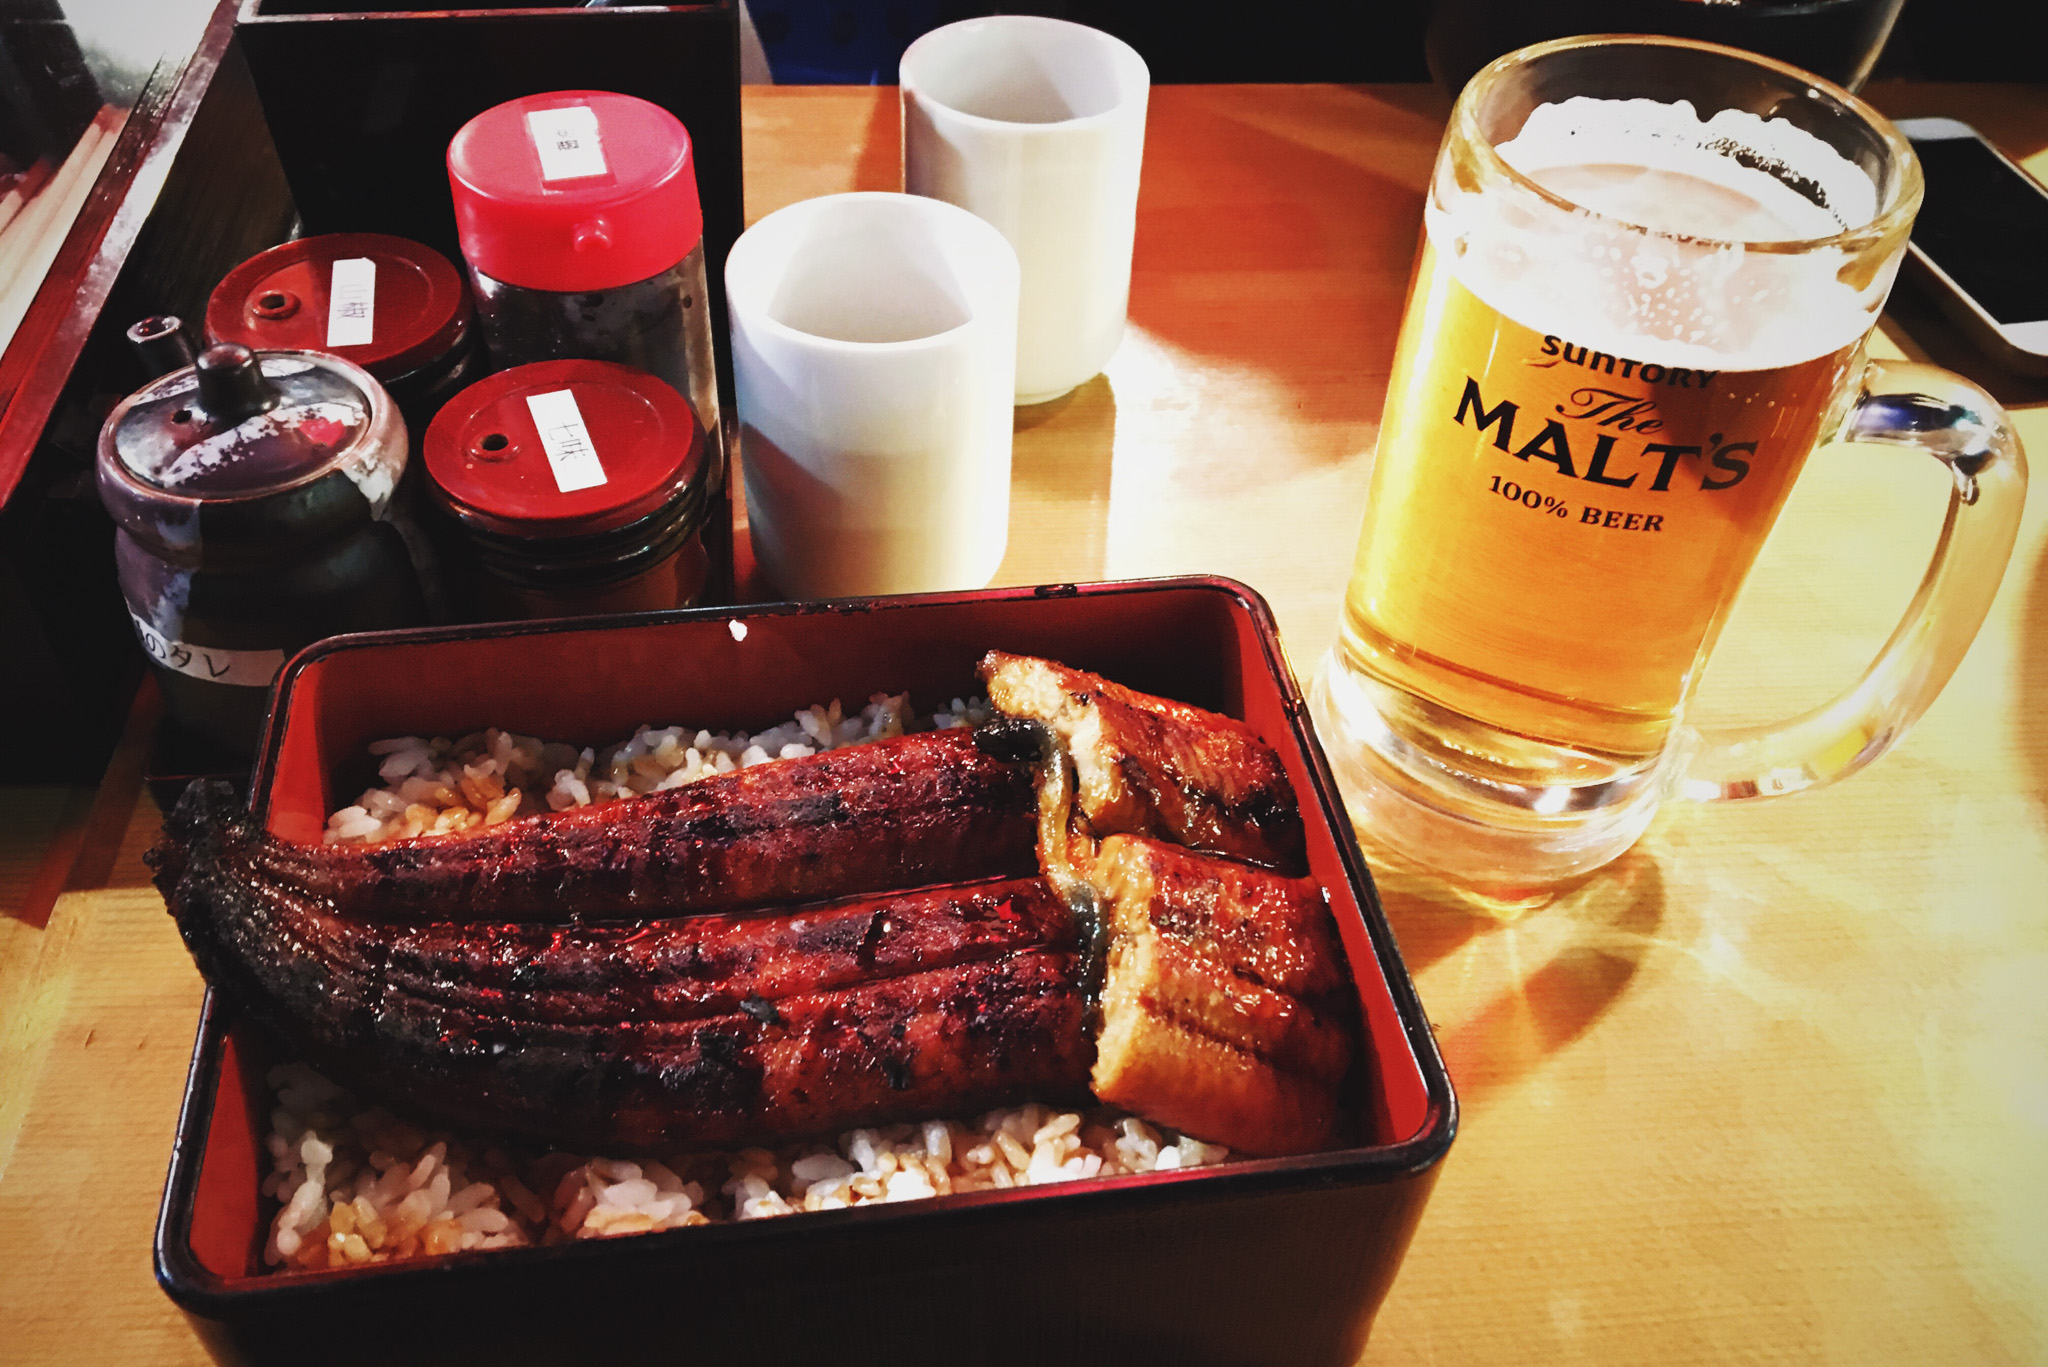
Prices range from under 1,000 yen to 2,000 yen depending on the size. A 1,000 yen plate is enough for one person, but I chose a 1,300 yen plate because I was feeling a little hungry. It was so good! I also ordered a beer to enjoy with the cold weather.
Day 6 : Mt. Takao
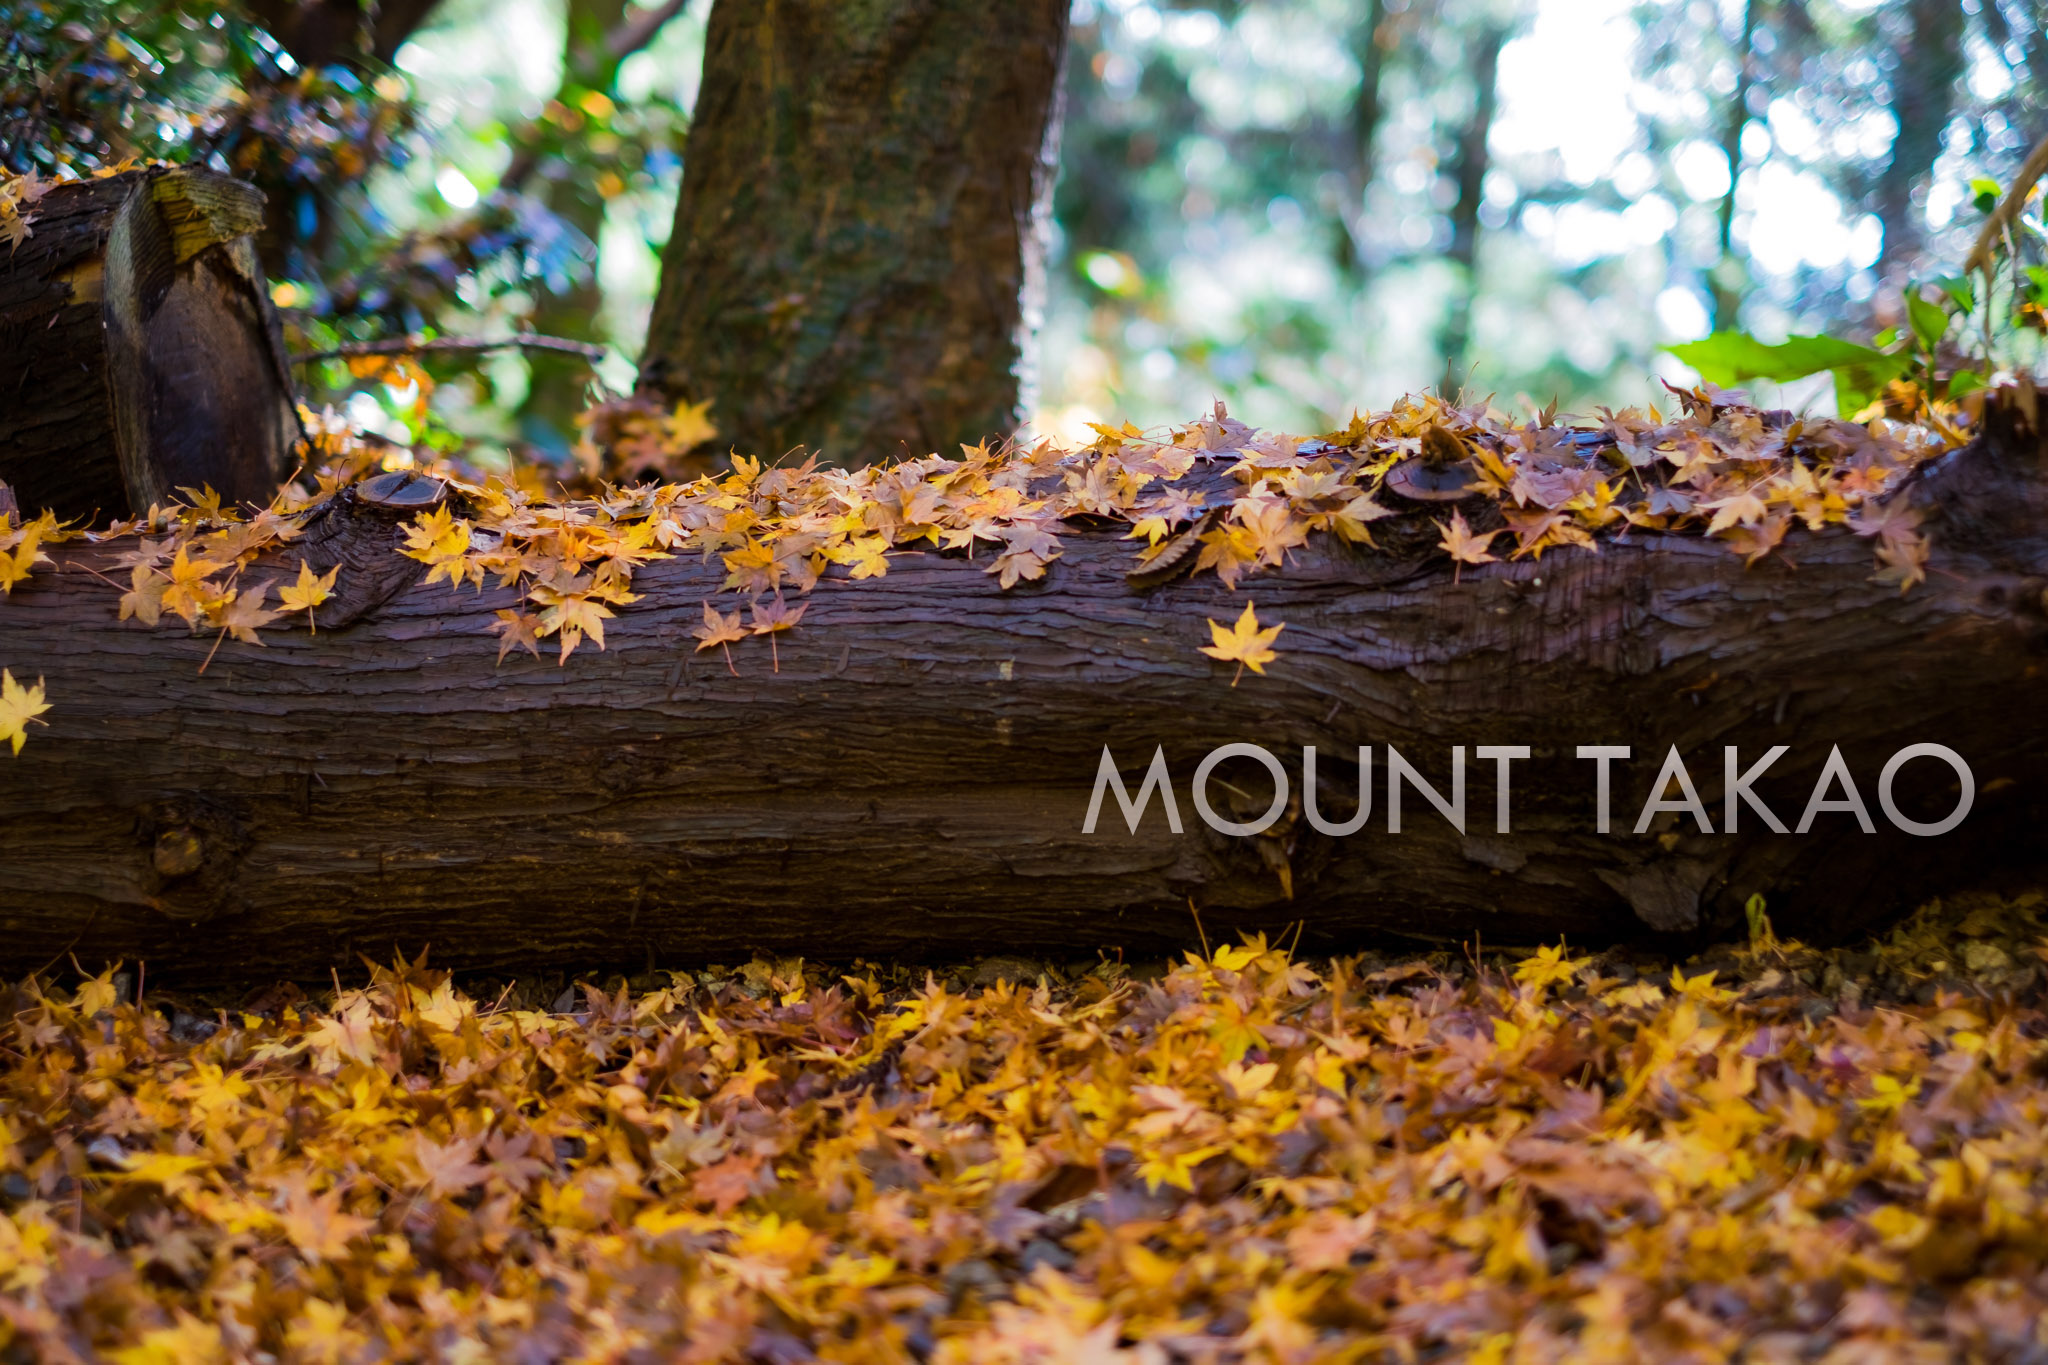
And then it was the last day. Today there were two limitations: the JR East Pass had expired, and I had to catch a flight at Narita Airport at 7:00 p.m. This meant that I couldn't go too far today. At first, I tried to find many places to go, and I asked for advice from my seniors in Pantip. In the end, because I like to travel in nature, I ended up at Mount Takao, which was recommended by a friend who lives here (I just found out later that my friend had never been there either, so he tricked me into trying it out, lol).
To get to Mount Takao, we will get off at Takaosanguchi Station. It takes about 1 hour from Tokyo, and there are several ways to get there. The easiest way is to take the Keio Takao Line from Shinjuku(JR) Station. This line has both Special Exp. and Semi-Special Exp. trains running alternately. If we take the Semi-Special Exp., it will take us directly to Takaosanguchi Station. However, if we take the Special Exp. train, we will need to transfer at Kitano(TOKYO) Station. The transfer actually involves walking about 5 meters across the platform to the train on the opposite side. In my opinion, it doesn't matter which train you take, as there is no difference in travel time.
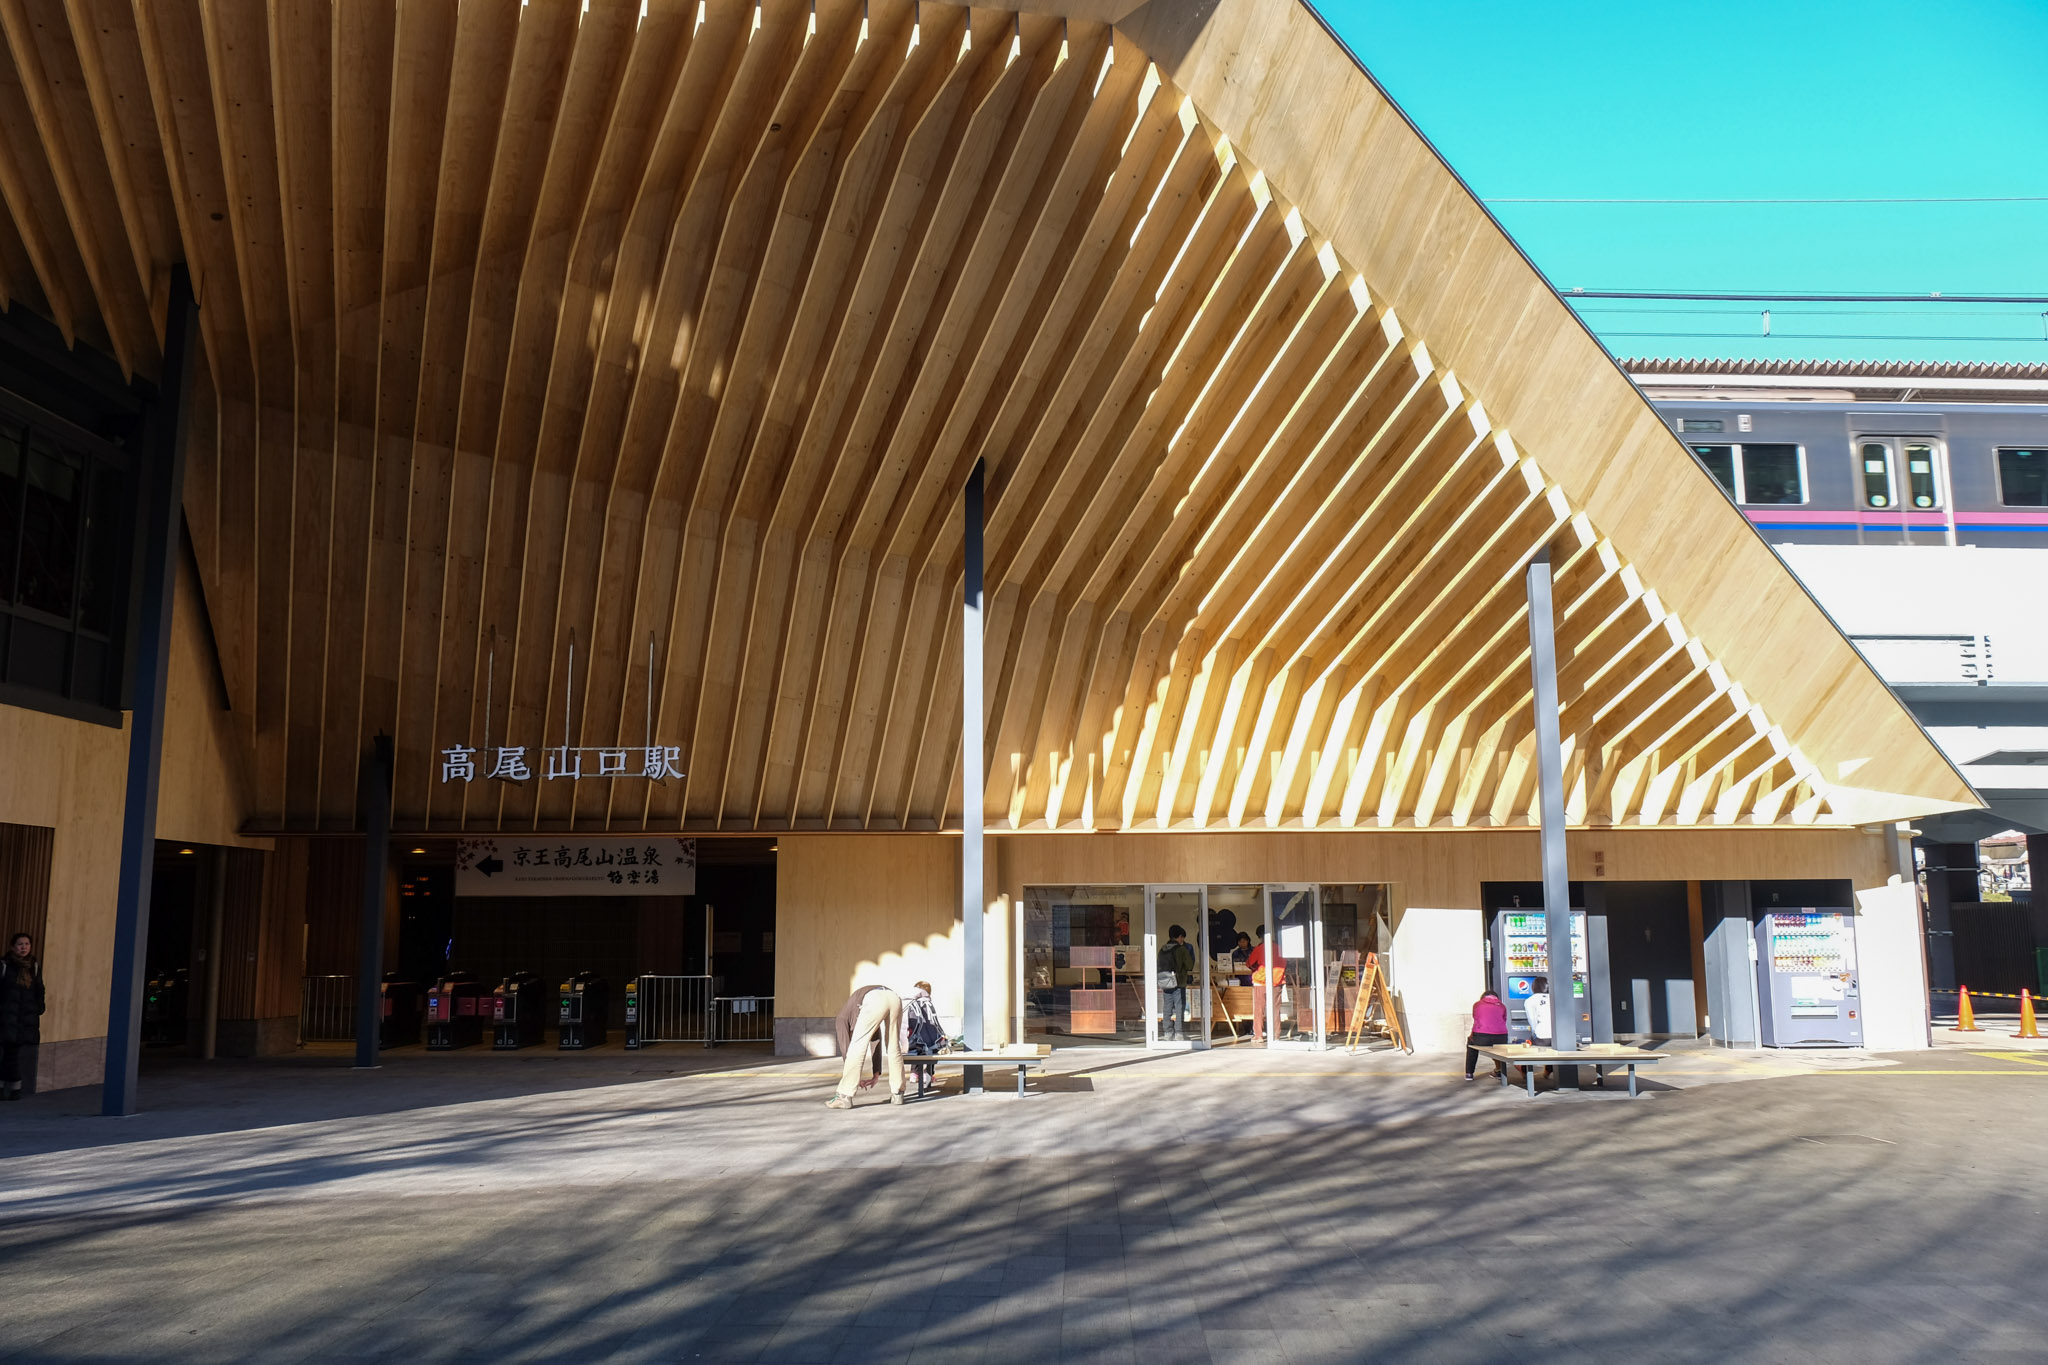
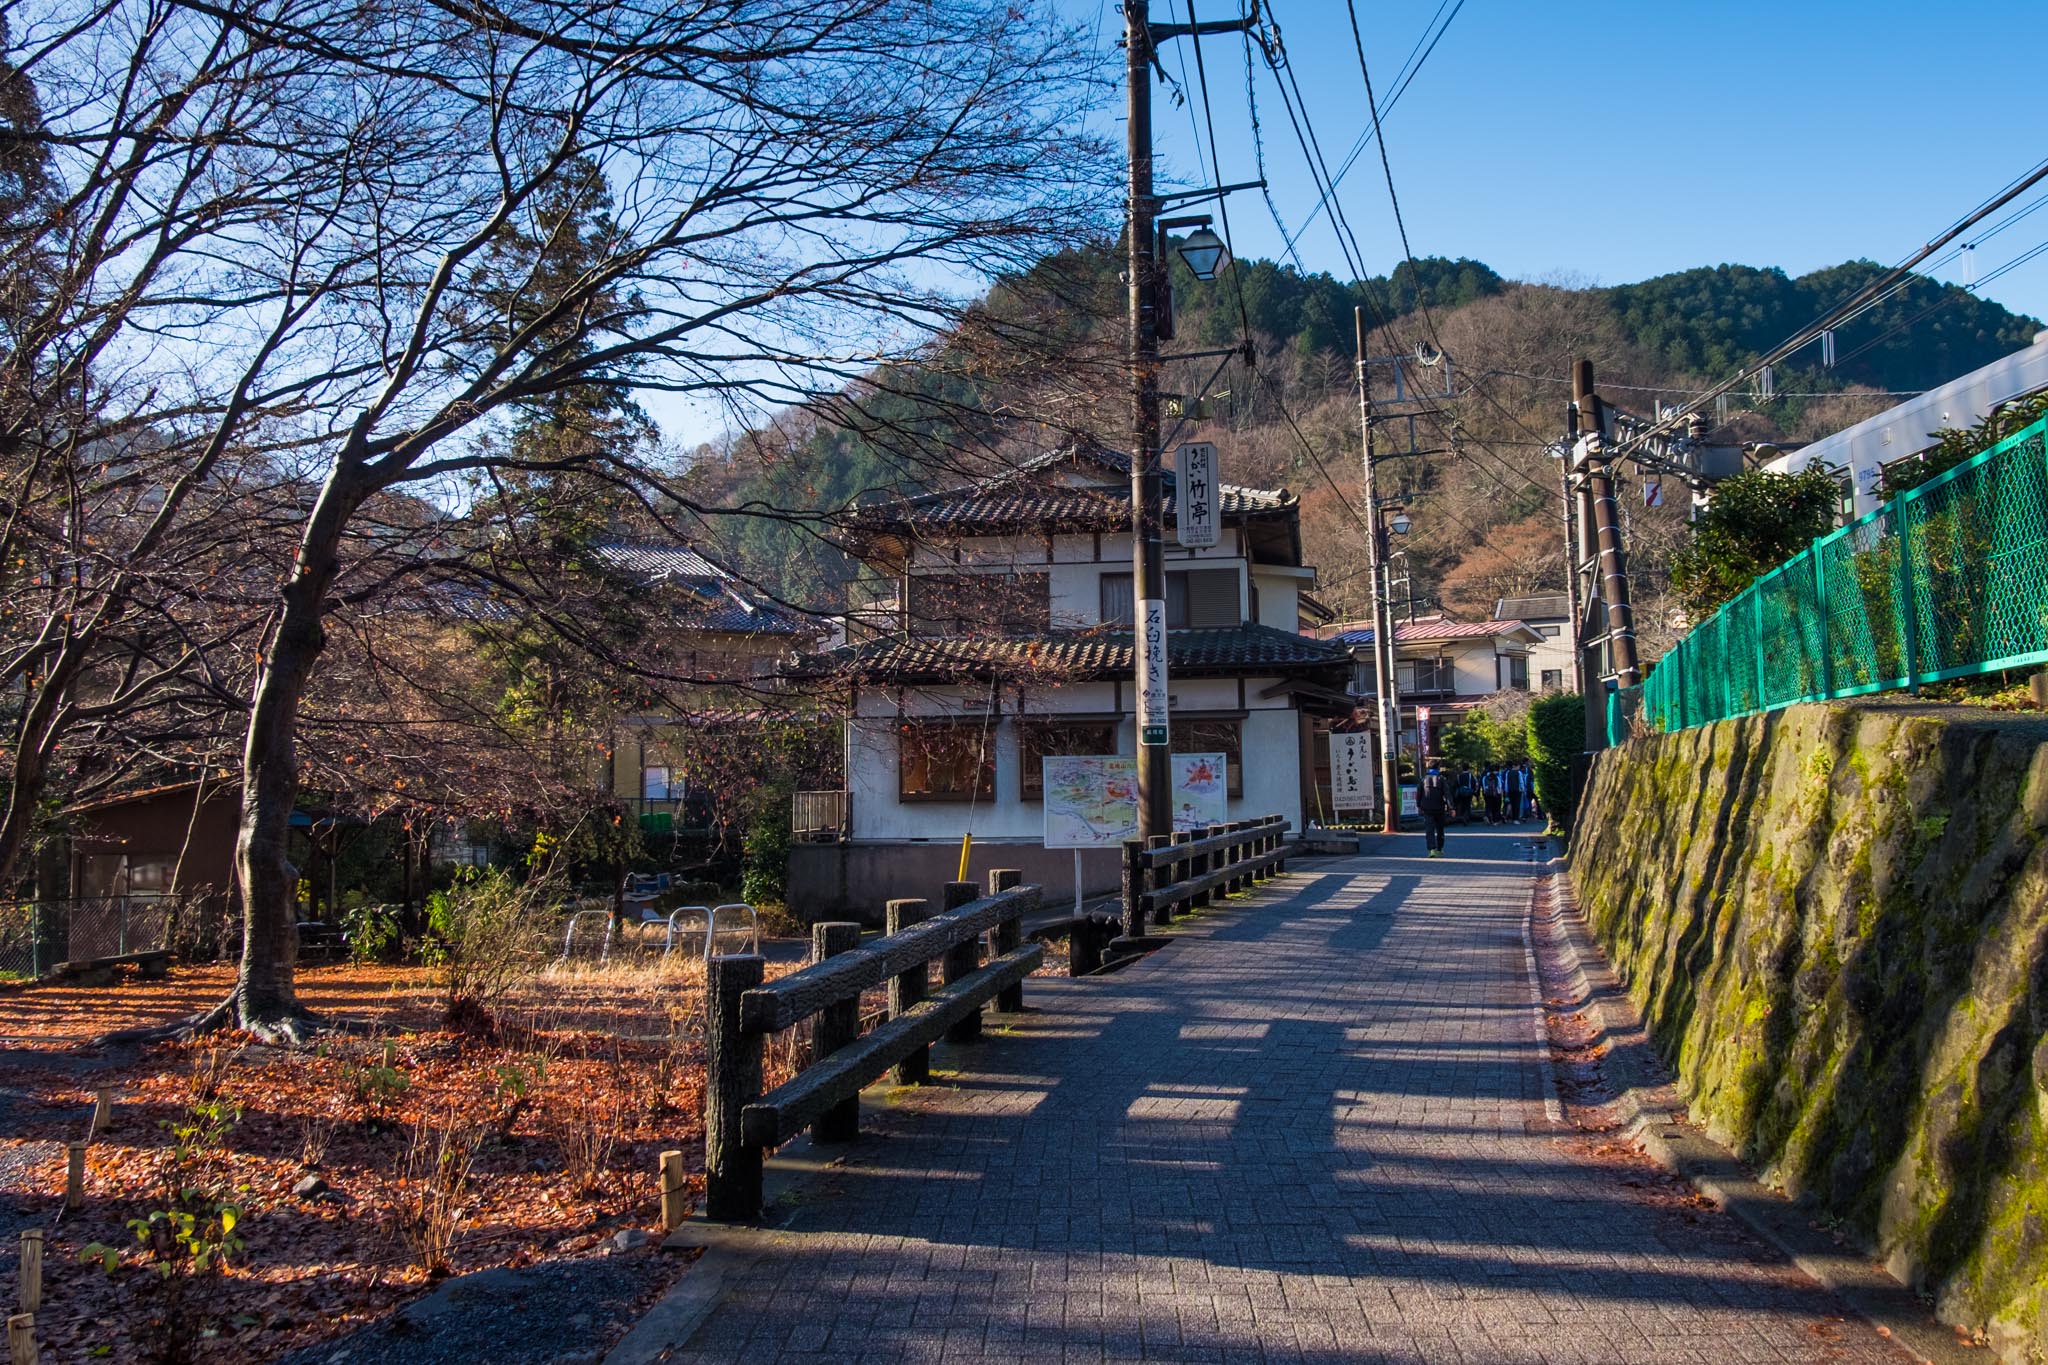
I arrived at the station around 9:30 am. The weather was cool and comfortable. From the front of the station, turn right and there will be a large map sign showing the way to the mountain. Walk straight ahead on the small path in front of you. You will pass a few houses and then you will see the path up the mountain and the cable car station.
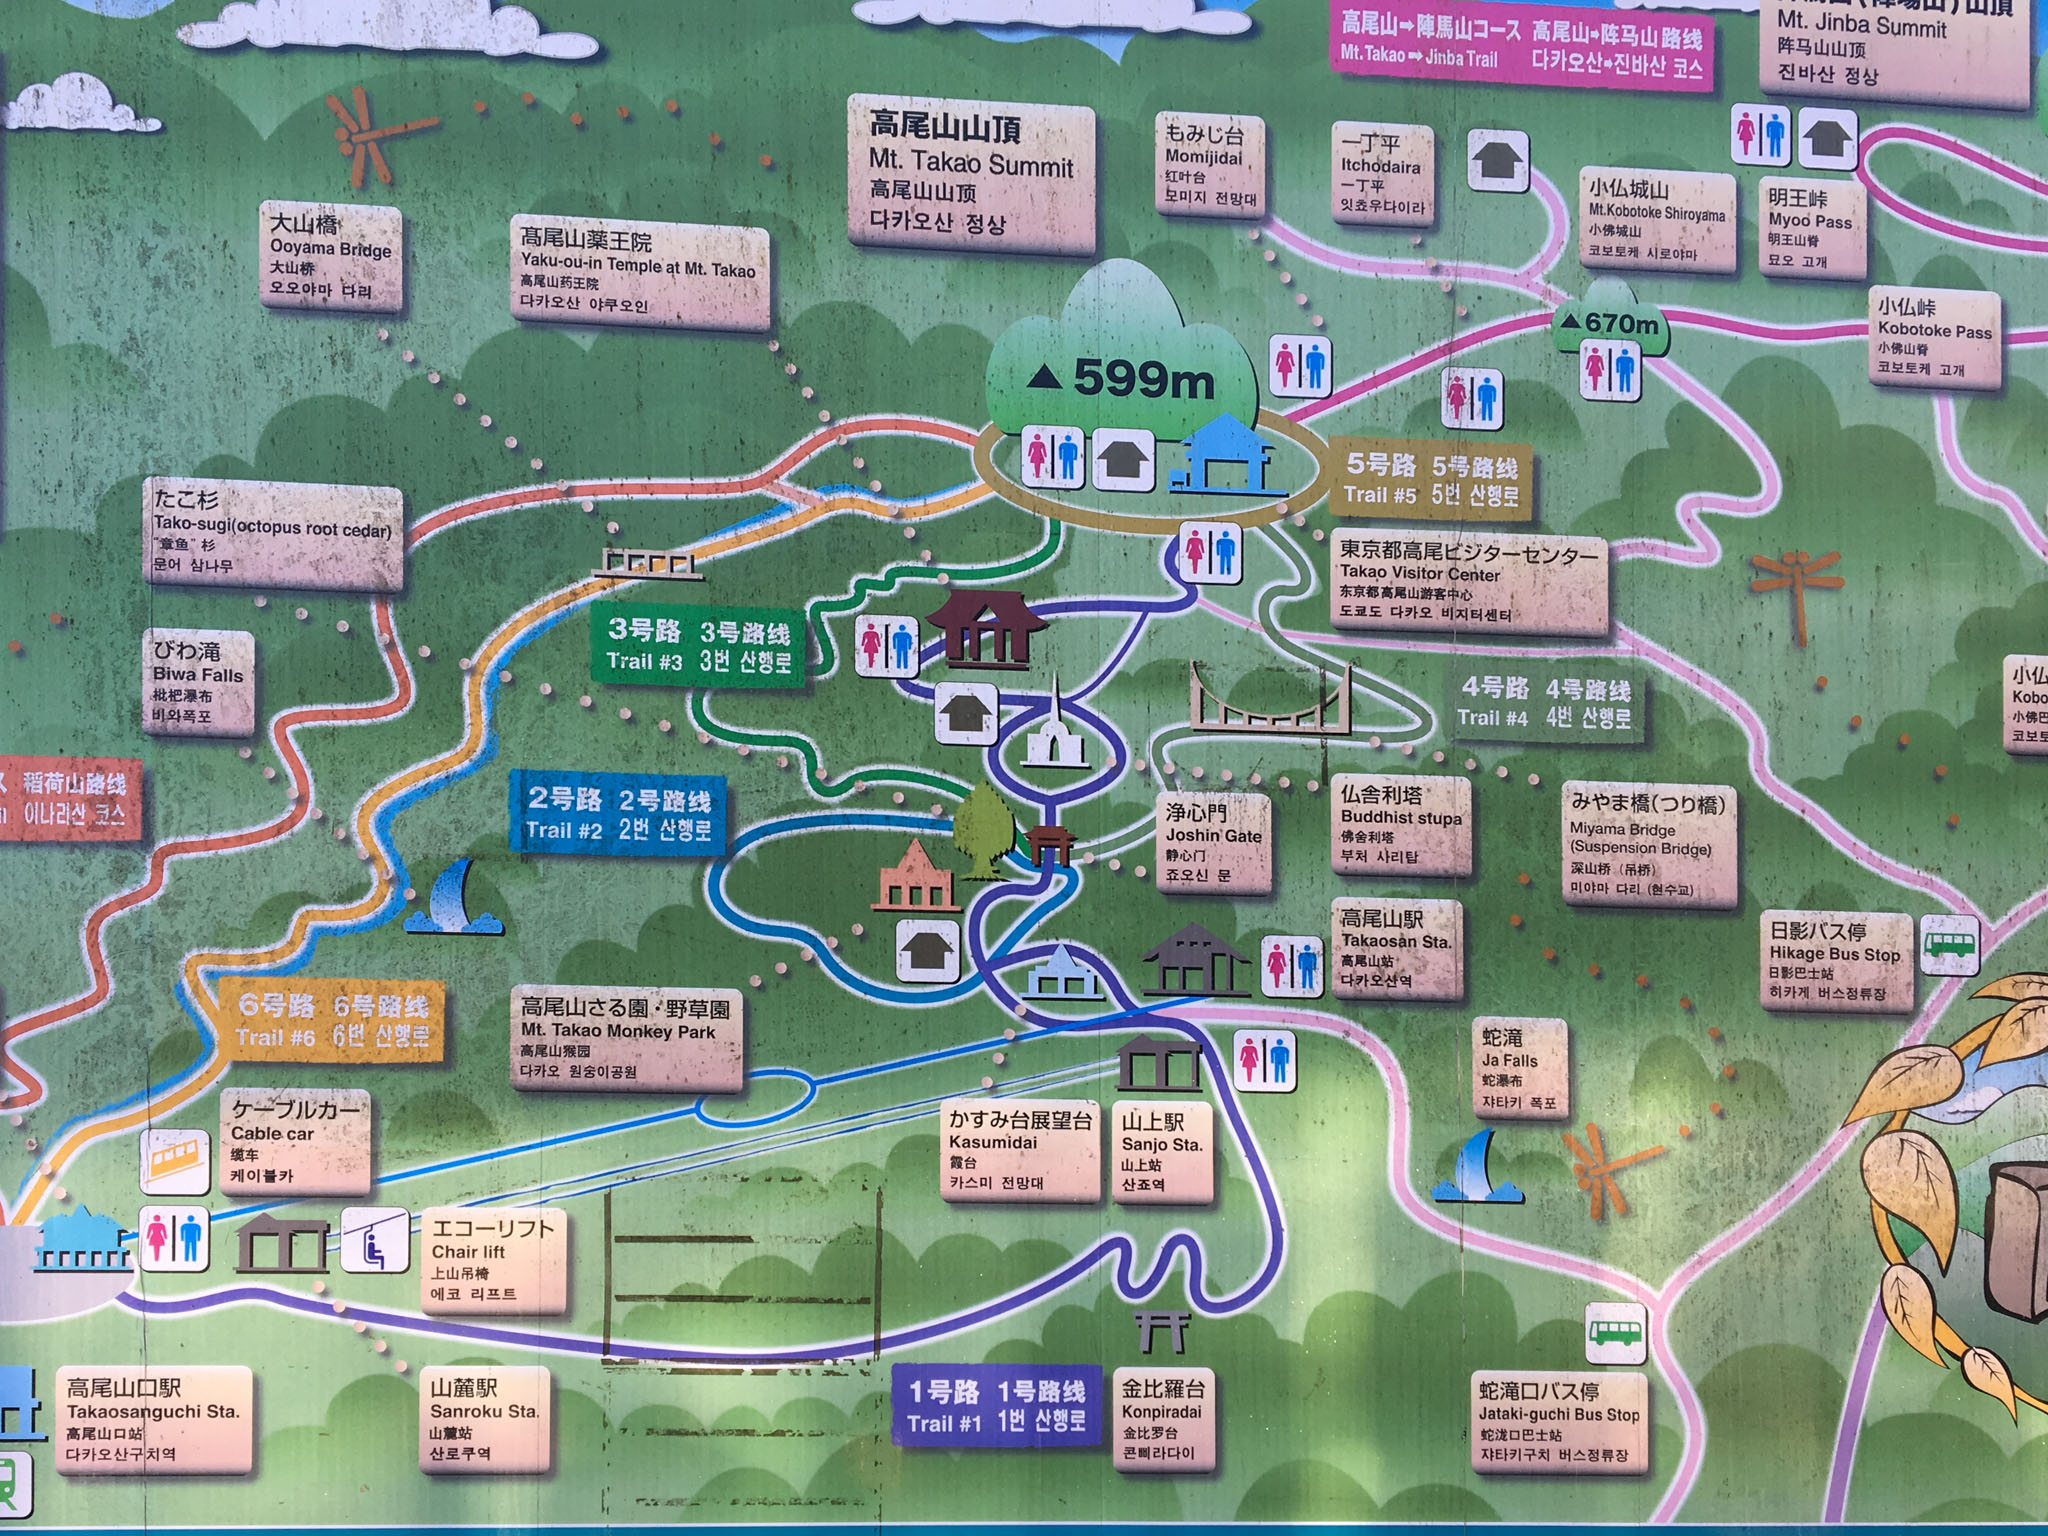
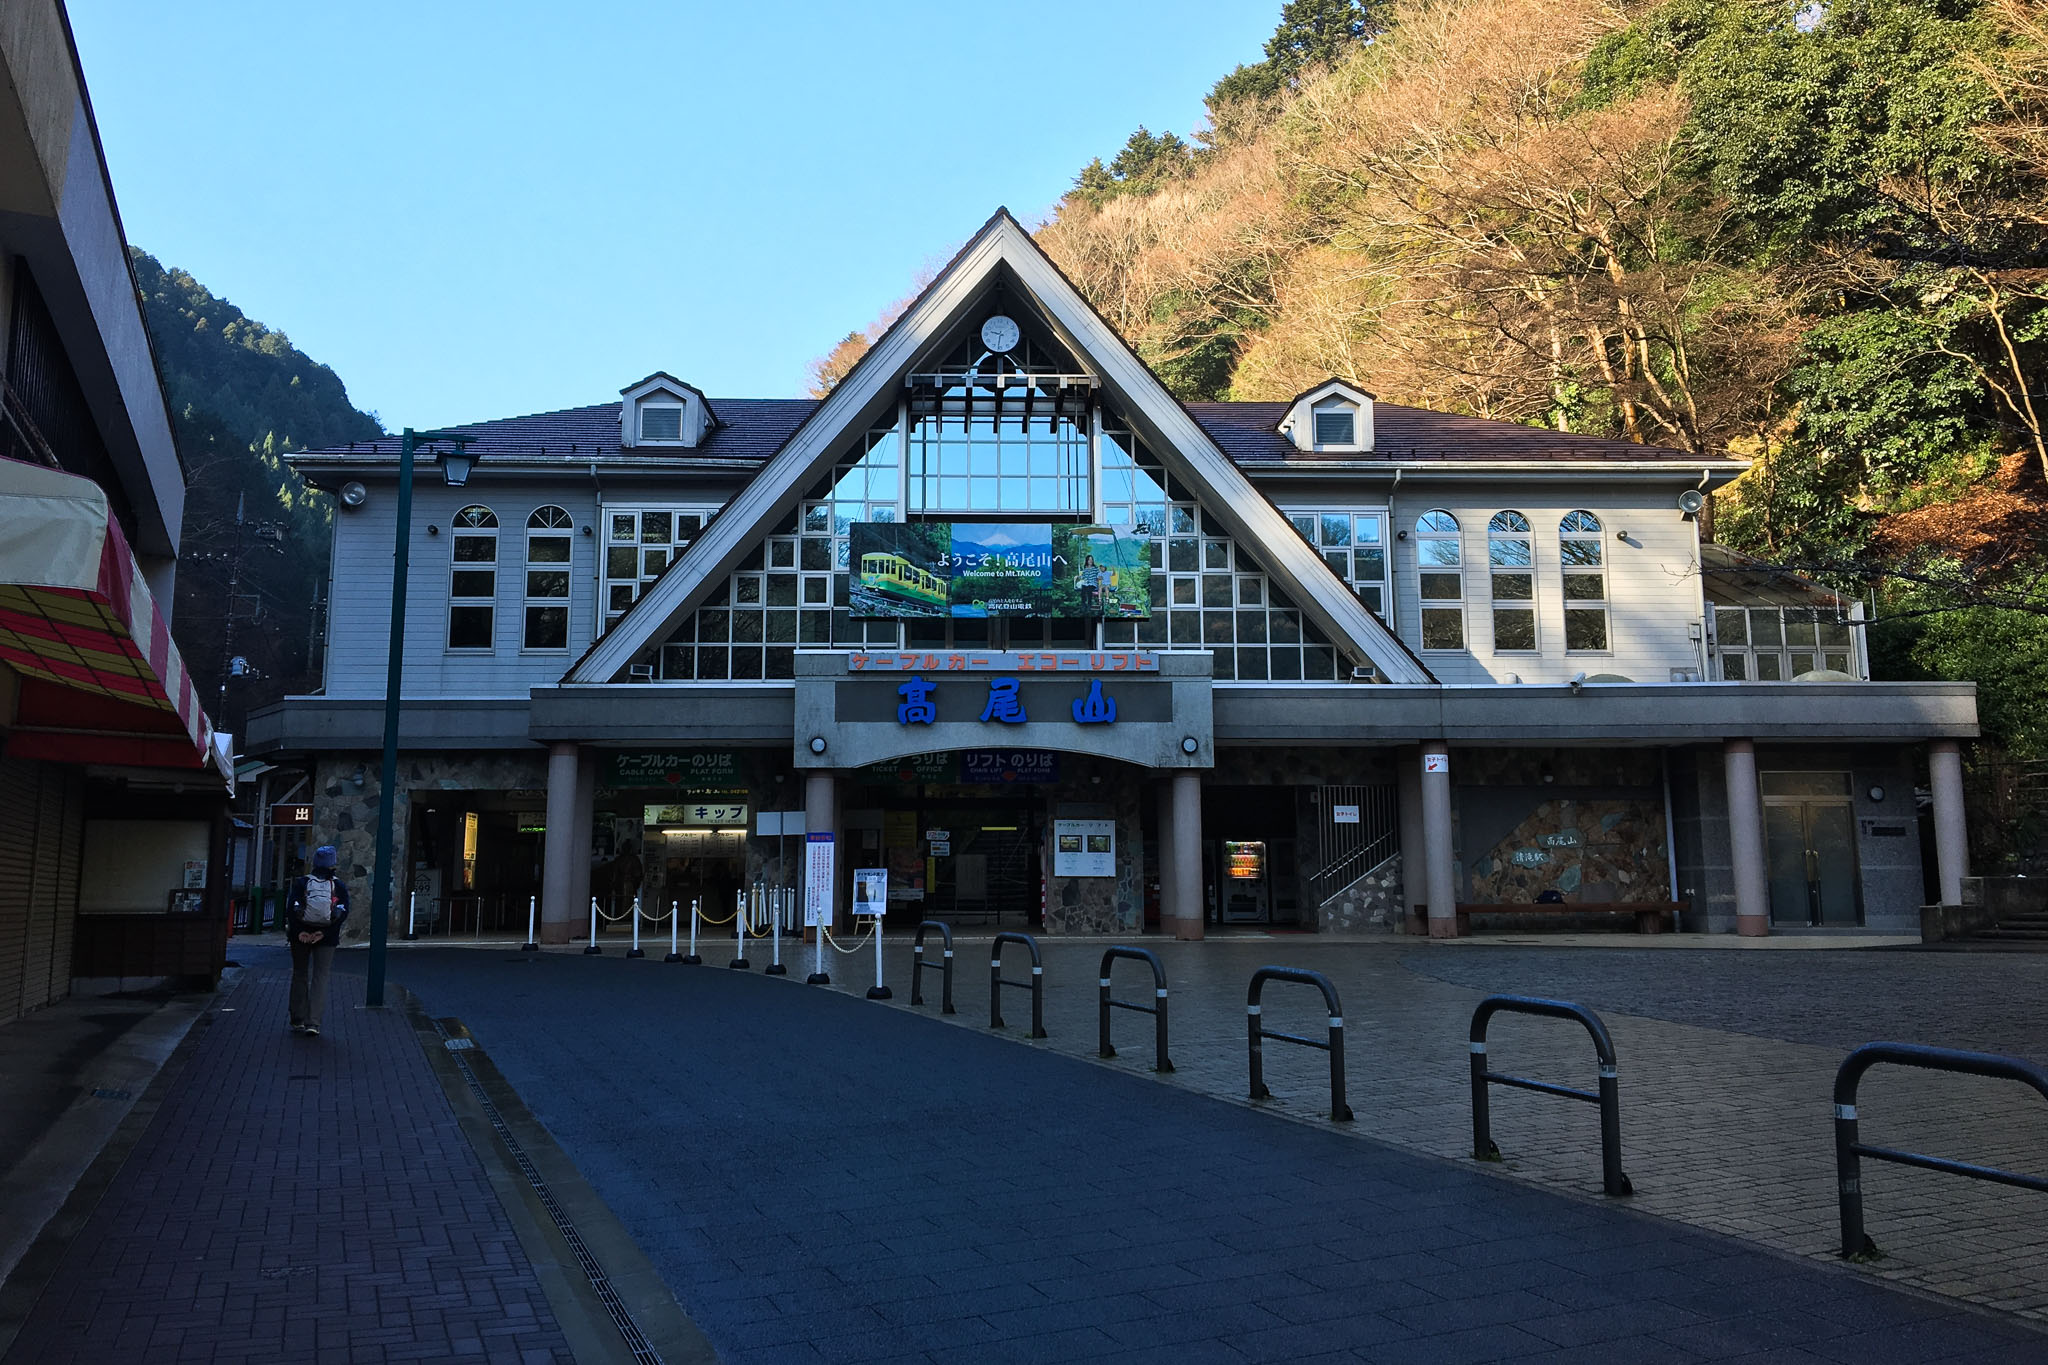
Mount Takao has many trails to hike, and it would take a whole day to complete them all. As you can see from the image below, we started from the white building cable car station at the bottom. Trail 1, the orange line, is the main route to the top of the mountain. We can take the cable car to shorten the distance. Along Trail 1, there are岔路 leading to other smaller trails. The main trail I hiked was Trail 1, with a detour to Trail 2 for a view and a brief detour into Trail 5.
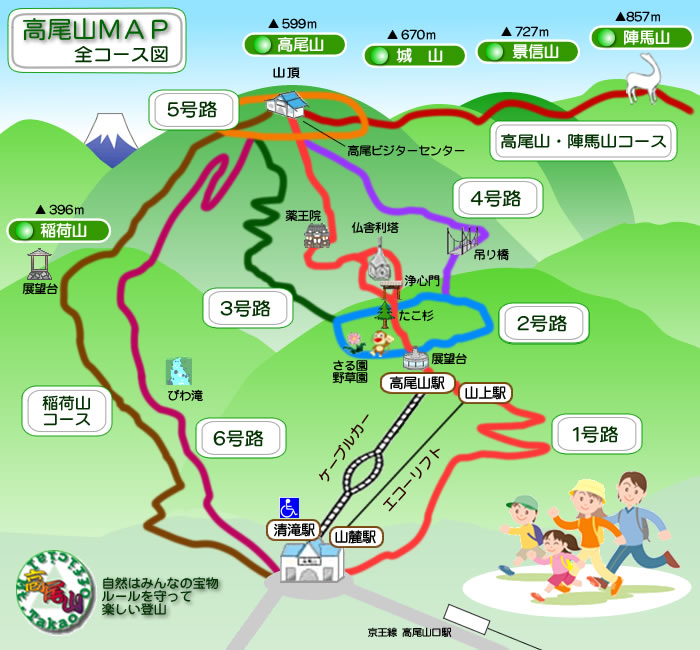
Since I didn't know how long it would take to walk up, I chose to take the funicular up to save time. Then I would see how much time I had at the top. If I had time left, I would walk down. The cost for a one-way trip is 480 yen, and for a round-trip ticket is 980 yen. The train departs every 15 minutes. When I went, there were very few people, only 3 people in the car.
Besides the tram, we can also take the Chair Lift up, the price is the same, it depends on which style you like.

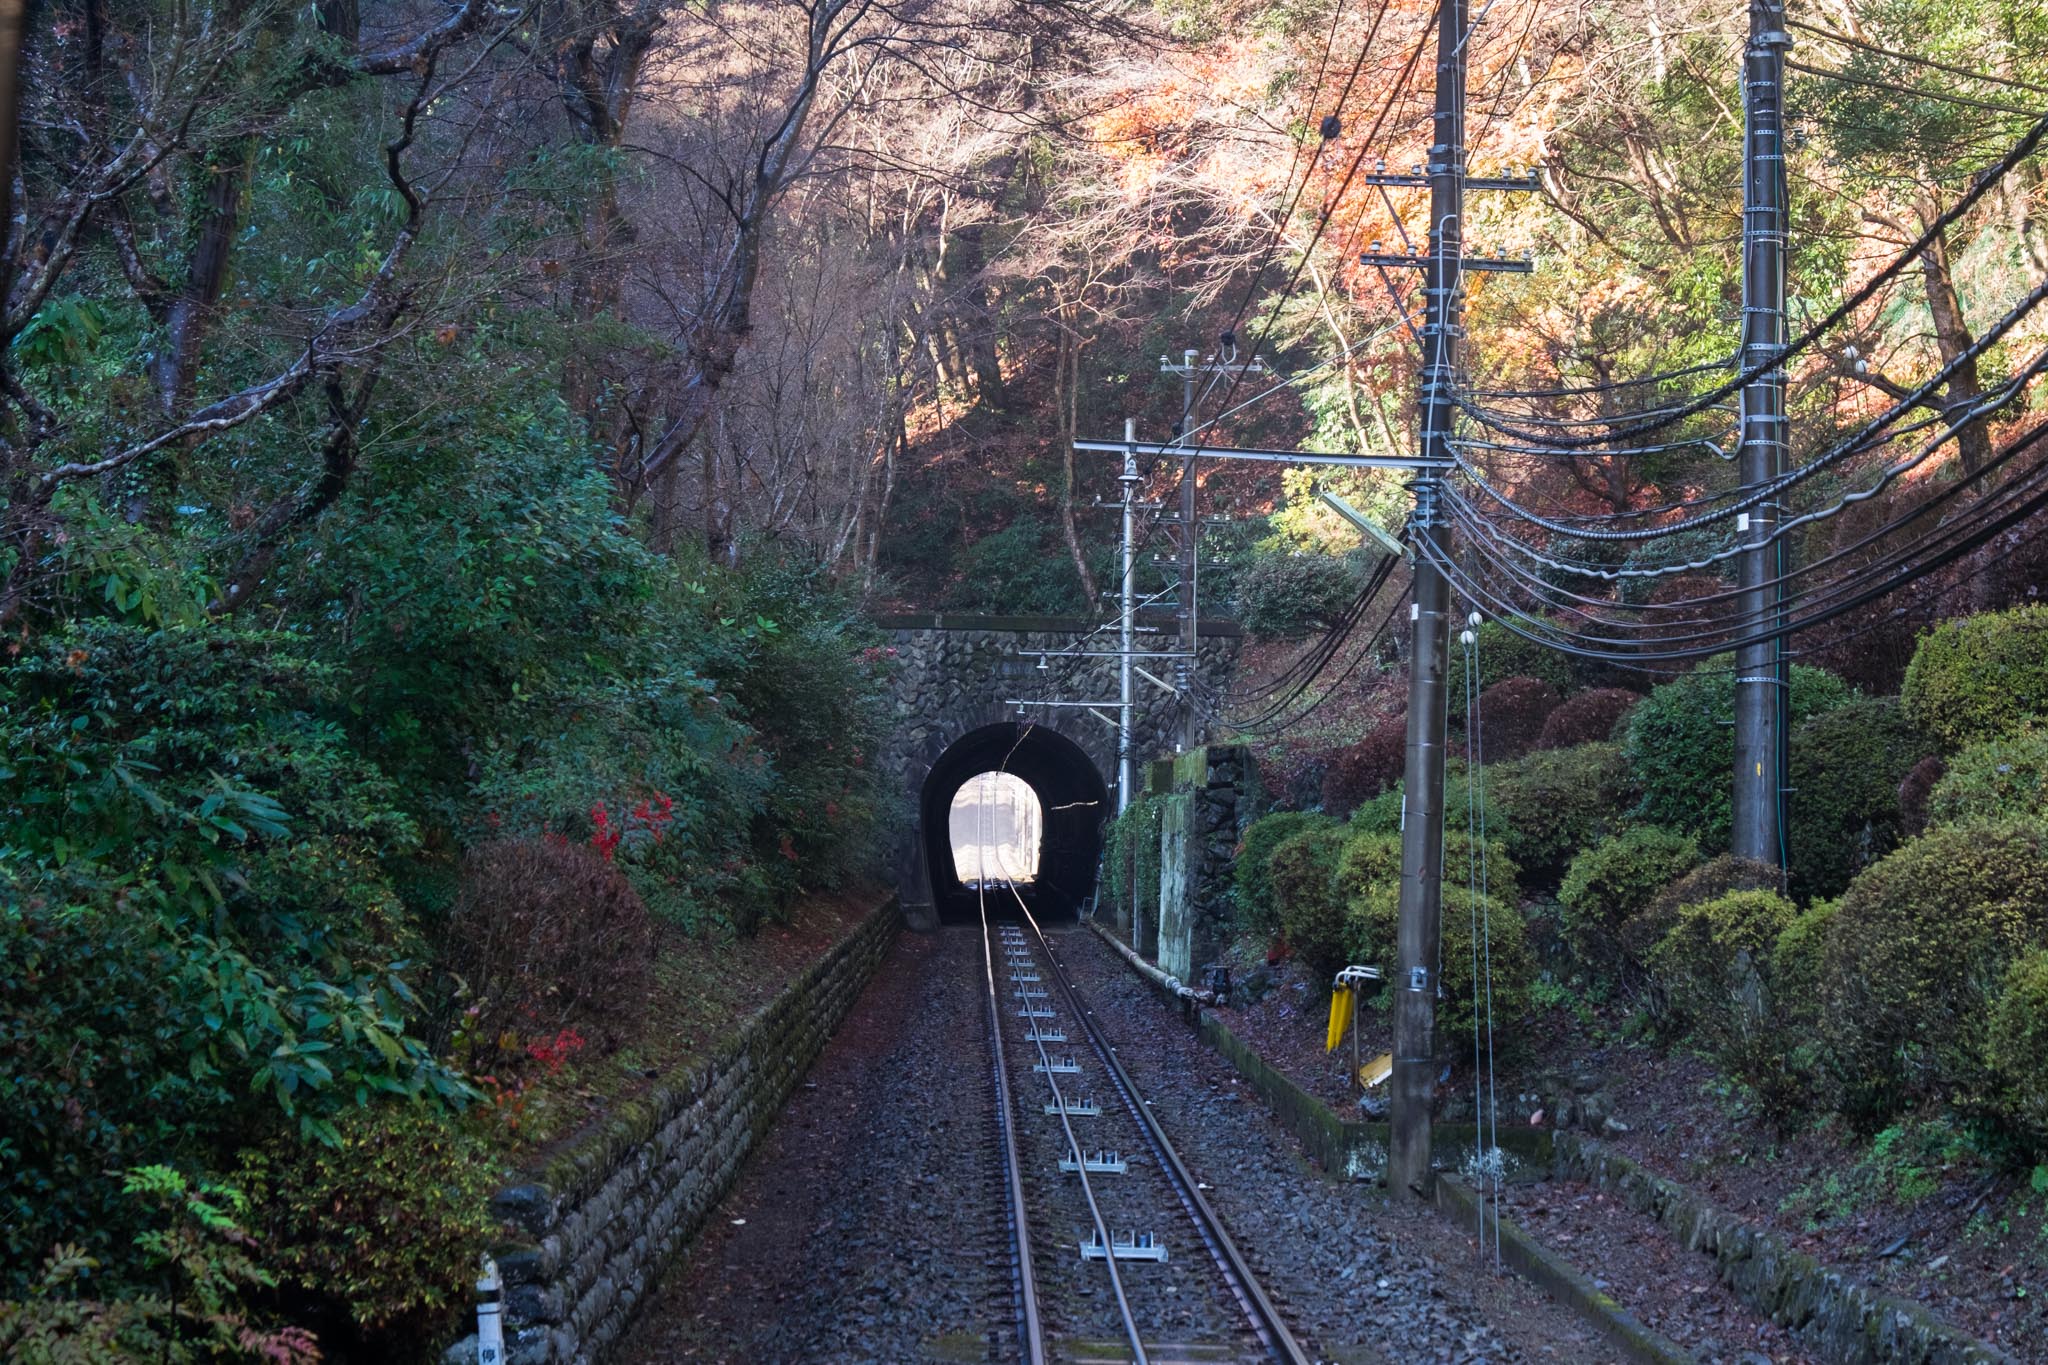
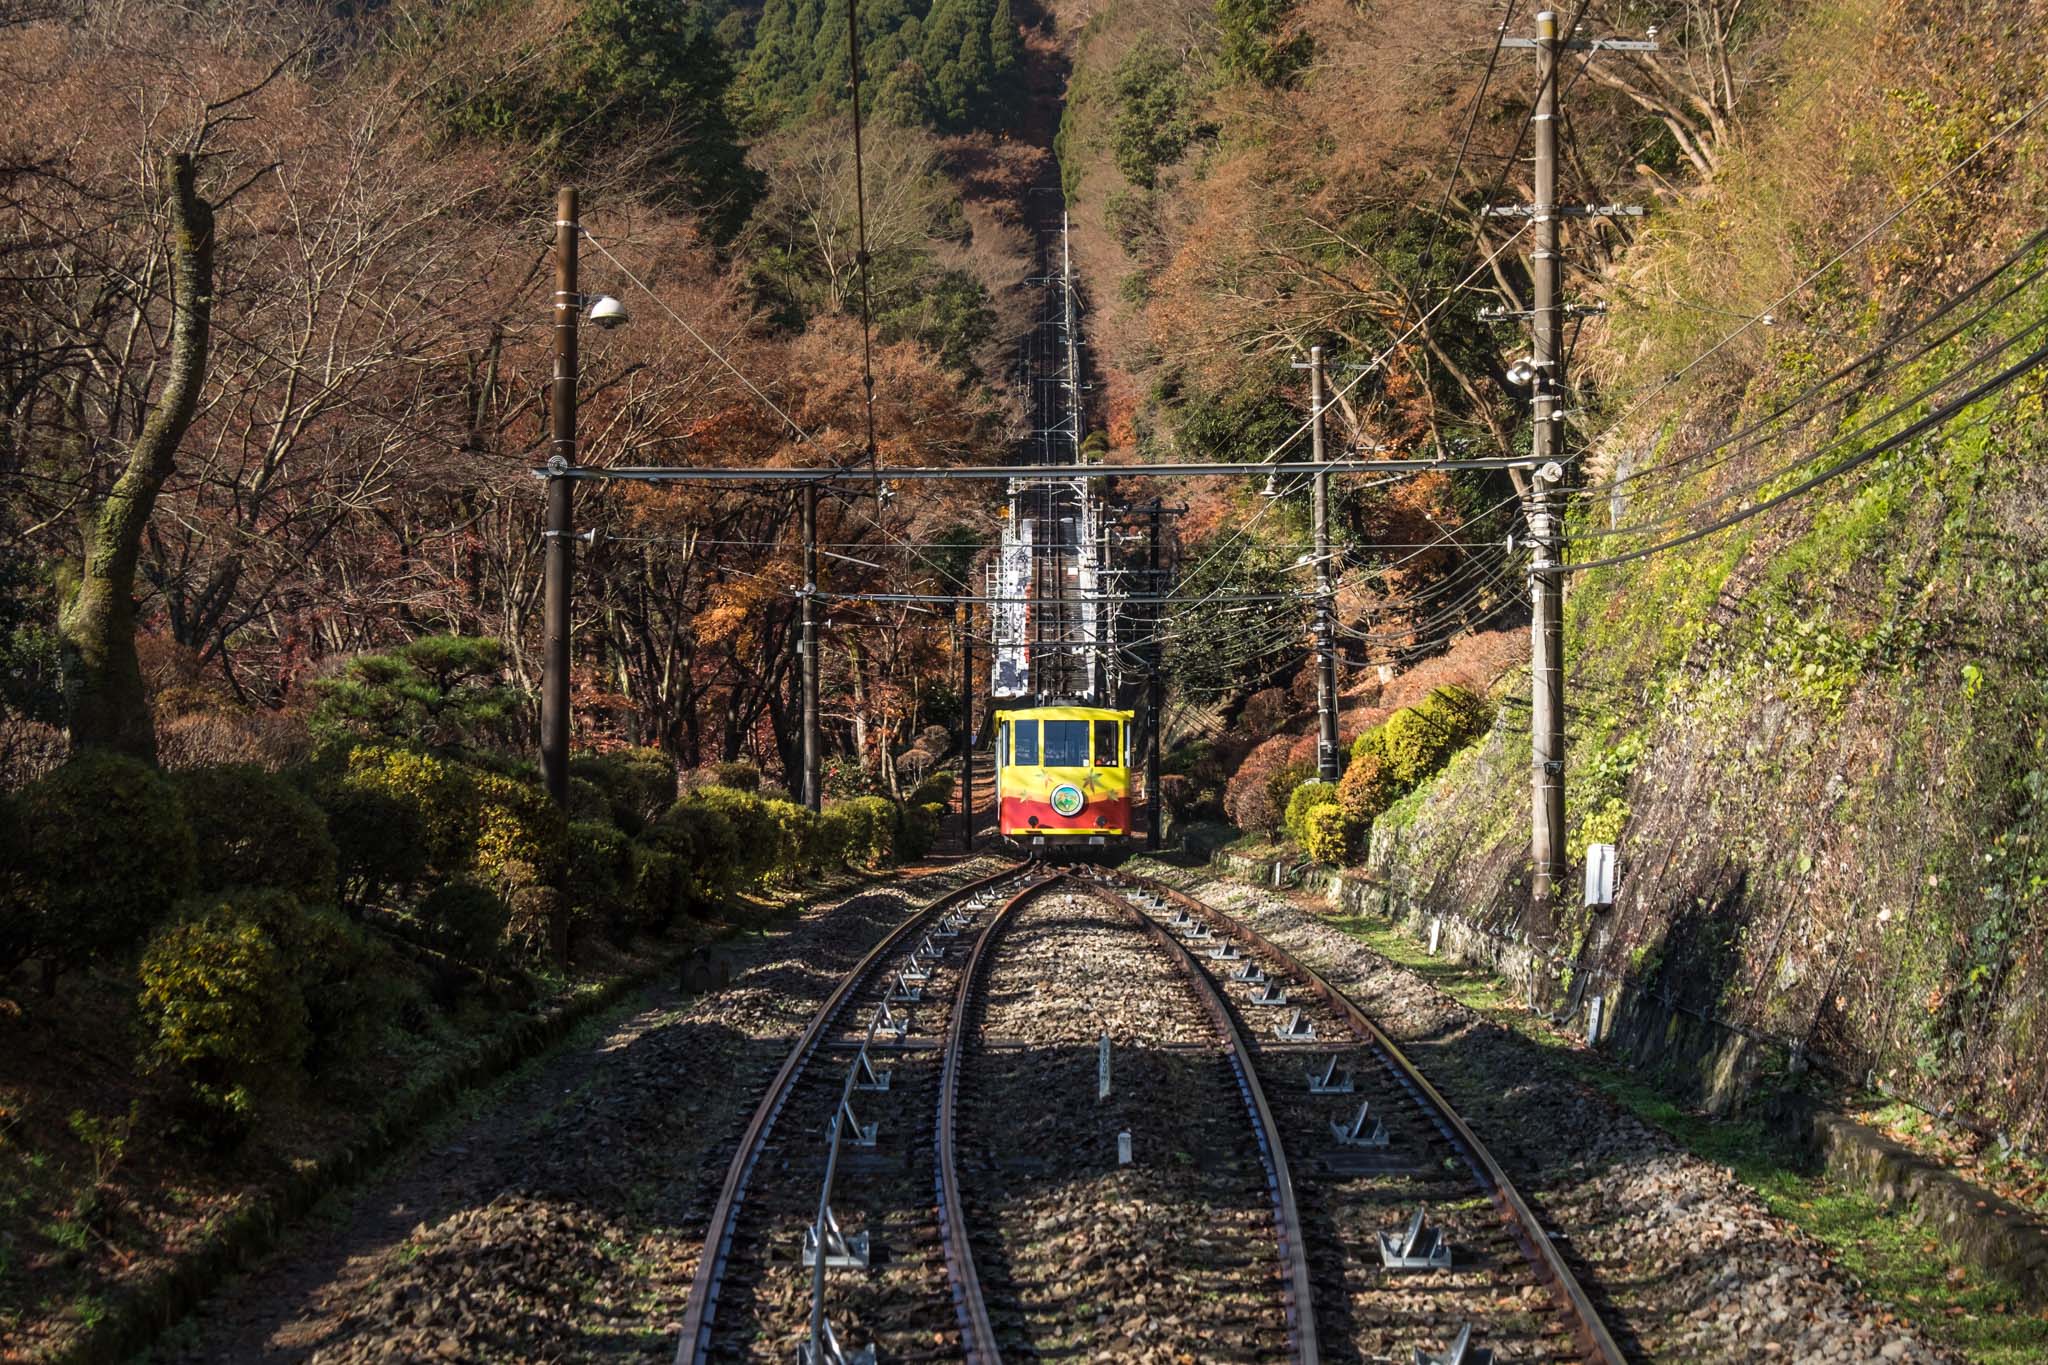
It didn't take long on the cable car to reach the top. There were some restaurants first, and one of them had a delicious smell of grilled dango. Since I had only eaten a little for breakfast, I didn't hesitate to buy a dango skewer for 310 yen. What was special was that opposite the shop was a panoramic viewpoint. Standing there eating and looking at the view was amazing.
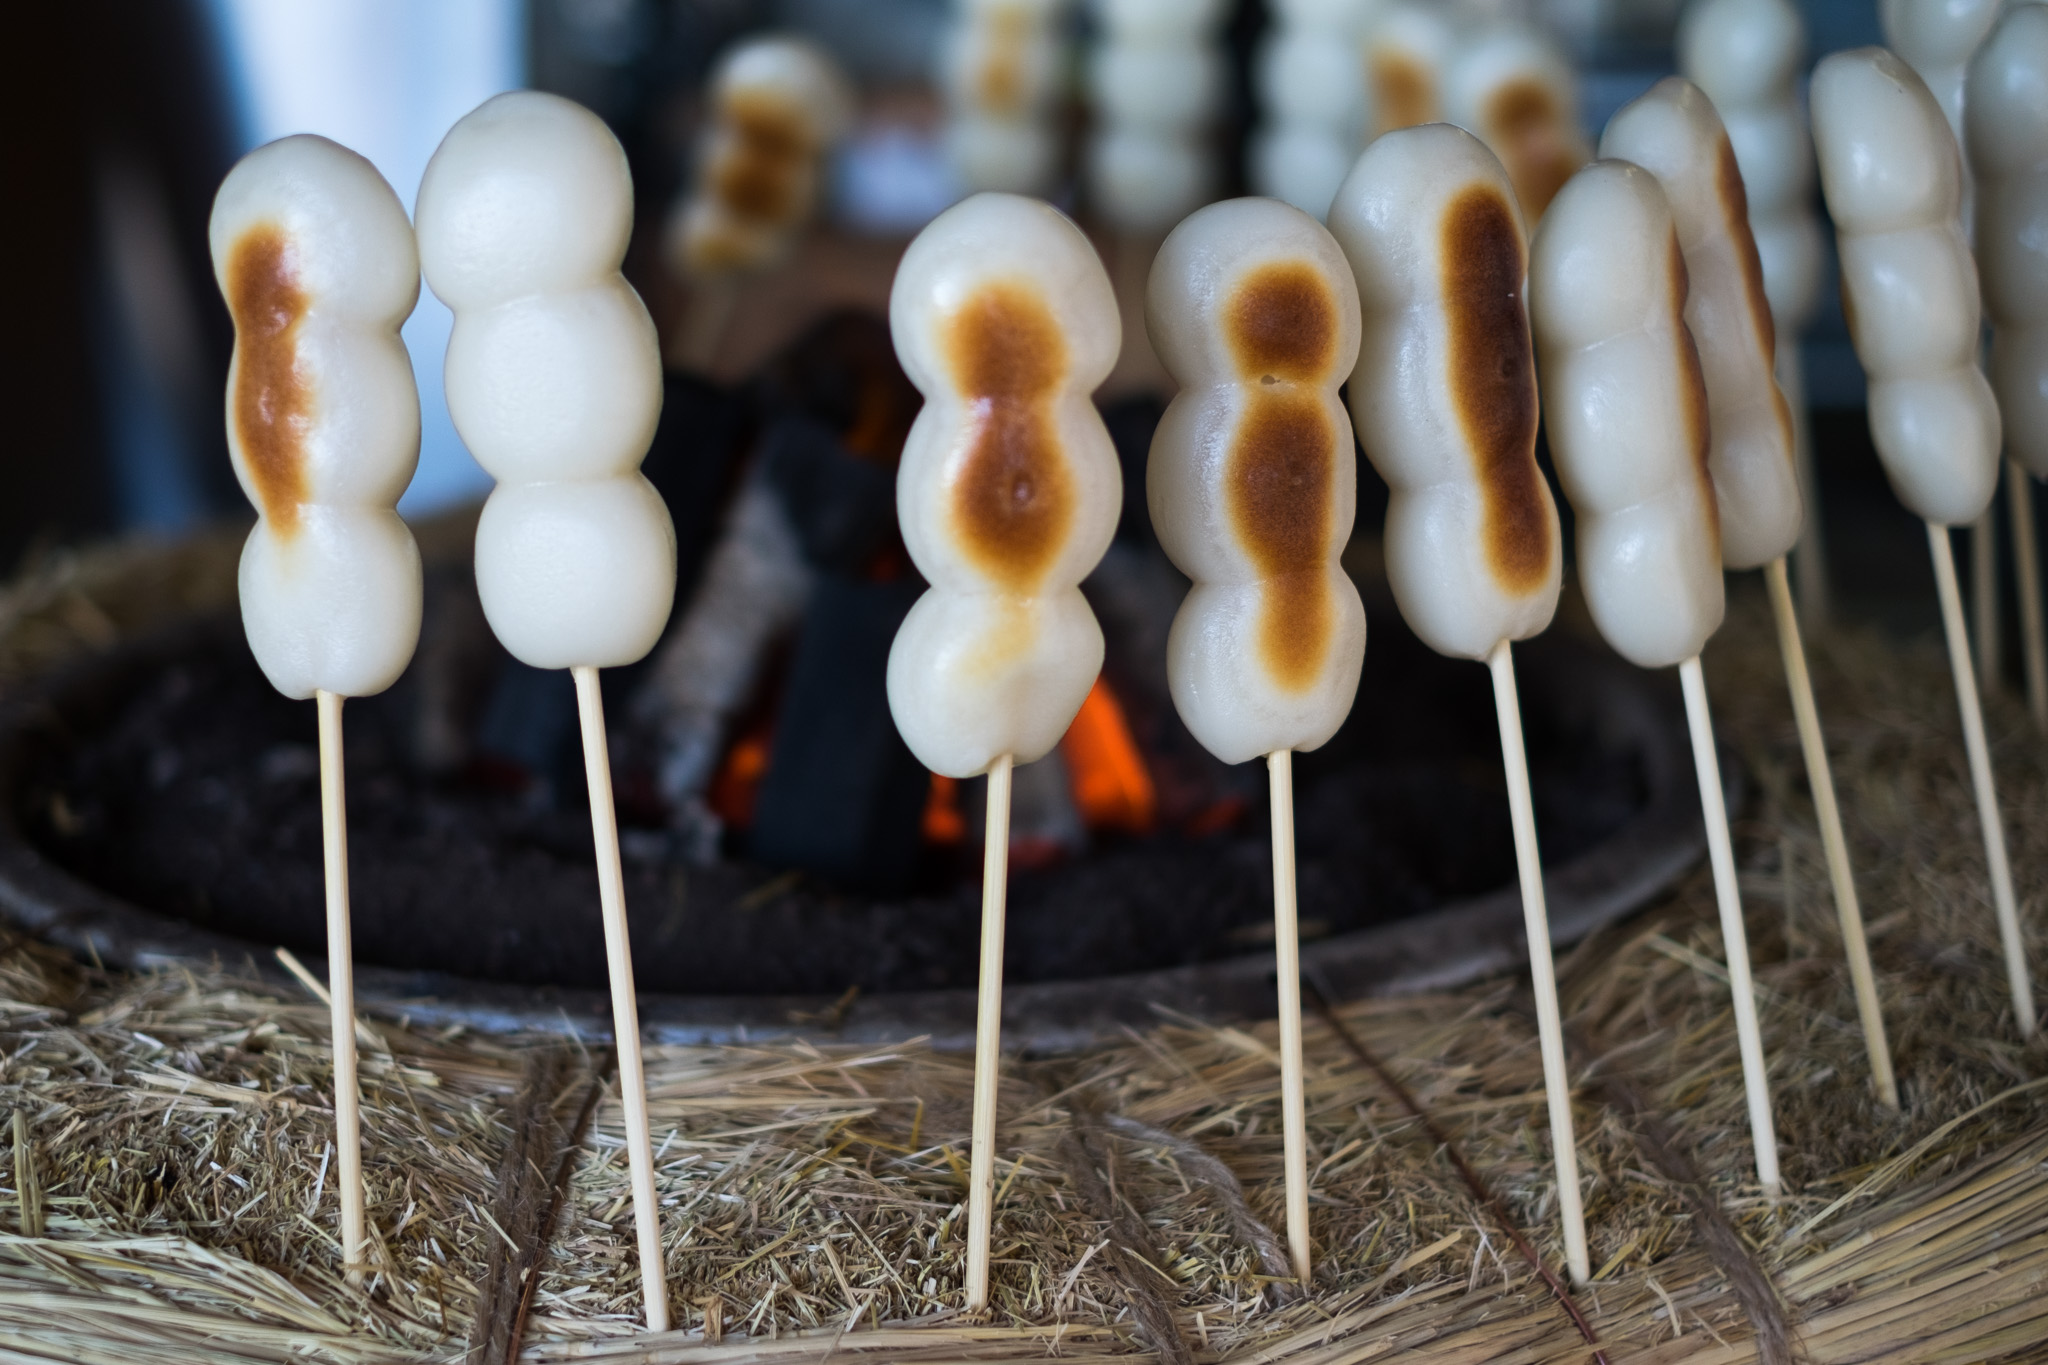
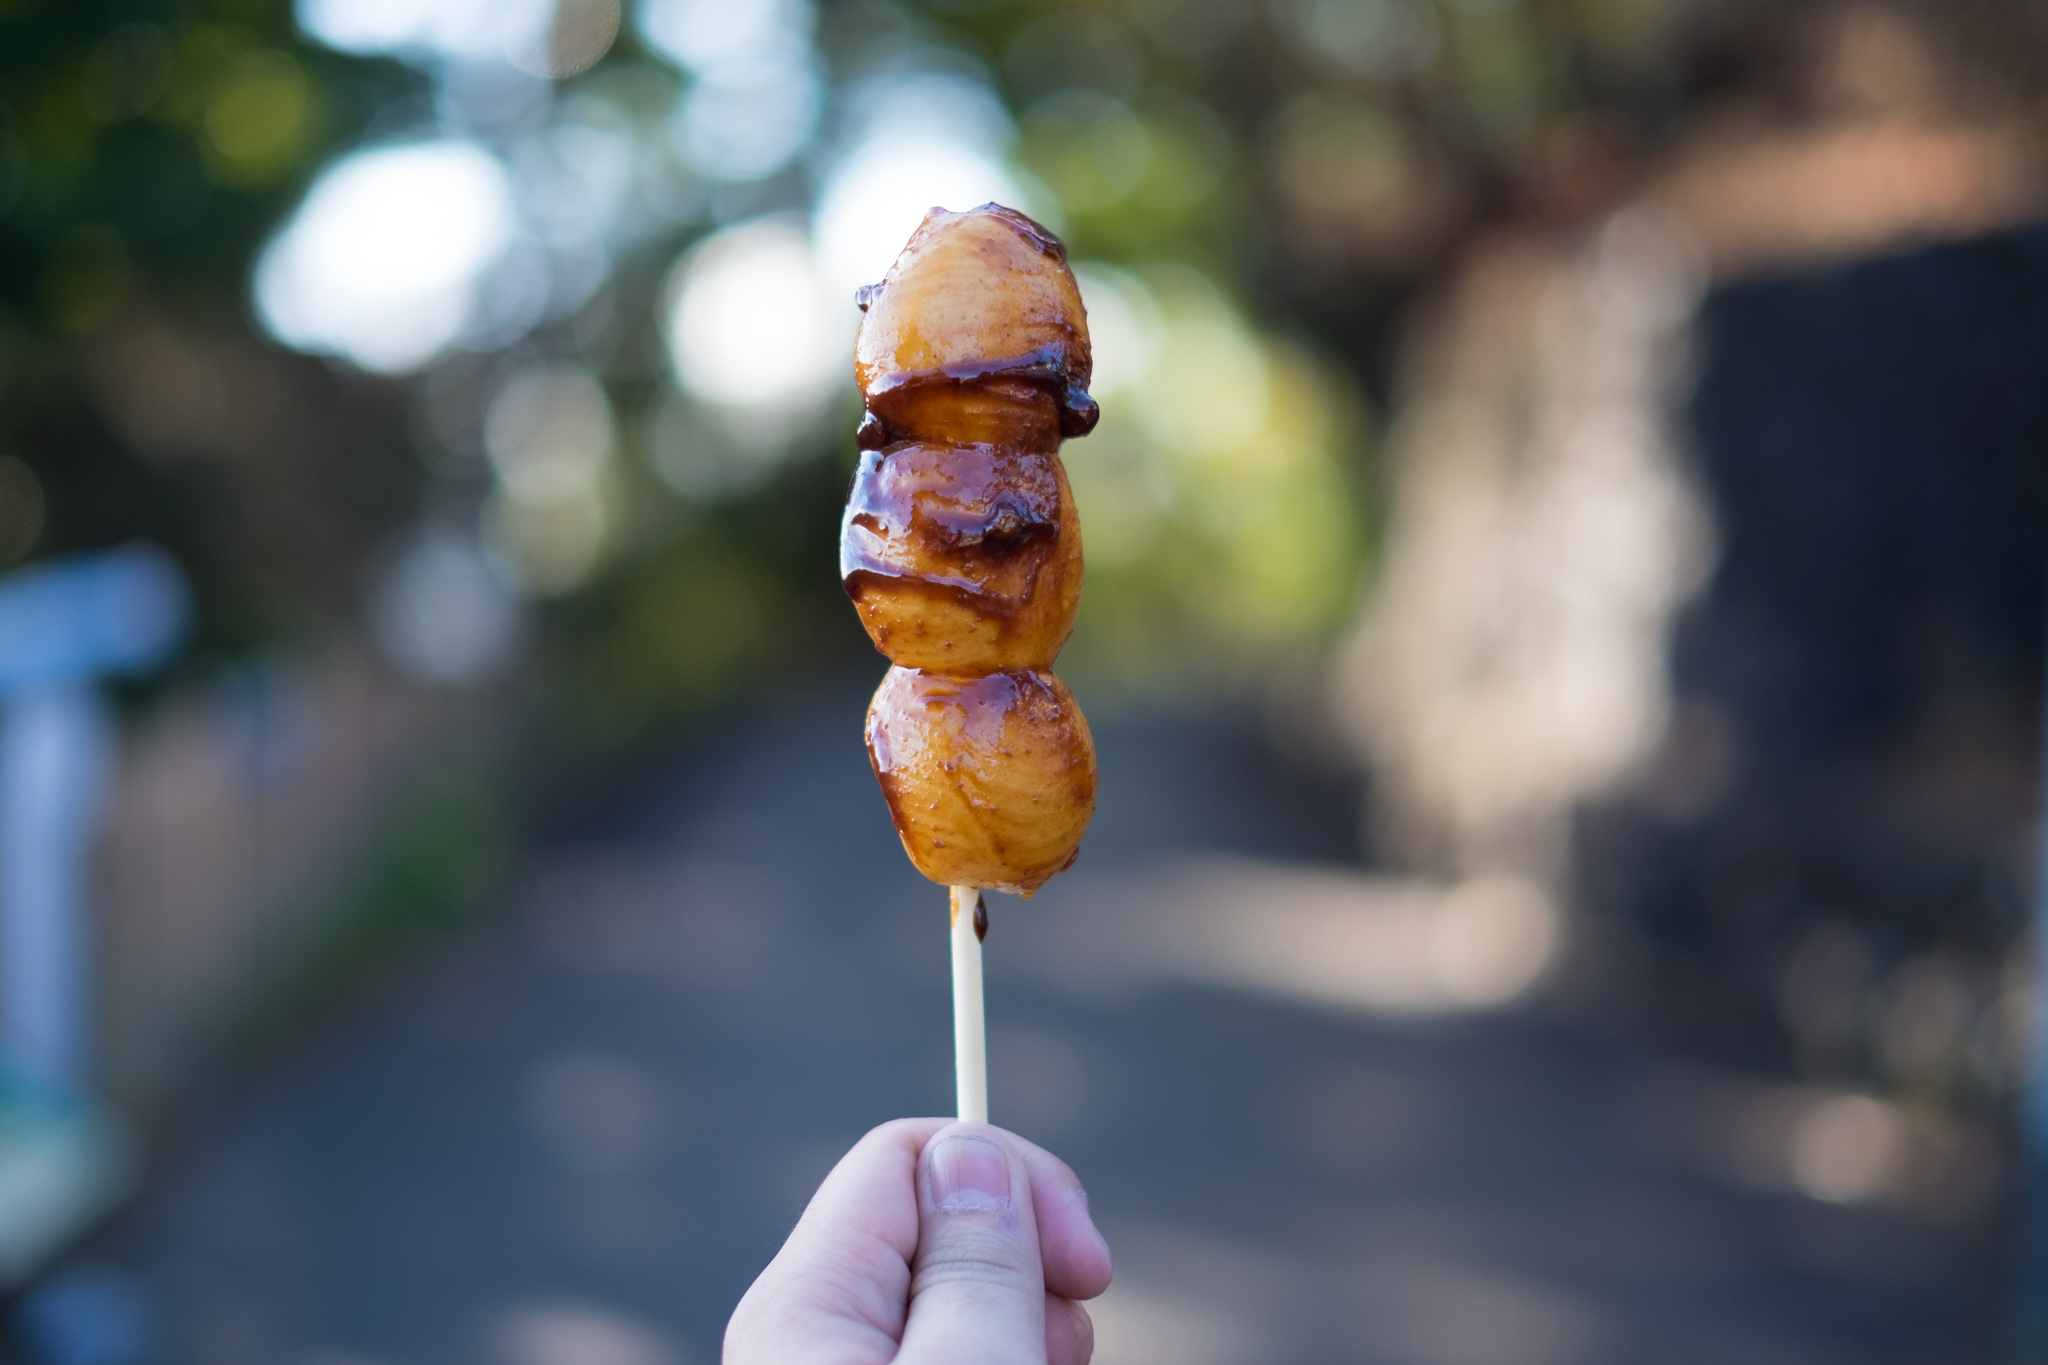
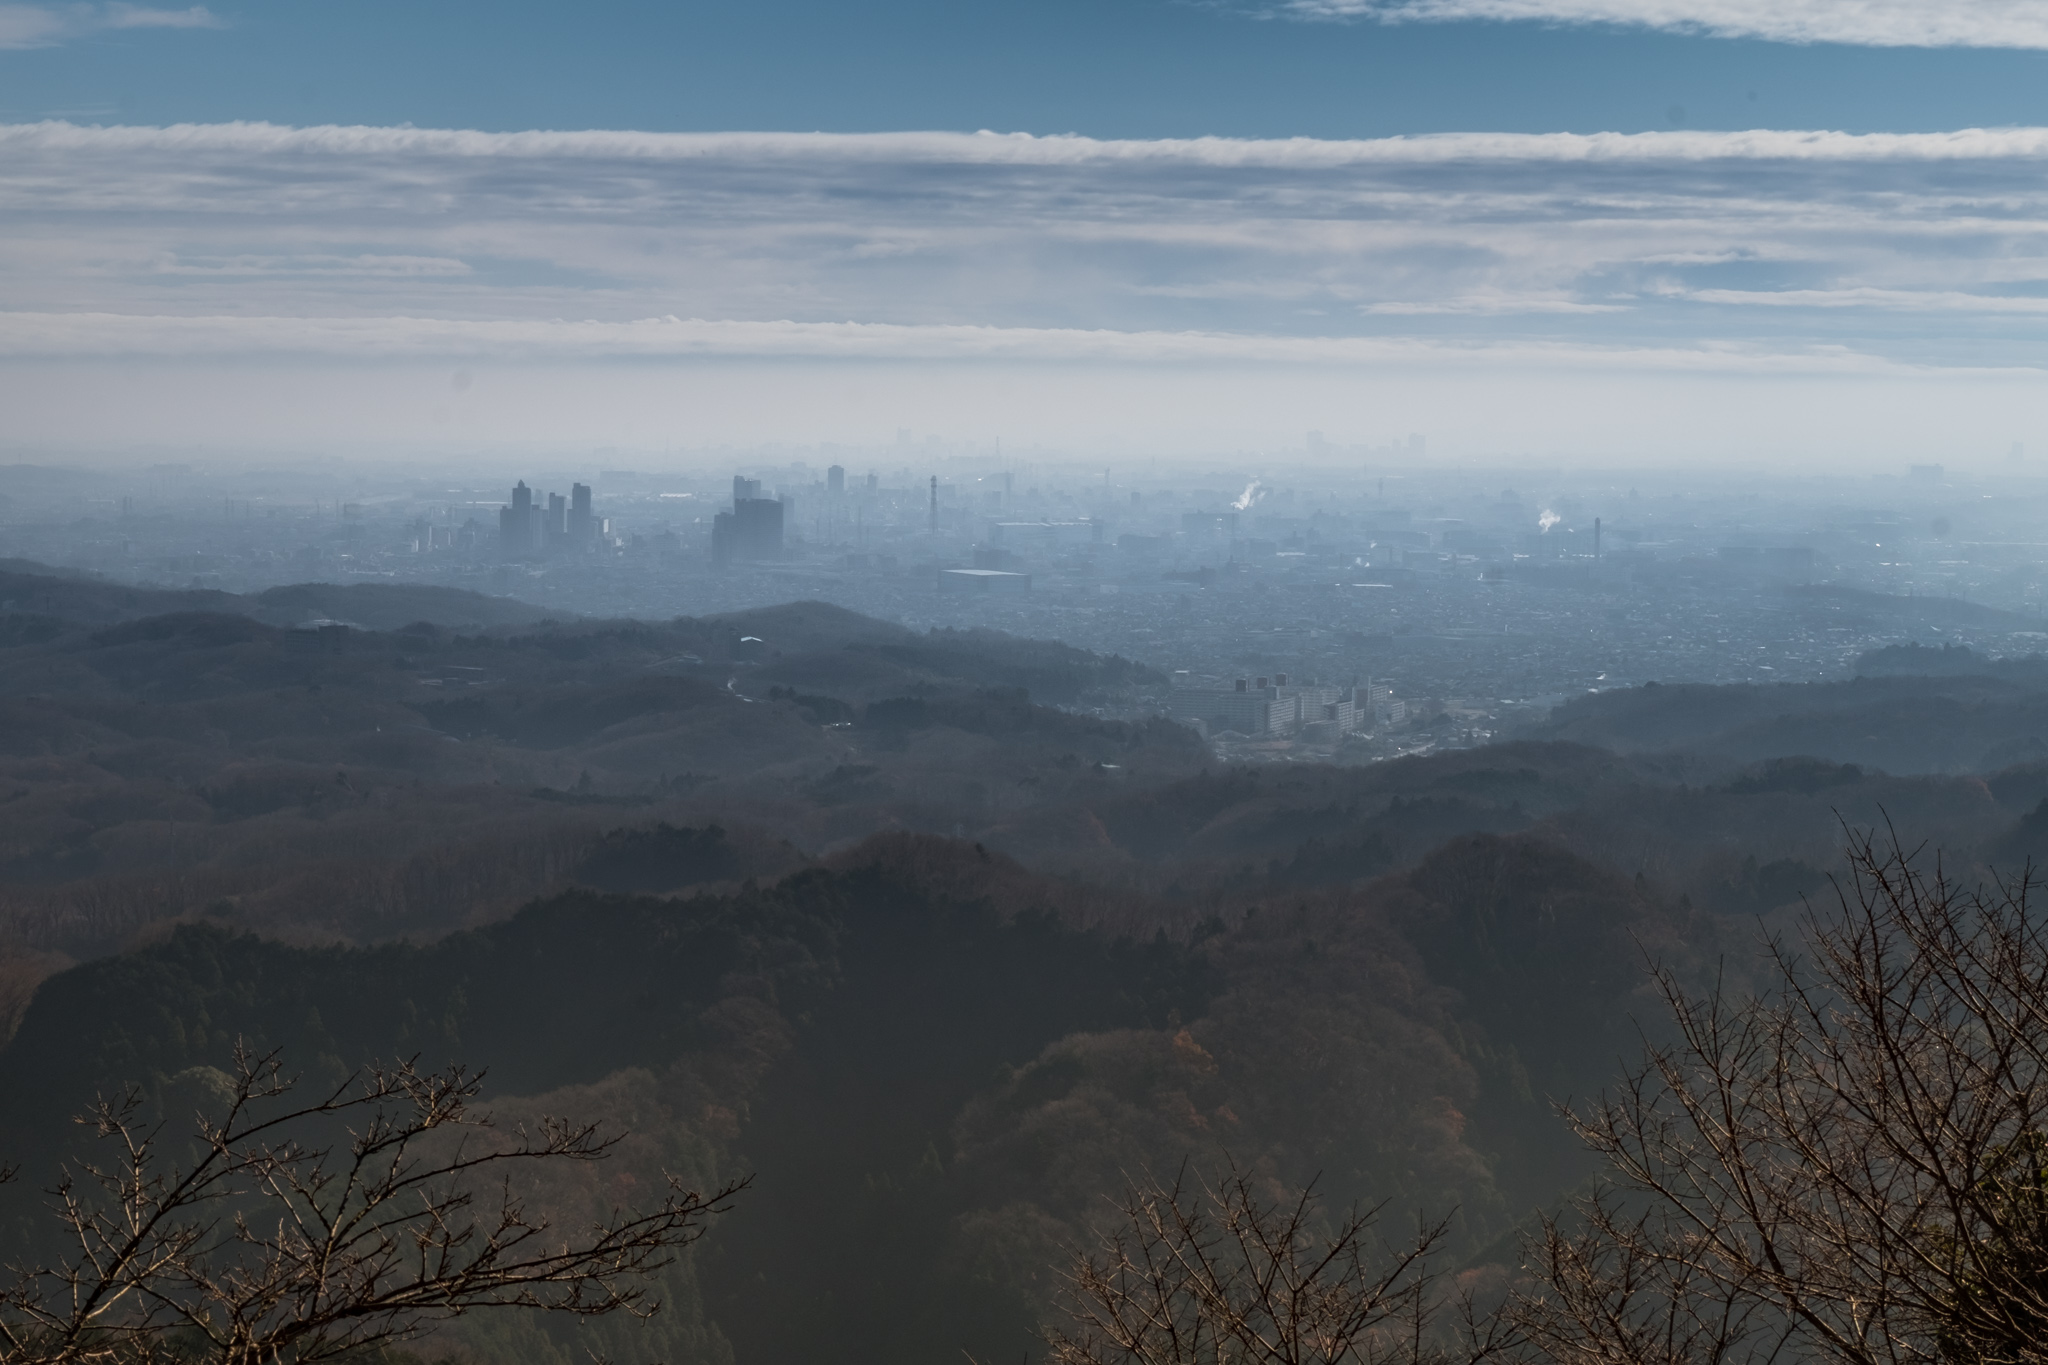
After that, there was a bit of a problem. I couldn't find a place to throw away the dango stick. At first, I just kept walking after I finished eating, thinking that there would be a trash can ahead. And there was, the trash can at JR Shinjuku Station before boarding the NEX to the airport. That day, the dango stick was my companion for half the day. I really wanted to bury it in the ground along the way.
Let's continue. The tram took us up the blue loop trail, or Trail 2. I rode it myself. From here, we walked around and around until we came to the monkey park. However, I had just seen plenty of monkeys in Nagano, so I didn't go in. I just kept walking and enjoying the fresh air and the view.
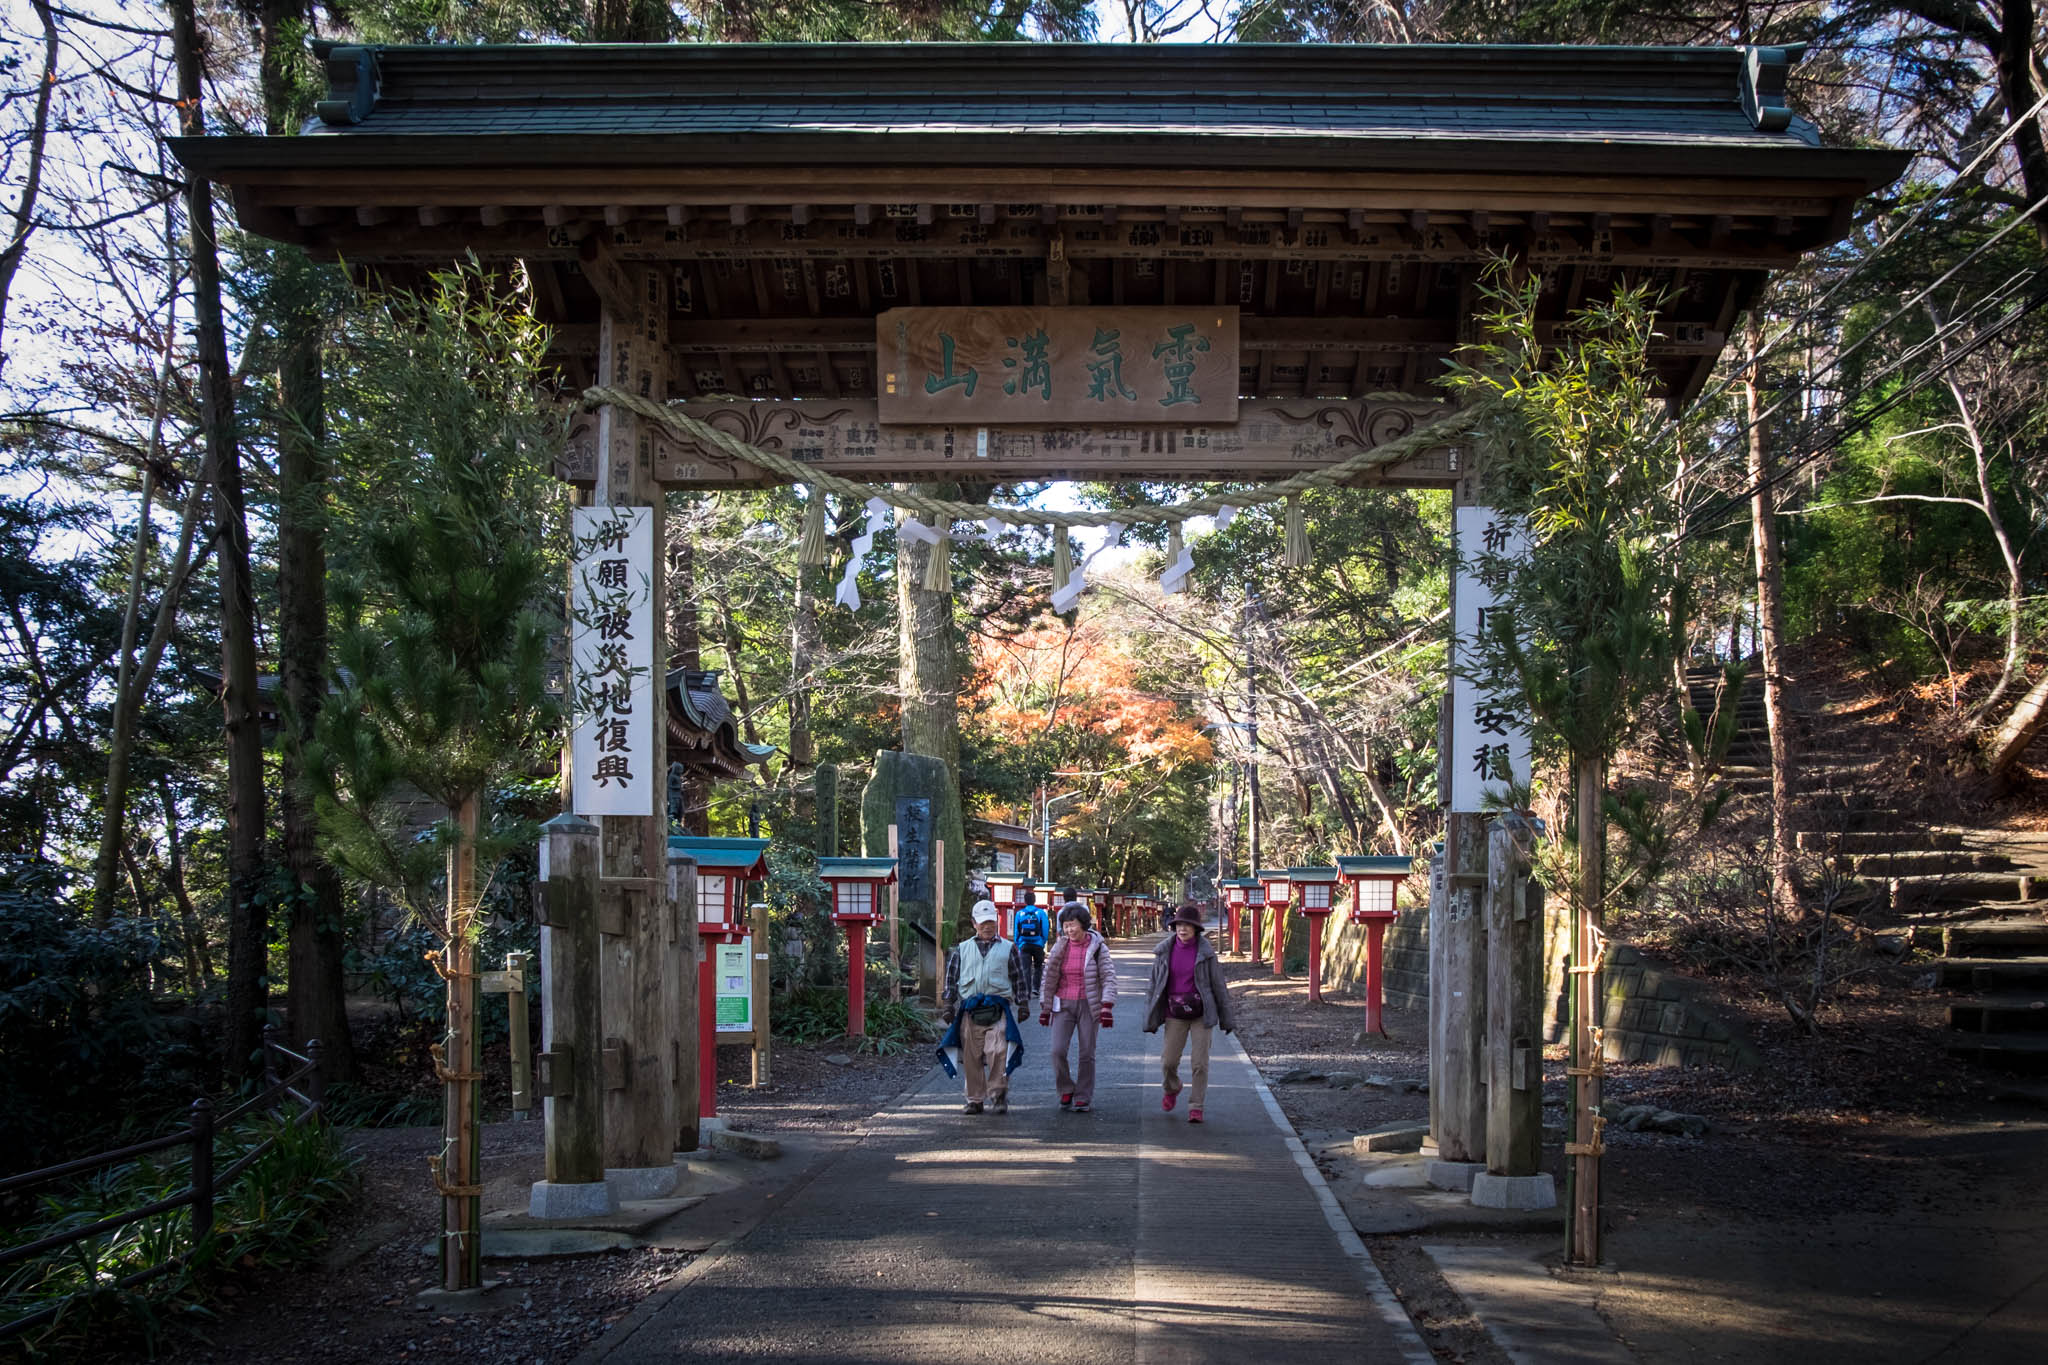
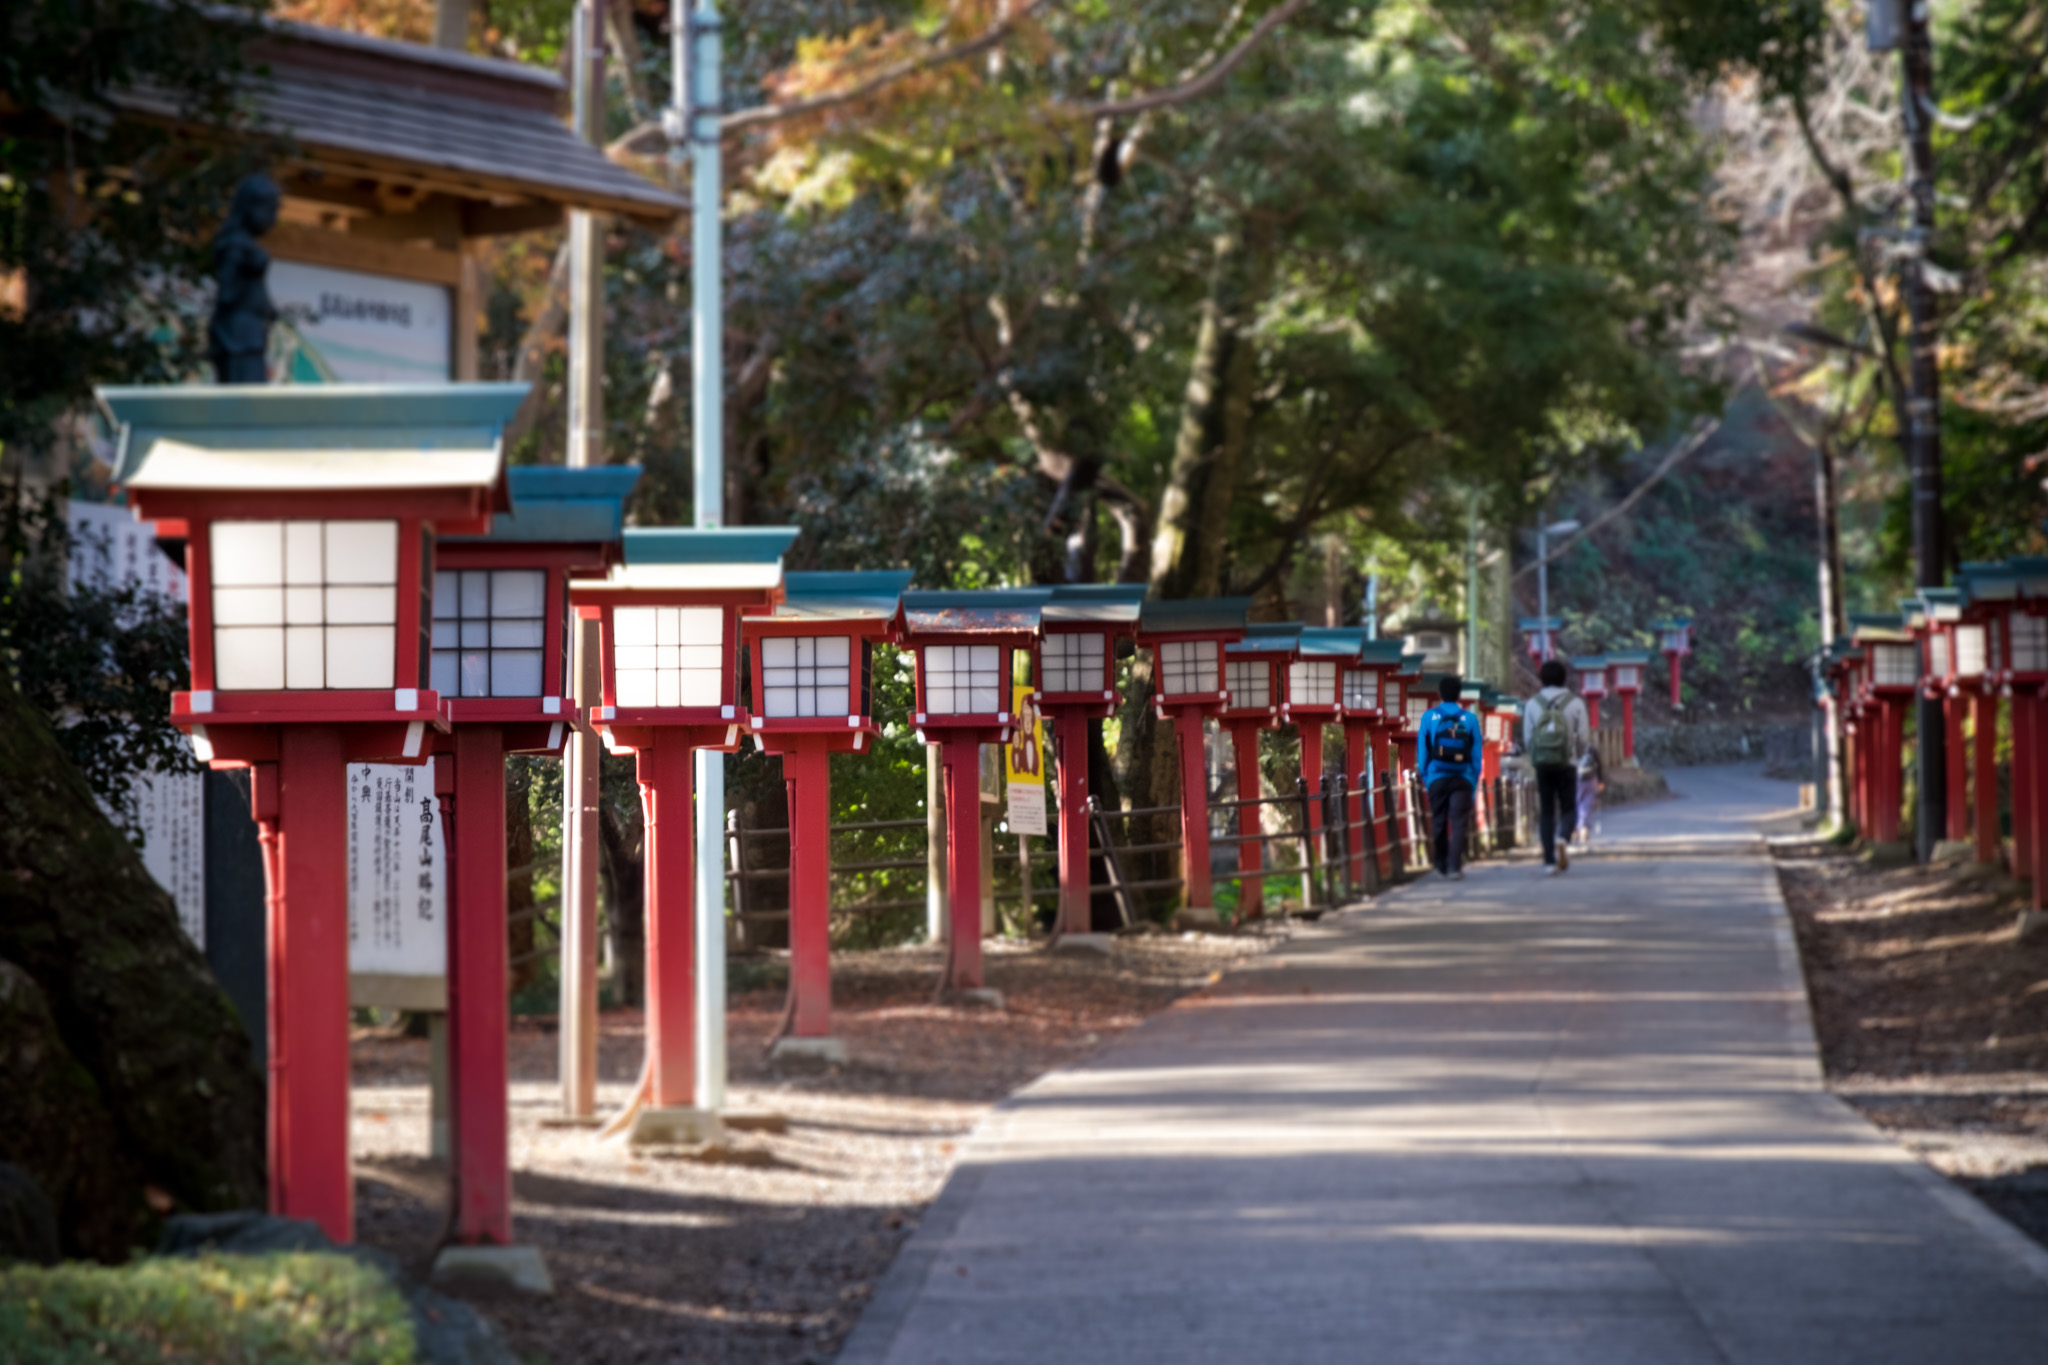
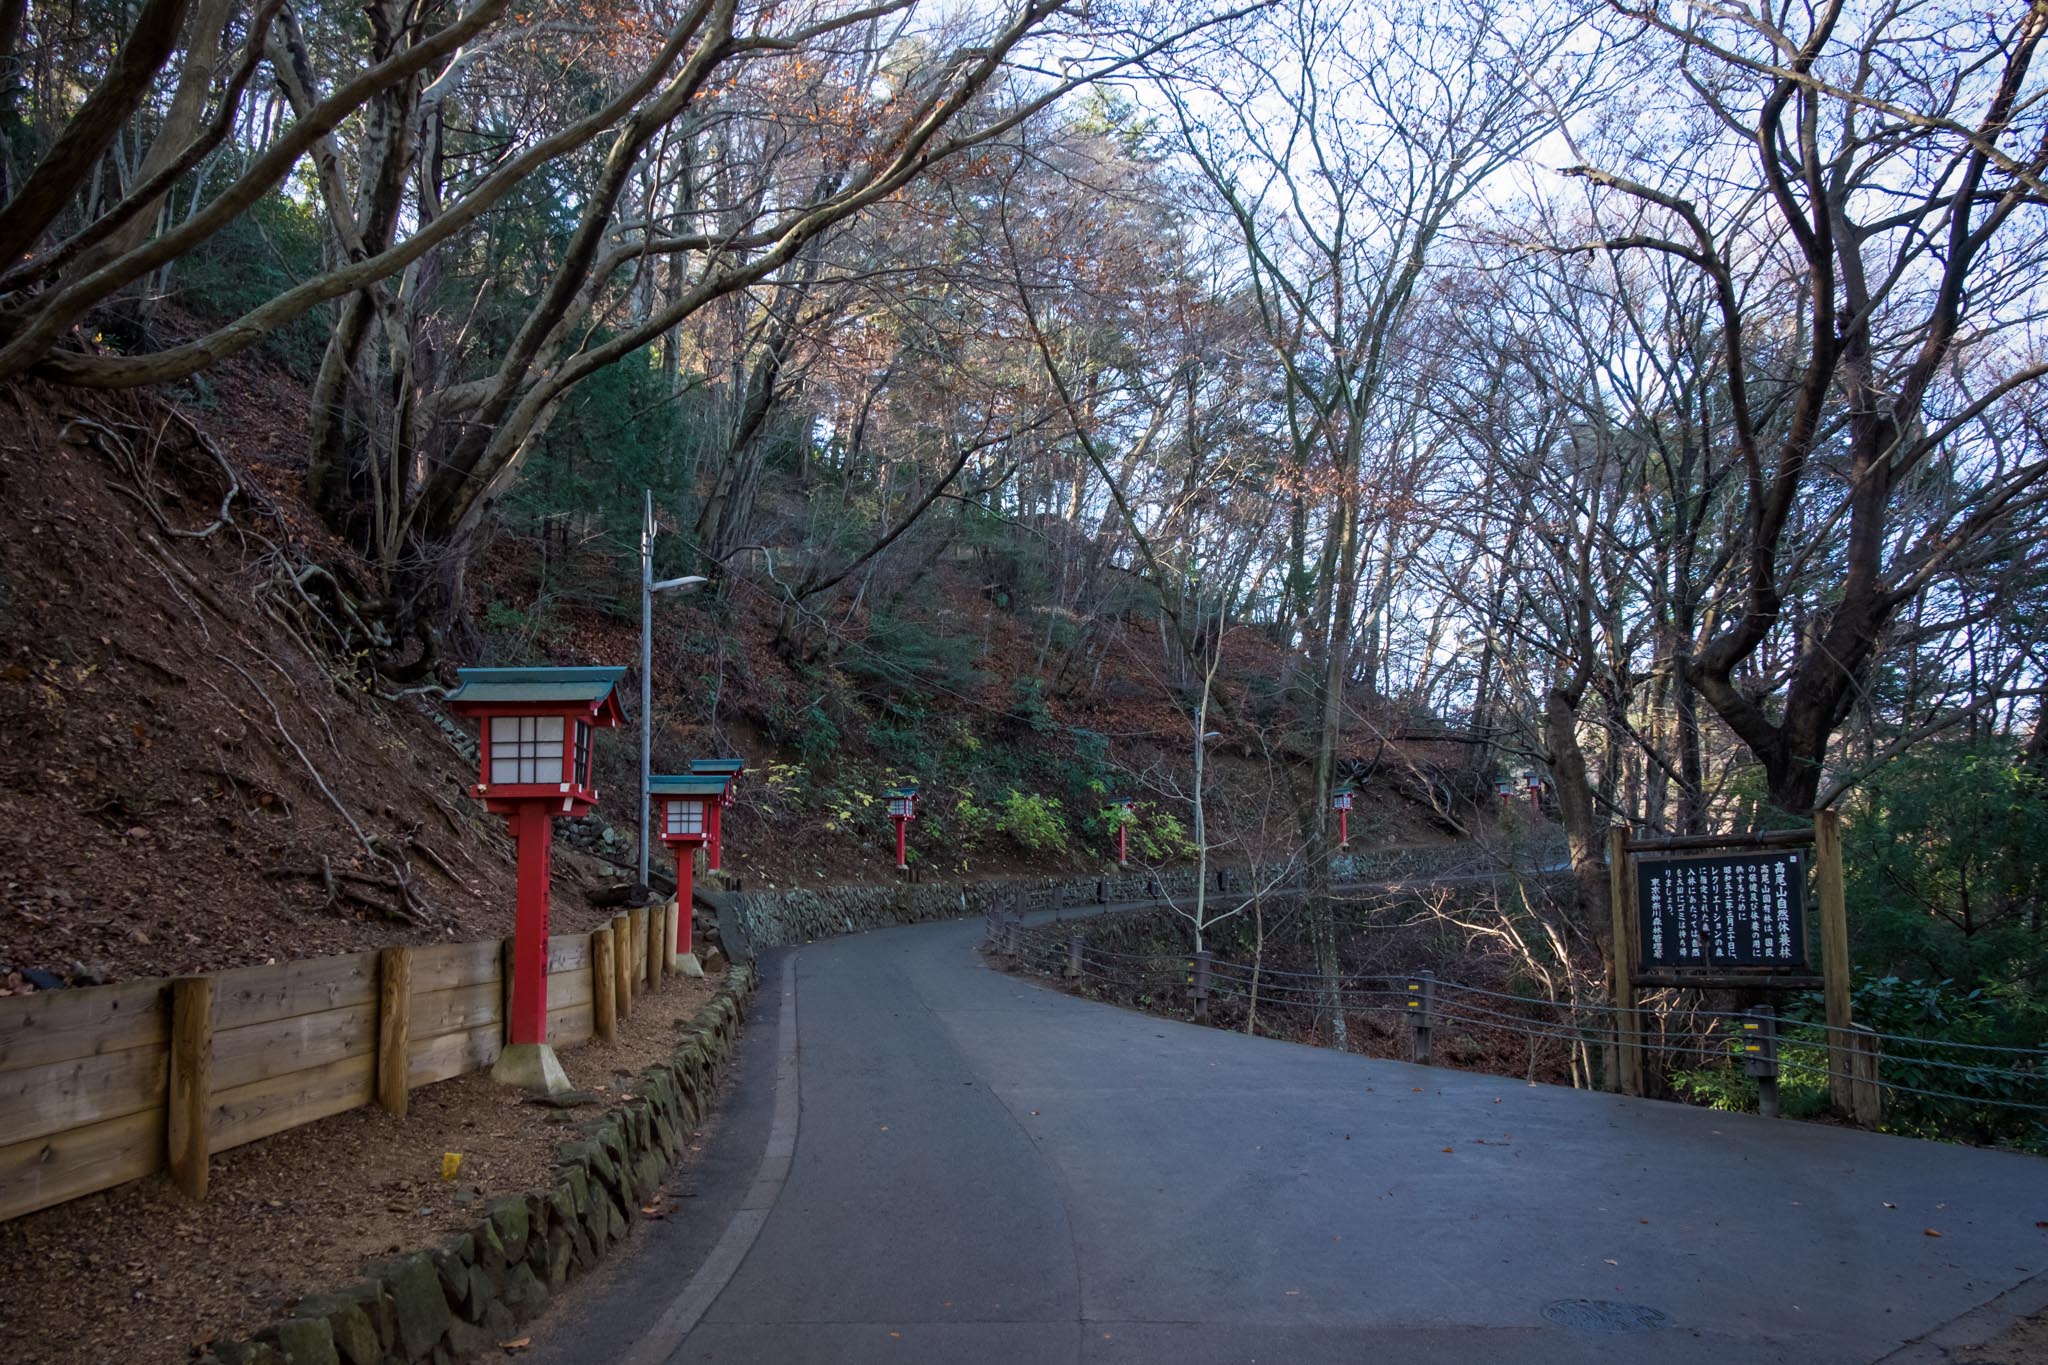
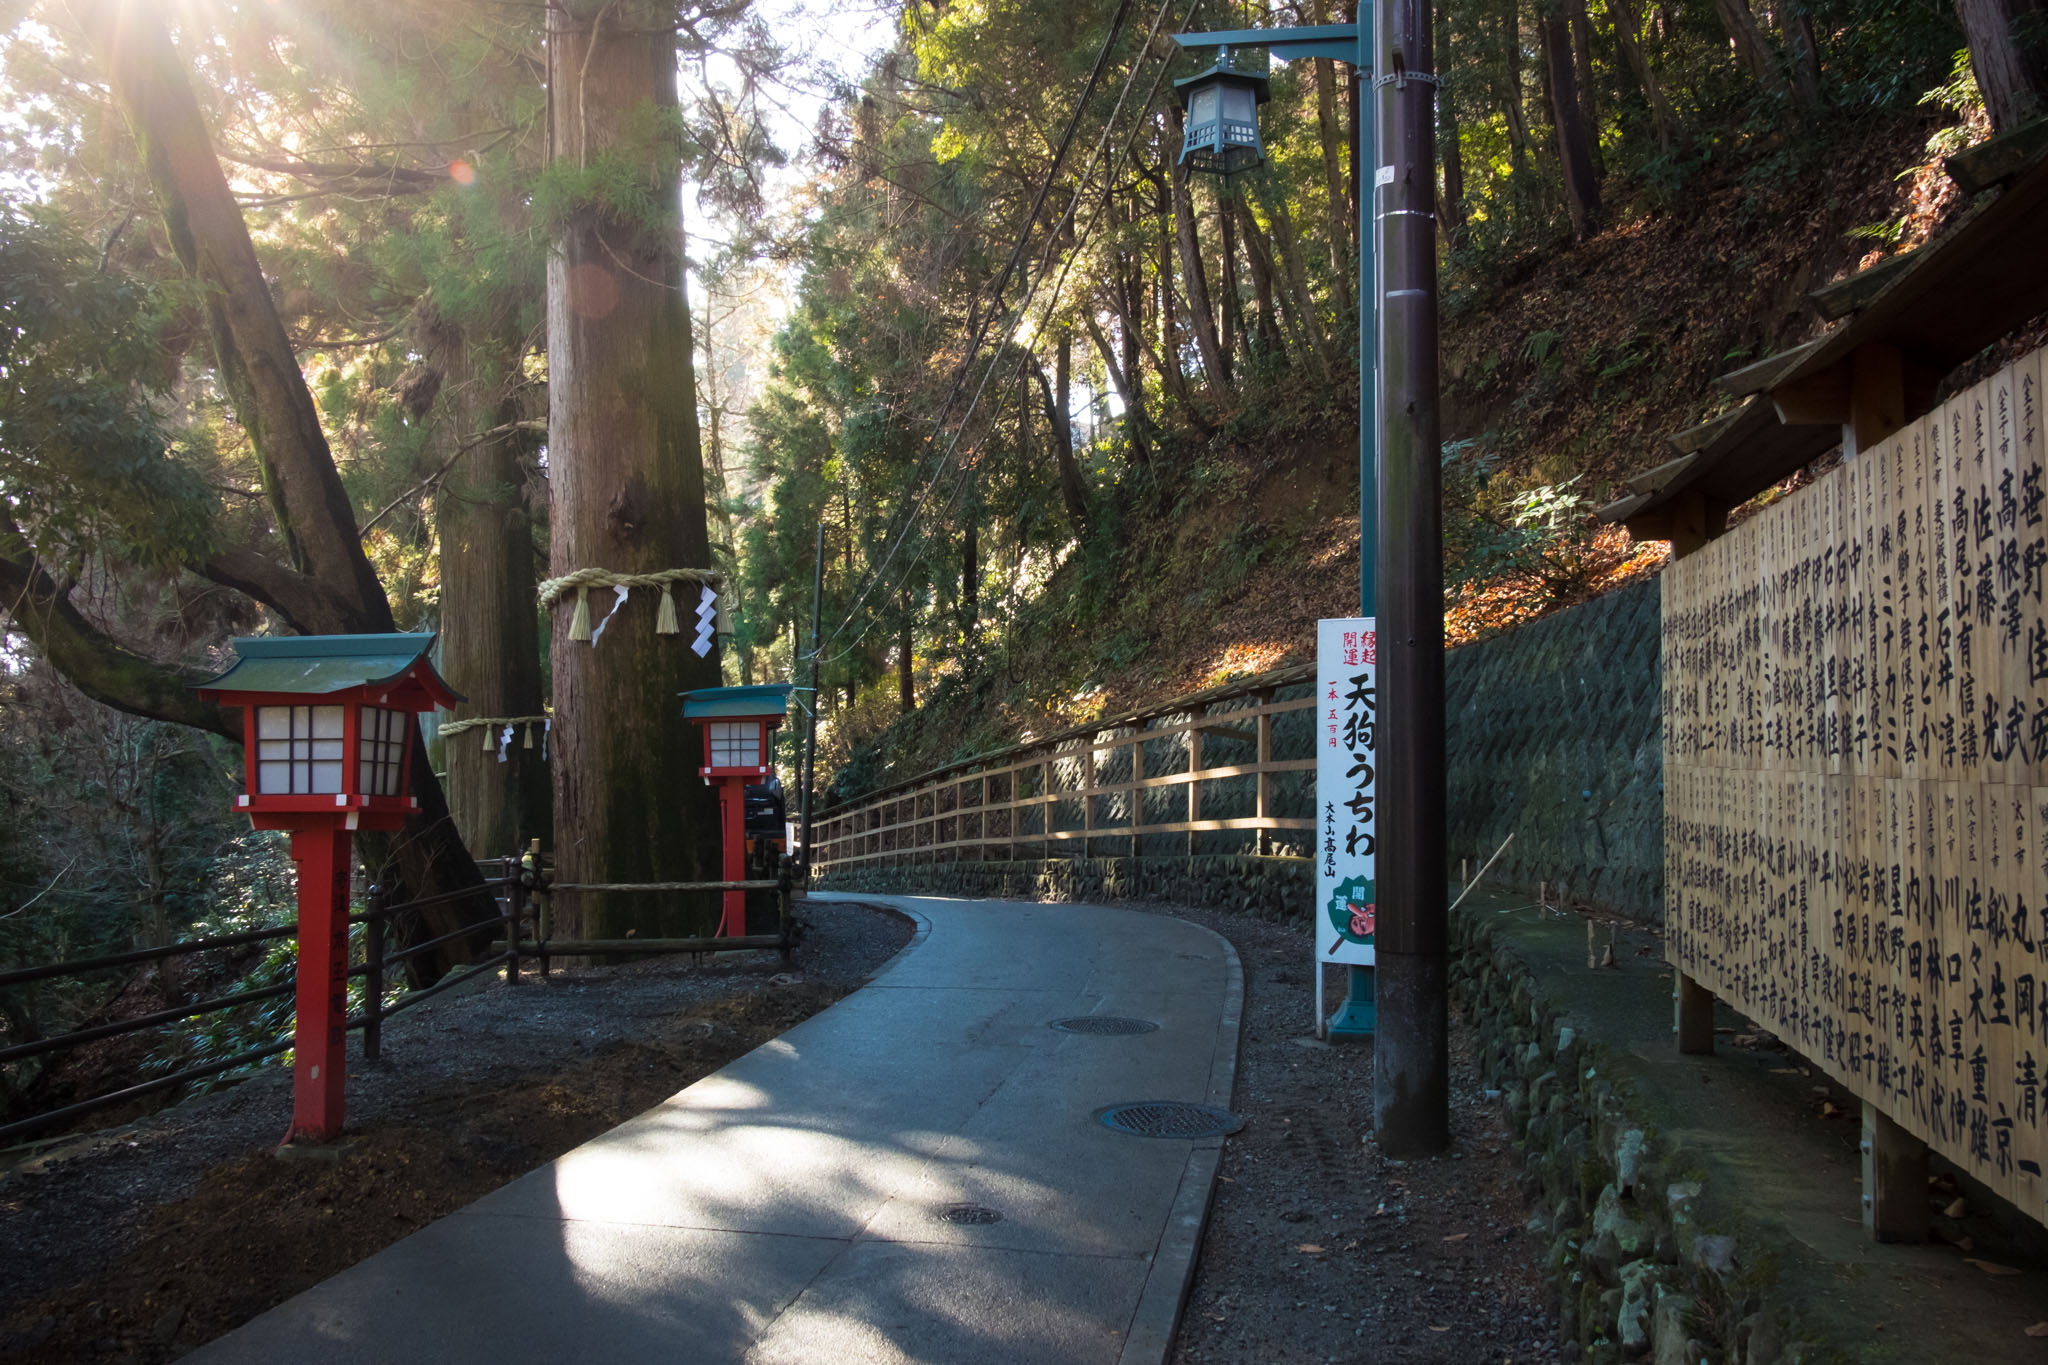
The hiking trail was not difficult, just follow the main road. The signs were all in Japanese. I didn't see any other tourists that day, only Japanese people. There were college students in tracksuits exercising and elderly men and women praying at the temple. Since it was a weekday, the mountain was very quiet. All the shops were closed and there were very few people, so I was able to fully enjoy the sound of nature.

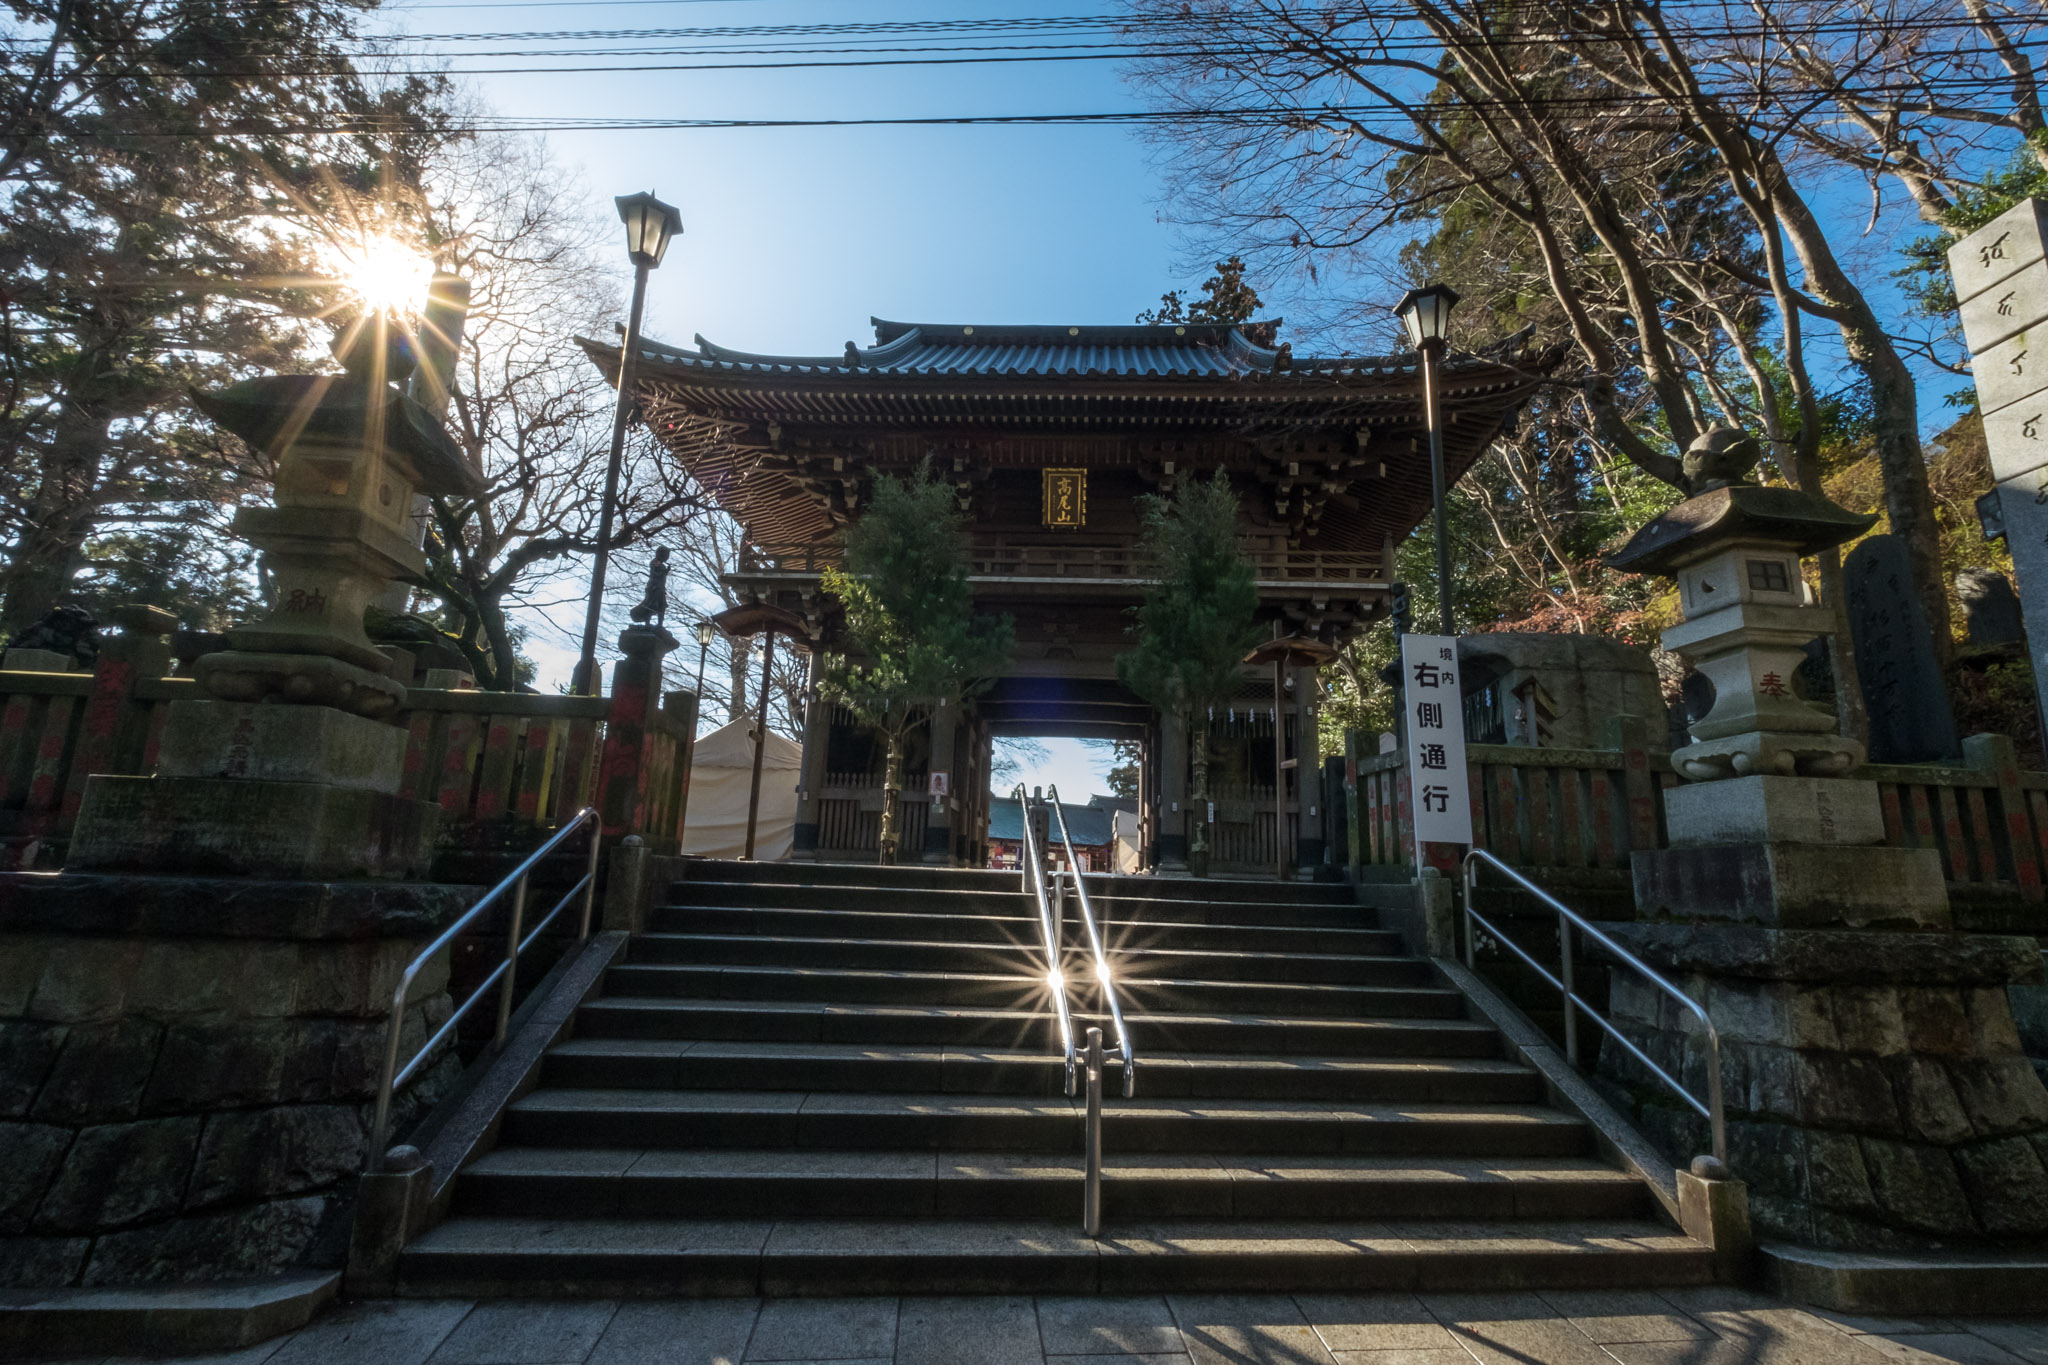
After wandering around for a bit, because I took a shortcut next to the temple, I ended up on Trail 3 on the way up the mountain. But I followed the signs and made it back, and now I'm finally at the top of Mount Takao!
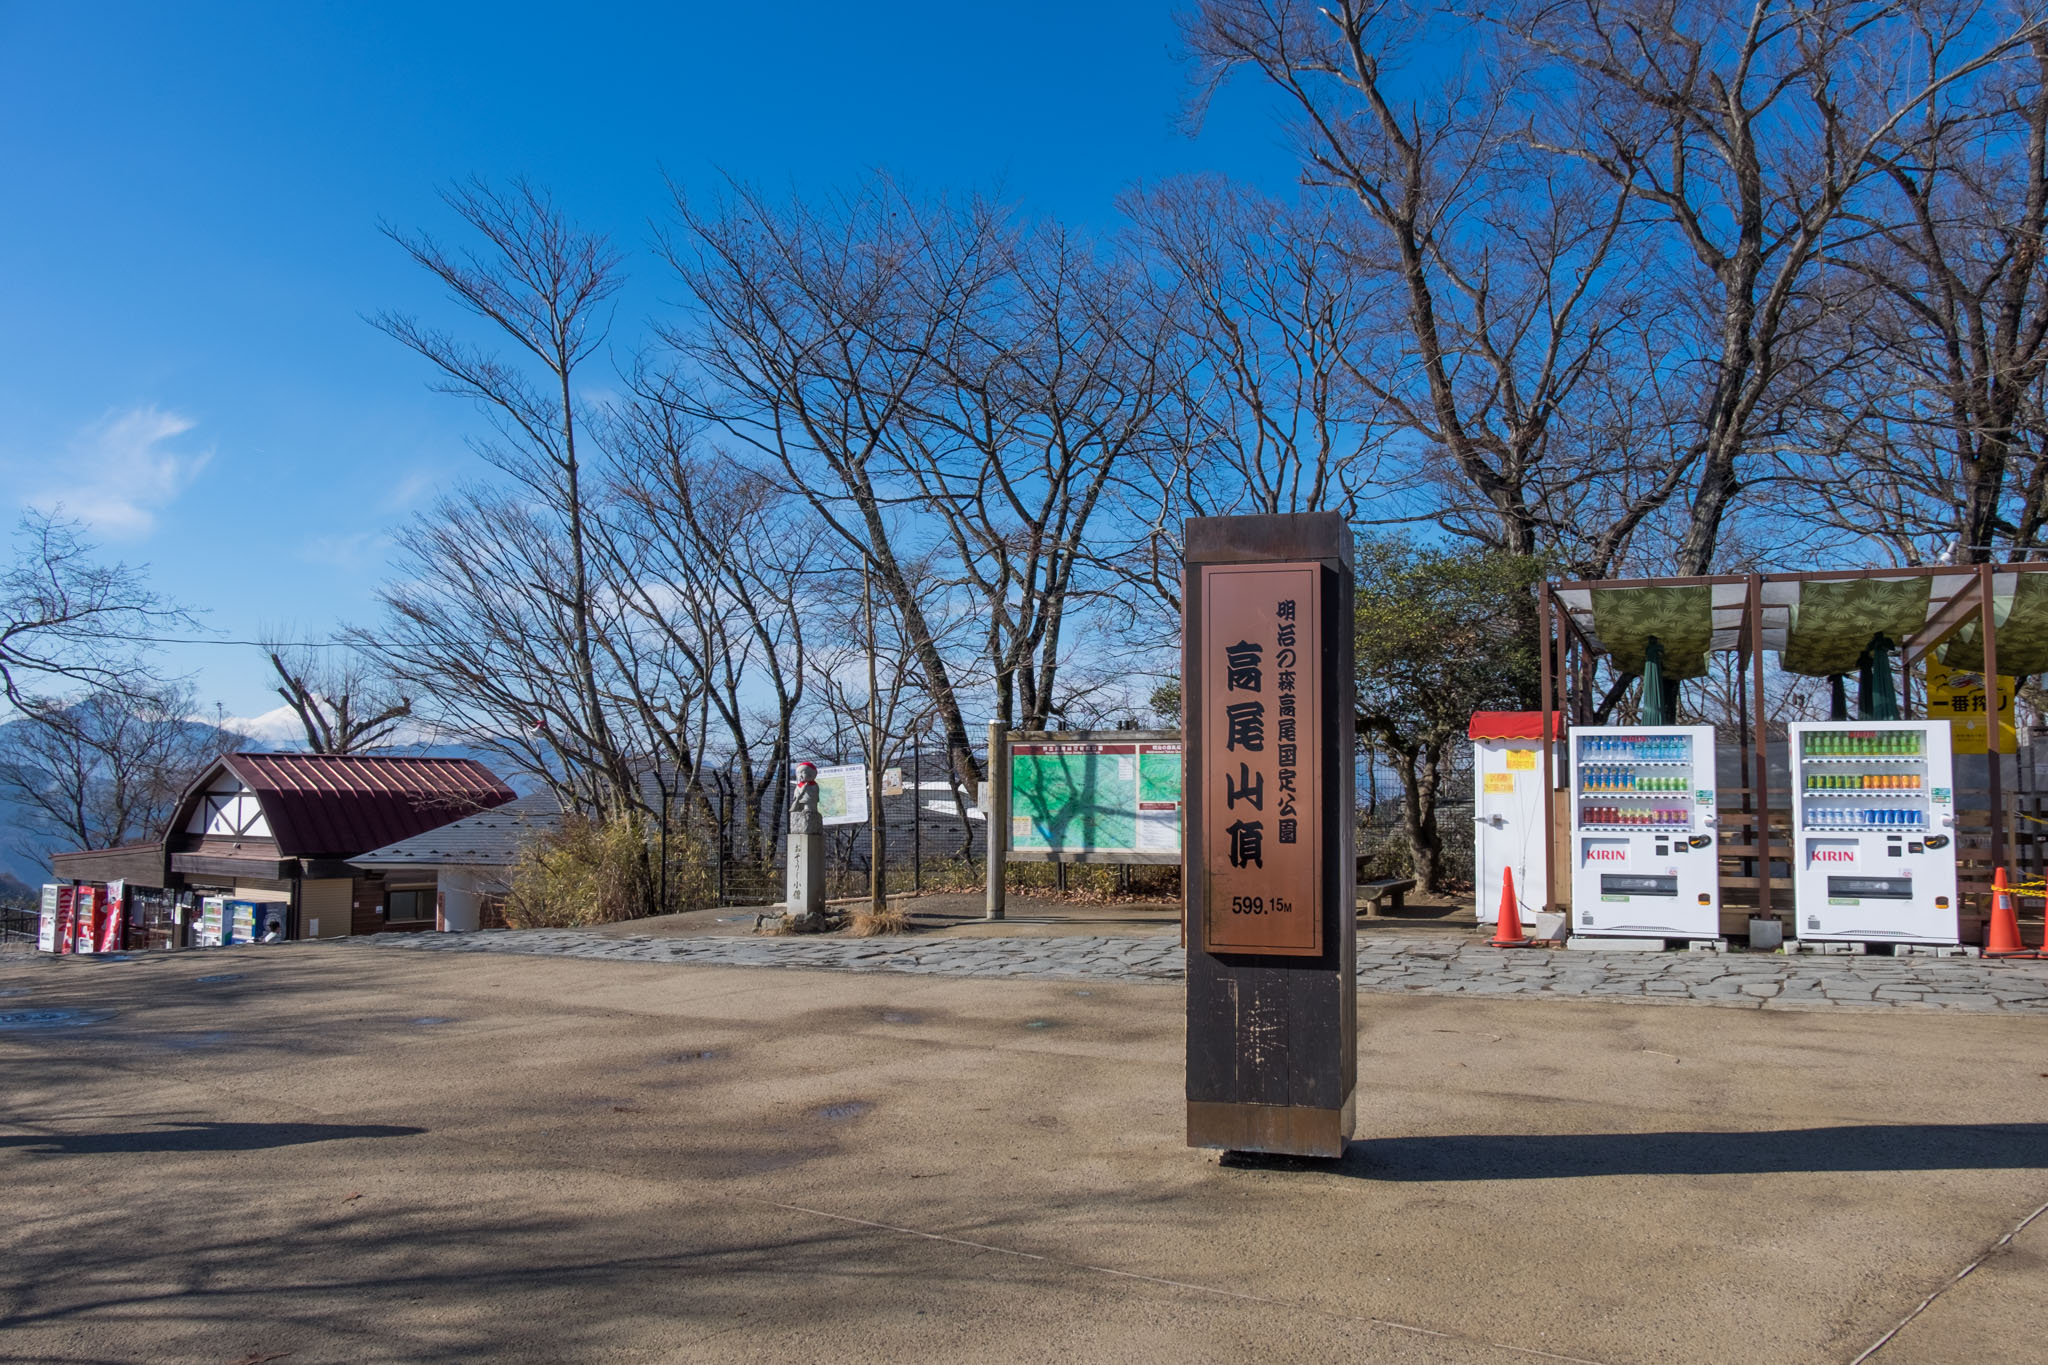
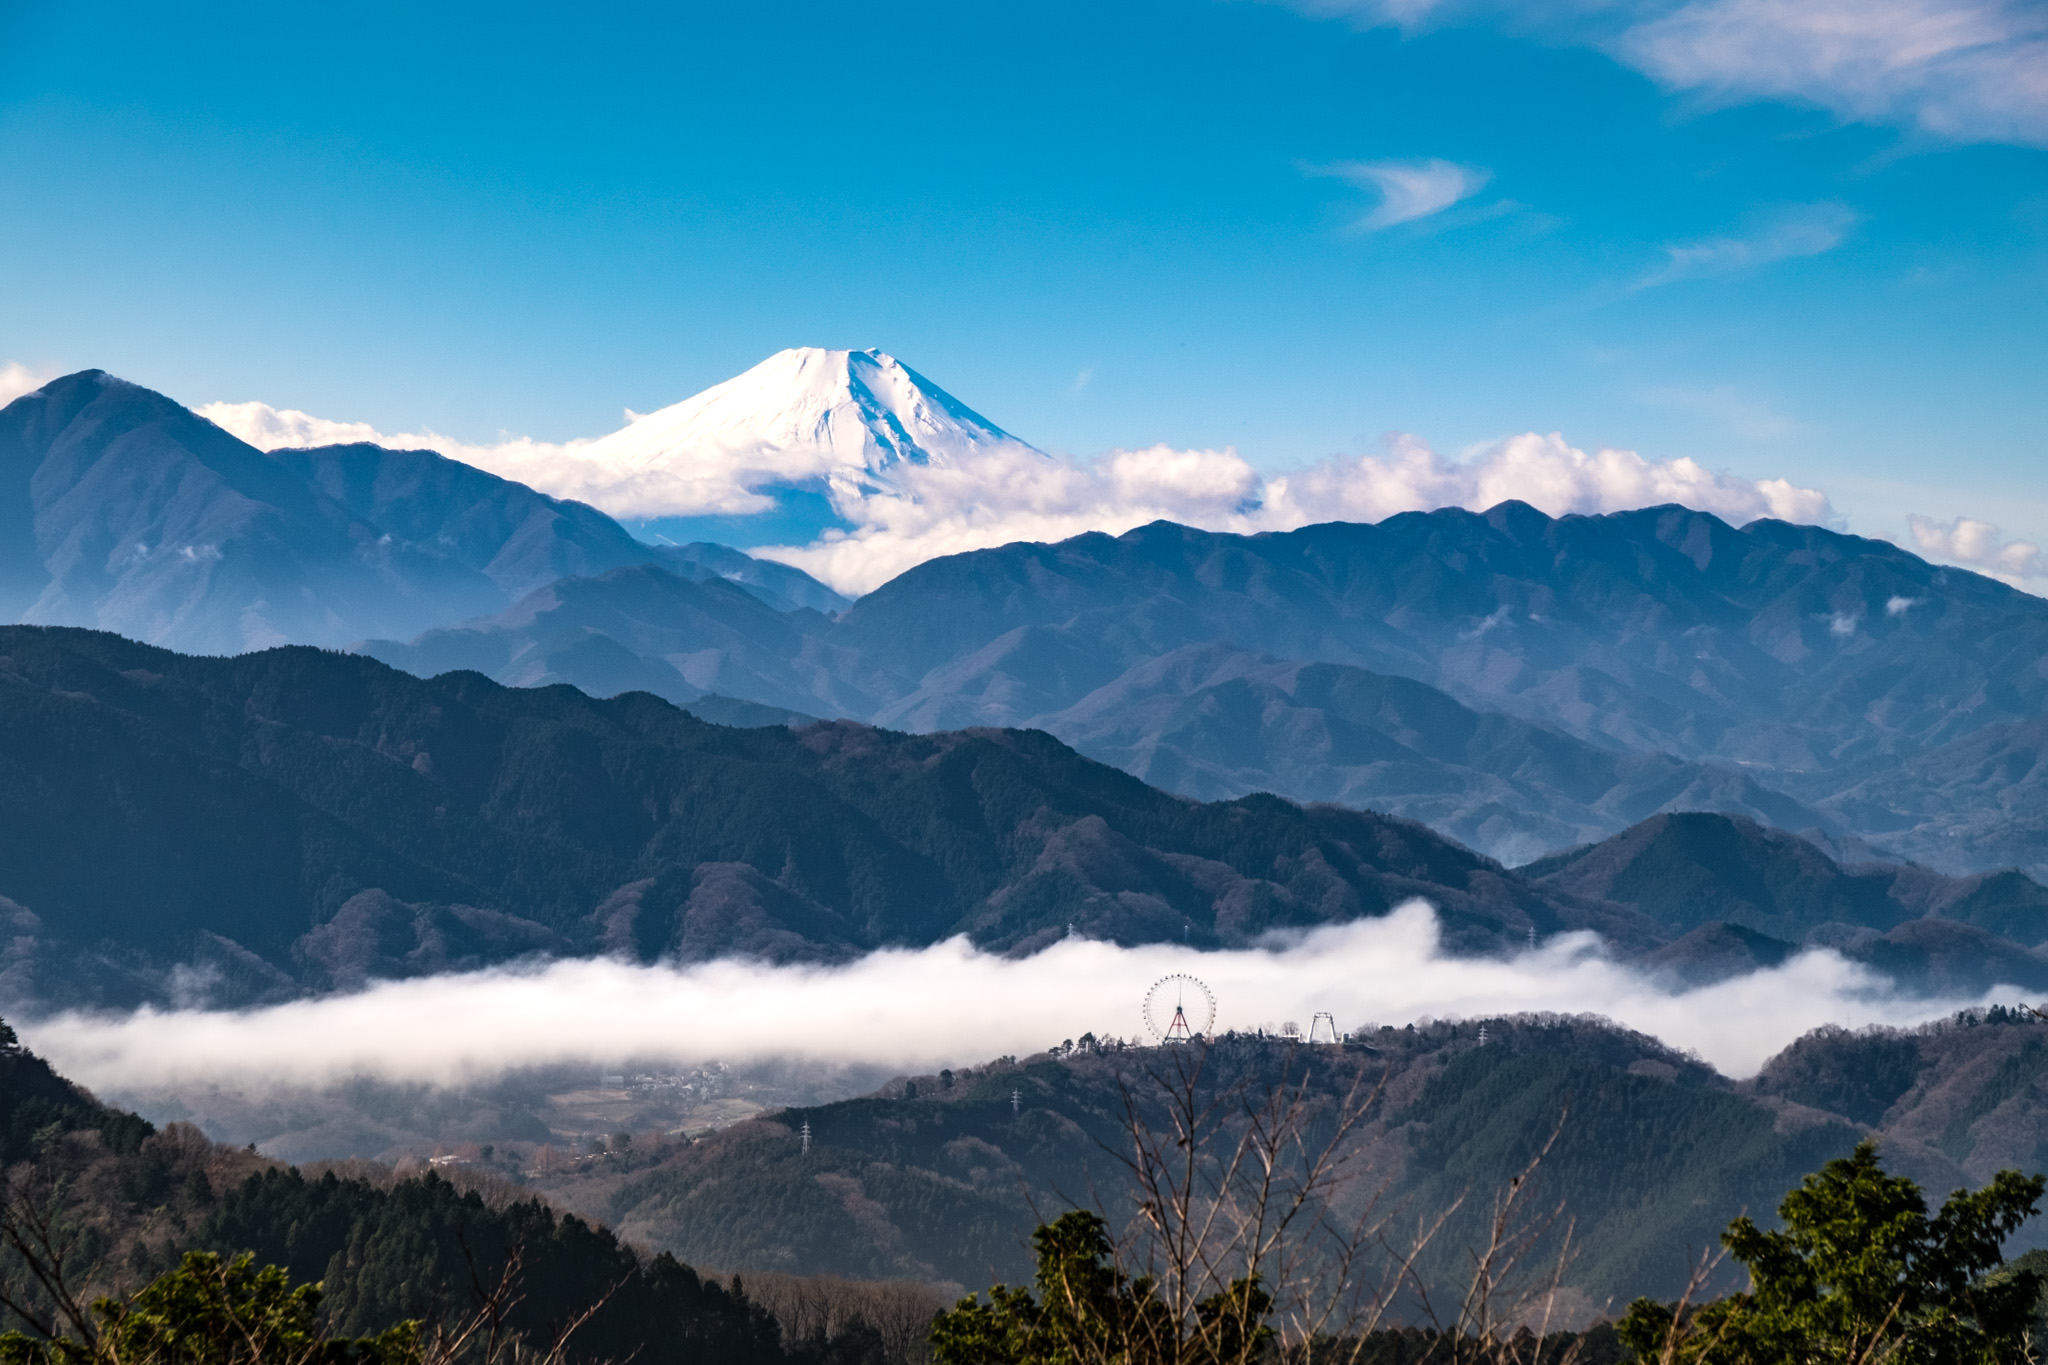
What surprised me the most here was the view. I had no idea the view from the top would be so good. I even got to see Mount Fuji again before I left. It really exceeded my expectations.

I didn't stay on the mountaintop for long because there were no shops open. If you have time to spare, you can continue walking to another mountain. There are clear signs. But it was getting close to noon, so I hurried back so I would have time to walk down. I wanted to see the way down to the bottom as well. This time, I took the normal path that the villagers use. I passed the shrine that I had avoided earlier, and it was a bit more relaxing because I had already conquered the mountaintop. 555

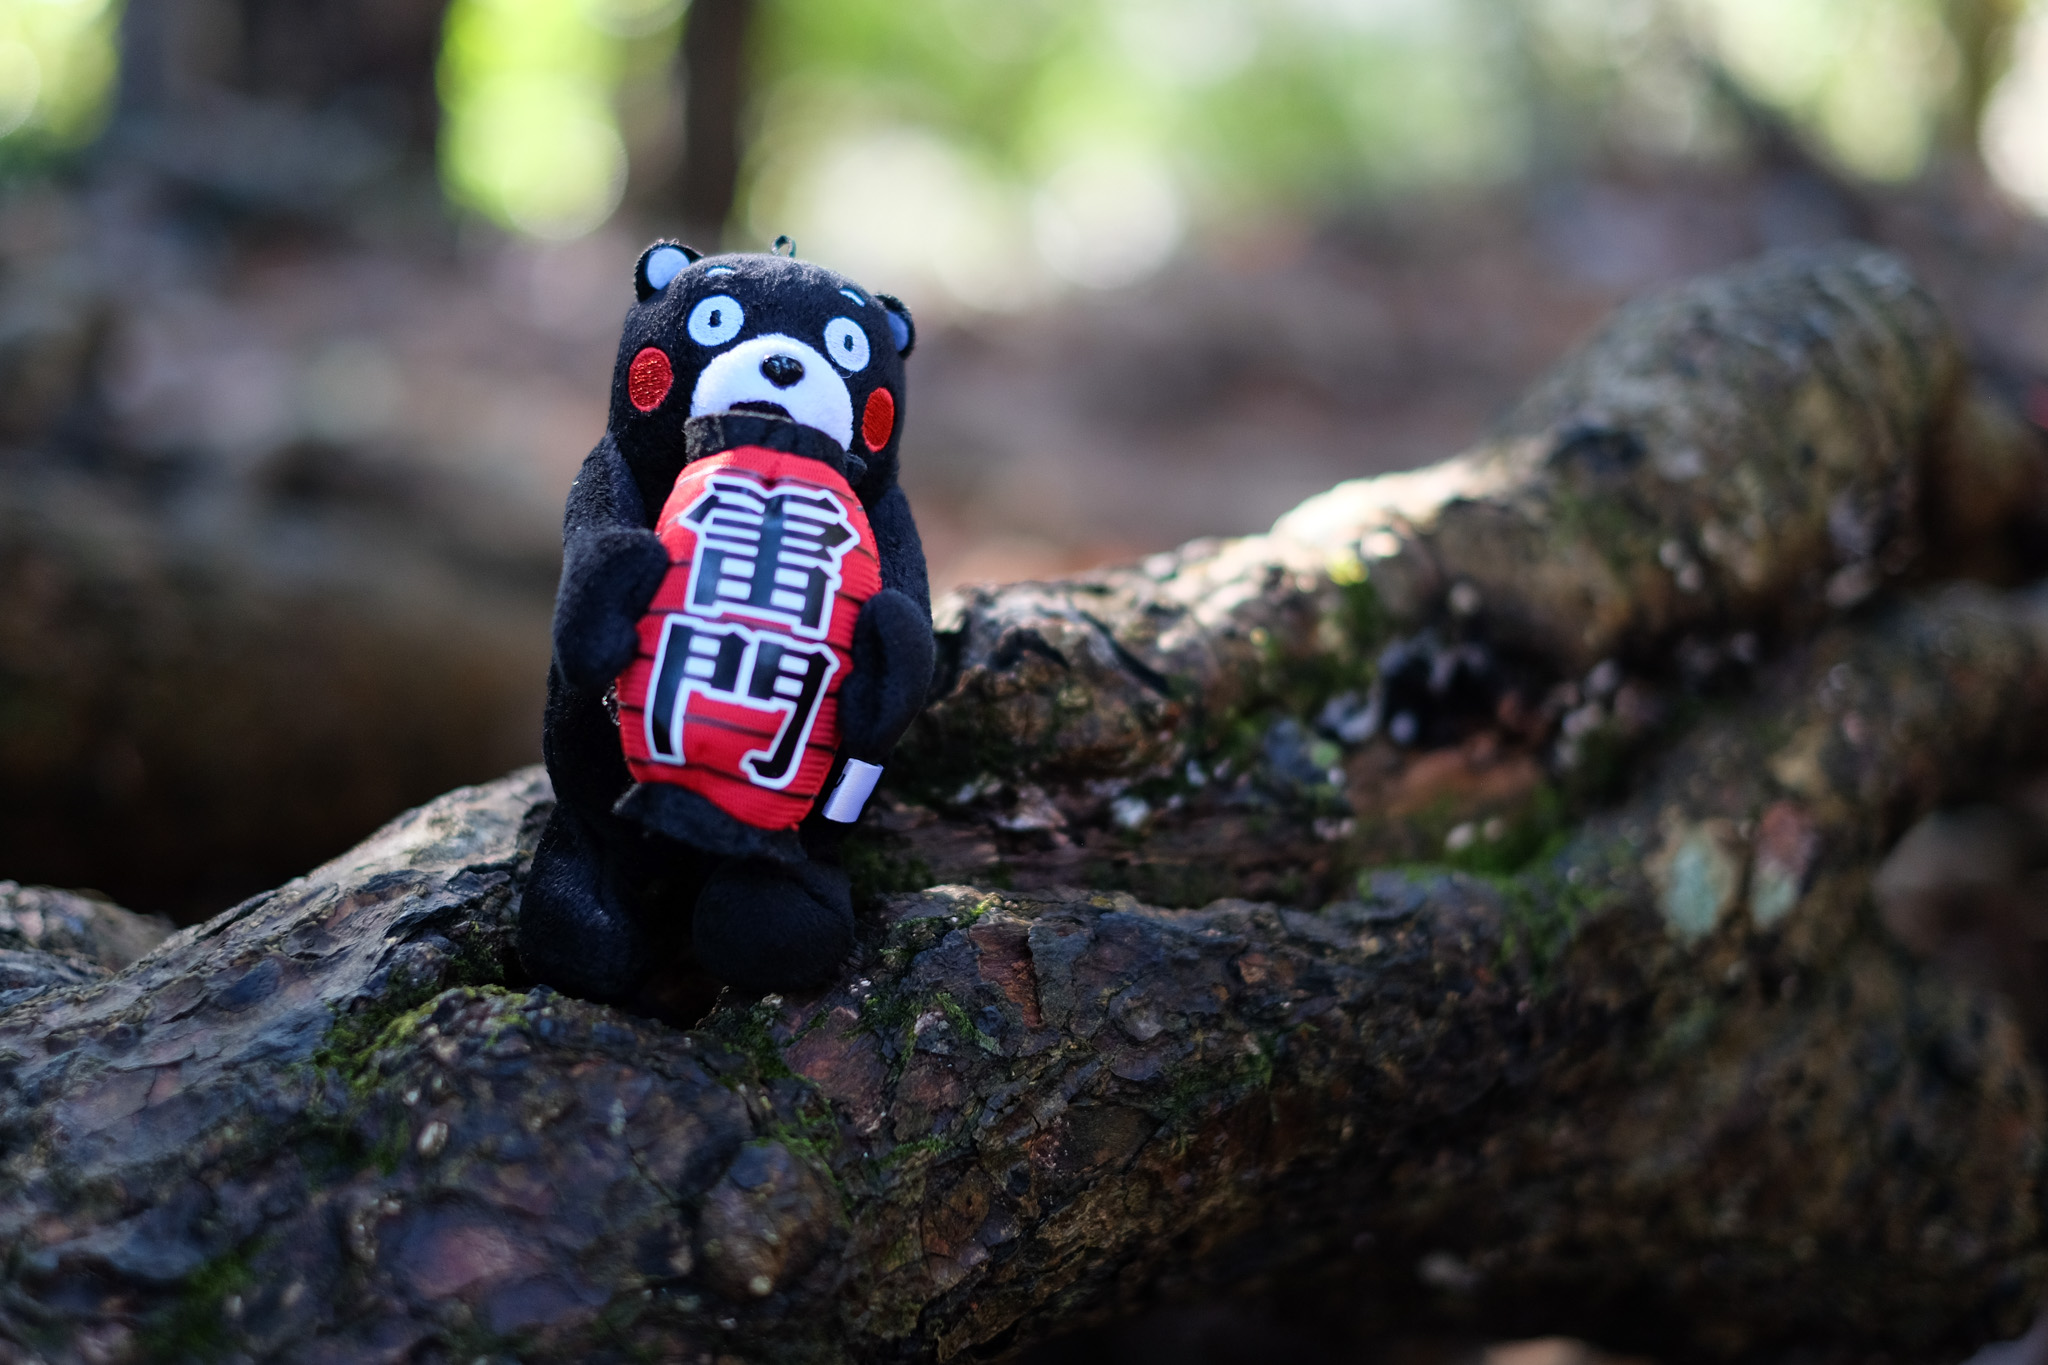
Encountered a bear on the way!!


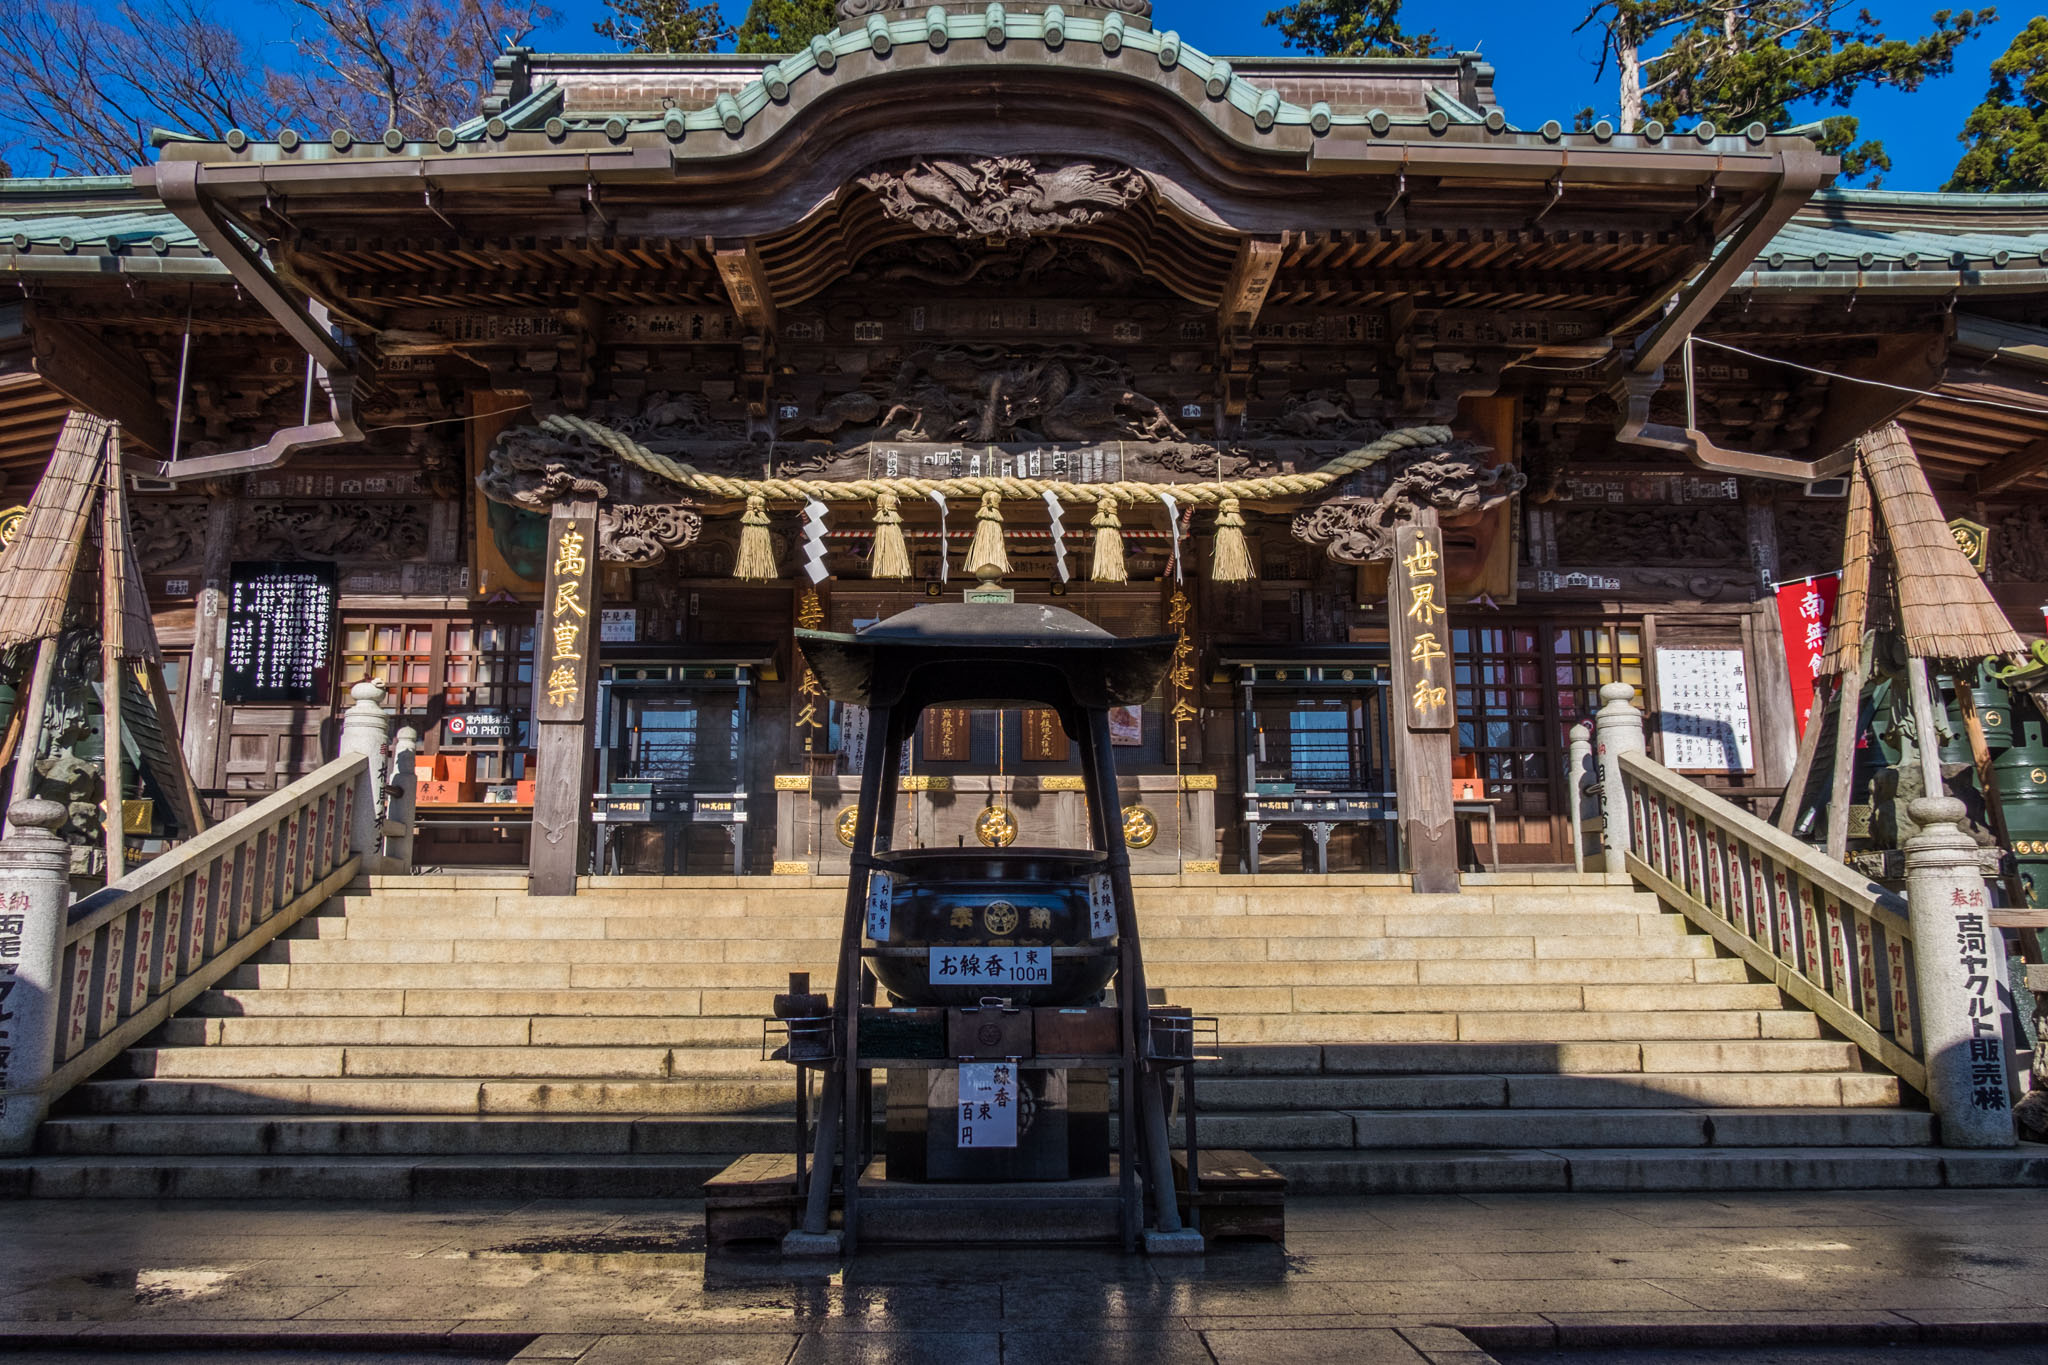
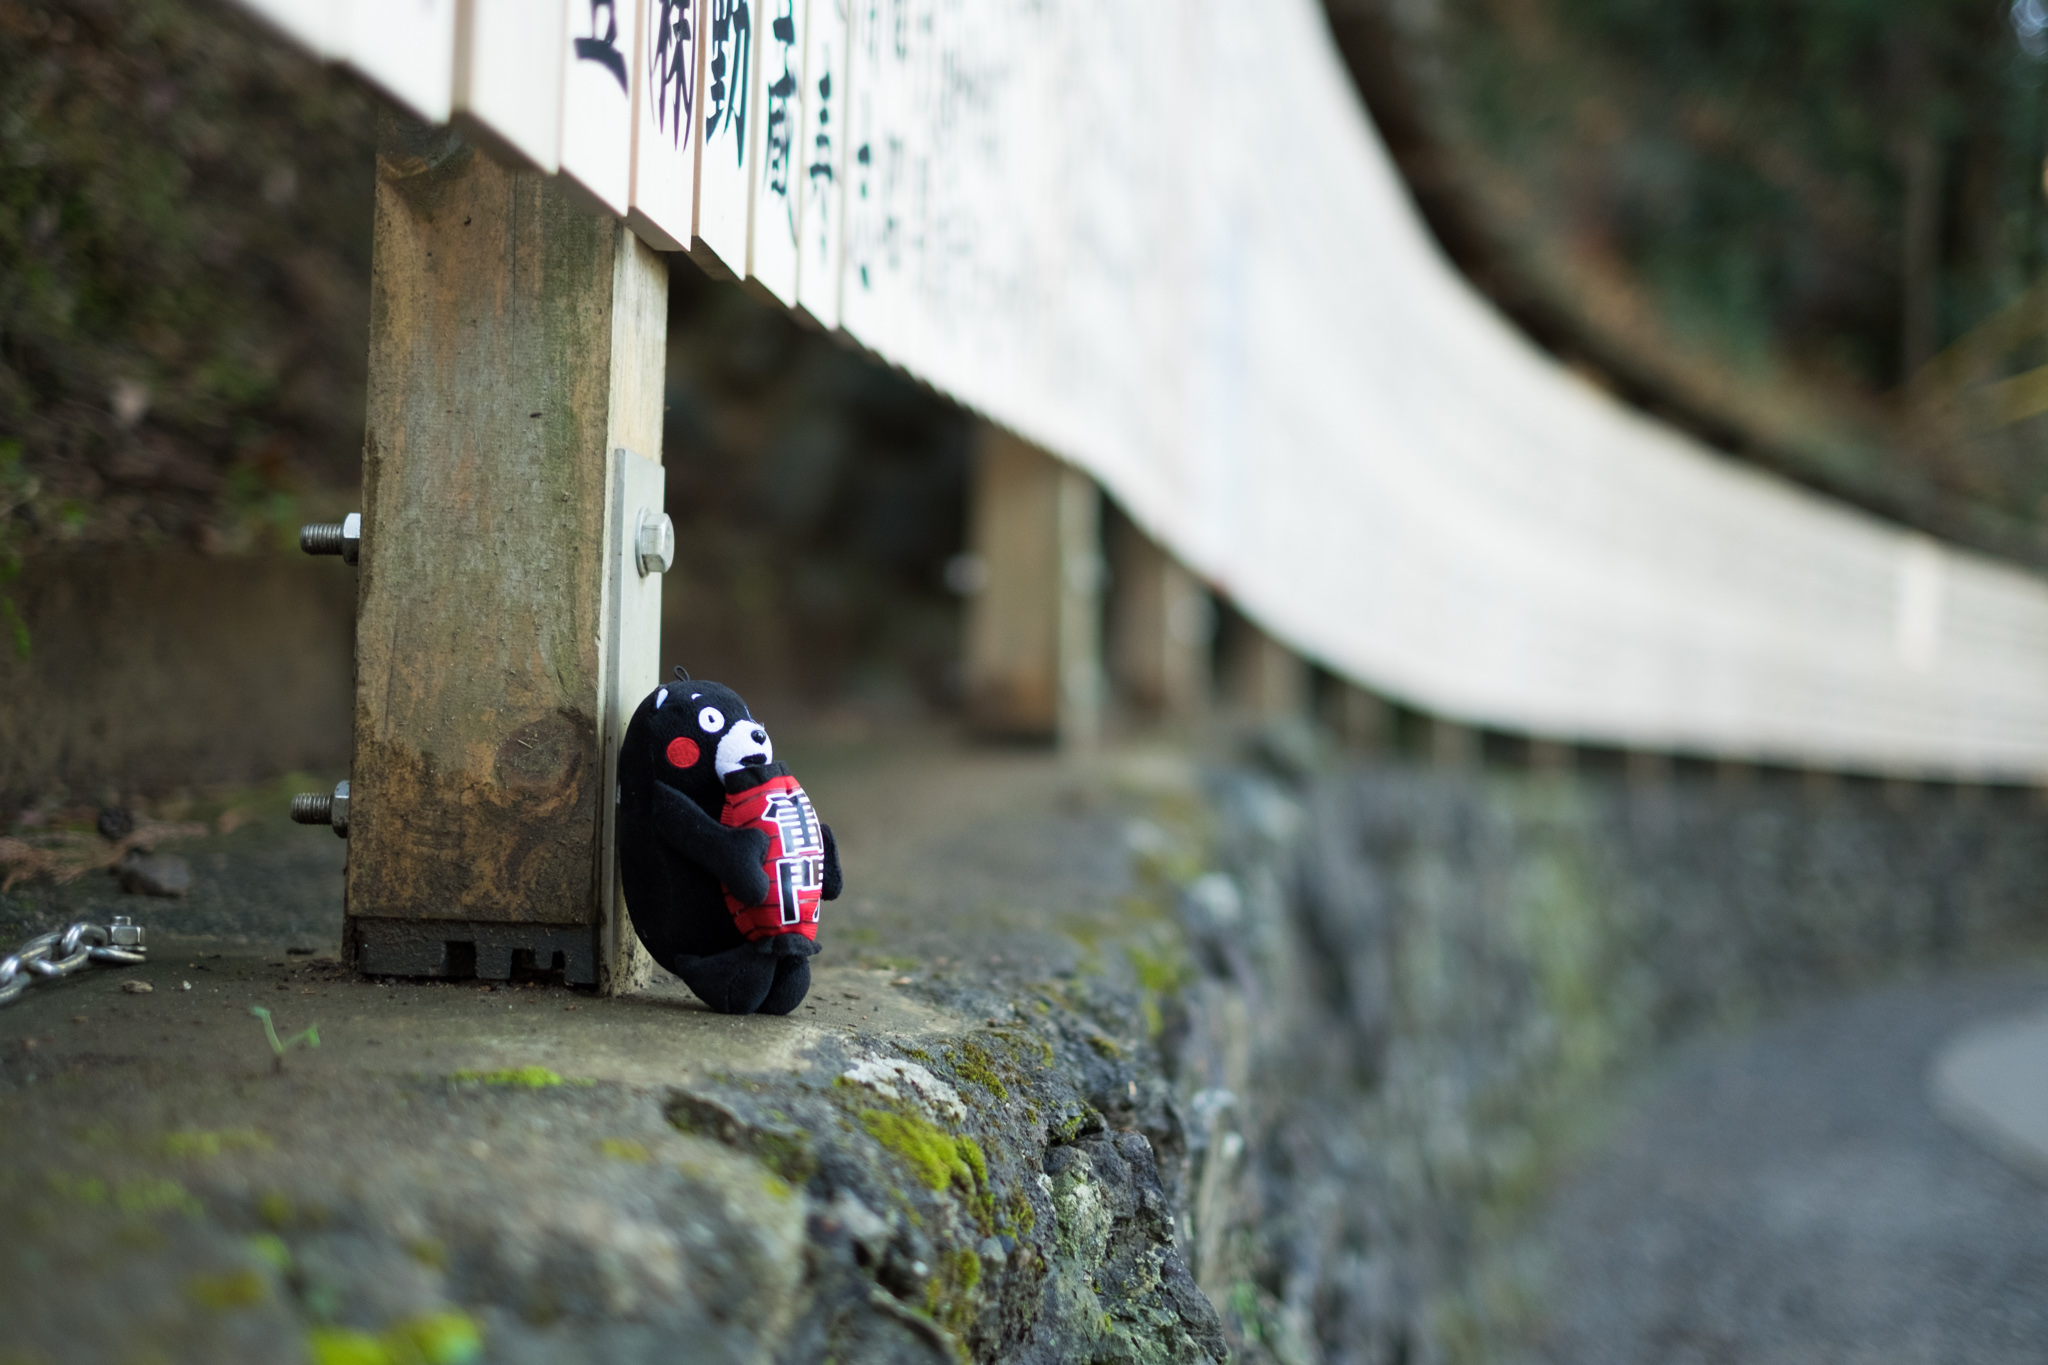
Take a break
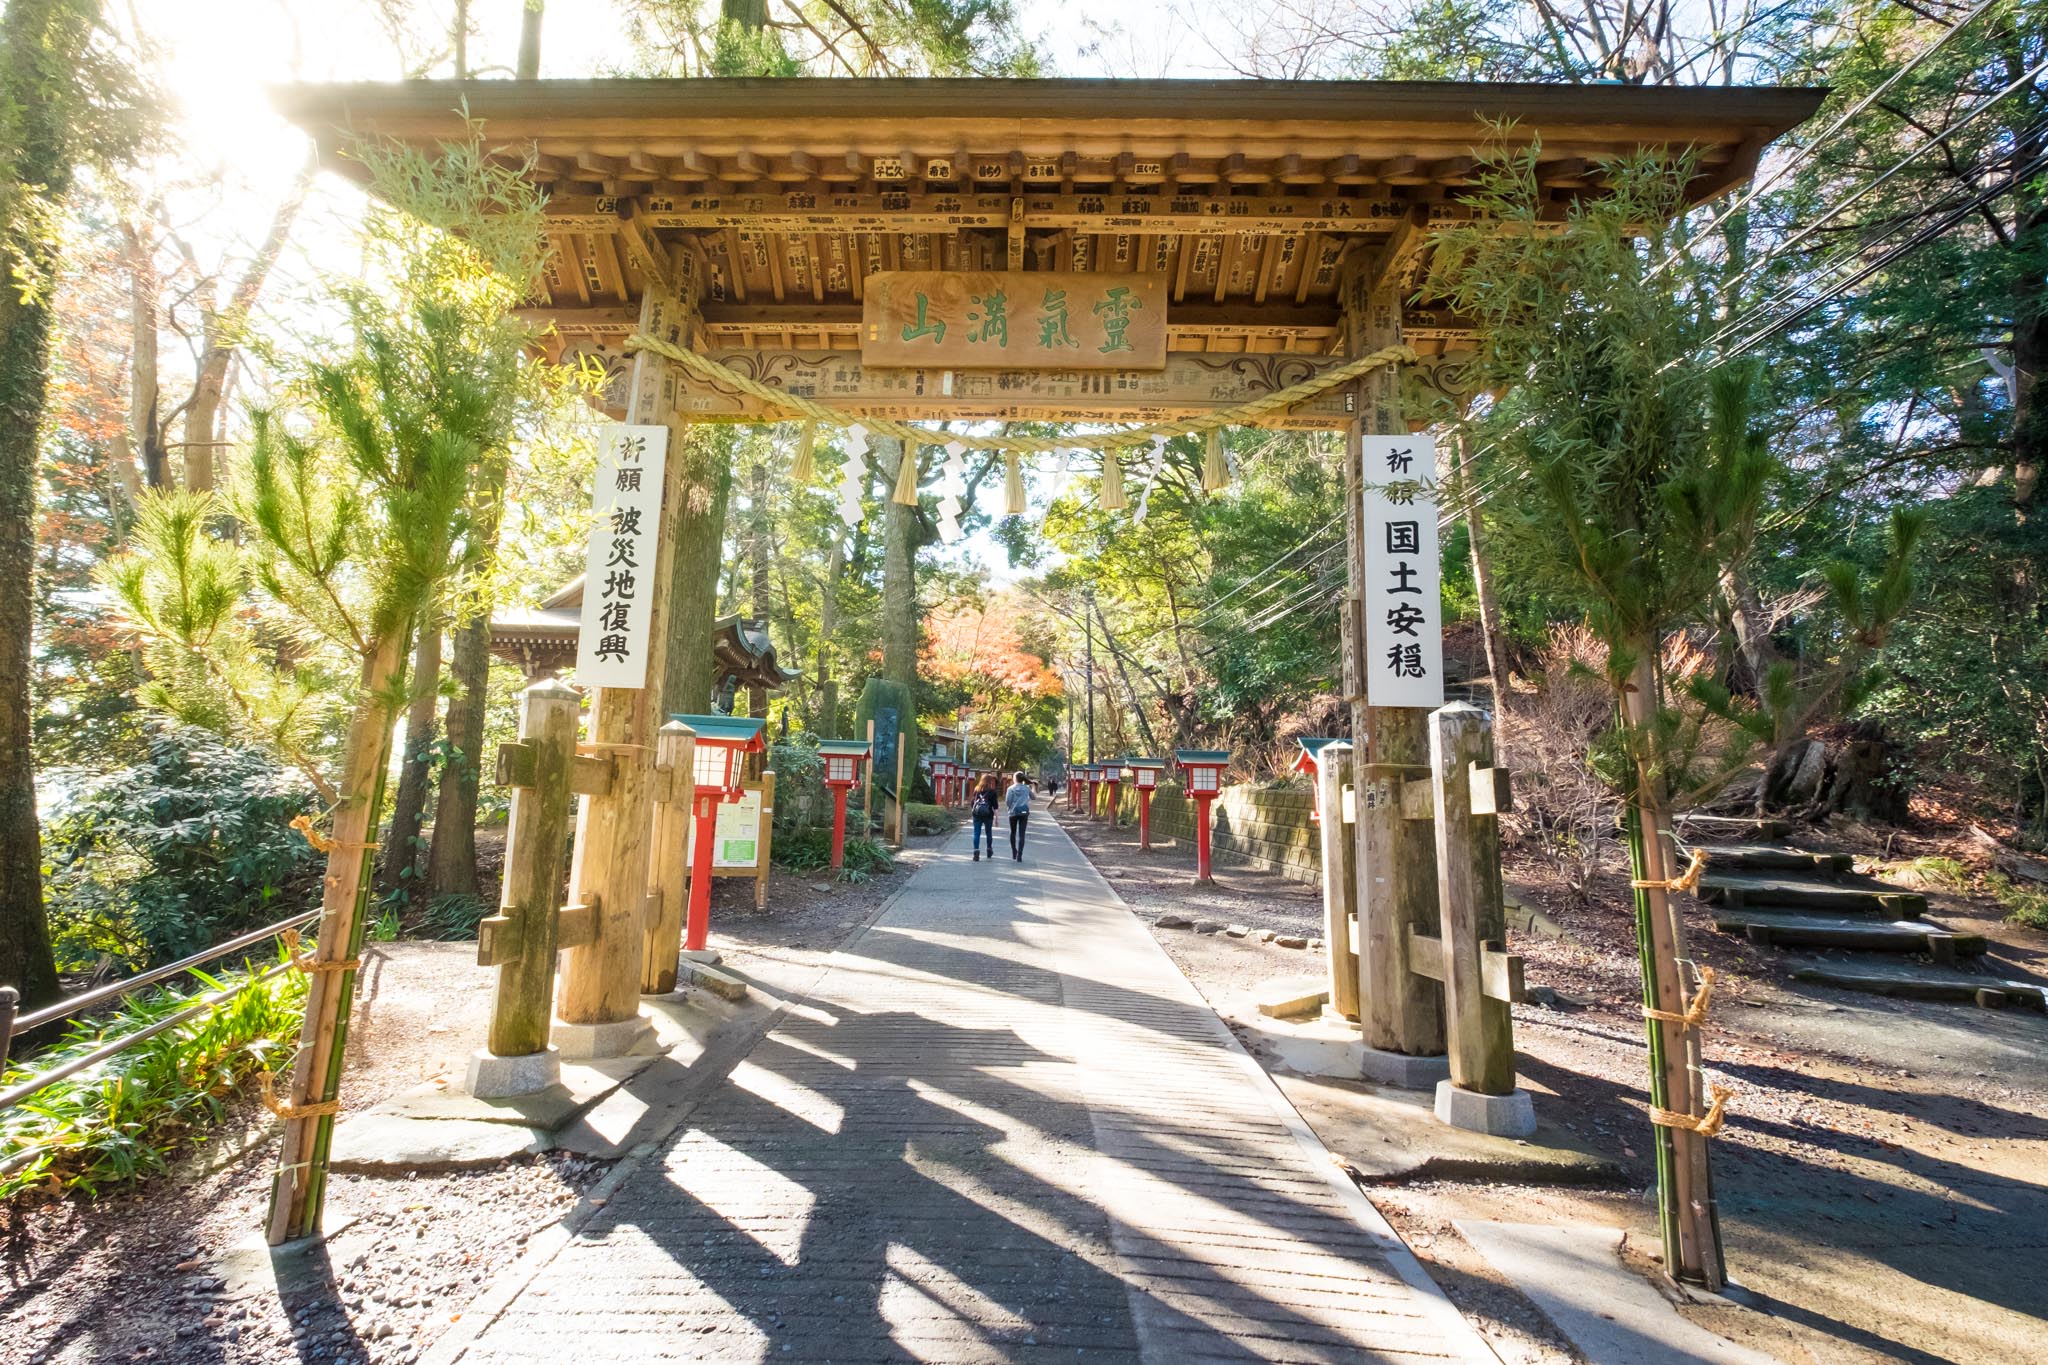
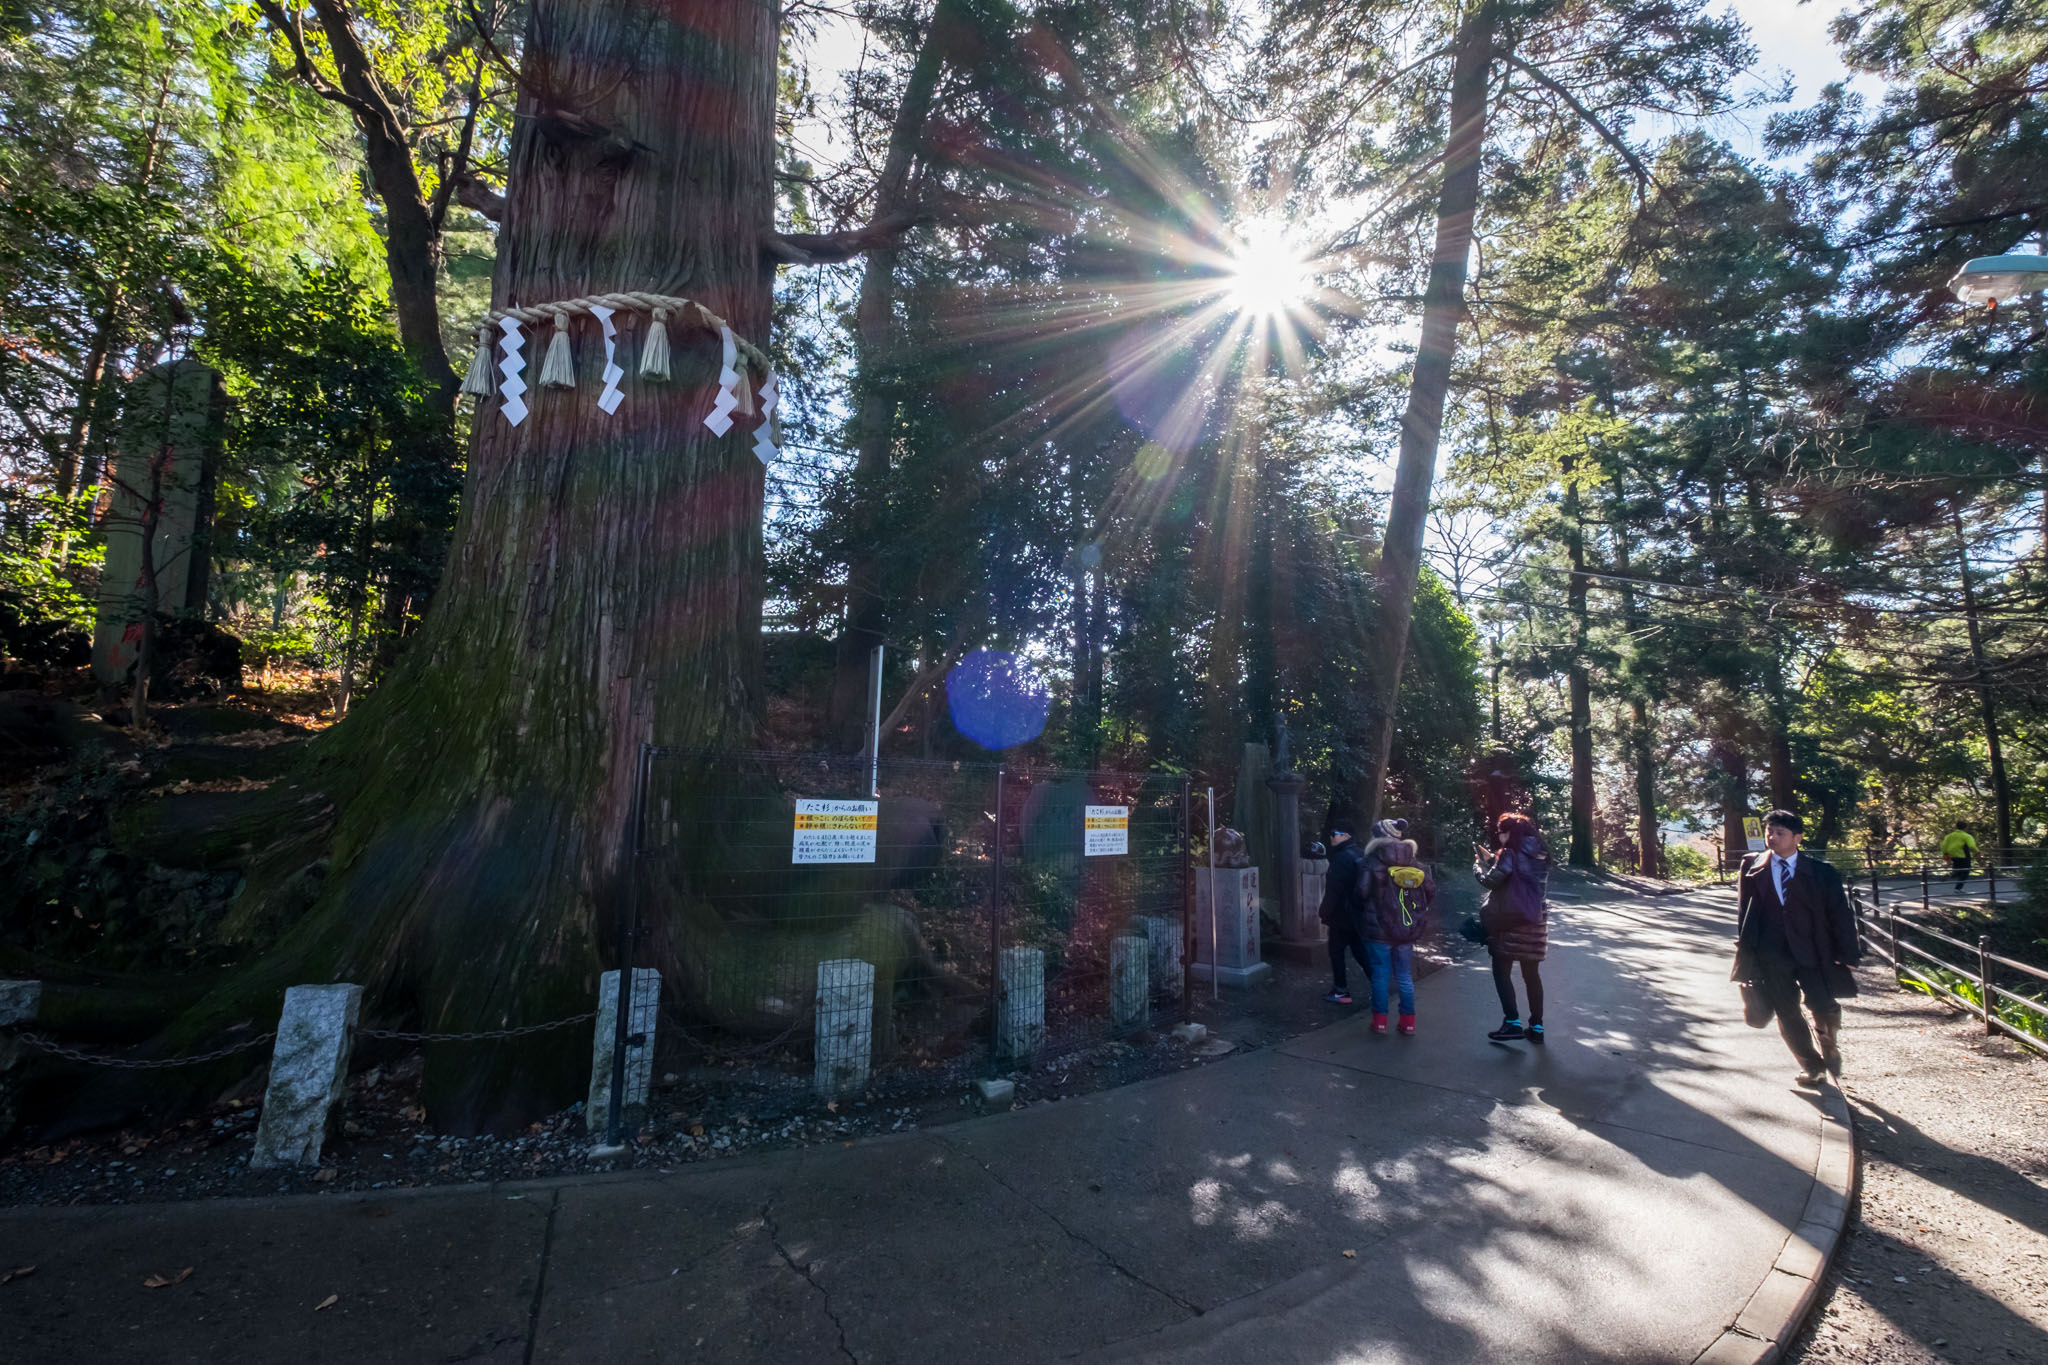
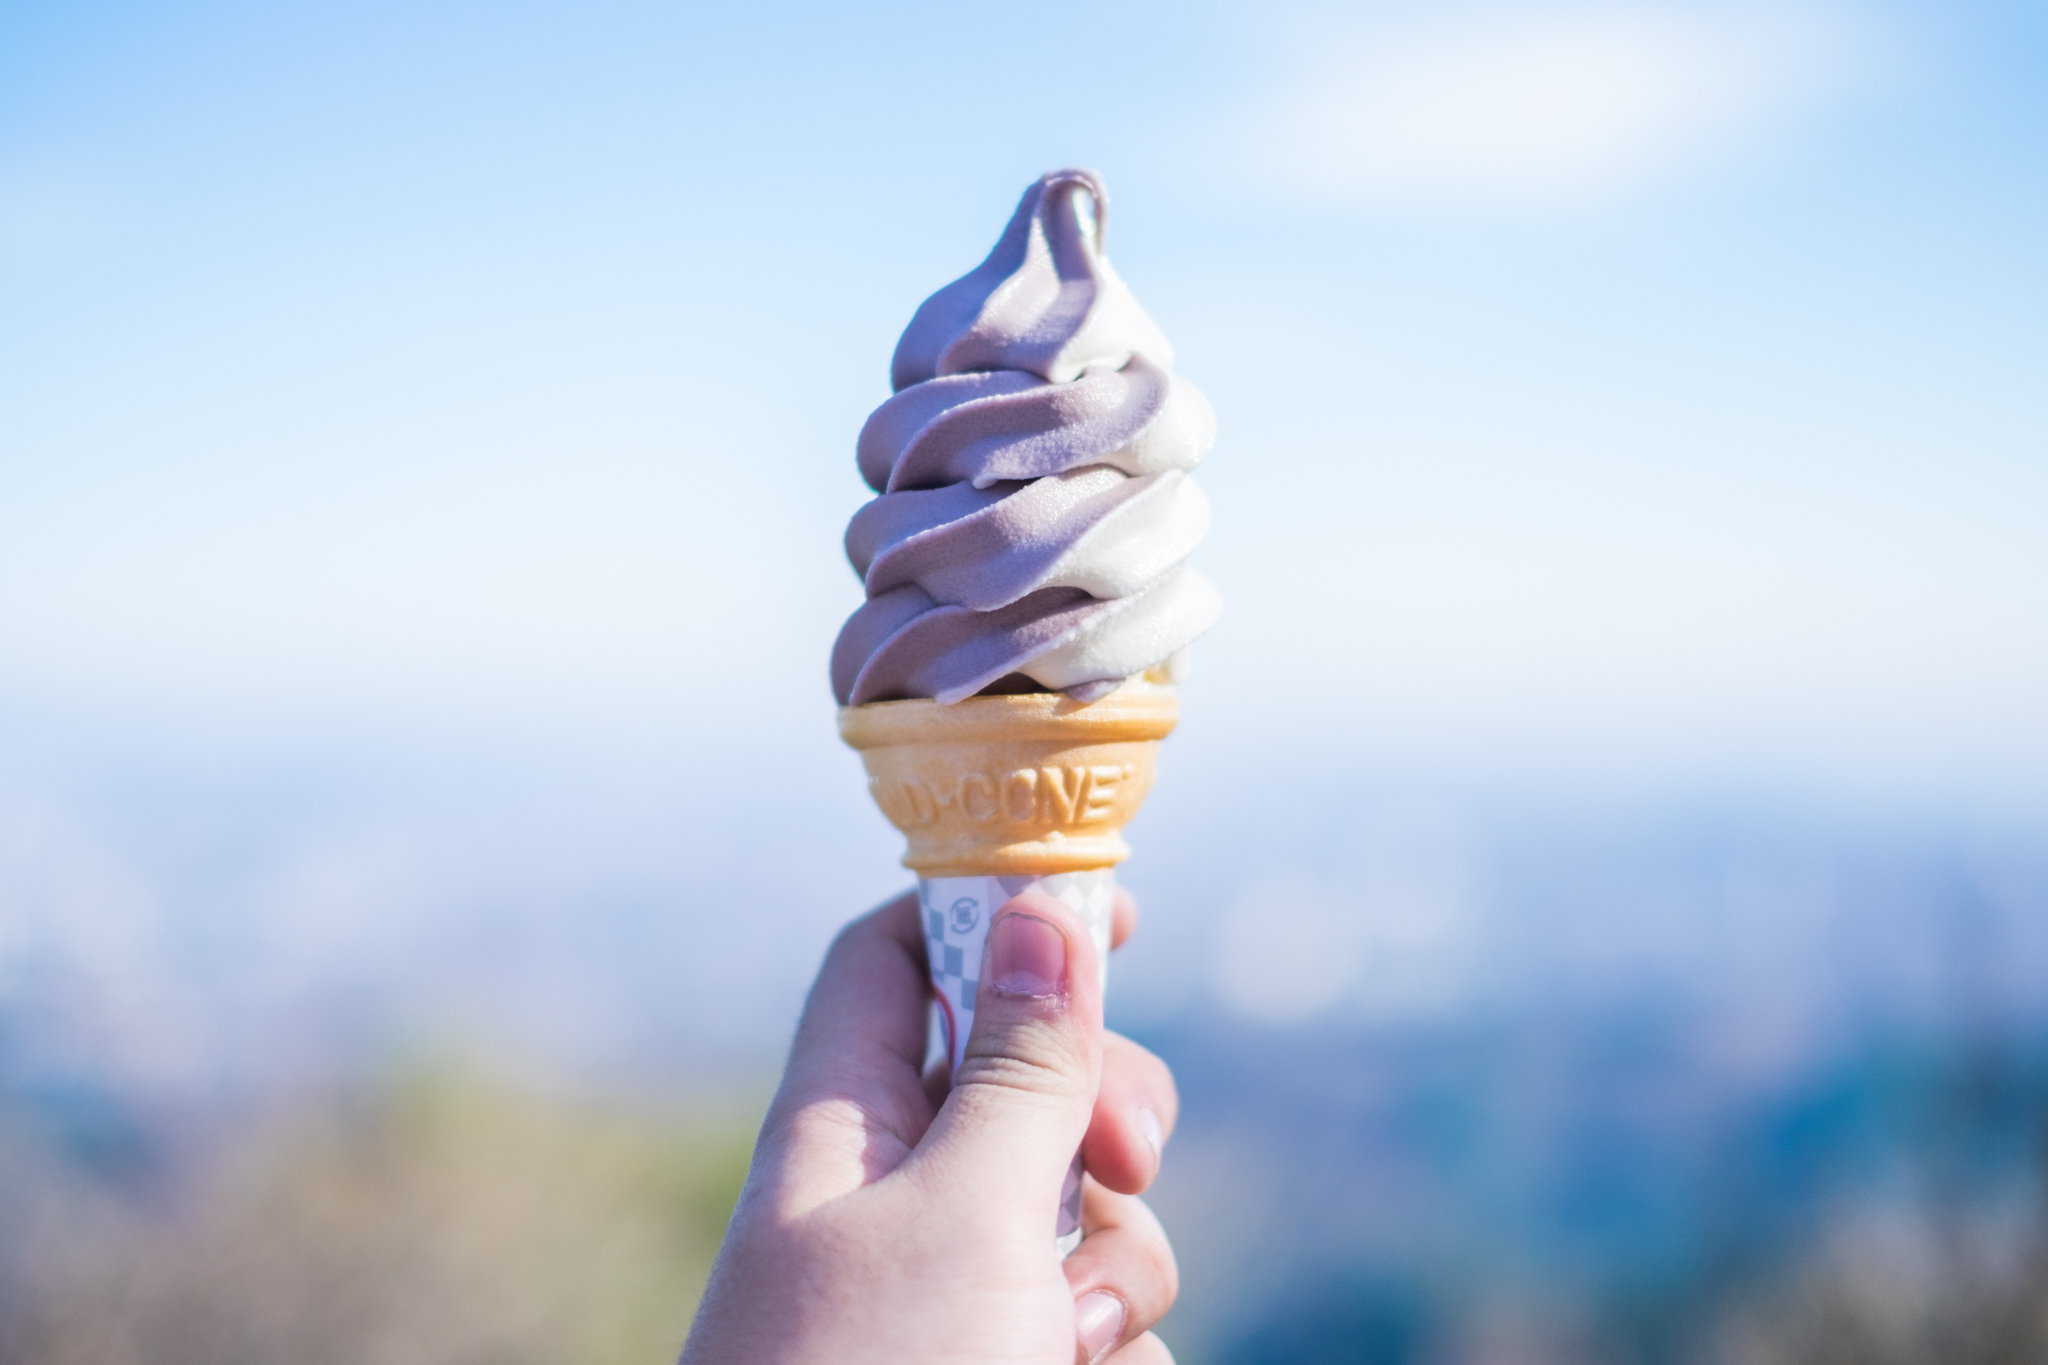
I'm back at the dango shop now. It's a little past noon. I calculated that I need to be at the station by 3 pm at the latest. I figured that it would take an hour to walk down and an hour to eat, so I decided to walk down. Before I went down, I stopped by the dango shop again. This time I bought a soft serve ice cream to try. I had been eyeing it since this morning, but I wanted to eat dango more at that time. 55
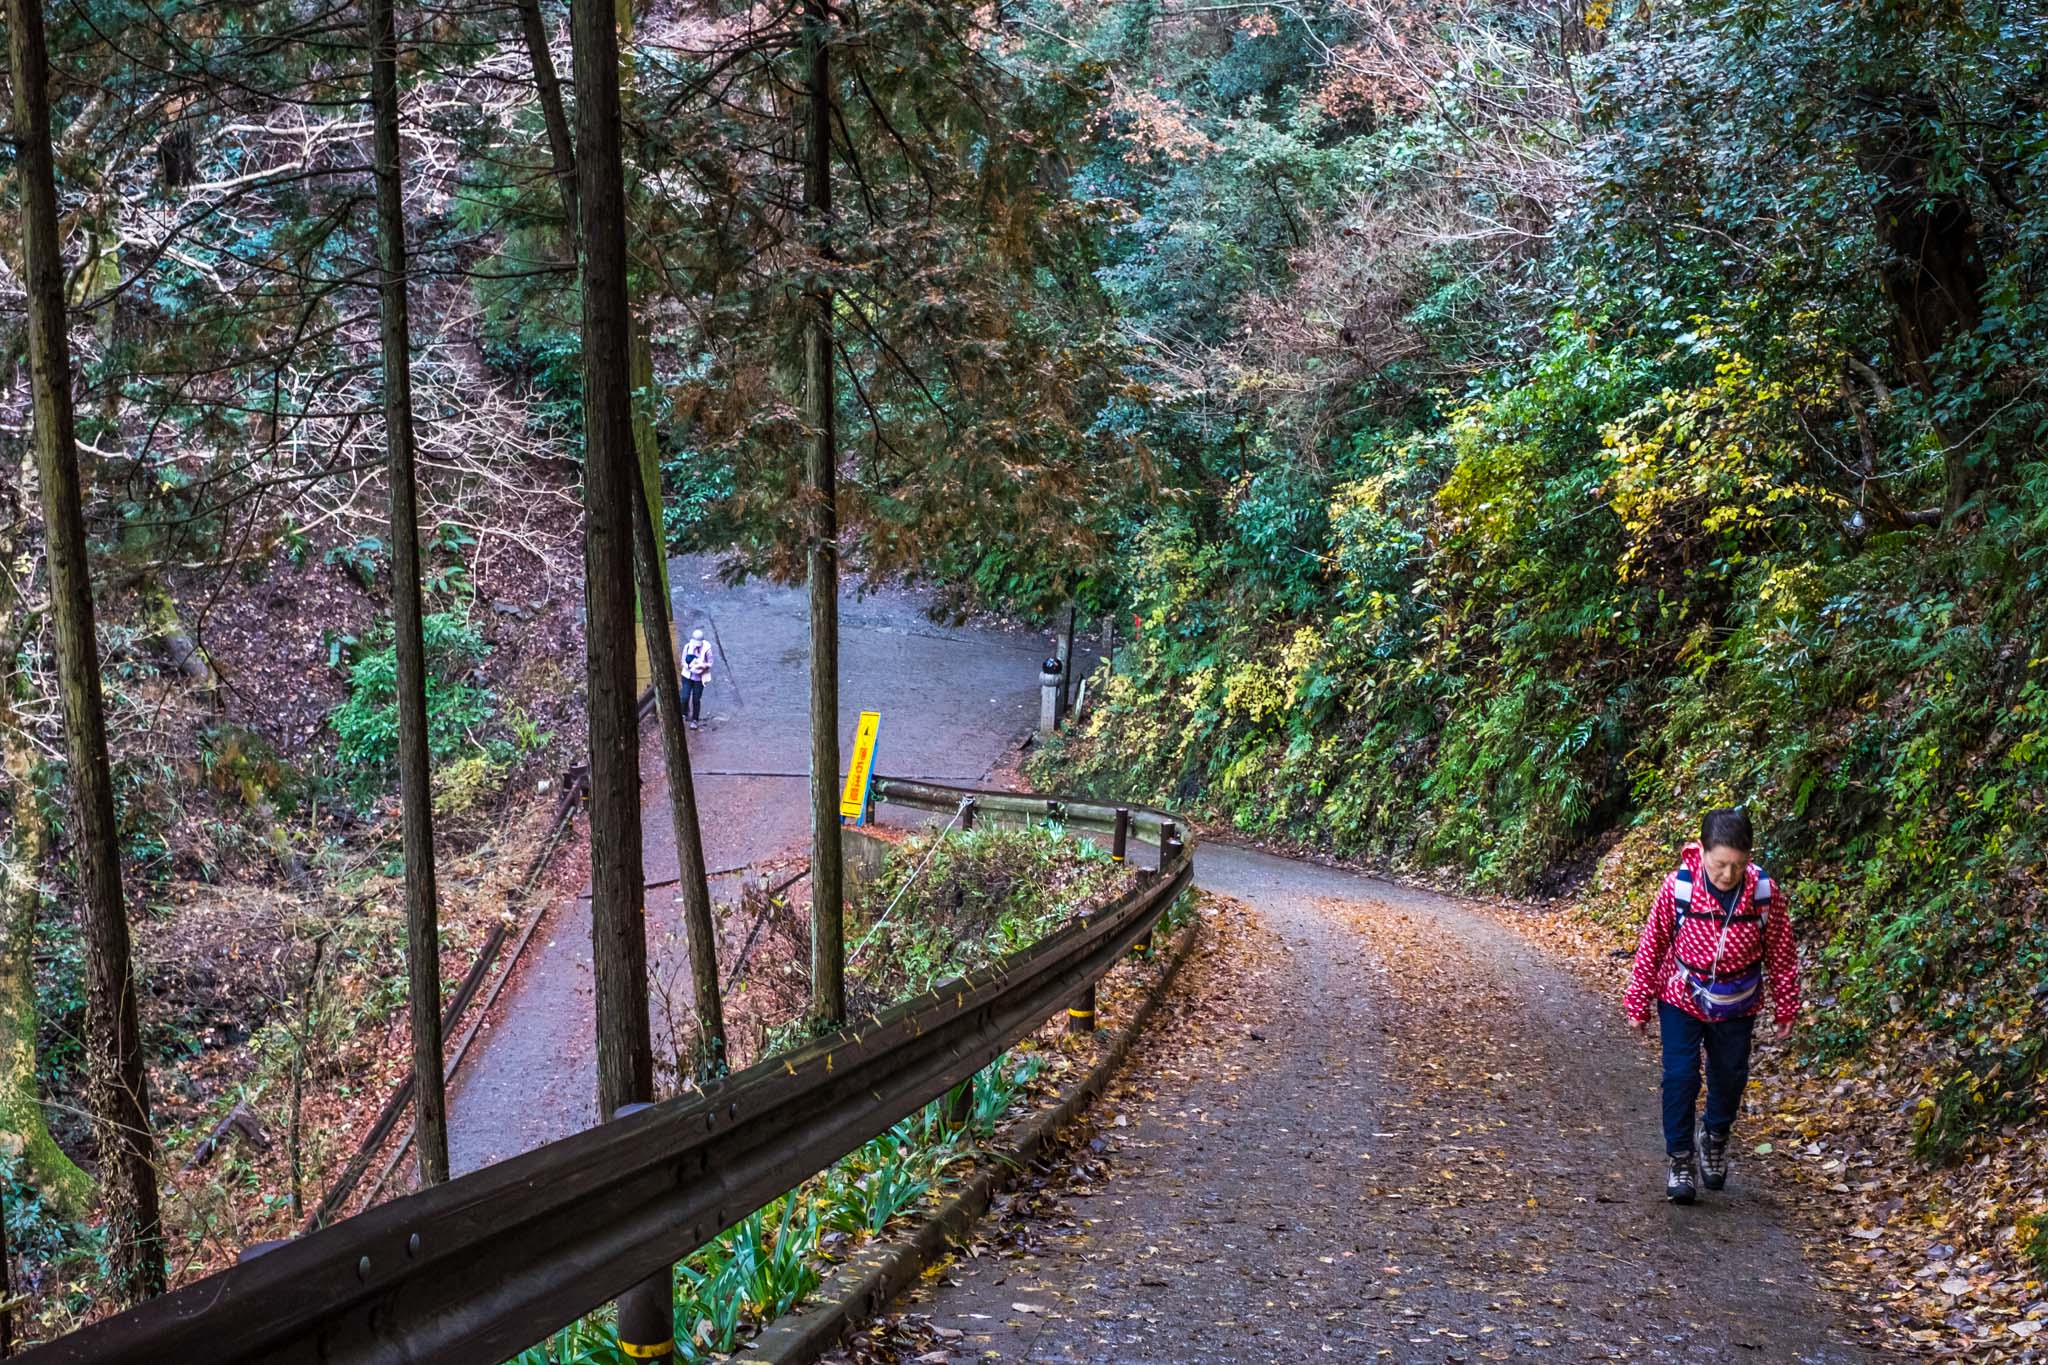
The path leading down from the tram station is incredibly steep, with some sections reaching almost 30 degrees. It's so steep that it's almost impossible to walk down; you practically have to run. It's even steeper than the slope down from Phu Kradueng (excluding the section where you have to climb down rocks). Fortunately, the path is made of asphalt, which provides some traction and prevents it from being too slippery. However, anyone walking up this path needs to be reasonably fit, otherwise they'll be stopping every three steps. Additionally, some sections are exposed to direct sunlight with no shade from trees.

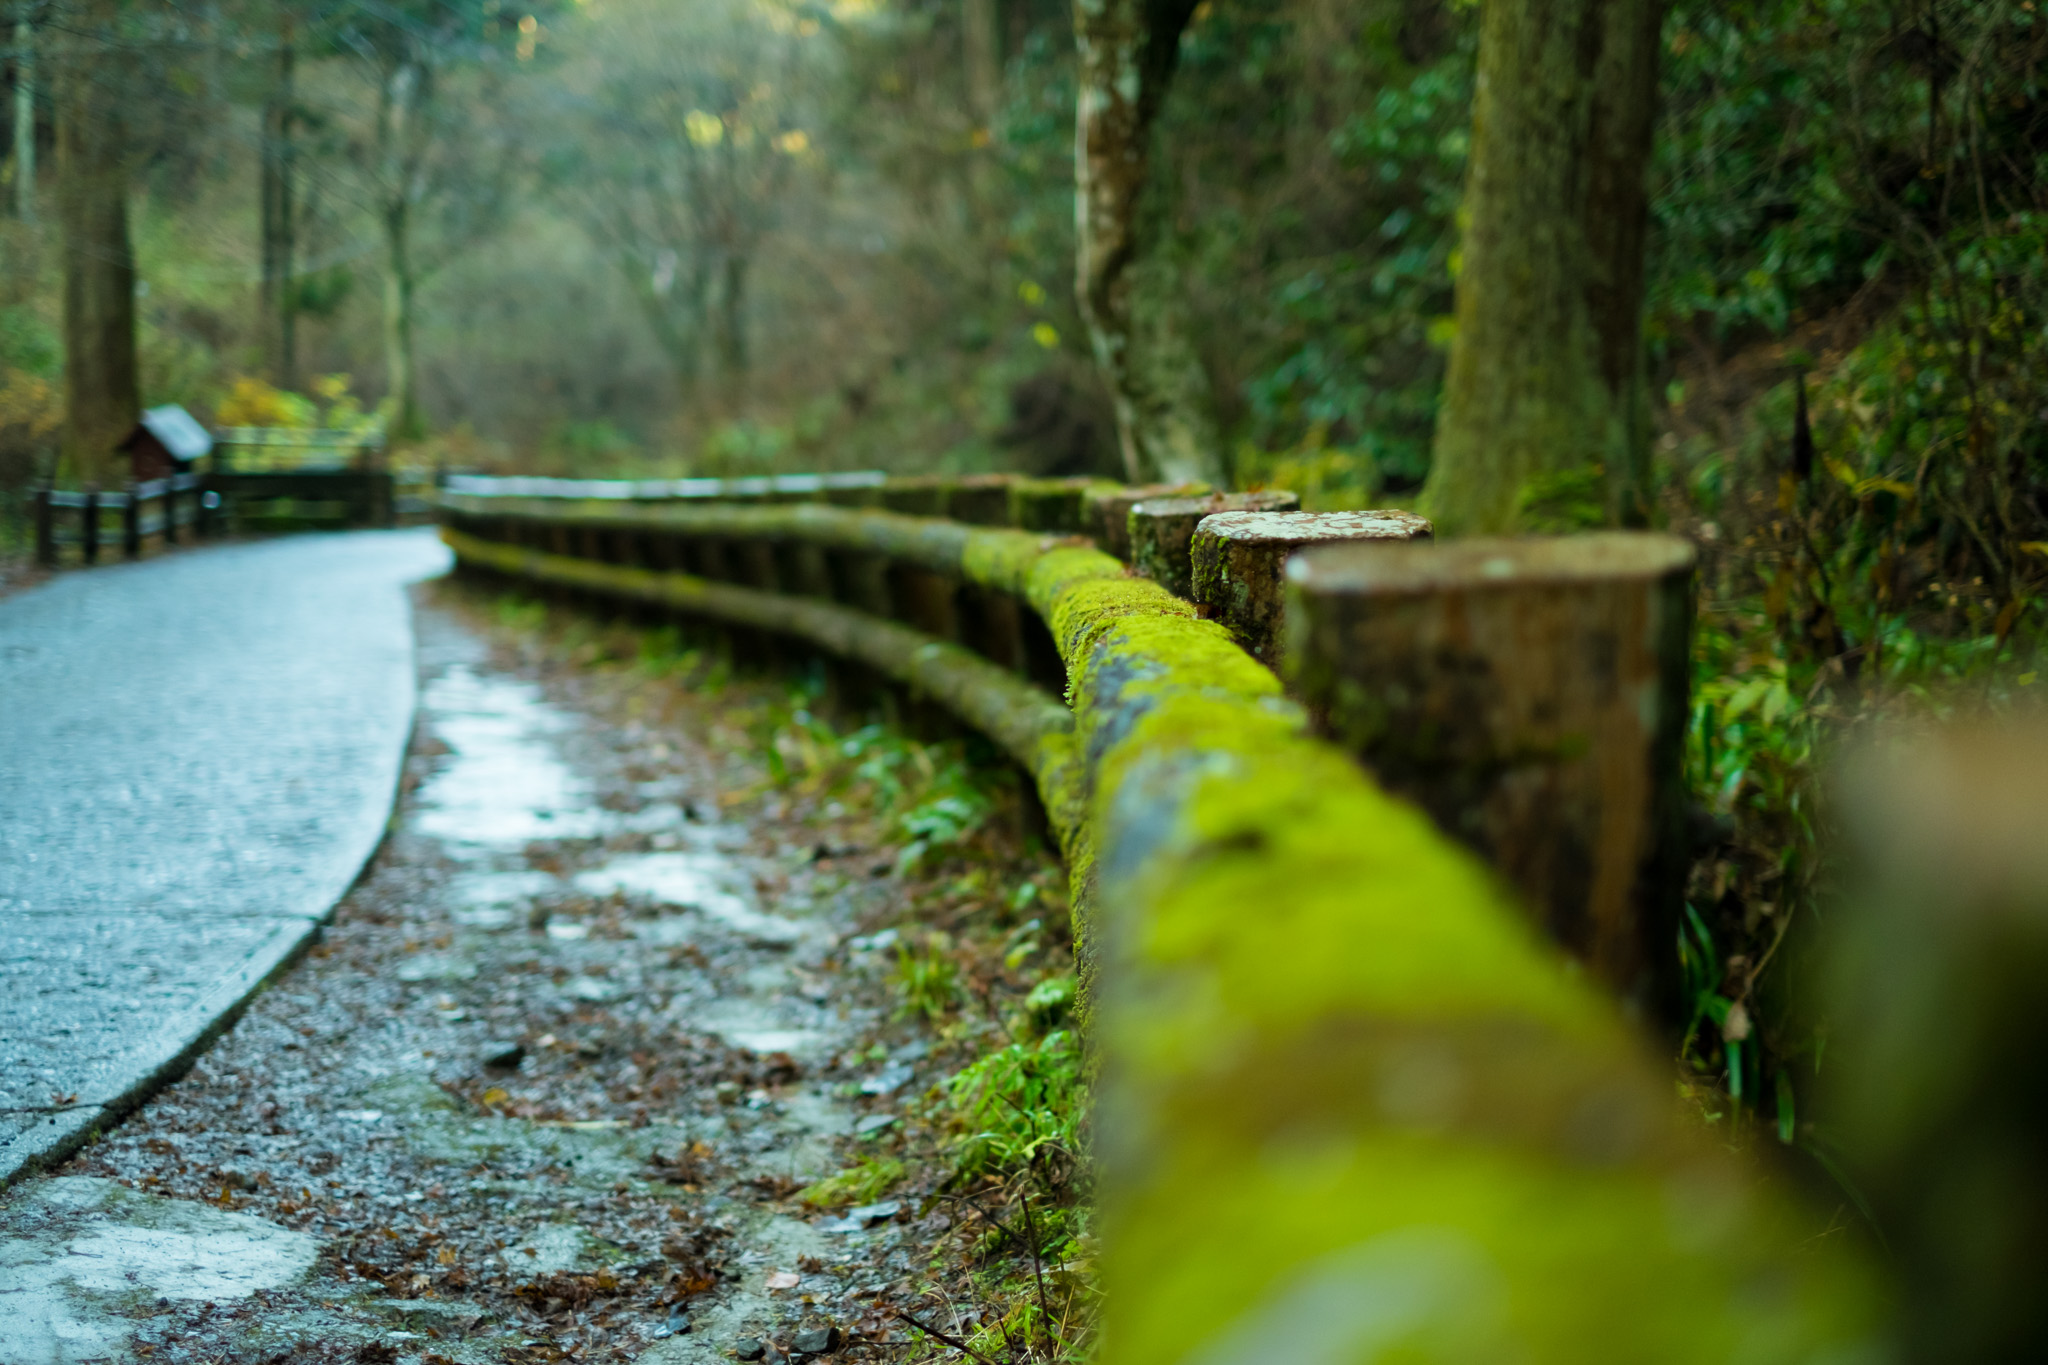
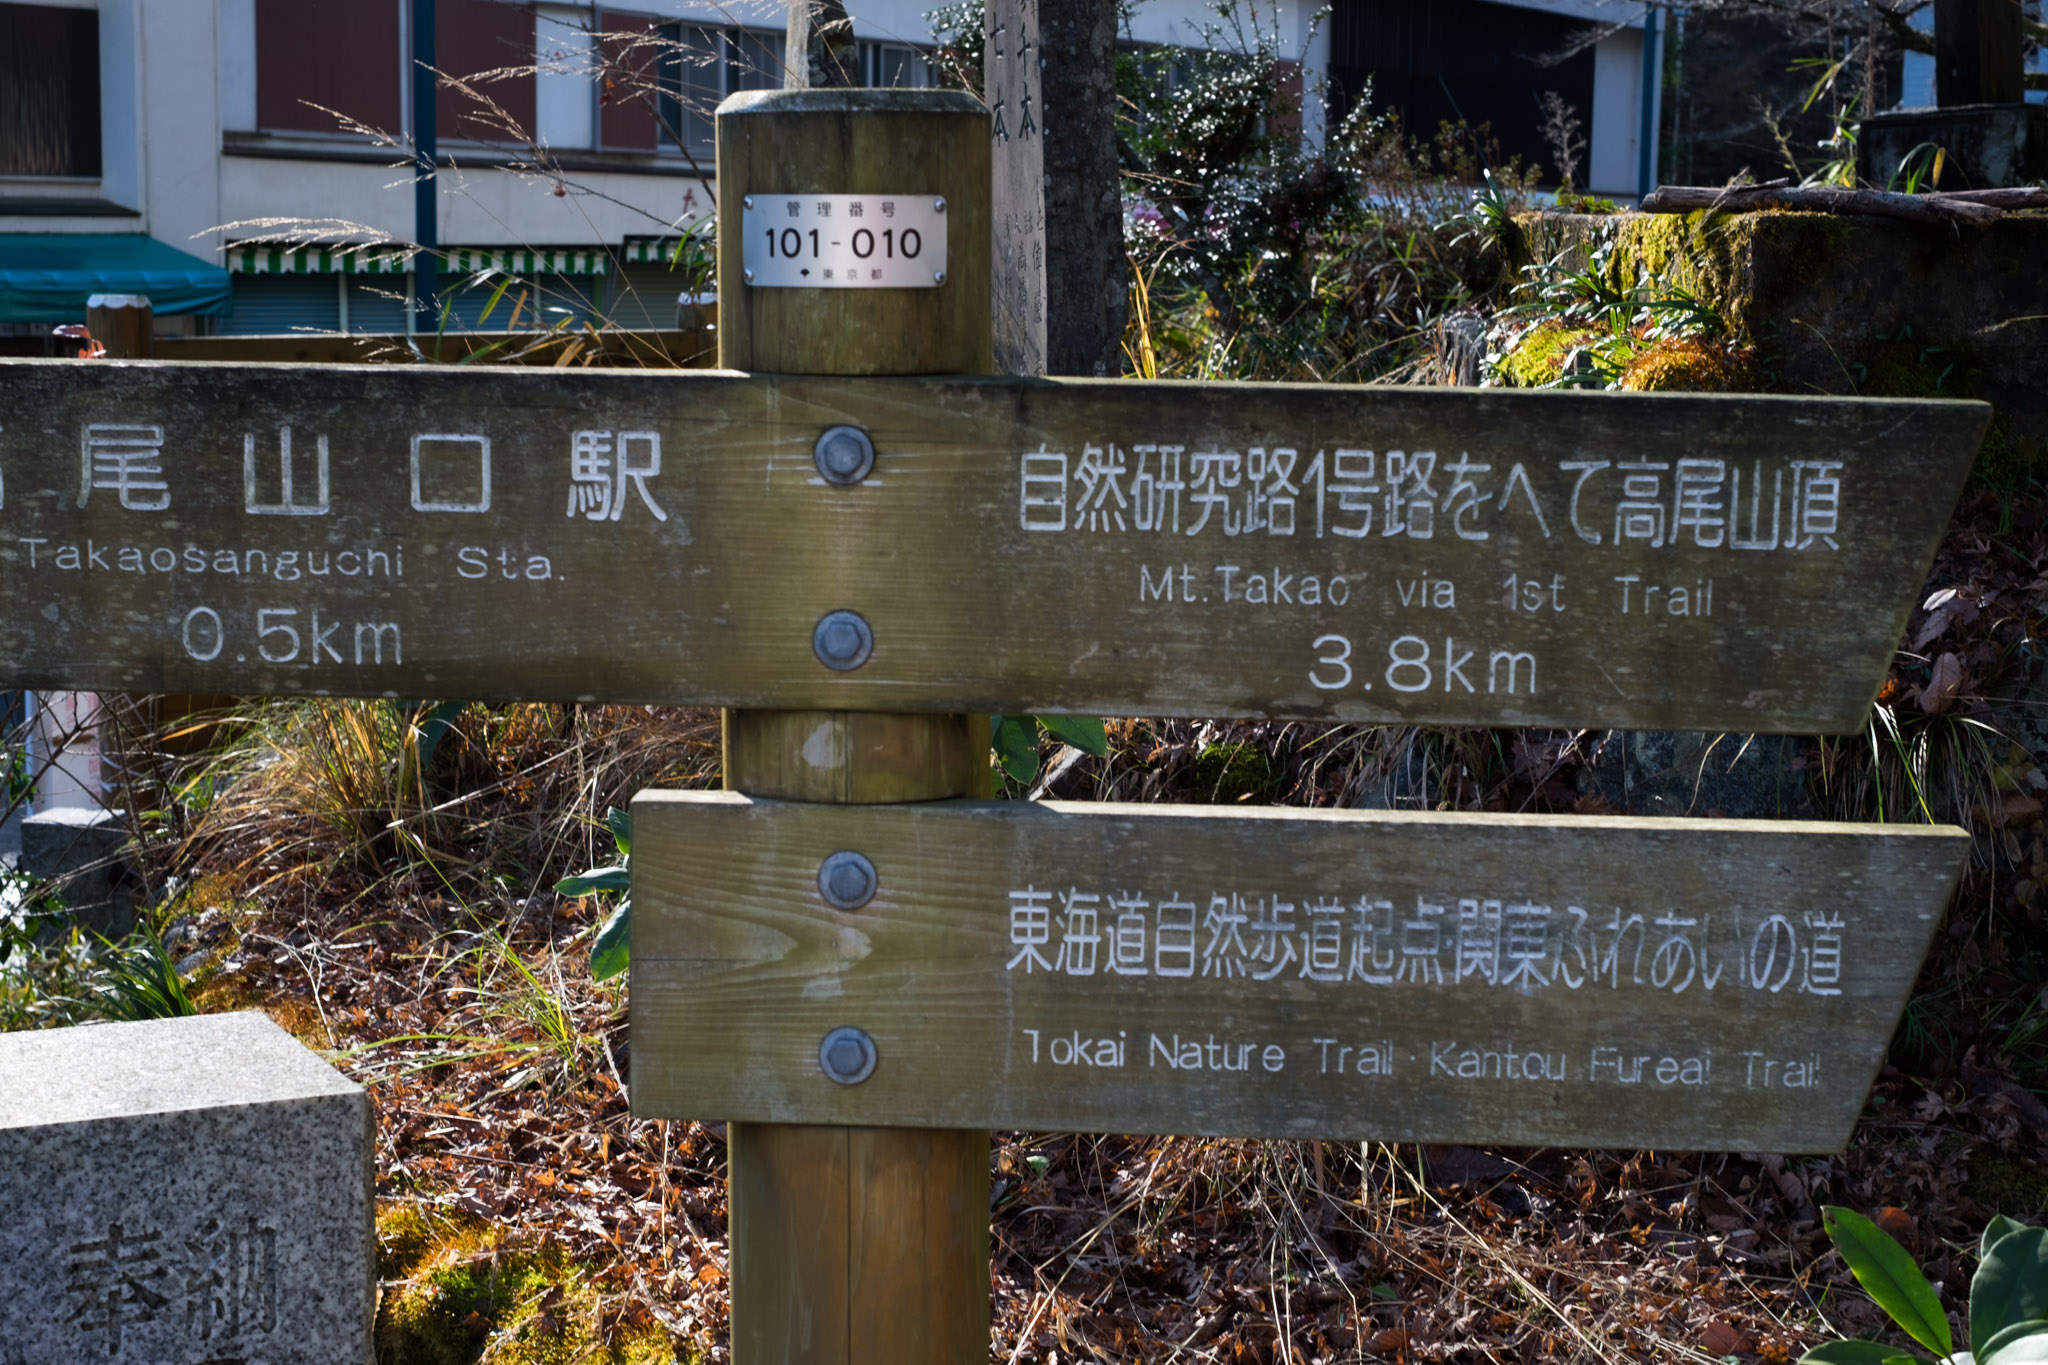
And then we safely reached the bottom. I just noticed the distance sign. The total distance from the bottom to the top of Mount Takao is 3.8 km (walking Trail 1). The first part is a flat road, before having to walk up a steep slope continuously for about 2 km. Then you will reach the funicular station. The next 1.8 km is a flat road with a few small hills, not enough to make you tired. It's only the first part that's tough. You should allow about 1.5 hours to walk from the bottom to the funicular station at the top. Walk on + visit the top of the mountain for another 1 hour and walk down for another 1 hour.
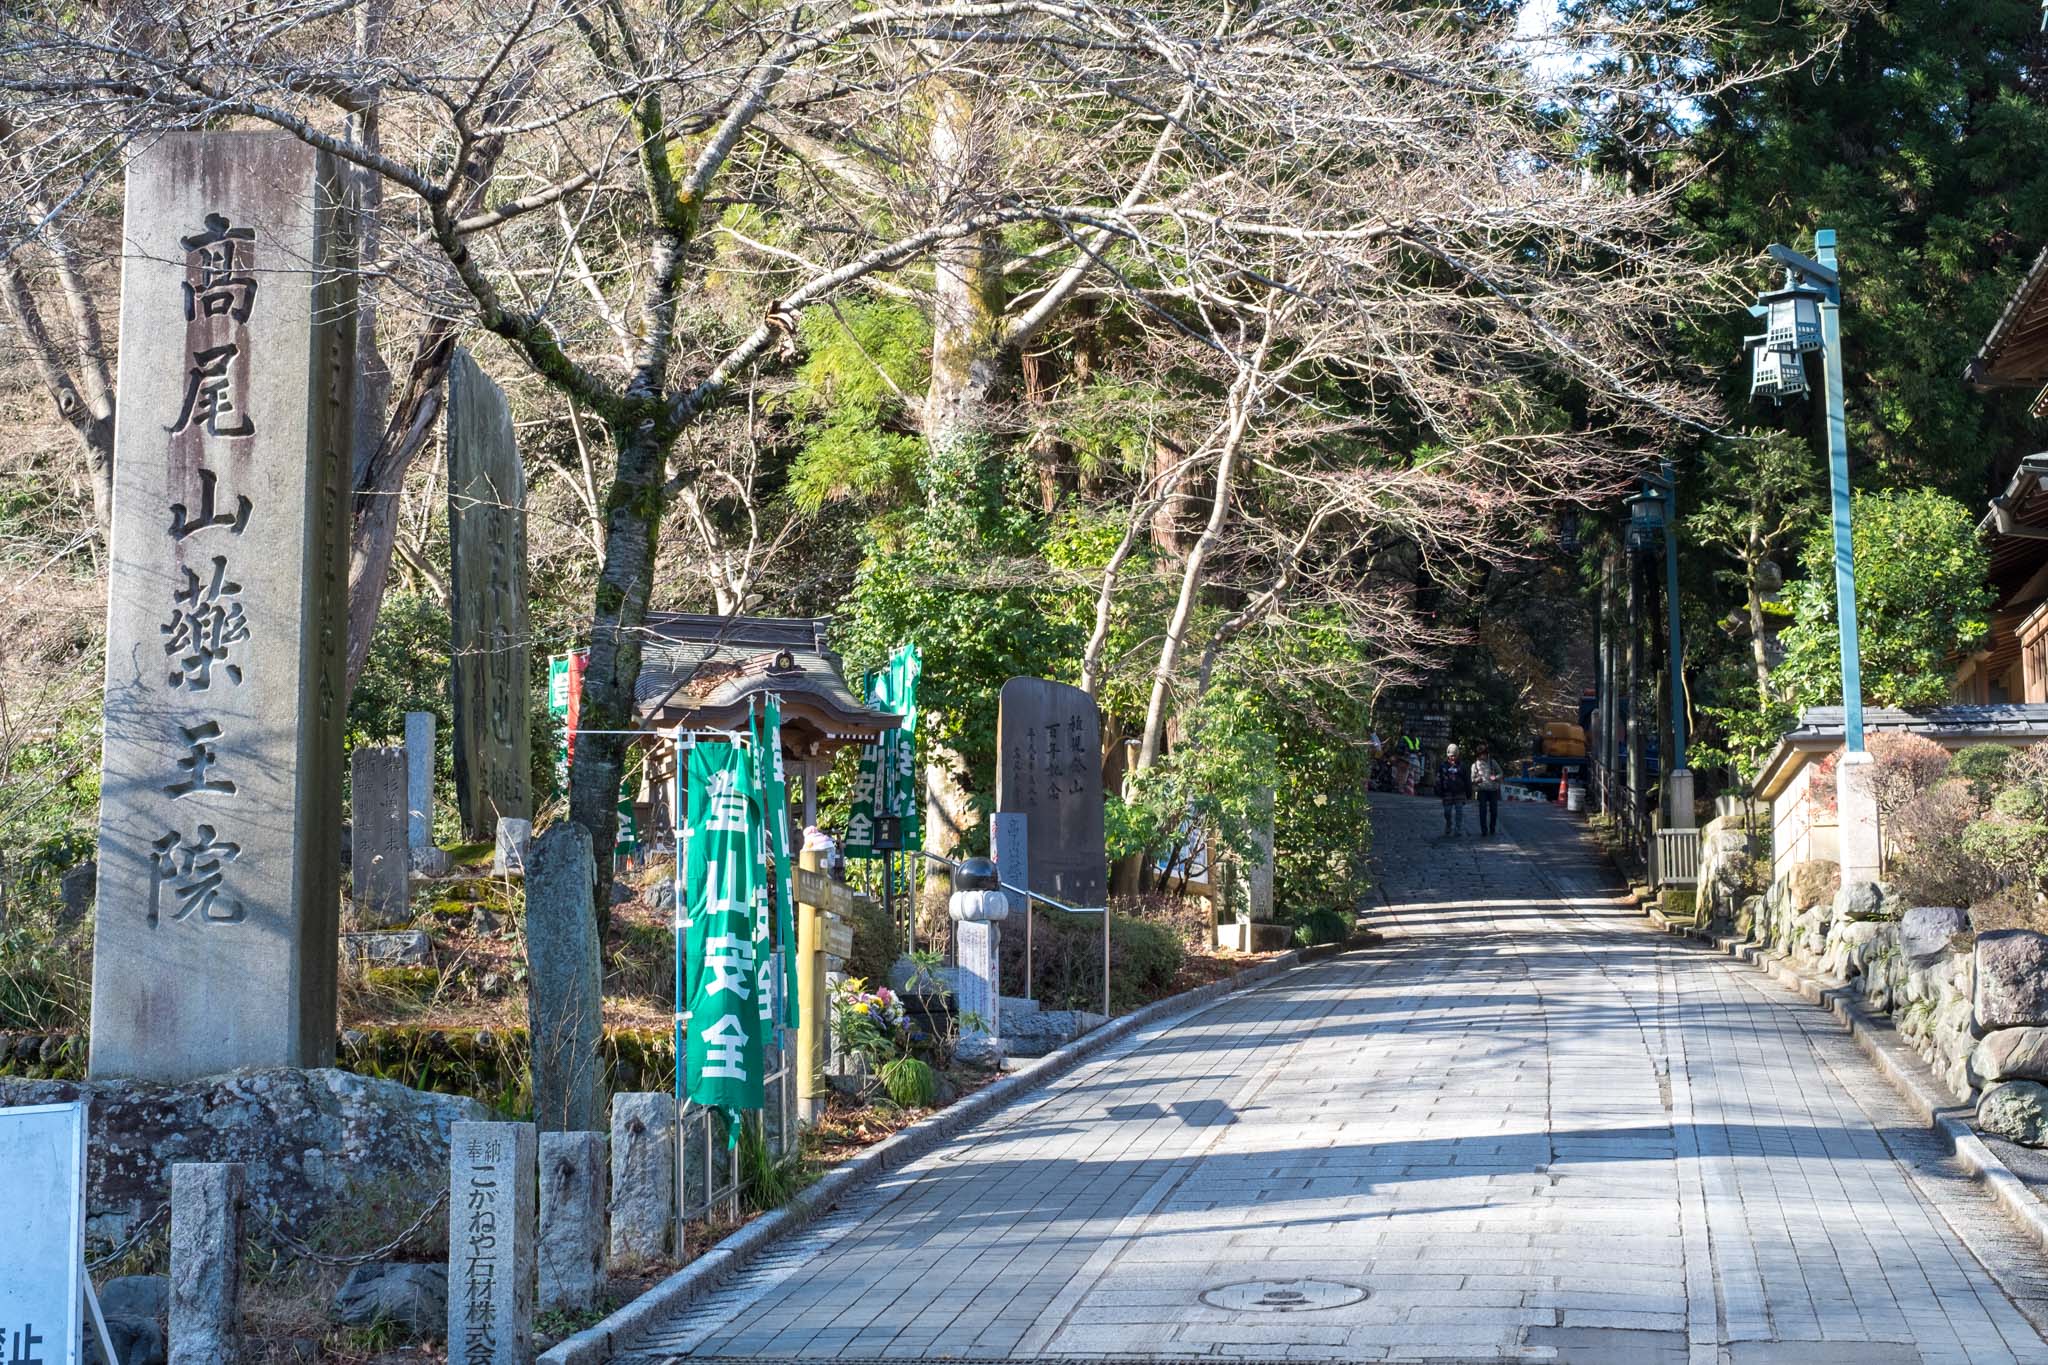
There are restaurants near the train station. The prices are reasonable, but there are no English menus. This place doesn't seem to get many foreign tourists, but communication wasn't too difficult. After all, Japanese people are known for their service-mindedness.
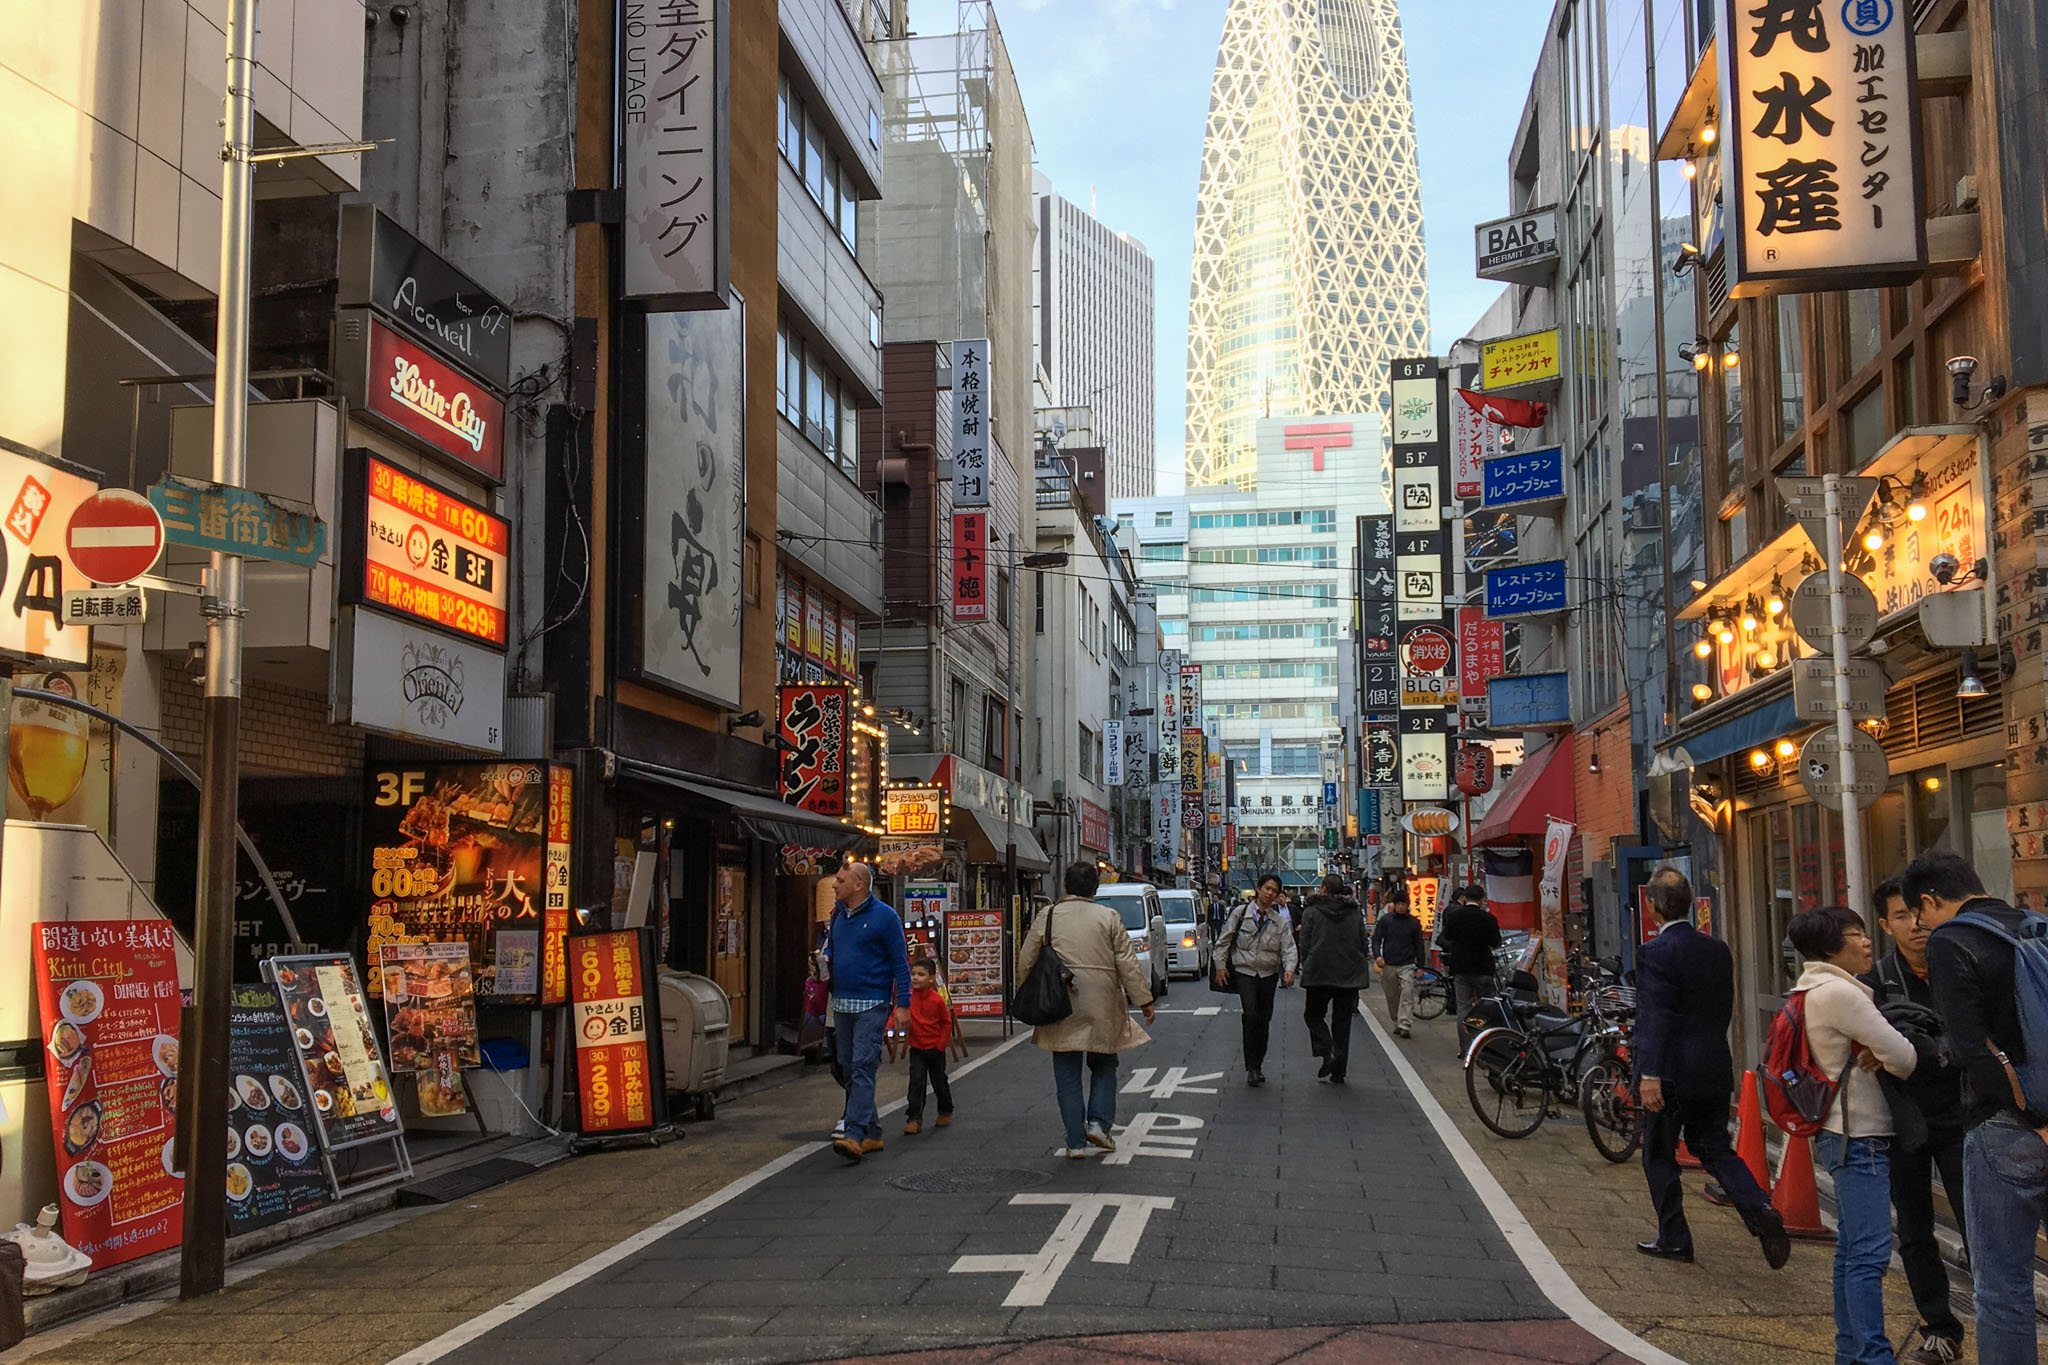
As I had to run down the stairs several times, I arrived at the bottom faster than I expected. I even had time to go for a walk in Shinjuku while waiting for the NEX back to the airport. (The mochi stick also went sightseeing in Shinkuju with me.)

I bid you farewell, oh mighty oak.
And that's a wrap for my Japan Before Christmas trip! It was my first time visiting Japan and my first family trip in 3 years (lately I've been escaping on solo backpacking trips frequently, and this trip was no exception - I snuck away on the last day to climb a mountain by myself, haha).
I hope this review will be helpful to all readers. As I mentioned earlier, I didn't plan to write a review of this trip at first, but when I actually went there, I found that there were many things that I didn't do my homework on before I came. So, I would like to help fill in the missing parts. I apologize if there are no pictures of the places or if some information is missing in the beginning. I hope this review will help everyone to travel to Japan more easily. Thank you.
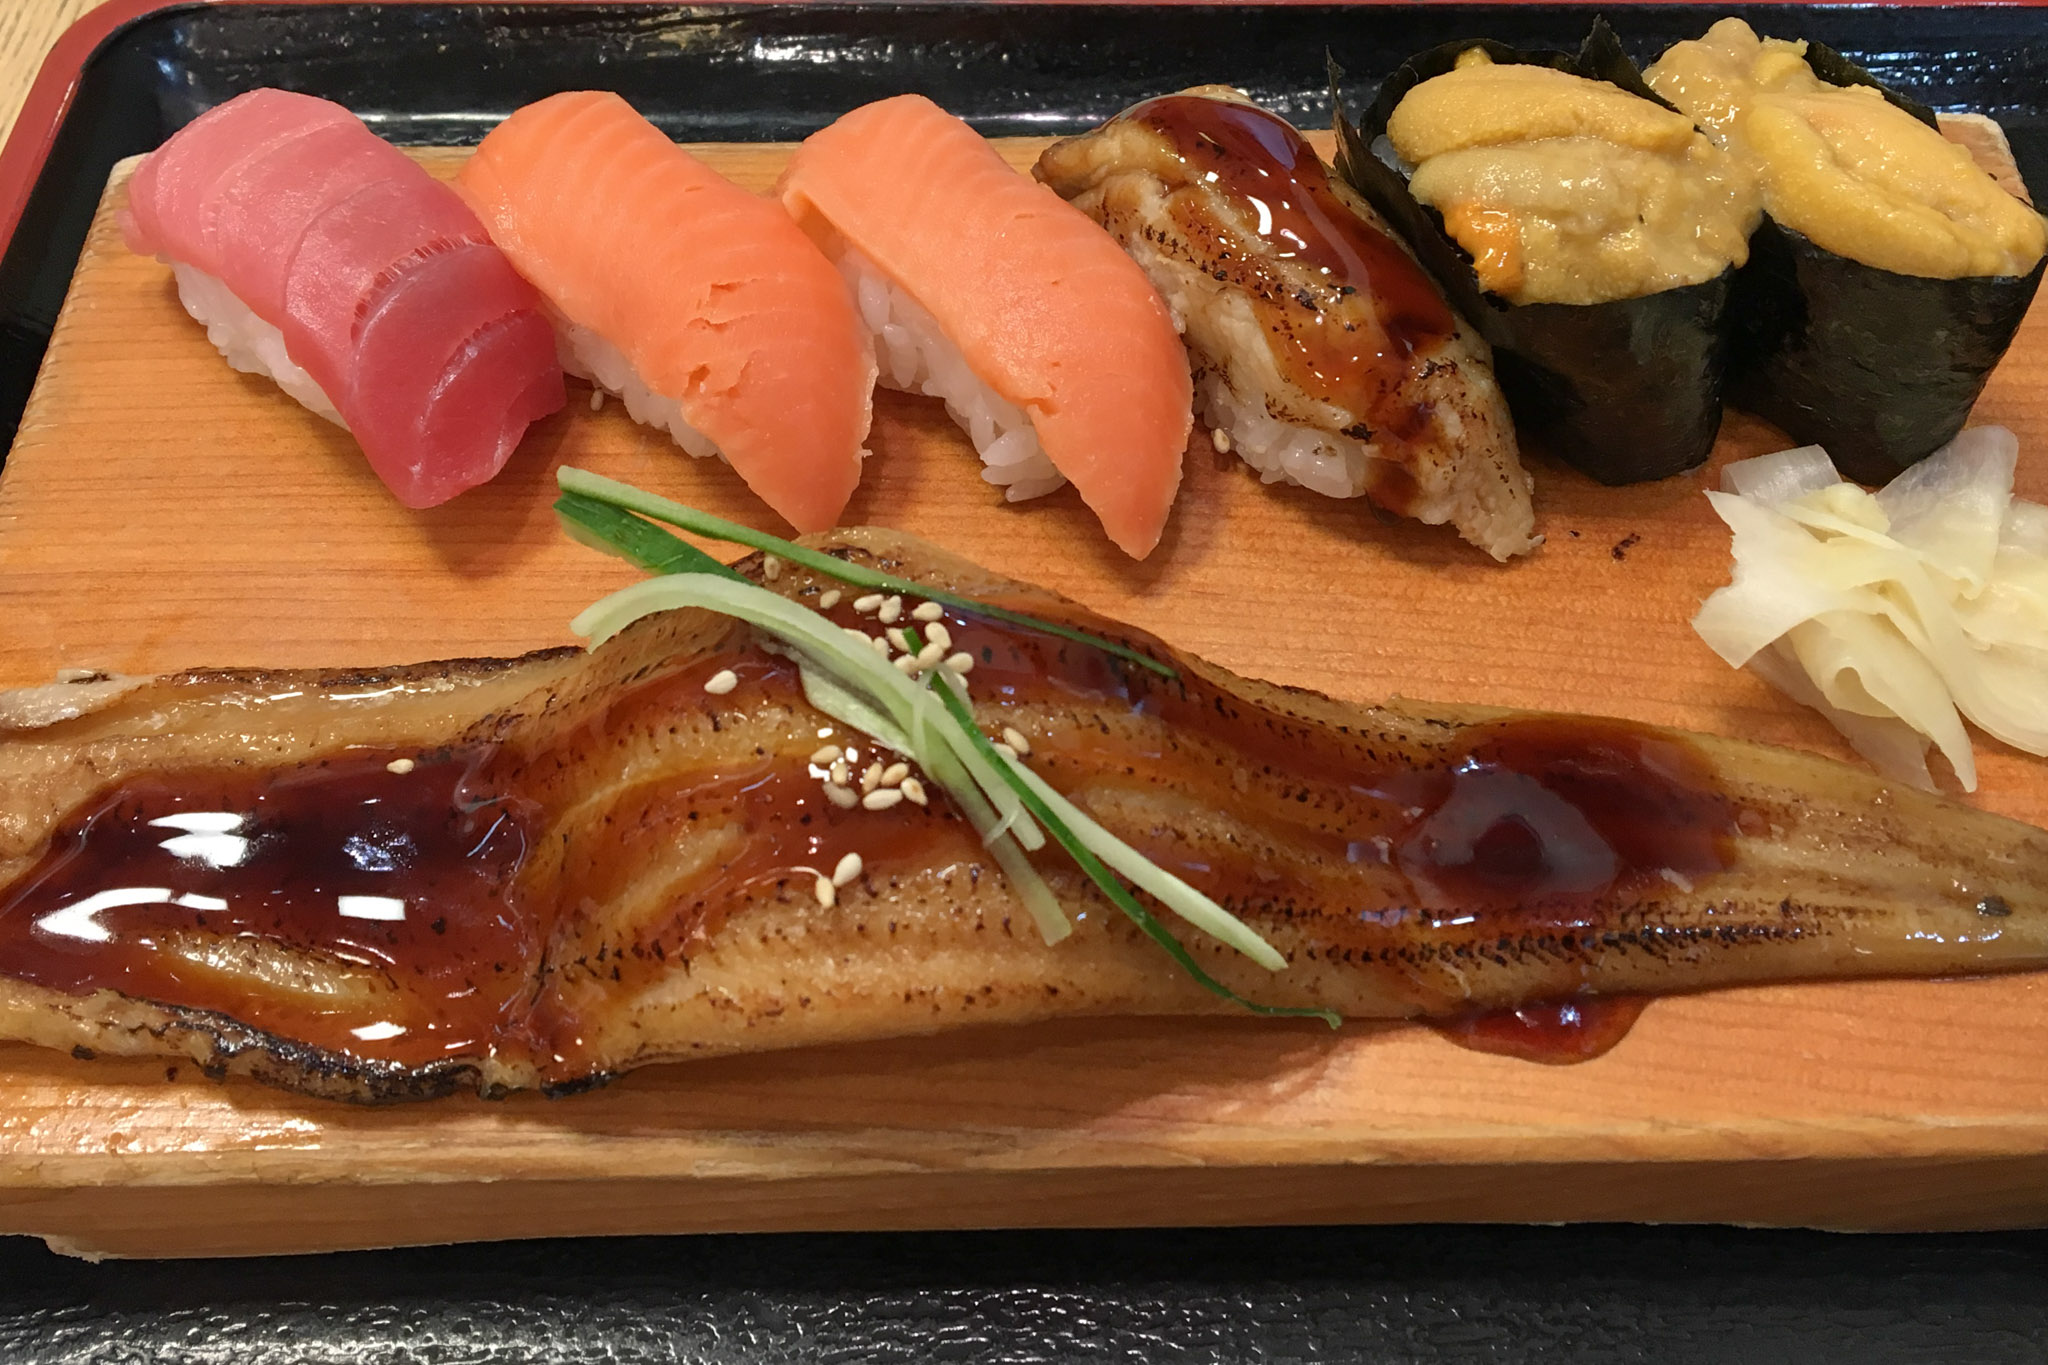
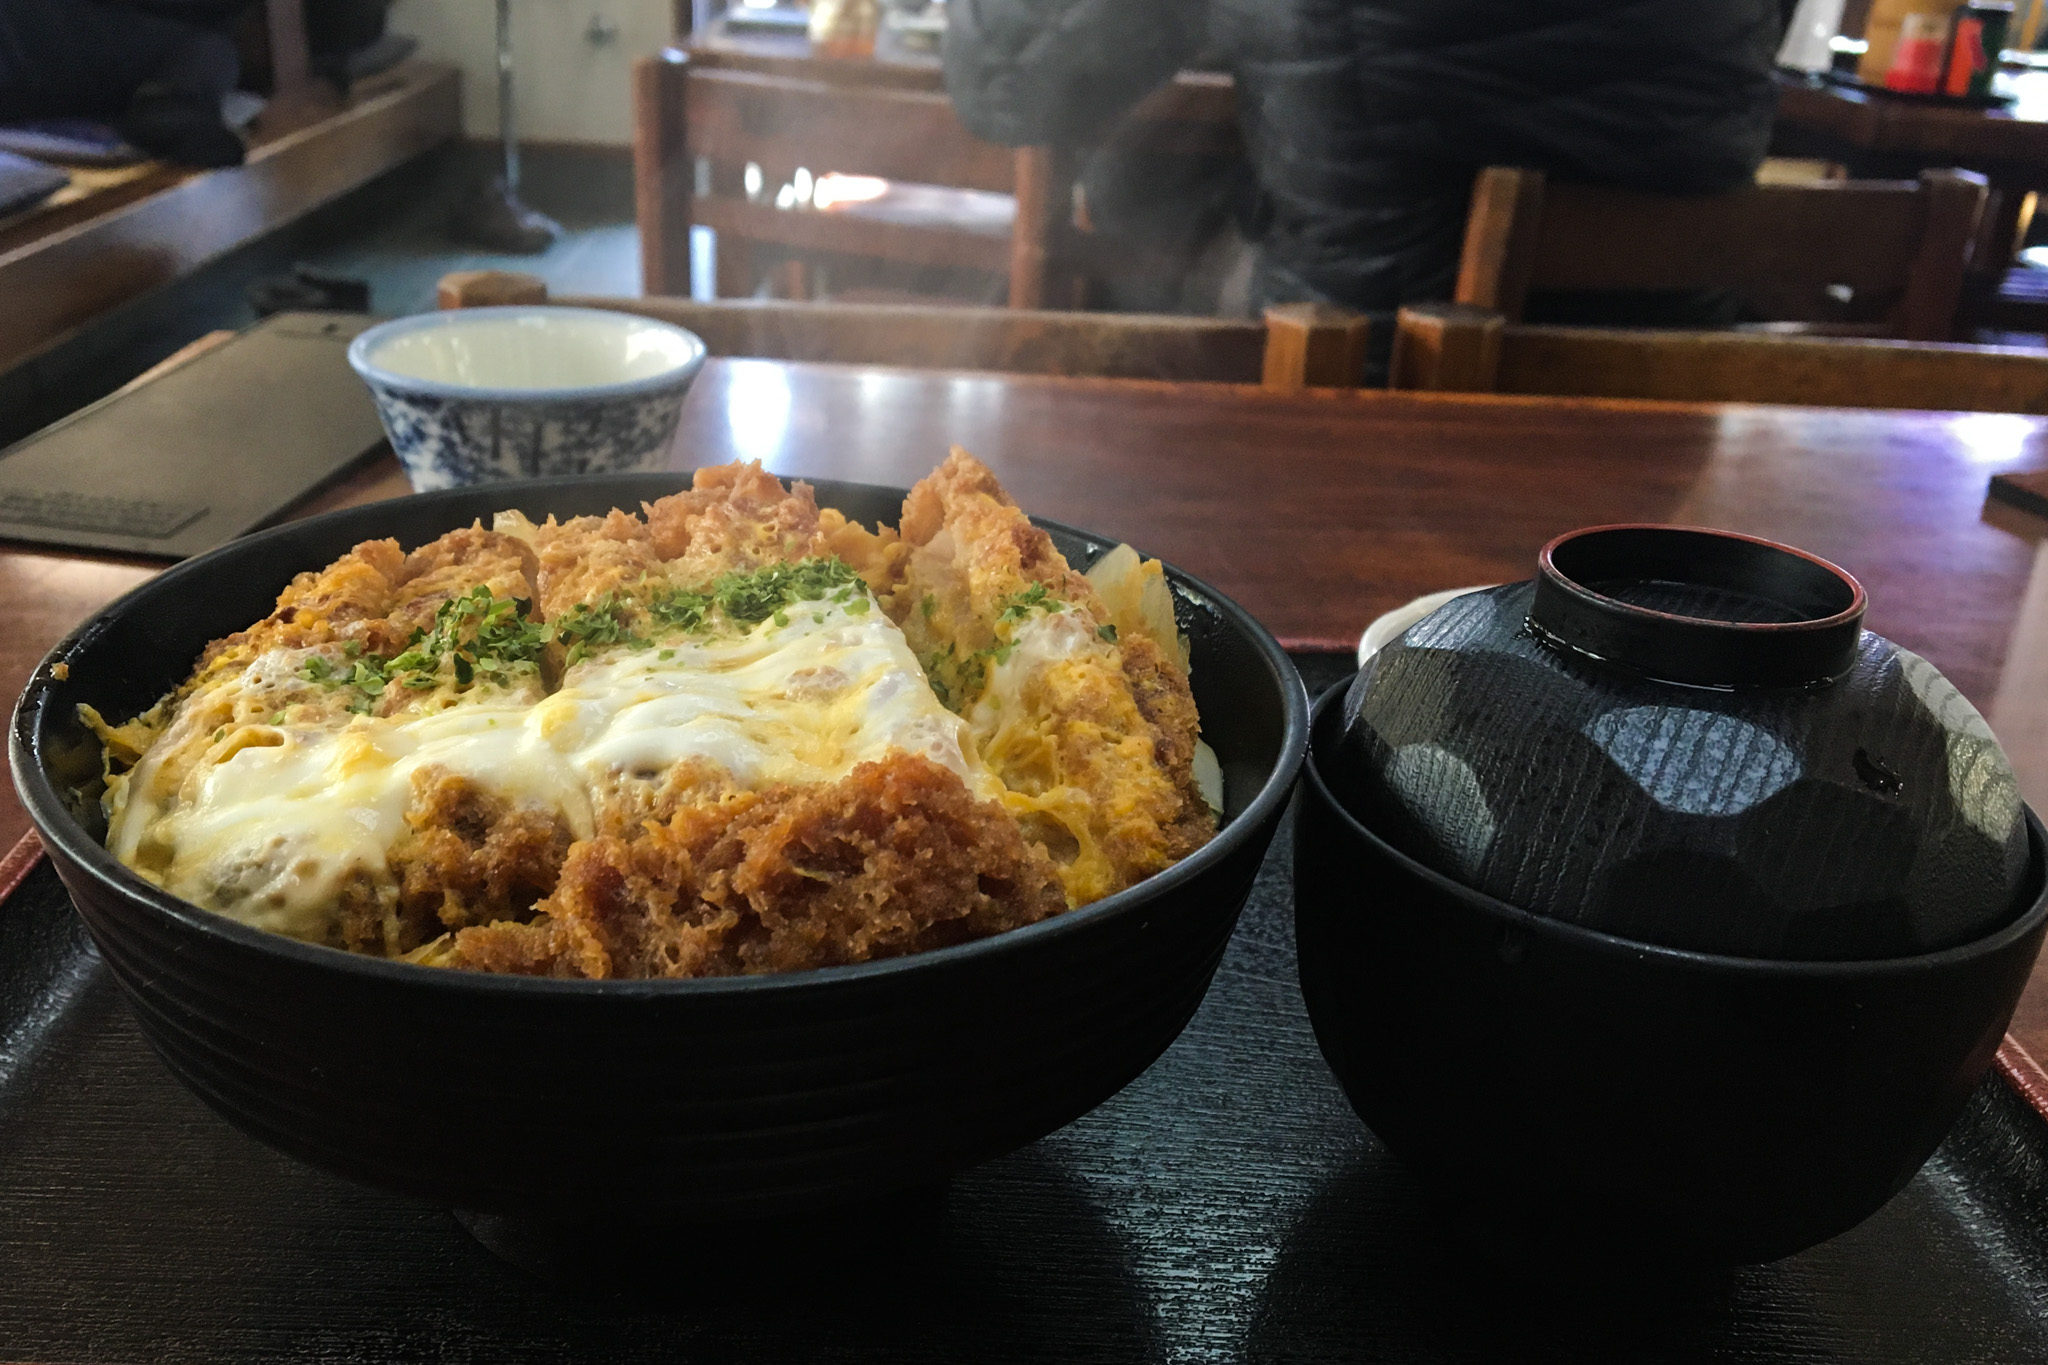
Review is done, now I can post food pictures!! Haha!!
Mountain Seal
Friday, September 27, 2024 9:55 AM

